How to Fix Mouse Lagging and Stuttering on Windows 11
Just like its predecessor, Windows 11 is currently plagued by some kind of bug that ends up creating mouse lagging and stuttering. This primarily seems to occurring during full-screen, resource-demanding activities like playing games or editing an image or video or when the desktop screen is visible.
After digging around for potential causes, we actually find several different scenarios that might be responsible for creating this weird issue on Windows 11. Here’s a list of situations where you can expect to experience mouse lagging and stuttering on Windows 11:
- Microsoft Fix is not installed – Microsoft insiders have already confirmed that a fix for this particular issue will arrive soon via a Windows Update. Although we don’t know the exact date or type of update that will enforce this fix, it’s good practice to install every pending Windows Update. Who knows, maybe the problem will resolve automatically without you needing to do any type of troubleshooting.
- File Explorer bug – The majority of user documented cases in which this problem occurs are somehow related to File Explorer. If you’re only experiencing this issue while File Explorer is opened in the background but you’re not actively using it, one way to resolve the issue temporarily is to use Task Manager to restart the main process behind File Explorer.
- Conflicting Pooling Rate – As it turns out, this type of mouse stuttering on Windows 11 is often associated with a high mouse polling rate (typically only available for high-end mouses). As of now, the only way to resolve this issue is to lower the pooling rate (Reporting Rate) to 500 HZ or lower.
- Nvidia Game Ready glitch – If you’re experiencing this with an Nvidia GPU and you’re using the Game Ready driver experience, you should be able to alleviate the problem by switching over to the Studio Drivers. If you’re a gamer, making this change won’t affect your average framerates in any significant way.
- Adaptive Sync is Enabled – As of now, Windows 11 is very unreliable when forced to use Adaptive sync (freesync) from Nvidia (GSync) on 4k monitors with a high refresh rate. Until Microsoft irons out this bug, you should be able to fix your mouse stuttering issues by disabling G-Sync from Nvidia’s control panel.
- Mouse Trail bug – If you’re a fan of mouse trails, Windows 11 will probably force you to get rid of it if you don’t want to experience mouse lags. It’s been confirmed that disabling this mouse effect helps in reducing the mouse stuttering that’s currently affecting Windows 11.
Now that you are familiar with the most common causes that might be triggering this type of problem on Windows 11, here’s a couple of methods that other users dealing with the same mouse stuttering and lagging have used to fix the issue temporarily or permanently.
Update Windows to the latest version
If you’re on Windows 11 build 22000.100 and you’re experiencing mouse stuttering and lagging only when the desktop is visible, the problem is most likely occurring due to a Dev Channel bug that Microsoft is currently patching.
Microsoft insiders have confirmed that a hotfix for this issue is already on the way and will arrive as part of a cumulative update for Windows 11.
To take advantage of it, all you need to do is install every pending update that is currently waiting to be installed.
If you’re looking for specific instruction on how to do this, follow the instructions to learn how to install every pending Windows 11 update:
- Press Windows key + R key to open up a Run dialog box. Next, type ‘ms-settings:windowsupdate‘ inside the Run’s text box and press Enter to open up the Windows Update screen.
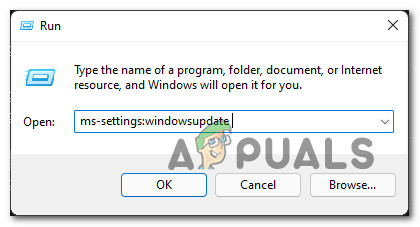
Installing Windows Update - If you’re prompted by the UAC (User Account Control), click Yes to grant administrative access.
- Once you’re inside the Windows Update screen, move over to the right-hand side of the screen and click on the Check for Updates button.
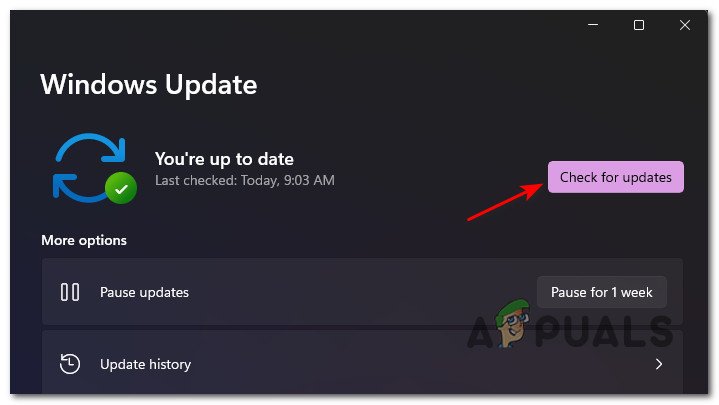
Check for Updates button - If new updates are found, Windows 11 should automatically begin to download it. If this doesn’t happen, click on Download Now to start the download.
- After the download is complete, the installation of the pending update should begin automatically (if you have the default WU preferences).
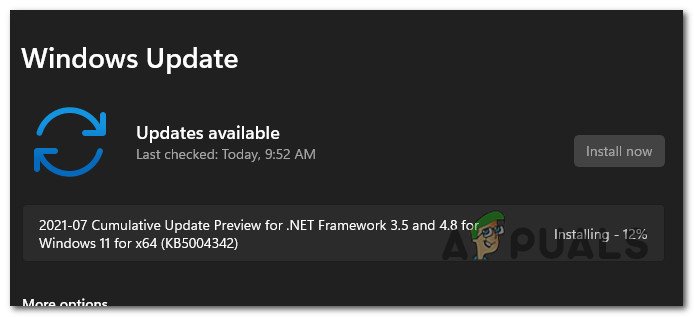
Install Windows Updates automatically Note: If the installation of the updates doesn’t start automatically, click on Install Now.
- Keep in mind that in the event that you have a lot of pending updates, you will be prompted to restart before WU gets the chance to install every pending update – If this happens, reboot as instructed, but make sure to return to this particular Windows Update screen to complete the installation of the remaining updates.
Restart File Explorer
If you’re encountering this type of issue while doing something while the desktop is visible or while you’re playing a game in full screen, chances are you’re suffering from the notorious File Explorer bug.
According to a lot of users, you can expect to see this particular type of mouse stuttering when the main process behind File Explorer is stuck in a limbo state.
This will certainly be patched by Microsoft eventually, but if you don’t want to wait, you can resolve the issue promptly by restarting the main process of File Explorer (explorer.exe).
Here’s how to restart the main explorer.exe process via Task Manager in order to stop the mouse lagging from occurring on Windows 11:
- Press Ctrl + Shift + Esc to open up Task Manager.
- If the simplified version is opened by default, click on the More Details hyperlink.
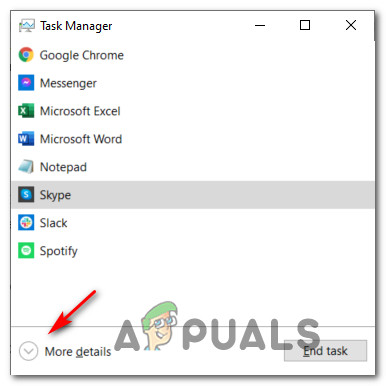
Show more details in Task Manager - Next, once you ensure that you’re using the detailed version, access the Processes tab, then scroll down through the list of Apps and locate Windows Explorer.
- Next, right-click on Windows Explorer and choose Restart from the context menu that just appeared.
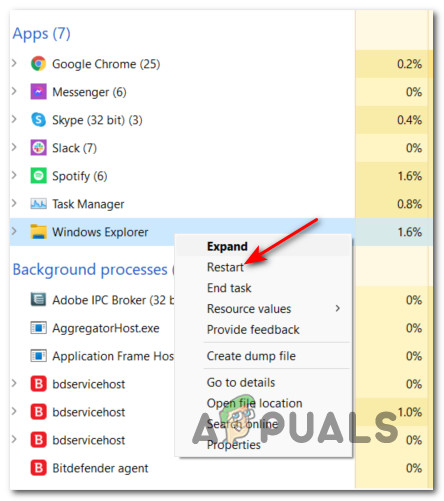
Restart the File Explorer service - Once the main Windows Explorer process has been closed, resume your normal activity and see if the mouse lagging/stuttering has been resolved.
If the problem is still not fixed, move down to the next potential fix below.
Lower the pooling rate (if applicable)
As it turns out, using a high-end mouse on Windows 11 can actually be detrimental to your experience on Windows 11. We’ve managed to identify a lot of user reports that we’re experiencing issues when using a mouse with a pooling rate of over 500 Hz.
Currently, Windows 11 is known to cause inexplicable stuttering when the pooling rate of the connected mouse is set to 1000 Hz. This is confirmed to happen with every other major manufacturer including Logitech, Steelseries, and even Microsoft products.
While this is certainly going to be patched in the future, the only viable fix, for now, is to reduce the pooling rate of your mouse in order to make the mouse lag go away.
You can check if your current mouse pooling rate is higher than 500 Hz by using a 3rd party utility like Mouse Rate Checker.
But keep in mind that changing the pooling rate is a different process depending on your mouse manufacturer.
While some manufacturers include a dedicated utility that will allow you to do this from one of the menus, other mouse models (particularly gaming models) might also include a physical button that will allow you to rapidly switch from 1000 HZ to 500 HZ.
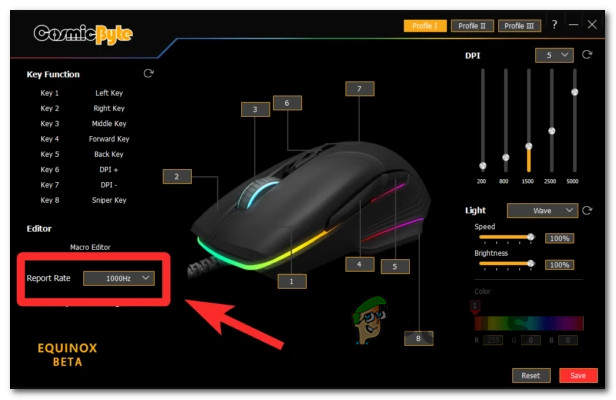
Note: Keep in mind that a lot of mouse manufacturers will refer to the Pooling Rate as Report Rate.
If this scenario is not applicable in your particular case, move down to the next potential fix below.
Install the Studio Drivers (Nvidia GPUs Only)
If you’re using an Nvidia GPU and you’re mainly encountering this type of issue while gaming, you might be able to fix the issue by installing the Studio Drivers instead of the default Game Ready equivalents.
This method is kind of a mixed bag, with some users reporting that it ended up fixing the issue permanently, while others are saying that the mouse stuttering has eventually returned on Windows 11.
Note: The difference between the Game Ready Drivers and the Studio drivers is that the Studio drivers have been optimized for certain GPU-depending apps like 3ds Max, Adobe Premiere, Maya, DaVinci Resolve, etc. Installing the Studio driver equivalent will not affect the in-game performance in any significant way.
If you’re using an Nvidia GPU and you’re willing to make the transition to the Nvidia Studio drivers, follow the instructions below for step by step instructions on how to do this:
- Press Windows key + R to open up a Run dialog box. Next, type ‘appwiz.cpl’ inside the text box and press Enter to open up the Programs and Features menu.
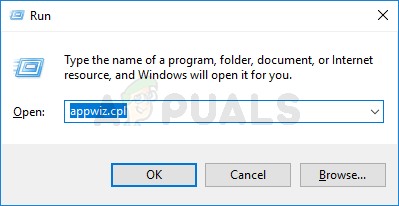
Open up the Programs and Features menu Note: If you’re prompted by the User Account Control prompt, click Yes to grant admin access.
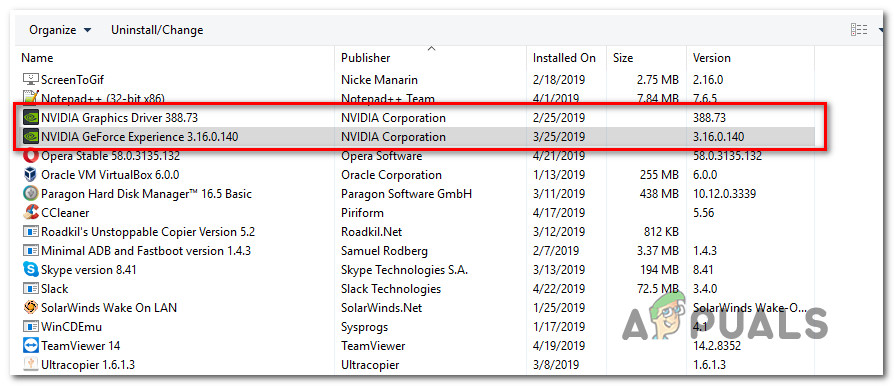
- Once you’re inside Programs and Features menu, click on Publisher to order the list of installed programs according to their Publisher.
- Next, locate every entry published by Nvidia Corp, then systematically right-click every item and choose Uninstall from the context menu until every driver and supporting driver related to your Nvidia GPU is uninstalled.
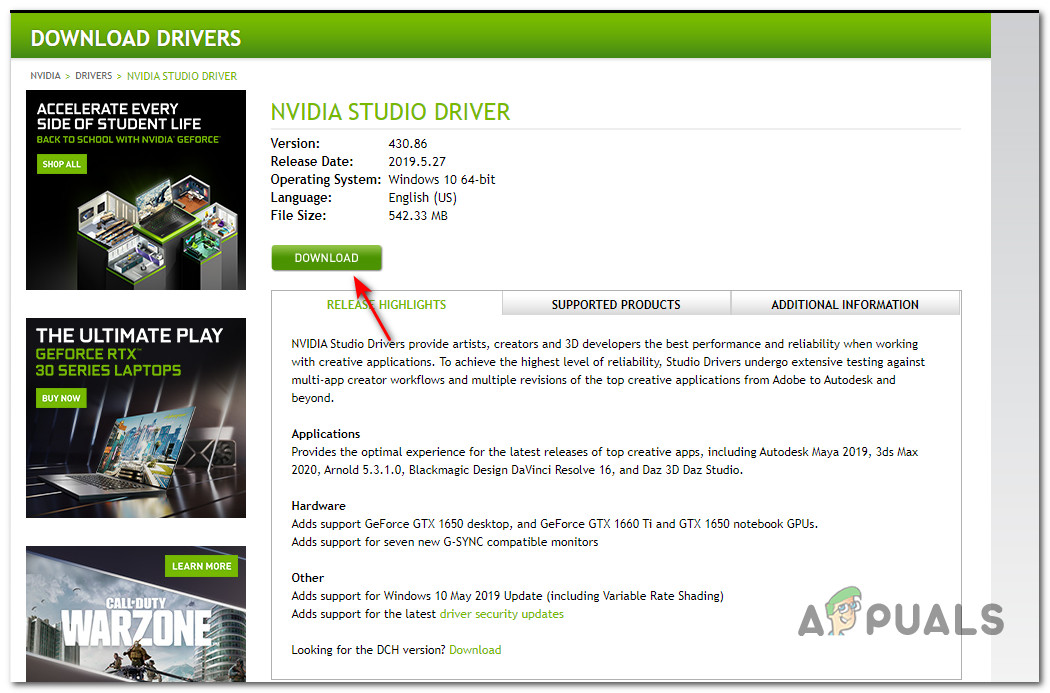
Uninstall every Nvidia GPU driver - Next, visit the official download page of the Nvidia Studio Driver and download the latest version according to your GPU model. Make sure to select Windows 11 as the operating system and change the Download type to Studio Driver (SD).

Finding the correct studio driver - Once the correct driver is identified, click on Download once you’re ready to download the Studio driver installer locally.
Downloading the Nvidia Studio driver - Once the download is complete, double-click on the driver installer and click Yes at the User Account Control prompt.
- At the initial extraction window, click Ok and wait until the Studio driver is unpacked.
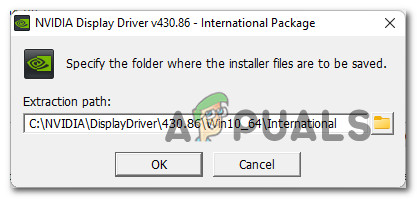
Unpacking the driver - Once the driver is unpacked, accept the Licence Agreement by clicking on Agree and Continue. , then follow the on-screen instructions to install the Studio drivers provided by NVIDIA.

Installing thre latest studio driver Note: It’s up to you if you want to also install GeForce Experience or not.
- At the end of this procedure, restart manually if you’re not prompted to do so automatically.
- After your computer boots back up, use your Windows 11 PC normally and see if the problem is now fixed.
In case you’re still experiencing the same type of mouse lagging and stuttering, move down to the next potential fix below.
Disable adaptive Sync (if applicable)
Another potential scenario that might cause this particular behavior is an Nvidia-specific feature called Adaptive sync (Freesync). Mouse stuttering caused by adaptive sync is actually reported on 4k monitors with a high refresh rate (typically with 144 HZ).
Although it’s unclear what exactly is causing this behavior and Microsoft didn’t comment on this officially, affected users have confirmed that disabling Adaptive-Sync resolved the issue permanently.
So if you don’t want to wait for Microsoft or Nvidia to patch this issue and you aren’t too bothered by the fact that you won’t be allowed to use freesync, disabling Adaptive-Sync from your Nvidia Control Panel settings should take care of the mouse lagging issues.
Here’s what you need to do to disable adaptive sync:
- Press Windows key + S to open up the Search function on Windows 11.
- Use the search function at the top to search for ‘Nvidia Control Panel‘.
- From the list of results, click on Nvidia Control Panel.

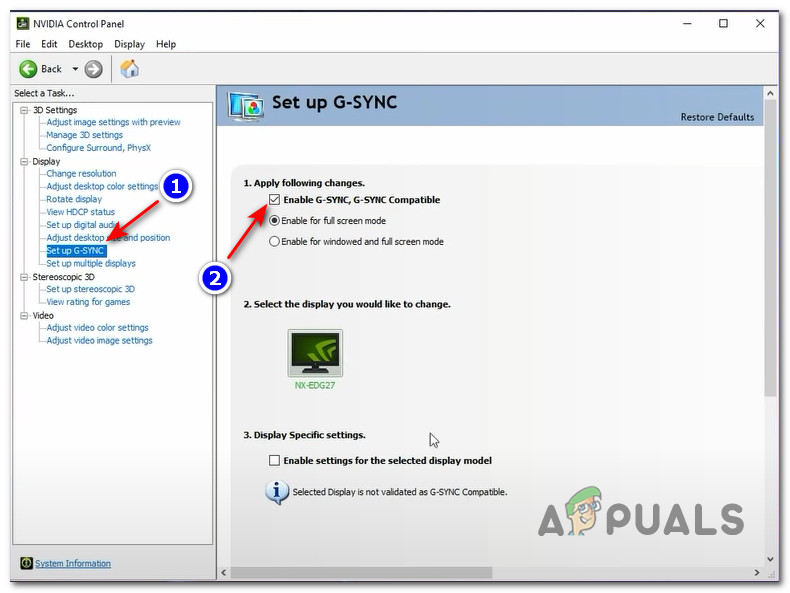
Accessing Nvidia Control Panel - Once you’re inside Nvidia Control Panel, click on Set Up G-Sync (under Display) from the vertical menu on the left.
- Next, move over to the menu on the right and uncheck the box associated with Enable G-Sync, G-Sync Compatible.
Disabling FreeSync - Finally, restart your computer in order to make the changes permanent and monitor the situation to see if the mouse lagging issue is now fixed.
If the same kind of issue is still occurring even after you successfully disabled Adaptive-Sync or this technology is not supported by your monitor, move down to the next potential fix below.
Disable Mouse Trails (if applicable)
If you’re using any kind of mouse trails on Windows 11, you might want to disable this effect if you want to prevent this mouse lagging issue. Most users dealing with this problem have reported that while this issue doesn’t fix the mouse stuttering entirely, it makes things slightly better.
This is certainly a bug that’s only occurring on the insider dev builds of Windows 11, and the only viable fix as of now is to disabling mouse trails altogether until Microsoft becomes aware of this issue and fixes it at a system level.
If you’re currently using a mouse train effect and you’re experiencing mouse lagging on Windows 11, follow the instructions below to take care of the issue:
- Press Windows key + R to open up a Run dialog box. Next, type ‘control’ inside the text box and press Enter to open up the Classic Control Panel interface. If you’re prompted by the User Account Control window, click Yes to grant admin access.
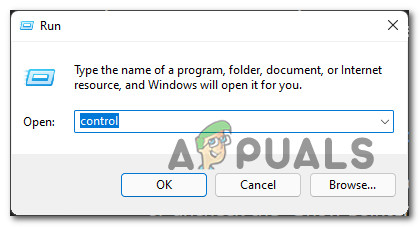
Opening the Classic Control Panel - Once you’re inside the Classic Control Panel interface, type ‘mouse’ in the search function in the top-right corner and press Enter.
- Next, from the list of results, click on Mouse.
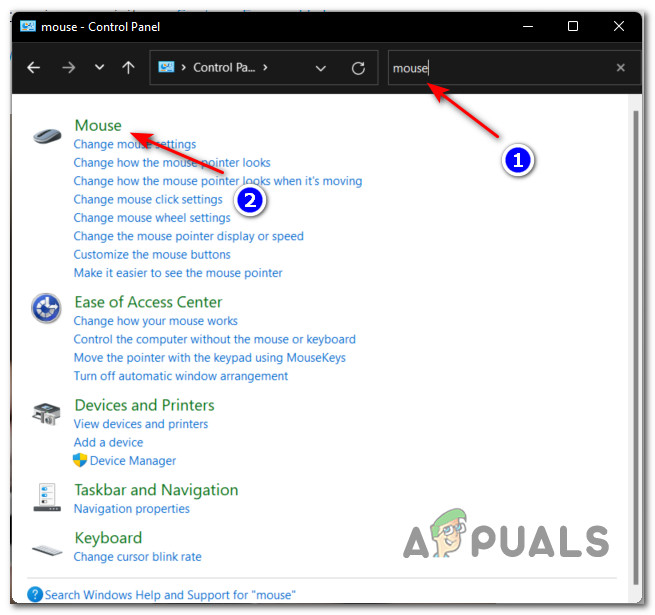
Accessing the Mouse settings - Once you’re inside the Mouse Properties screen, access the Mouse Pointers tab from the menu at the top.
- Next, go down to the Visibility section and uncheck the box associated with Display pointer trails.
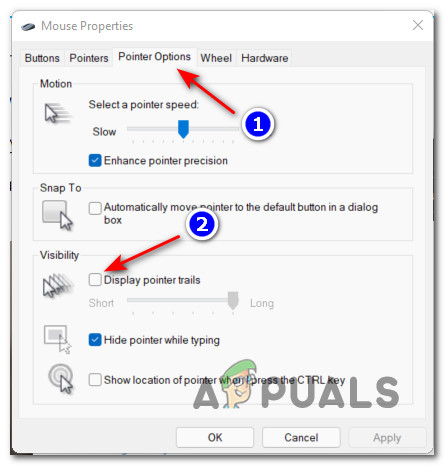
Display pointer trails - Once you make the change, enforce it by clicking Apply and restarting your computer.
- After your computer boots back up, see use your Windows 11 PC as you would normally do and see if the mouse lagging issue is now resolved.


Your fix worked like a miracle! – We were ready to uninstall win 11 and re-install win 10 out of frustration. Thank you for your expertise!