External USB Mouse Doesn’t Work on Laptop? Here Are 4 Fixes!
Get your External Mouse working on laptop with these easy solutions
When you plug in an external USB mouse to your Windows laptop it should automatically be recognized and start working right away. However, sometimes things don’t go as smoothly and you may run into issues where the mouse doesn’t work as expected. When this happens, the users face an error stating ‘USB device not recognized’. In most cases, the problem only occurs with a single external device, as the other external peripherals work perfectly fine.

Your system might be unable to recognize the external USB mouse due to several reasons such as driver issues, USB port problems, incorrectly configured power settings, conflicts with other devices, and a hardware issue with the external device itself.
Regardless of what might be causing the problem, the troubleshooting methods mentioned later in this guide are sure to help you with the issue. We suggest you go through the methods first to understand what might be causing the issue, and then proceed with the relevant troubleshooting method.
1. Rule Out Any Hardware Problems
The first thing that we recommend you do is check if there is an issue with the device you are using. The best way to check this is by plugging the USB mouse into another device and checking if it works fine there.
If the mouse is functioning properly, then the next course of action should be to check the USB port of your computer. Some common USB port issues that can cause recognition problems include:
- Physical damage: It is possible for a device not to be recognized by a USB port because of a bent or broken pin in the port.
- Power issues: A lack of power in the USB port can cause a device to not be recognized.
Try an alternate USB port and check if the mouse works fine there. If the issue persists, move to the next troubleshooting method below.
2. Update Drivers
Outdated or corrupt drivers can prevent the system from recognizing an external USB mouse in Windows. When the operating system doesn’t have the correct drivers for the mouse, it may not be able to communicate with the device properly, leading to recognition problems.
To resolve the issue, we will first try updating the drivers for the mouse. Here is how:
- Type Device Manager in the search area of the taskbar and click Open.
- Expand the Mice and other pointing devices.
- Next, right-click on your mouse driver.
- Choose Update driver from the context menu and then click on Search automatically for drivers.
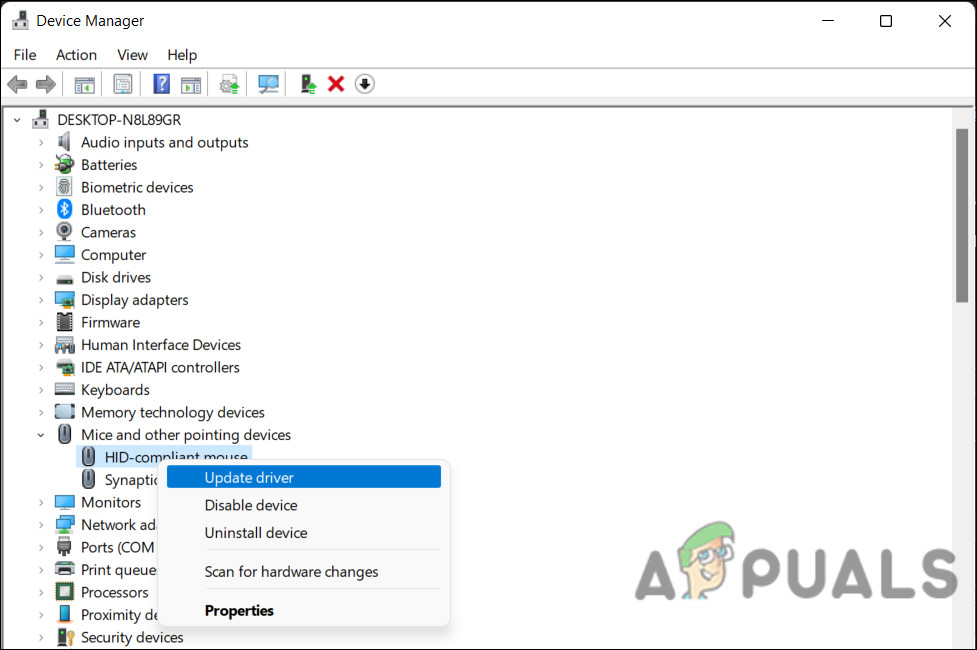
Update the mouse driver - Windows will search for and install the latest driver for the mouse, if available. Follow the on-screen instructions to proceed.
- Finally, restart your computer and check if the issue is resolved.
If this does not work, then you can try installing the updated driver version manually. For this, follow these steps:
- Head over to the manufacturer’s website and download an updated version of the mouse driver from there.
- Follow steps 1-3 from above.
- Choose Update driver > Browse my computer for driver software.
- Click on Let me pick from a list of available drivers on my computer.

Pick from the list of available drivers - Choose the driver that you downloaded from the manufacturer’s website.
- Follow the on-screen instructions to install the updated driver and then restart your computer.
While you are at it, we also recommend updating your USB port drivers in case you suspect that the issue lies there.
3. Disable Power Management for USB Devices
Power management for USB devices can also prevent the system from recognizing a USB device. If power management is enabled, the computer may turn off power to USB ports to save energy, which may cause connected devices to stop working. When this happens, the device may not be recognized even when it is properly plugged in.
Disabling power management for USB devices in the computer’s power settings in this case can help resolve the issue.
Here is how you can do that:
- Press the Windows + R keys together to open Run.
- Type control in Run and click Enter.
- In the following window, expand the View by category and choose Large icons.
- Click on Power Options from the list.

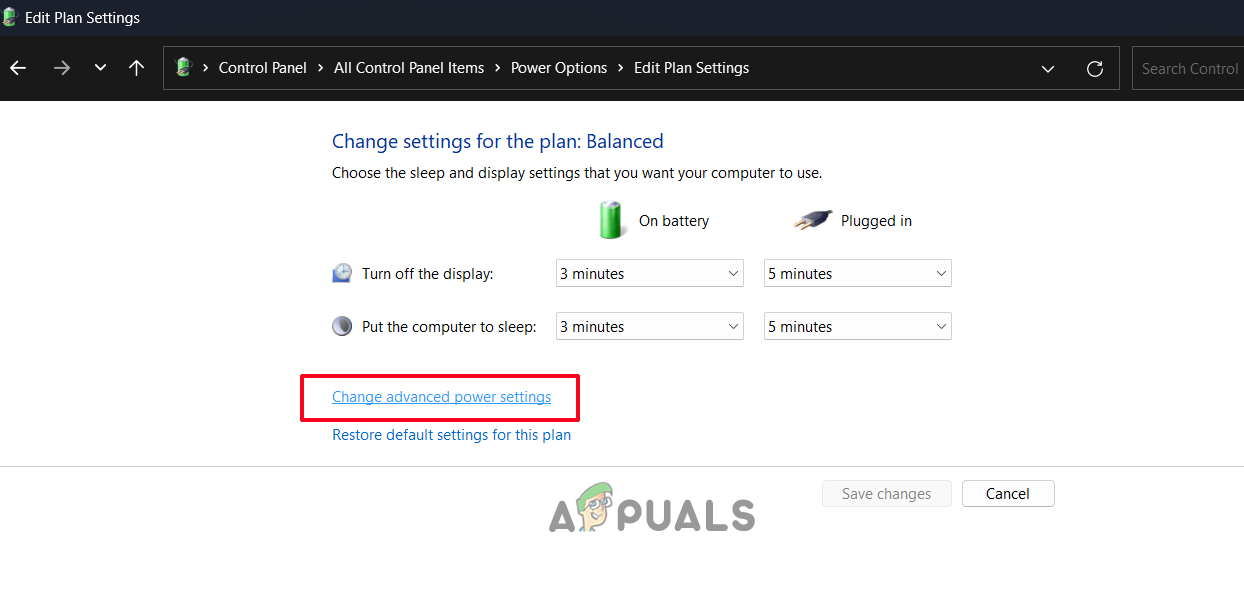
Access the Power Options - Click on Change plan settings next to the selected power plan.
- Select Change advanced power settings.
Click on change advanced power settings - Now, locate the USB settings section and expand it.
- Expand the USB selective suspend setting and choose Disable.

Disable usb selective suspend setting - Click Apply > OK to save the changes. You can now check if the issue is resolved.
Alternatively, you can also change the power management settings for USB root hubs via Device Manager.
Here is how you can do that:
- Type Device Manager in the search area of the taskbar and click Open.
- Expand the Universal Serial Bus controllers section.
- Right-click on each USB Root Hub and select Properties from the context menu.
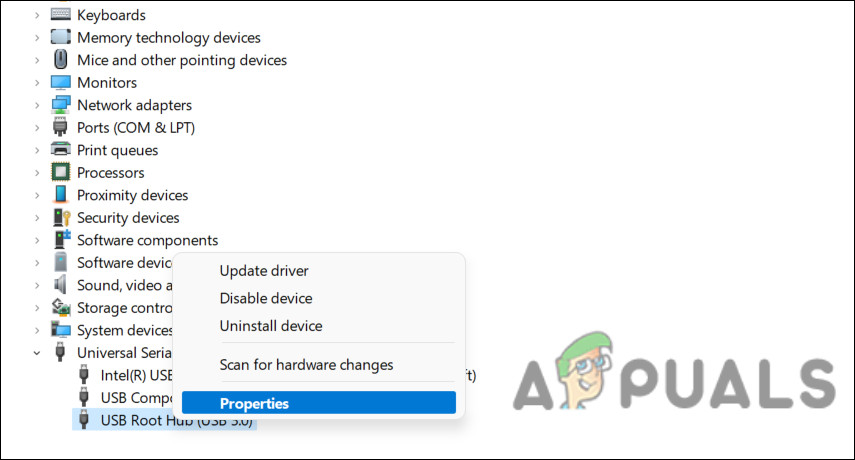
Access the USB properties - Head over to the Power Management tab.
- In the following dialog, uncheck the Allow the computer to turn off this device to save power option.
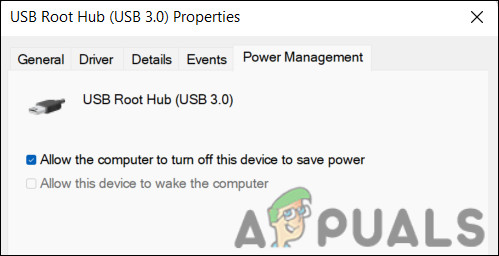
Don’t allow the computer to turn off this device to save power - Repeat steps 3 to 5 for each USB Root Hub.
- Close the Device Manager and restart the computer.
In this way, the computer will not shut down the USB ports and the USB mouse should be recognized by the system.
4. Uninstall Hidden Devices
Sometimes, hidden devices can cause conflicts with other devices and interfere with their functioning. It can be possible to resolve these conflicts by uninstalling hidden devices and helping the computer recognize the USB mouse.
Here’s how to uninstall hidden devices in Windows:
- Type Device Manager in the search area of the taskbar and click Open.
- Click on View in the top pane and select Show hidden devices from the context menu.

- Now, expand the sections to locate the hidden devices.
- Right-click on each hidden device and select Uninstall device from the context menu.
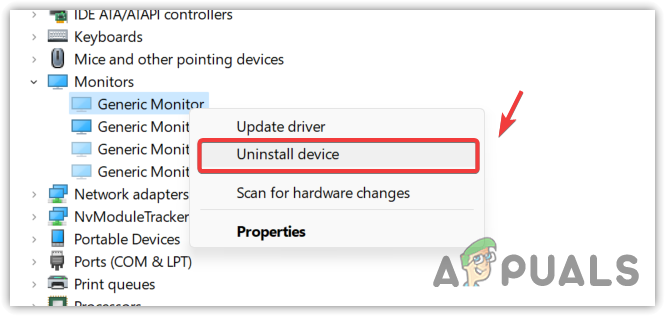
Uninstalling drivers from device manager - Follow the on-screen instructions to complete the uninstallation process.


