Fix: Windows 10 AppX Packages Crashing Error MoAppHangXProc
MoAppHangXProc is an error that occurs after installing the latest build of Windows 10. This error causes the Installed Windows Store AppX applications on the system to crash, leading to a startup failure. The MoAppHangXProc error is caused by a file corruption on the system that prevents the application from starting properly. In this guide, we will walk you through the steps to fix the MoAppHangXProc Error.

1. Run the Windows Store Apps Troubleshooter
One way to fix the error is by running the Windows Store Apps Troubleshooter. The Troubleshooter will detect the error and provide you with solutions to fix the error. You can follow the steps below to see how to run the Microsoft Store Troubleshooter:
- Open the Windows Settings by pressing the Win + I keys together.
- Navigate to Update and Security > Troubleshoot.
- Scroll down to the bottom and click on Windows Store Apps.
- Run the Windows Store Apps troubleshoot by clicking the “Run the troubleshooter” option.
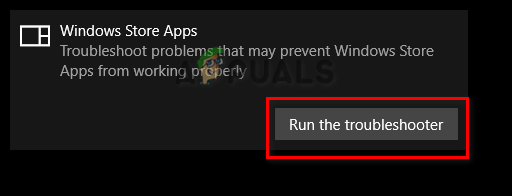
Running Windows Store troubleshooter - After the Troubleshooter has detected the problem, it will provide you with the solutions to fix the error.
- Select the option you prefer, and restart your computer to make the necessary changes.
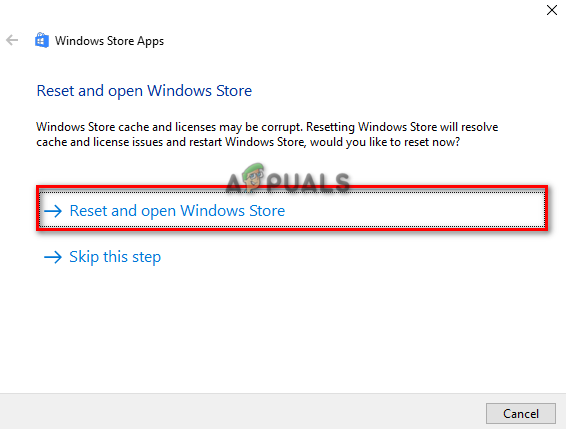
Resetting and Opening Windows Store
2. Run the System Scans
The main cause of the error is corruption in the system files. Therefore, you must make sure that your system doesn’t have any corrupted files by performing system scans that scan your system and repair the files at fault. Below you will see how to perform the System Scans on your computer:
- Open the Windows Start Menu by pressing the Win key.
- Type “cmd” in the Windows Search bar.
- Run the command prompt as an administrator by right-clicking on the app and selecting the “Run as an administrator” option.
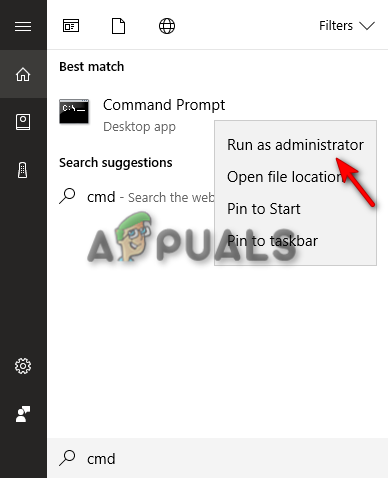
Running the Command Prompt as an administrator. - Type the following command in the Command Prompt while giving a space between “sfc” and “/.”
sfc /scannow
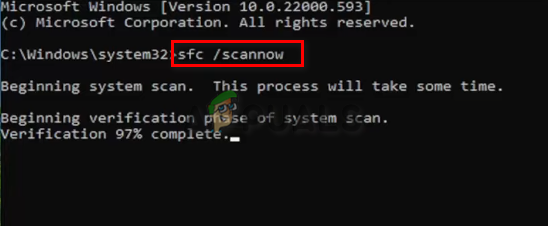
Running system file checker on the command prompt. - After the scan is completed, the system file checker will automatically repair the files at fault.
Note: After performing the system file checker scan, you must also run the DISM command. Follow the step below and see how you can perform the DISM command:
- To run the DISM command, Paste the following command into the command prompt and restart your computer afterward to make the necessary changes:
Dism.exe /online /cleanup-image /restorehealth
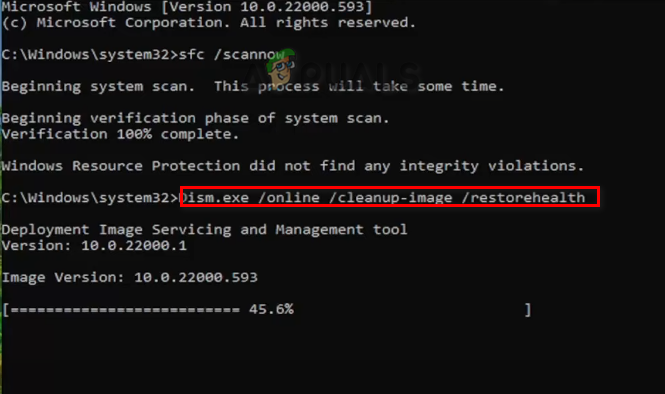
Running DISM Command on the Command Prompt
3. Re-register All Applications on the System
If the Window Store applications aren’t registered Windows will limit their functionality. Therefore, make sure to register all applications installed and then launch the apps. Below are the steps you must follow to re-register all applications on your system:
- Open the Windows Start Menu by pressing the Win key.
- Type “cmd” in the Windows Search bar.
- Run the command prompt as an administrator by right-clicking on the app and selecting the “Run as an administrator” option.
Running the Command Prompt as an administrator. - Now, register all applications by pasting the following command into the command prompt and pressing the enter key:
Get-AppXPackage -AllUsers | Foreach {Add-AppxPackage -DisableDevelopmentMode -Register "$($_.InstallLocation)\AppXManifest.xml"}
4. Update your Windows
If you installed older build of Windows, it will show you this error because some applications aren’t compatible with certain Windows builds. Therefore, ensure that you have latest Windows Updates installed.
- Open the Windows Settings by pressing the Win + I keys together.
- Navigate to Windows Update and Security > Windows Security.
- Check the available Windows update by clicking on the “Check for Updates” option.
- Download the latest version of the Windows update on your system by clicking on the Download option.
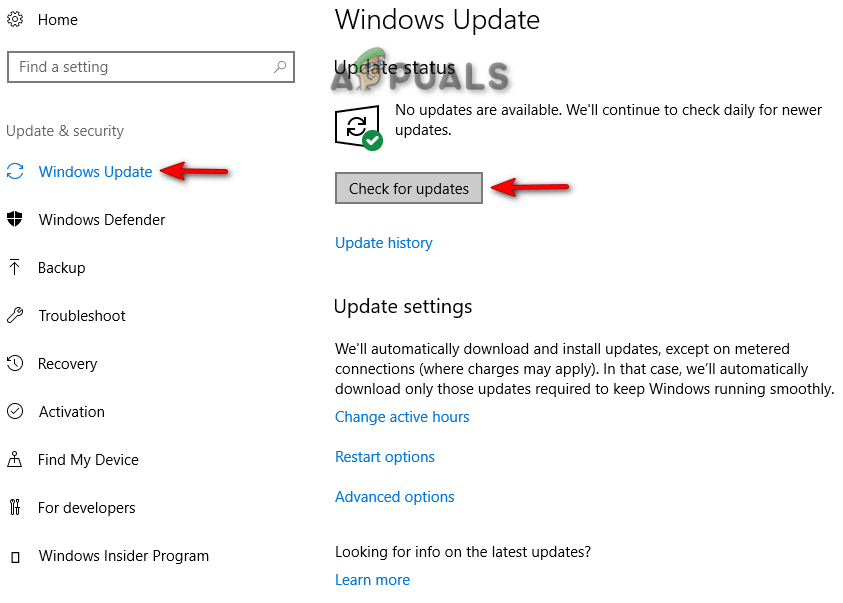
Checking Windows Update - Restart your computer after the Windows update has been installed on the system.
Note: Sometimes Windows doesn’t notify you if there is an update available for Windows. In cases like these, you must manually download the latest version of the Windows Update. You can do that by following the steps given below:
- Go to the Official Microsoft Web Page.
- Download the latest Windows Update by clicking on the “Update Now” option.
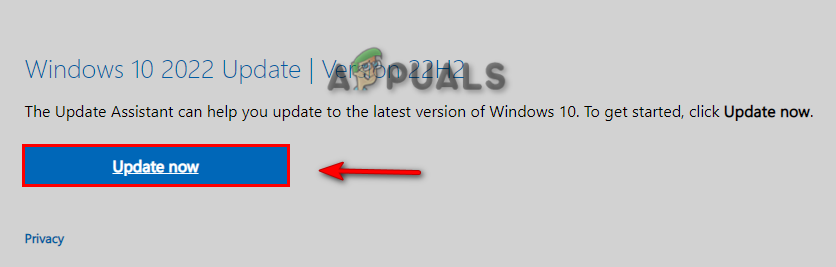
Downloading the Latest Windows Update - To Install the update, click on the “Update Now” option.
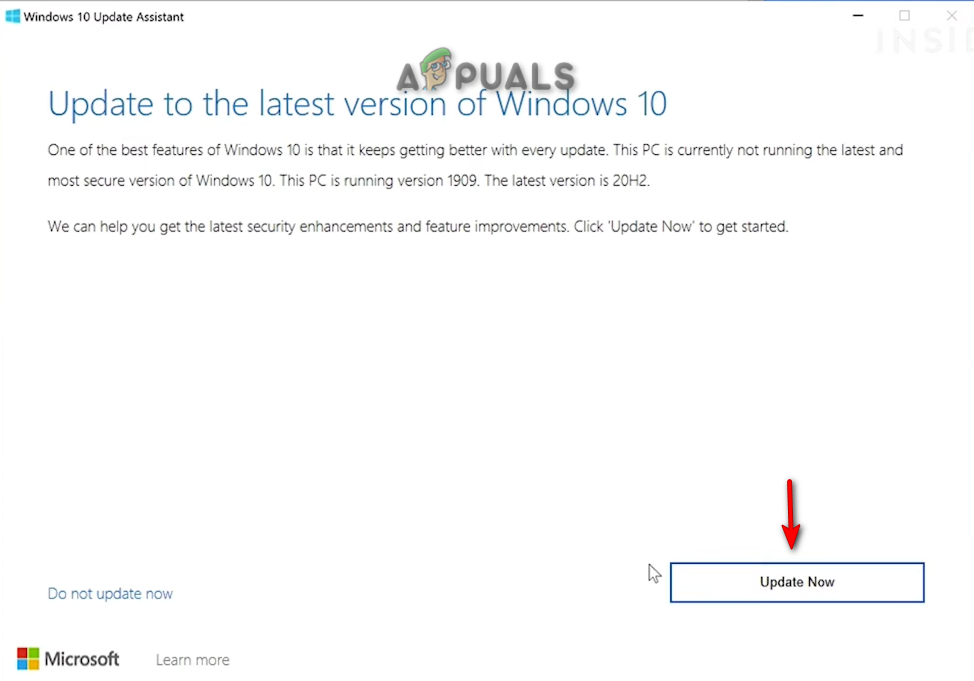
Installing Windows Update - Click on the Restart option after the installation is completed.

Restarting Computer
6. Perform a Clean Boot
If the error is still present, then as a last resort, you must Perform a Clean Boot on your system which is a built-in feature that starts your system on a minimal set of drivers and startup programs. However, despite this process not deleting the data on your system, you should still ensure to have a backup copy of your files just in case they get wiped off.


