How to Fix Start Menu Not Working in Windows 10/11?
Start Menu Not Working is a common issue among Windows users, as it can occur due to a temporary bug or after installing a Windows update. The problem can be caused by corrupt system files, temporary bugs, misconfigured registry values, and the lack of all application package permissions. These are the leading contributors that can be behind the cause of this issue.

Let’s examine some possible causes, as one of them might be the culprit:
- Misconfigured Value in Registry Editor-In the registry editor, there is an entry called Start, which tells how the service is started. You might encounter this error if the Start value is not configured correctly.
- Temporary Bug – In some cases, it has been observed that the error can be fixed by restarting Windows Explorer.exe. Hence, before going further, restart Explorer.exe, as the error may be triggered due to a temporary glitch or bug.
- Not having all Application Packages permissions – If you do not have permissions for all application packages, you may encounter this issue until you obtain full control over the registry folder for All Application Packages.
- Corrupt System Files – The corrupted system files can cause this issue, as the Start menu is a Windows component that may stop working at any time due to corrupt system files. Hence, you should try running the System File Checker in the Command Prompt to check for corrupted files.
1. Use the Registry Editor.
In the Registry Editor, an entry called ‘Start‘ is used to specify how the service or driver starts or loads. Most affected users have fixed their issues by changing the ‘Start’ value. In my case, the value is set to 2, and my Start Menu is working fine.
However, if the entry value is set to 2 and the start menu still doesn’t work, try values between 0 and 4 to see if the issue is resolved. There are up to 4 values, each with a different function specifying how the service starts. Below are the steps to change the value for the Start entry through the registry editor.
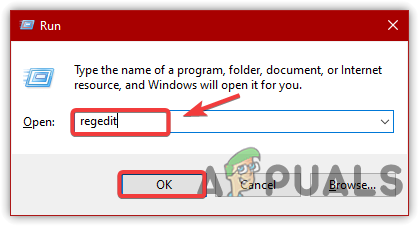
- Press the Win + R keys simultaneously to launch the Run window.
- Type “regedit” and click “OK.
Start Menu Not Working - Make a full registry backup to undo all the changes if something goes wrong.
- Go to the following destination
HKEY_LOCAL_MACHINE\SYSTEM\CurrentControlSet\Services\WpnUserService
- In the right pane, double-click the “Start” entry.
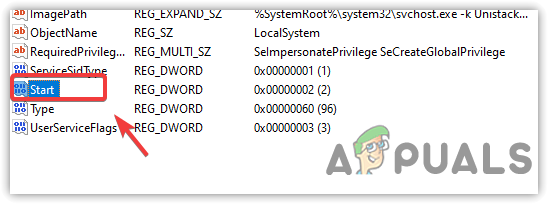
Double Clicking Start Entry - Change the Value data to 2. If it is already 2, then try values between 0 and 4.
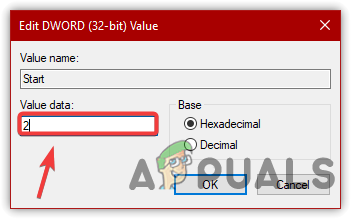
Editing Registry Value - Once done, click “OK” and restart your computer to see if the issue persists.
2. Restart the Windows Explorer.exe.
The issue can occur due to a bug or glitch, which can be fixed by restarting Windows Explorer. Windows Explorer enables the display of the taskbar, apps, desktop, and other elements. Restarting Windows Explorer typically helps when some features stop responding.
Moreover, according to several affected users, restarting Windows Explorer can fix the Start menu not working issue by restarting numerous background services. Below are the steps to restart explorer.exe:
- Open the Task Manager by pressing Ctrl + Shift + Esc on the keyboard.
- Locate and select Windows Explorer.exe, and then click “Restart” from the bottom right of the window.
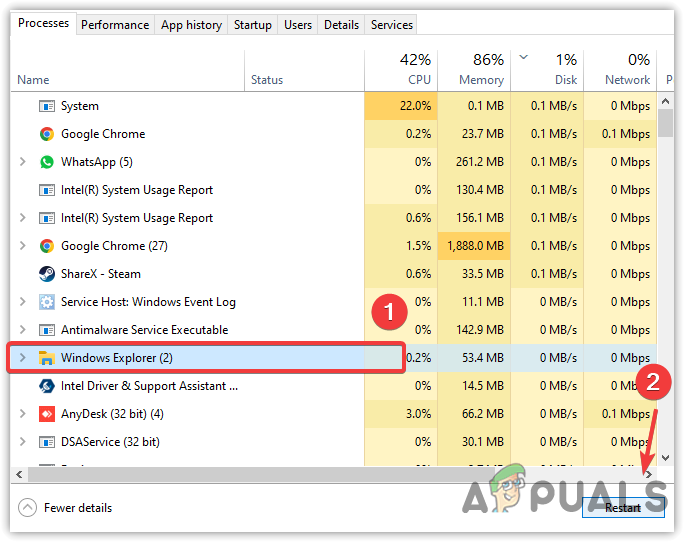
Restarting Windows Explorer - Once completed, check whether the issue persists.
3. Reset All Apps
You can also try resetting the apps via PowerShell to fix this issue. This method has also worked for most of the affected users. Therefore, try it and see if it works in your case.
- Click the Start Menu and type “Windows PowerShell.
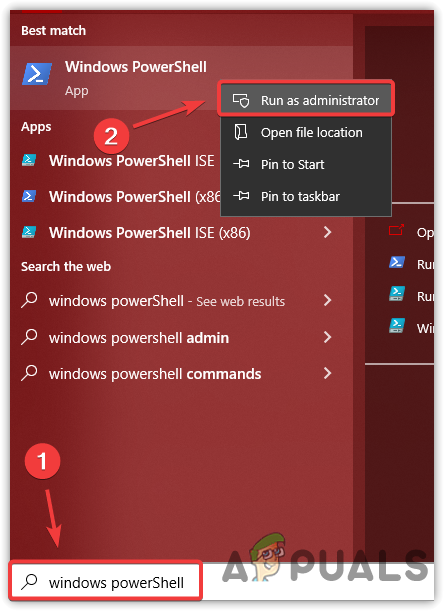
Running Windows PowerShell As Administrator - Open the terminal and paste the following command:
Get-AppXPackage -AllUsers | Foreach {Add-AppxPackage -DisableDevelopmentMode -Register "$($_.InstallLocation)\AppXManifest.xml"}
Resetting All Apps - Once completed, check whether the start menu is working properly.
4. Change the permissions for all app packages.
All application packages allow all the users in the system to access the specific application or folder. The registry editor has a folder called HKEY_CLASSES_ROOT, which contains information about filename extensions such as .appx, .aps, and more.
This error will likely be triggered if the HKEY_CLASSES_ROOT permission is not set properly for all application packages. To fix this, you will need to change the permissions of HKEY_CLASSES_ROOT. Here are the steps:
- Open the registry editor by typing it in the Start Menu.
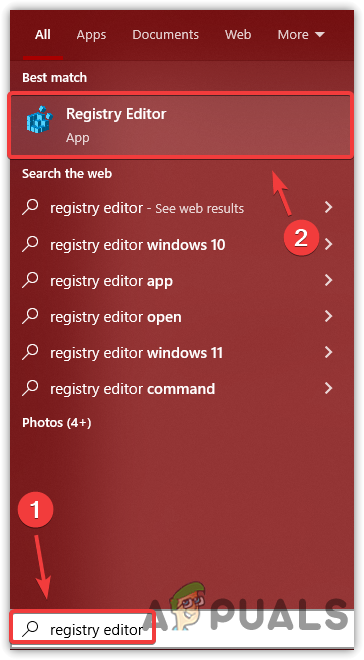
Opening Registry Editor - Right-click the HKEY_CLASSES_ROOT and then click Permissions
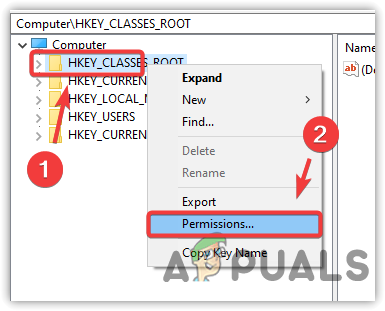
Opening Registry Folder Permissions - Select “ALL APPLICATION PACKAGES” and grant “Full Control” permissions for all.
- Click “Apply” and then click “OK.
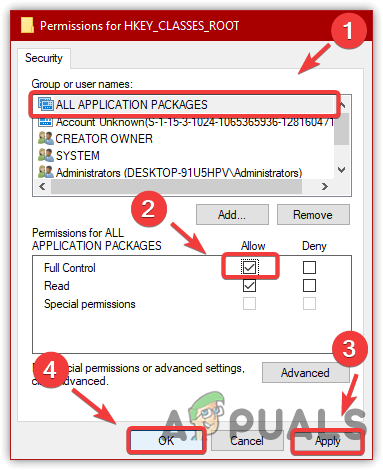
Taking Full Control To The Registry Folder - After that, check whether the start menu is working.
5. Restart Windows from Safe Mode.
According to some users, this issue can easily be fixed by restarting Windows in Safe Mode. Safe Mode is a process that disables all drivers and unnecessary services to determine what may cause issues. If restarting the computer does not fix it, restarting in Safe Mode might help.
- Press the Windows key and type “Msconfig.
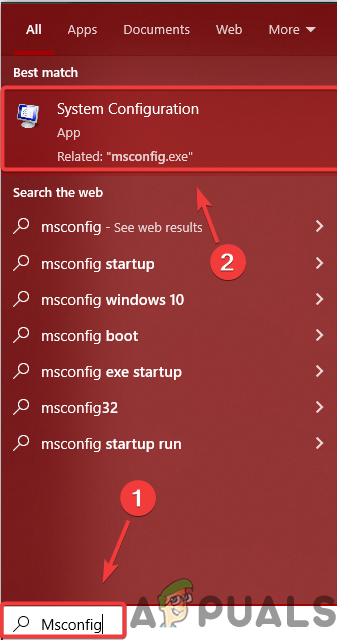
Launching System Configurations - Press “Enter” to open the system configuration.
- Go to the Boot options and select Safe Mode.
- Click “Apply,” then click “OK.
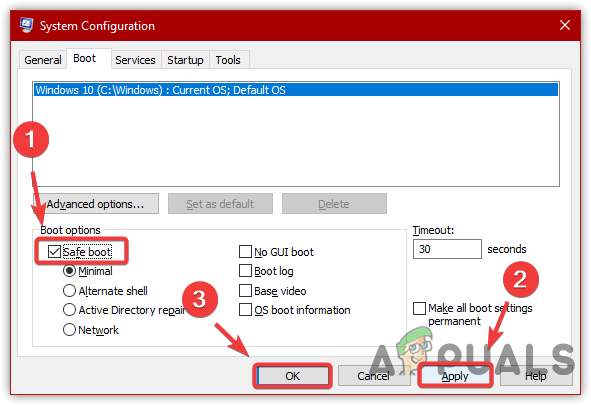
Setting Windows To Boot In Safe Mode - Restart your computer to boot into Safe Mode.
- Once you are in Safe Mode, click the Start Menu and type “msconfig.
- Open the system configuration, and go to the Boot options from the top bar again.
- Uncheck ‘Safe Mode,’ and click ‘Apply,’ then ‘OK.’
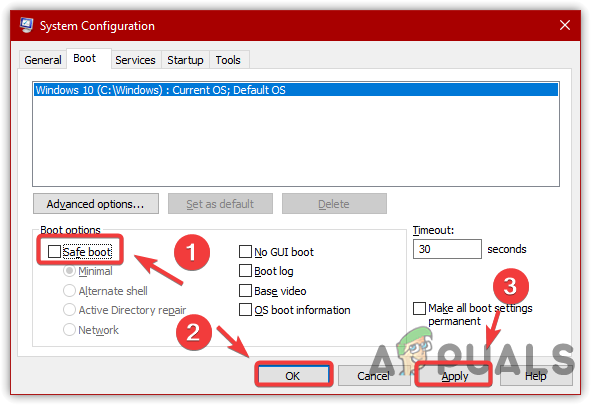
Setting Windows To Boot Normally - Restart your computer and check if the issue is resolved.
6. Run the System File Checker.
SFC, or System File Checker, is a command that repairs corrupted system files, such as Windows DLL, exe files, and others. The affected users have managed to fix this issue by executing the SFC command via the Command Prompt. Below, we have outlined the instructions to do this:
- Press the Windows key and type “Command Prompt“.
- Right-click the Command Prompt and select “Run as Administrator.
- Copy and paste the following command, and wait for the verification to be completed.
sfc /scannow
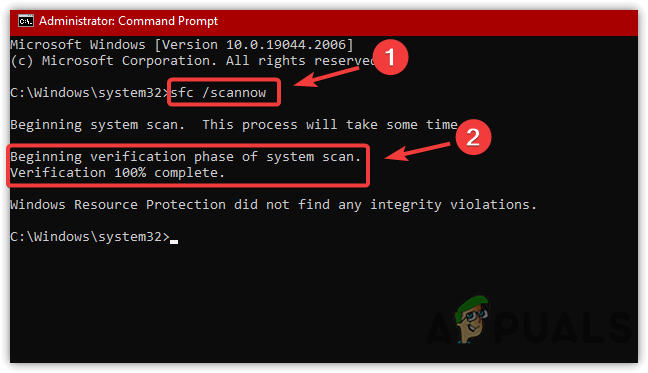
Running System File Checker - Once completed, check if the issue is resolved.
7. Create a new user account.
If the Start menu is still not working, try creating a new account and transferring all the data into the new one, if the issue is fixed. Otherwise, proceed to the next method. To create a new user account, follow these steps:
- Open the Settings by pressing Win + I on the keyboard.
- Navigate to Accounts, and then click Family & Other Users.
- Click ‘Add Someone Else to This PC’.
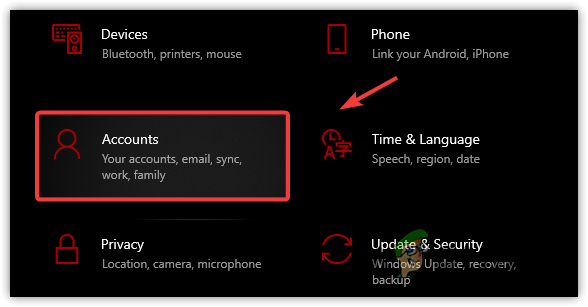
Go to Accounts - Wait for Microsoft Windows to open, then click “I Don’t Have This Person’s Sign-In Information.
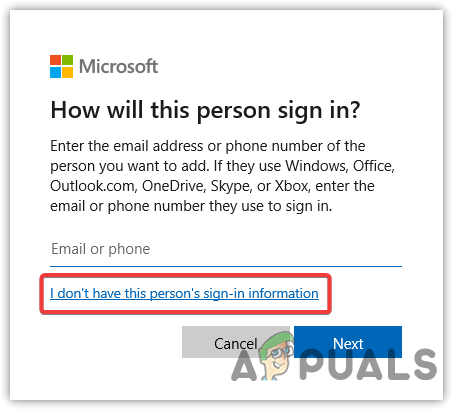
Clicking I don’t Have This Persons Sign In Information - Click ‘Add a User without a Microsoft Account.’
- Enter your username and password here, and then click ‘Next‘ to create an account.
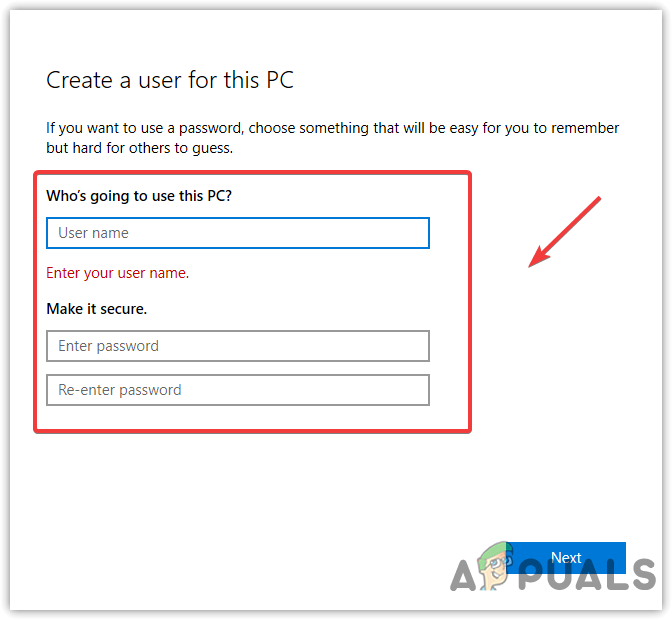
Typing Username And Password - Once done, press Ctrl + Alt + Del keys simultaneously to select the Sign-out option.
- Sign into the new user account and check if the Start menu is working. If it is, transfer all the data to the new user account and delete the old one, if desired.
8. Reset your computer.
In case none of the methods have worked, the last solution you can try is to reset your computer. Resetting the computer will remove drivers, programs, and settings you have applied. However, it will not remove data, such as photos, music, videos, and personal files. Below are the instructions to reset your computer without losing data.
- Right-click the Start Menu icon, and then click Settings.
- Go to Update & Security.
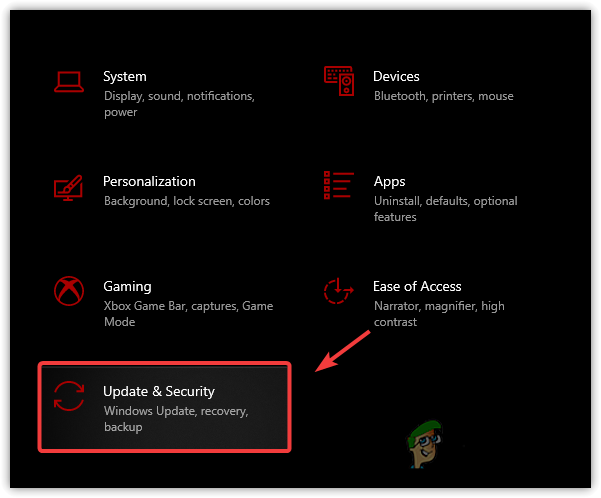
Go to Update And Security - Click the “Recovery” option in the left pane.
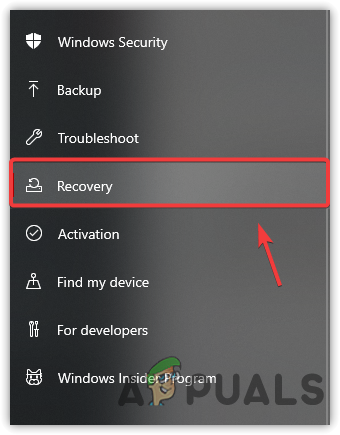
Clicking Recovery Option - Now, click ‘Get Started‘ under ‘Reset This PC.’
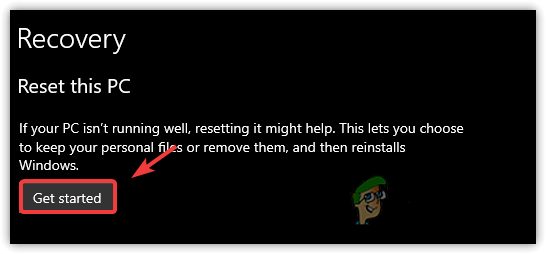
Clicking Get Started - Select the “Keep My Files” option.
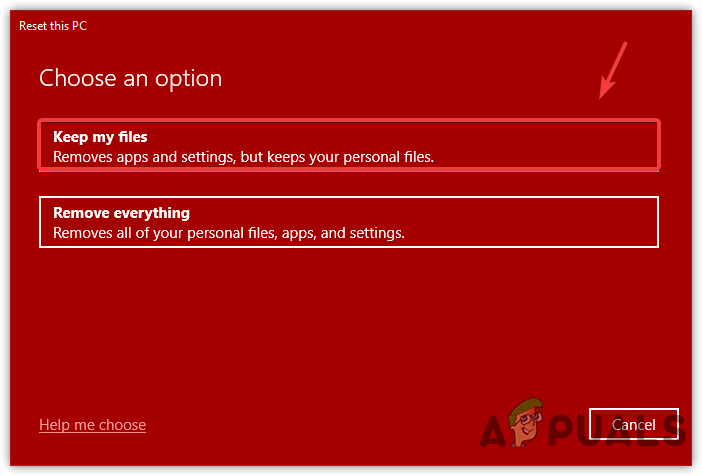
Selecting Keep My Files - Click ‘Local Reinstall.’
- Click “Next.
- In the end, click “Reset” to start the process.
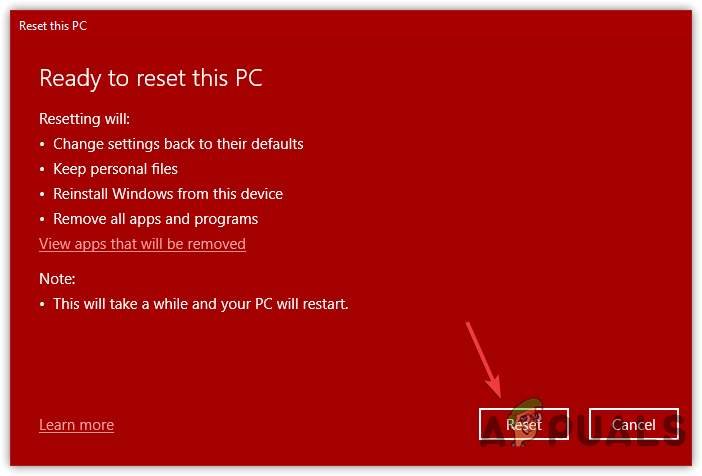
Resetting Windows - Once done, the issue should be resolved.
Could you please tell me that I want to run above command by Local Administrator or Domain Administrator?
Thx!