How to Fix the Shlwapi.dll Missing Error on Windows?
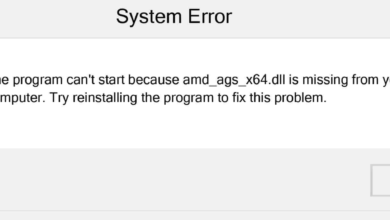
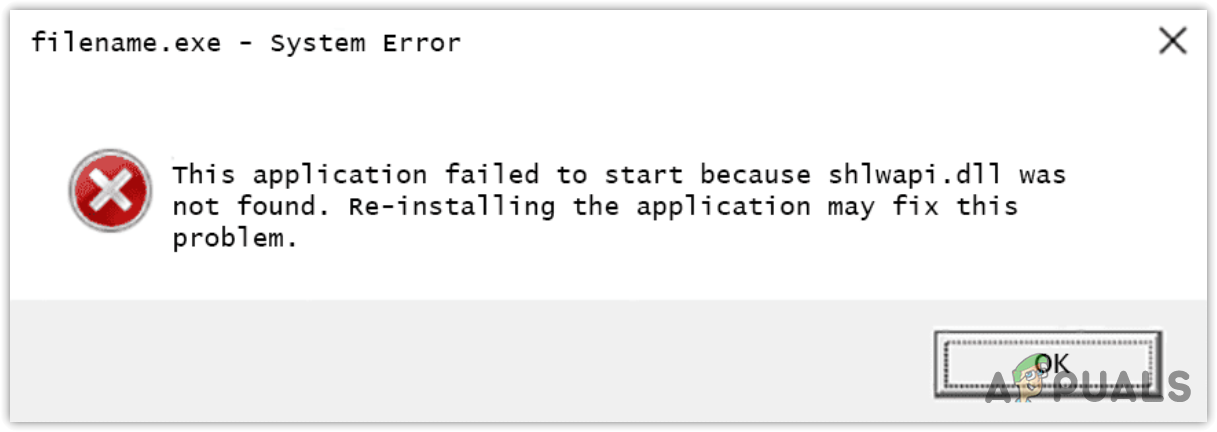
When the “Shlwapi.dll Missing or Not Found Error” occurs, users typically experience a failure in application startup or in Windows itself, as the operating system cannot locate this essential DLL file, which is crucial for various functions. The error message may indicate that the application failed to start because Shlwapi.dll was not found, which suggests the file is either missing or corrupted.
Shlwapi.dll is part of the Shell Light-weight utility, which is a key component of the Windows Shell API. This API manages various shell functions, such as handling URLs, registry entries, and file operations, all of which are essential for the normal operation of Windows and its applications.
Therefore, correcting these errors, particularly those related to DLL files, is important to ensure the stability of your Windows operating system.
1. Run SFC (System File Checker)
Given that Shlwapi.dll is a vital DLL file for the Windows operating system, we can restore it by running the System File Checker utility. This utility helps fix and restore files located in the System 32 folder.
- Click on the Start Menu and type in Command Prompt.
- Right-click on the Command Prompt and select Run as administrator.

- In the command prompt, type the following command:
sfc /scannow
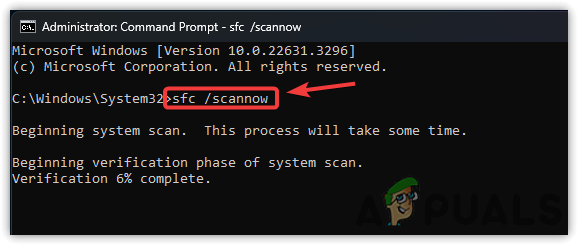
- Wait for the command to execute fully, then check if the error persists.
2. Download the DLL File Manually
Another effective way to fix this error is to manually download and replace the faulty DLL from Dll-files.com. This website hosts a vast collection of DLL files available for download.
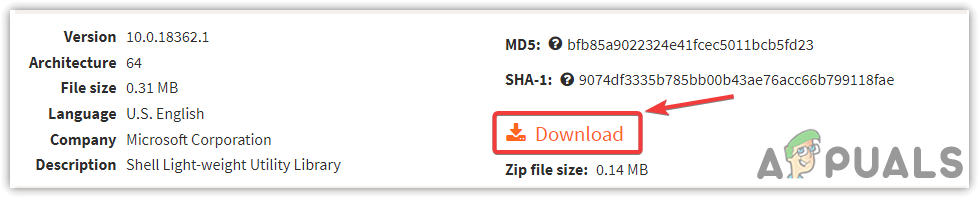
- Visit Dll-files.com and search for the Shlwapi.dll file.
- Select the correct DLL file from the search results.

- Download the appropriate DLL file version for your system type.
- After downloading, navigate to your downloads folder.
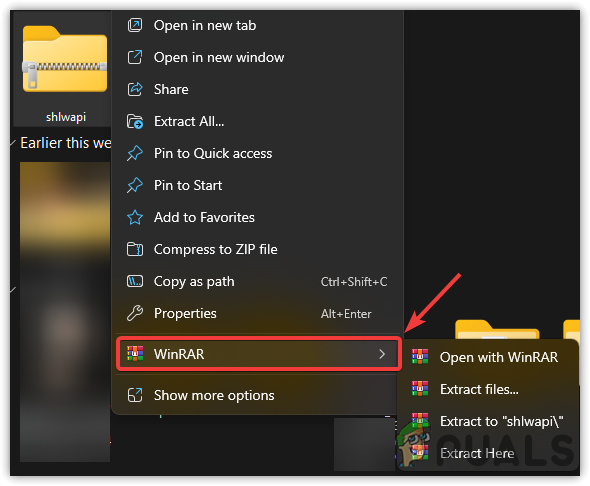
- Extract the zipped DLL folder using WinRar or 7zip by right-clicking on it.
- Proceed to the extracted folder.
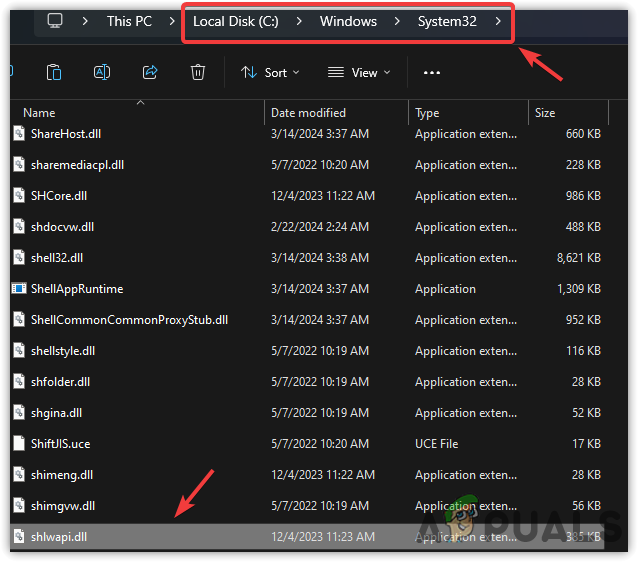
- Copy the Shlwapi.dll file and paste it into the System 32 folder, located at C:\Windows\System32, assuming Windows is installed on the C drive.
- Finally, check to see if replacing the file has resolved the error.
3. Scan Your Windows for Malware
In most cases, when a DLL file is corrupted, misplaced, or deleted, it is often due to malware on the PC. If the previous methods have not worked, it is possible that malware is the culprit. Conduct a scan of your Windows system using Windows Defender or another reliable antivirus program to address the issue.
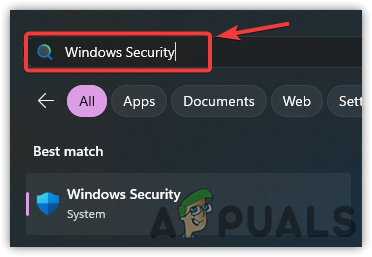
- Open the Start Menu and type in Windows Security.
- Press Enter to access the settings.
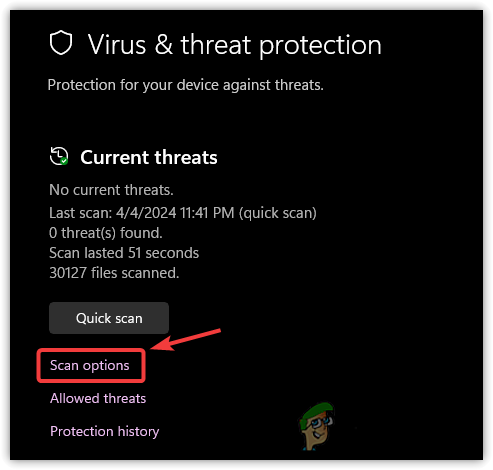
- Navigate to Virus & Threat Protection, then select Scan Options.
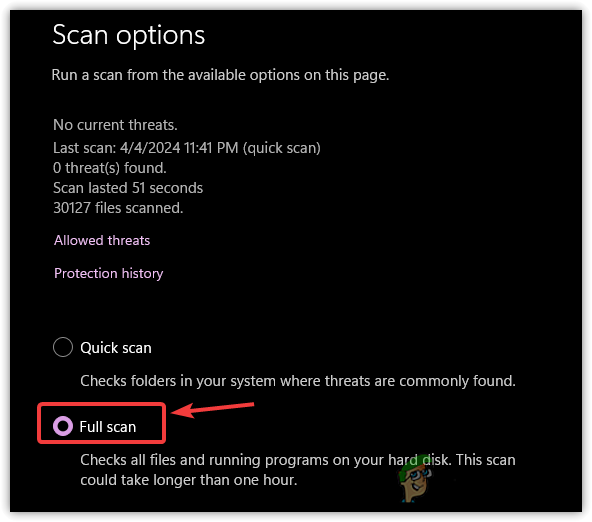
- Choose Full Scan to have a comprehensive check of the files and programs on your hard drive. As this scan can take over an hour to complete, consider using the last method if you prefer not to wait.
Additional methods for restoring DLL files include utilizing the System Restore utility and resetting Windows without loss of data. If you have previously created a restore point using the System Restore utility before encountering this issue, opt for the System Restore option. If not, try resetting Windows.