How to Make Minecraft Run Faster? Improve Performance!
Minecraft is an old game and despite its graphics, there are a lot of computers that find it hard to run the game. Fortunately, there are plenty of ways that you can use to make your Minecraft experience somewhat better and smoother. This means you will be running the game faster and experience lesser lag. As it turns out, there are two things that we are going to focus on in this article that will help you in running the game faster.
Firstly, we will be tweaking your in-game Minecraft settings that will help in boosting your FPS in Minecraft. This includes adjusting the graphics settings, reducing the render distance, and much more. In addition to that, we will be optimizing your PC so that Minecraft is able to make the most out of it. This includes disabling third-party programs on your system that may be taking up resources, allowing more RAM to Minecraft, and changing the priority of the game process. Once you have done all of that, you should experience a way better performance in-game than you did before. With that said, without further ado, let us get started and show you how to make your Minecraft game run faster on your PC.
Change Minecraft Video Settings
As it turns out, one of the ways you can improve your in-game performance and gameplay is by changing the video settings of your game. If you have a low-end computer and your video settings are not adjusted accordingly, it is obvious that your game will lag and you won’t have a smooth experience. In such a scenario, it is recommended to change your video settings so that you can get more frame rates which will help in improving your gameplay. To do this, follow the instructions down below:
- First of all, go ahead and open up Minecraft on your PC.
- Once you have opened it up, press the ESC button and then make your way to Options.
- There, go ahead and choose Video Settings. We will be changing quite a few things here so make sure you follow through completely.
- Now, once you are in Video Settings, first of all, change your Graphics to Fast. This will lower various graphics details in-game which will, in turn, give you a performance boost. You will notice quite a difference when you set it to Fast.
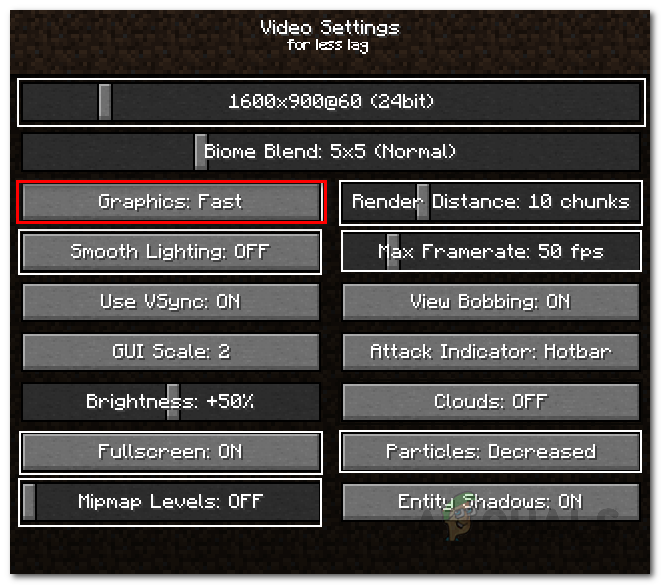
Changing Graphics Setting in Minecraft - Next up, lower the Render Distance in the Video Settings. We recommend trying 8 chunks or lower to see how your performance boosts. Reducing render distance will add more fog to your game, however, this can significantly improve your performance.
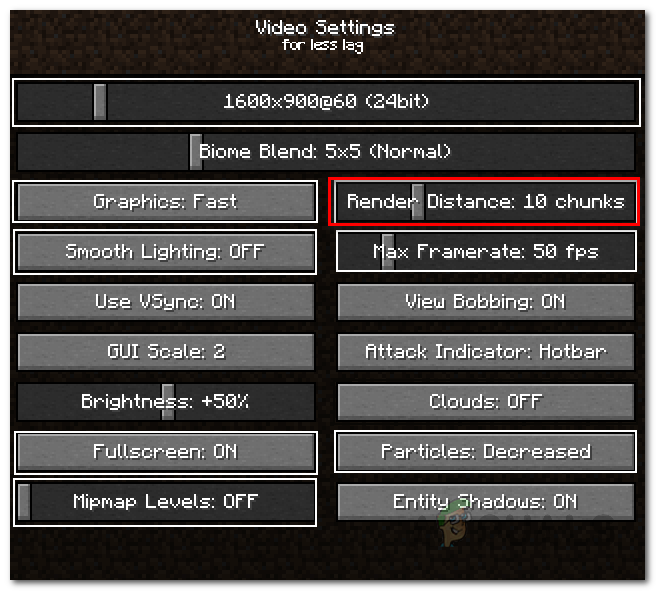
Changing Render Distance - Once you have done that, go ahead and switch Clouds to OFF or Fast. These options will help you in improving the performance of your game as compared to Fancy.
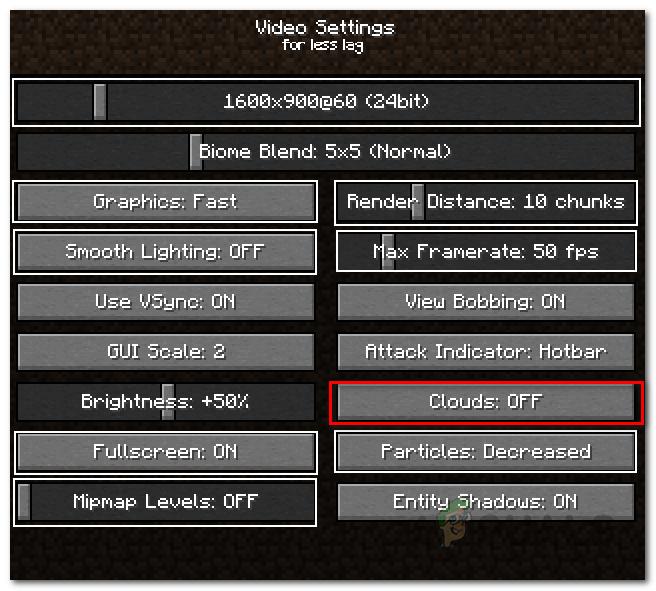
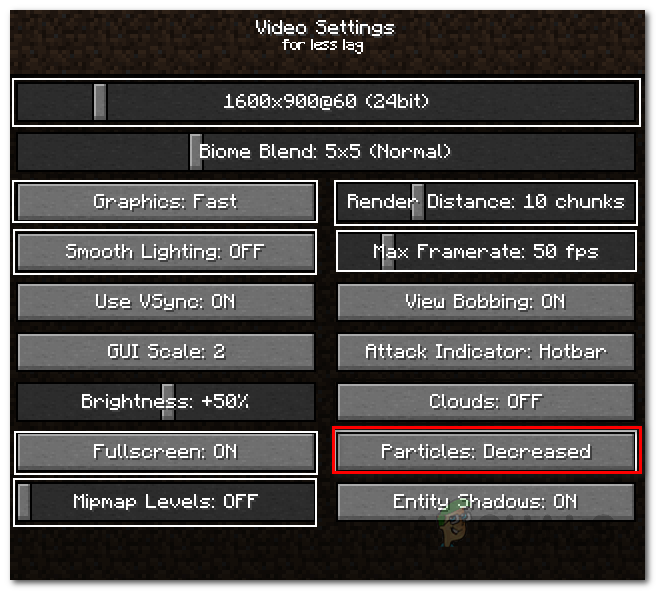
Changing Clouds Setting in Minecraft - After that, change the Particles to Minimal or Decreased. This setting reflects the particle effects in your game, for example, the smoke from a fire etc. Reducing this can also improve your performance and get you better frame rates.
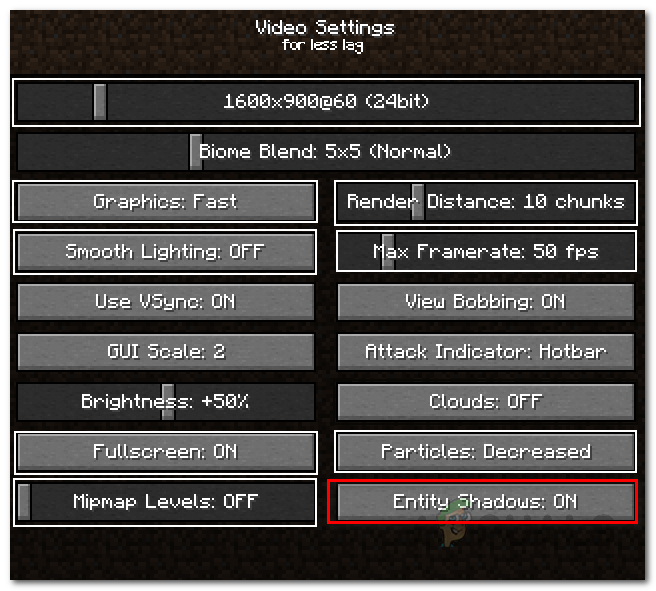
Changing Particles Setting - Then, make sure Entity Shadows is set to OFF. This represents the shadows in your game and can give you a performance boost.
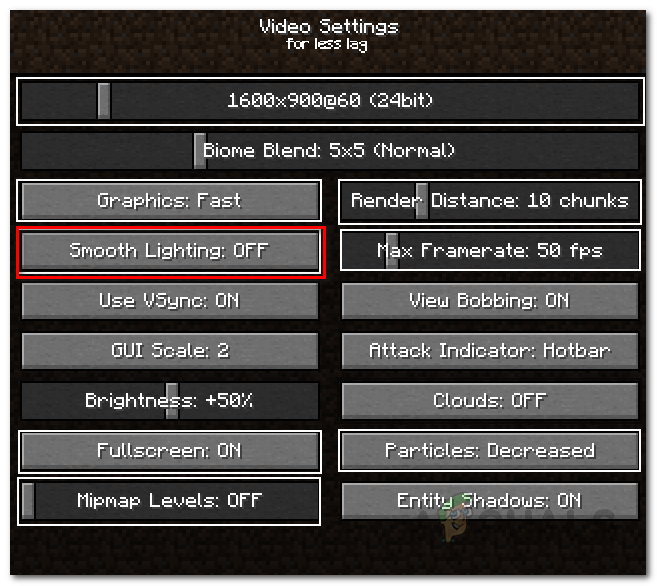
Changing Entity Shadows - Next up, we will be reducing the lighting effect. For this, switch the Smooth Lighting setting to Minimum or OFF.
Changing Lighting Effect - Once you have done all of that, it is also recommended to change your resolution.
- Finally, try playing your game to see if the performance increase is sufficient for you. In case it isn’t, move on to the next methods mentioned down below.
Optimize your Computer
In addition to the in-game settings of Minecraft, your computer settings can also affect the performance in your game. This includes the background apps that are running on your system and eating away the limited resources of your computer. There are multiple ways you can optimize Windows 10 for gaming. Here, we will be changing the priority of your game, stopping unnecessary programs, and more. To do all of that, follow the instructions given down below:
- First of all, we need to make sure that no third-party programs are running in the background that are not really needed. These programs can eat away at the resources that could be otherwise utilized by your game. To do this, open up the Task Manager by right-clicking your taskbar and then choosing Task Manager from the menu that appears.
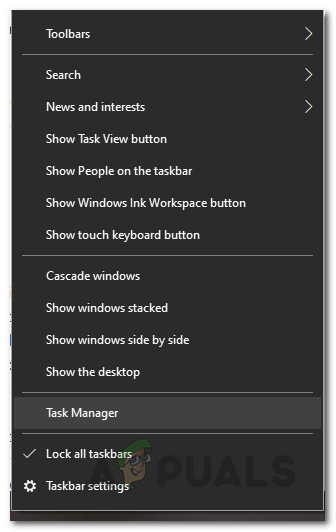
Opening Task Manager - Once you have opened up the Task Manager, look for any programs that are running but not needed. This could include your antivirus software or other programs like Discord, the web browser that you are using and more. To stop the application, simply select it under the Processes tab of the Task Manager and then click the End task button.
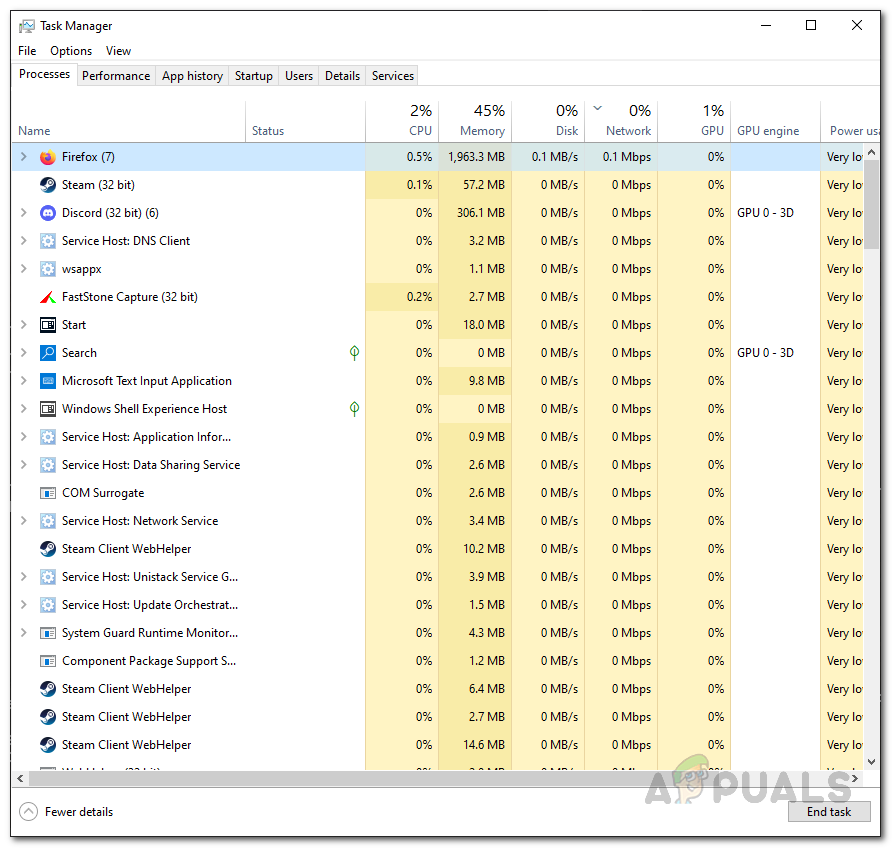
Task Manager Processes - After doing that, switch to the Details tab on your Task Manager. Before doing that, make sure that you are running Minecraft. Then, from the list of processes, locate Minecraft and right-click on it. From the drop-down menu, go to Set Priority and then choose High.
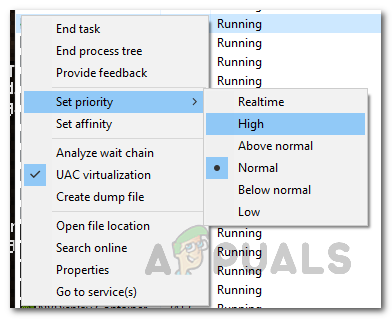
Changing Process Priority - In addition, open up the Control Panel by searching for it in the Start Menu.
- Then, make your way to System and Security.
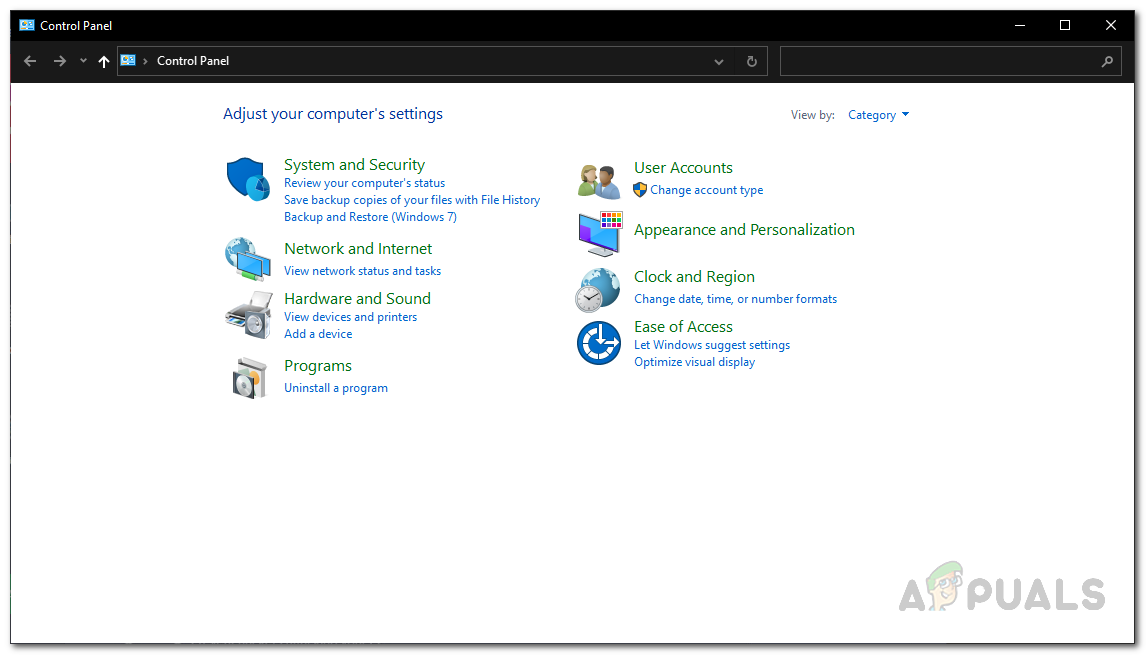
Control Panel - There, click on the Power Options option.
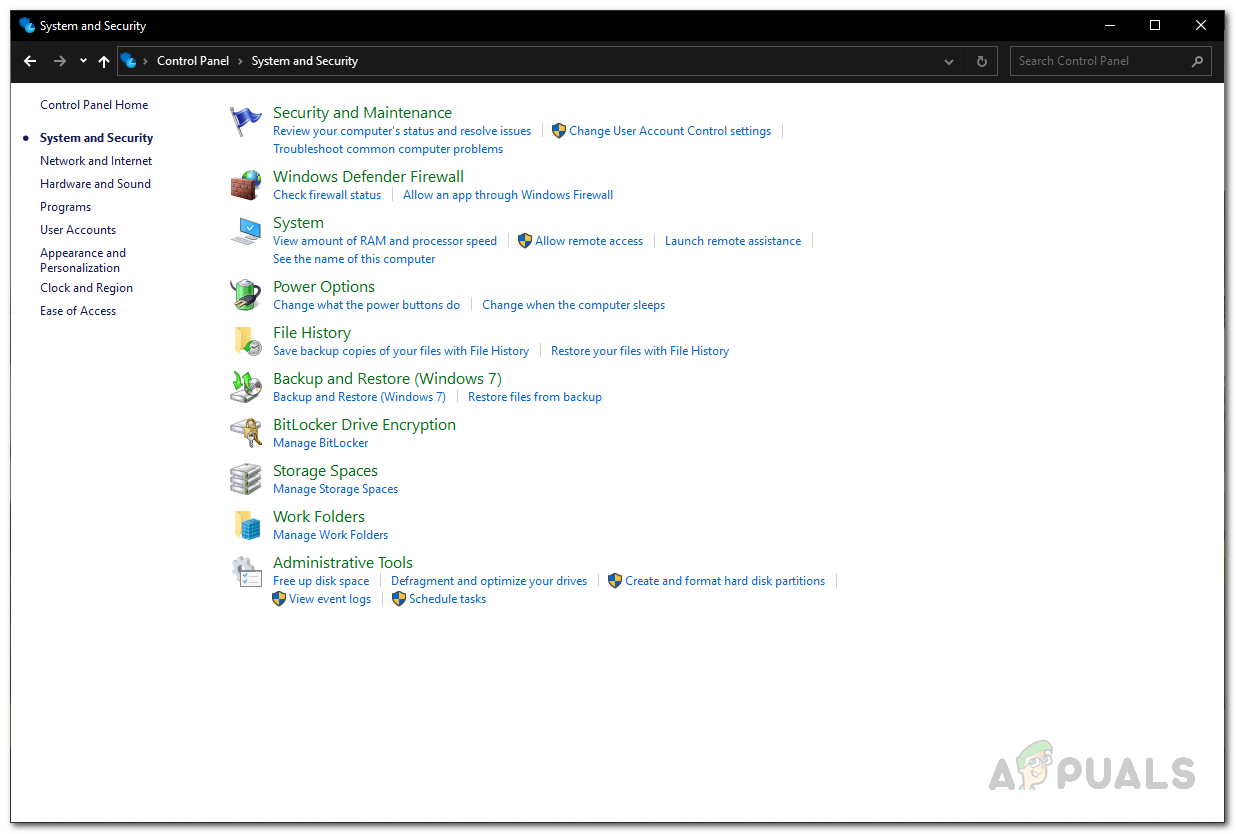
Opening Power Options - Finally, from the list of power options available, make sure High Performance is selected.
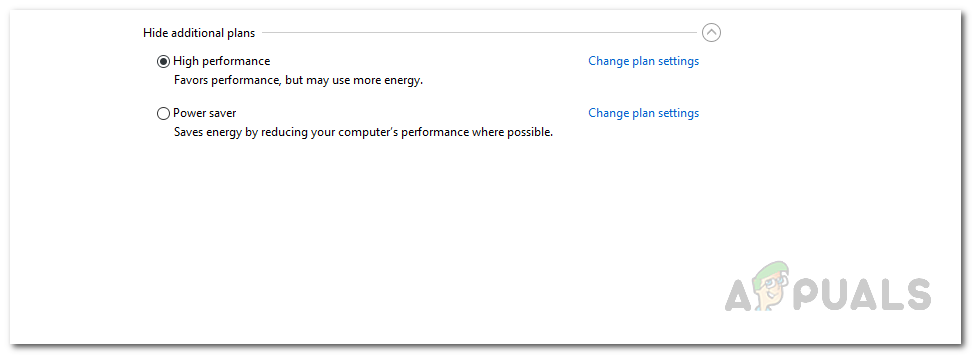
Choosing High-Performance Power Plan
In addition, you can also allocate more RAM to Minecraft. To do that, follow our guide on allocating more RAM to Minecraft. Allocating more RAM to your game can also help in improving your performance.
Install Sodium Mod
There are a lot of third-party mods for Minecraft that you can install on your system to customize your Minecraft experience. Fortunately, there exists a mod that focuses on improving the performance of the game on computers. The mod in question is known as Sodium. The mod allows Minecraft to run faster and also makes it look better. To install the mod, follow the instructions given down below:
- First of all, you will need to download the Sodium mod, Fabric Installer, and Fabric API. To do that, click on the respective names to go to their websites.
- Once there, for Sodium and Fabric API, click on the Download button next to the version name to download the .jar files.
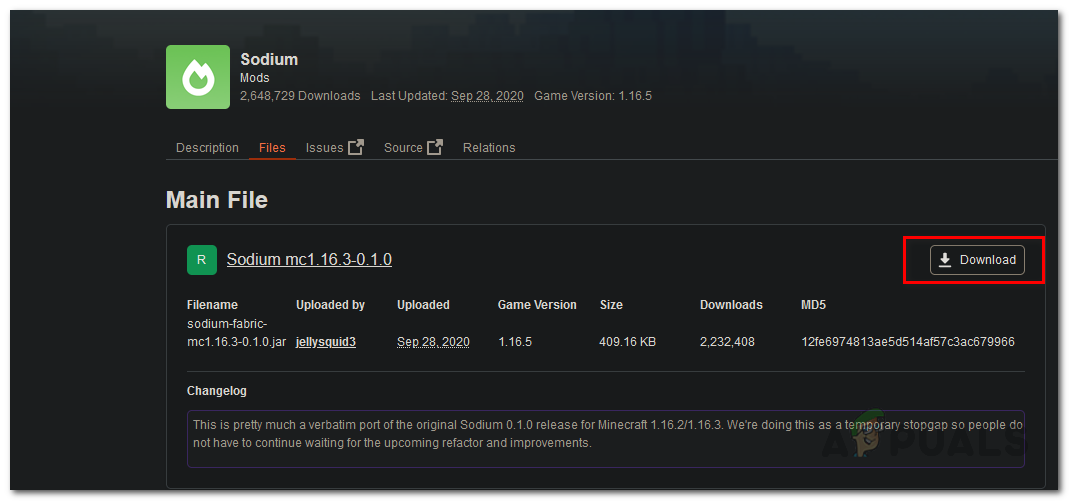
Downloading Sodium Mod - For Fabric Installer, click on the Download Installer (Windows/.EXE) button to download the installer.

Downloading Fabric Loader - Now, once downloaded, open up the Fabric Installer.
- For the Minecraft Version, make sure to select the version of your Minecraft and then click the Install button.
- Next up, we have to install Fabric API and Sodium. To do this, you will have to open up the .minecraft folder located in the AppData directory.
- Press Windows key + R to open up the Run dialog box. Type in %AppData% in the Run dialog box and hit Enter.
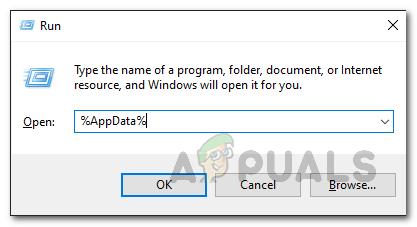
Opening AppData Directory - Here, open up the .minecraft folder.
- Once inside the .minecraft folder, look for the mods folder. In case you don’t see a mods folder, open up your Minecraft Launcher. Then, select Fabric Loader as the Profile and then click Play. Once the game starts, it will create the mods folder for you. At this point, you can close the game.
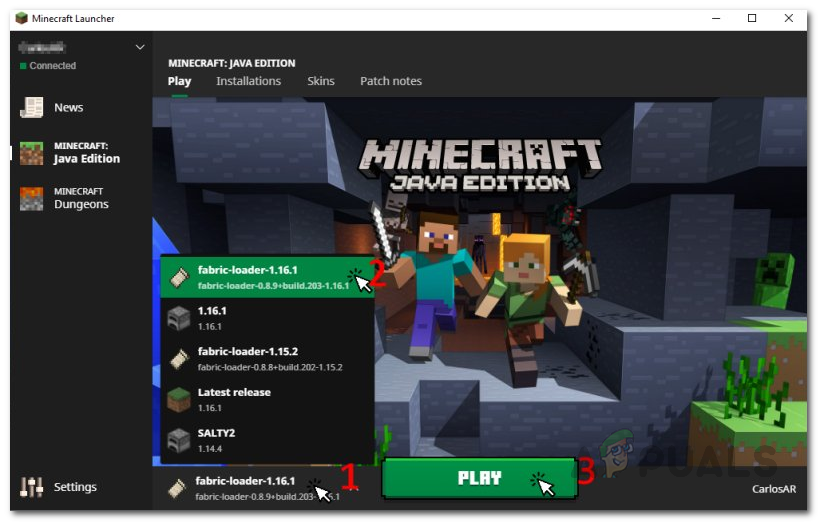
Choosing Fabric Loader - After that, open up the mods folder. Here, just copy-paste the downloaded Sodium and Fabric API files.
- Once done, open up the Minecraft Launcher and make sure Fabric Loader is selected as the Profile. Then, click Play.
Choosing Fabric Loader - You should see a significant performance boost.
Install latest Graphics Drivers
Finally, one of the reasons your game may not be performing as it should be could be the graphics drivers on your system. The drivers are responsible for your graphics card and having outdated or obsolete graphics drivers can cause several performance issues. Therefore, it is recommended to check your graphics drivers and make you have the latest version installed.
To download the latest drivers, you can head over to your manufacturer’s website and search for drivers for your respective graphics card. If there is a newer version available, go ahead and download it and then install them. Doing so can improve your performance in-game and help in running it faster.
As it turns out, if you are using a laptop to play Minecraft, there is a good chance that the laptop’s drivers are modified. This is often done by manufacturers which allow users to switch between the graphics card that is being used on their system. Thus, in such a case, it is a good idea to download the graphics drivers from your laptop’s manufacturer’s website instead of downloading them from the GPU’s maker. In addition, there are also cases where Minecraft uses CPU Graphics instead of the dedicated GPU that is present on your system’s board. This is because often CPUs come with an integrated GPU which is then used by Minecraft.


