How to Fix MacOS Error 67050
Some MacOS users are reporting that upon investigating the Console and noticing a lot of macOS error – 67050 entries, with new entries popping up every few minutes.
After investigating this particular issue, it turns out that this error is typically associated with an issue with an expiring or expired security certificate.
Because the macOS system is programmed to change the complete signature string to a new format prior to the certificate being renewed, the new signature might fail the code signature verification when the Update refuses to update the application.
Fortunately, there are several different methods that you can follow in order to fix this particular issue, as you’ll see below.
Every method featured below should be applied regardless of your macOS version. Follow every potential fix below in order until you find the one that is effective in your particular scenario.
Method 1: Updating your macOS version
More often than not, this particular issue is known to occur with outdated macOS versions (Mojave and newer). As confirmed by a lot of affected users, this issue was patched by a hotfix that Apple pushed on their entire ecosystem.
So if your console is filled with macOS error – 67050 occurrences, the first thing you should do is ensure that your Mac is updated to the latest version available. There are several user reports confirming that was enough to stop any new occurrences of the error from appearing.
Follow the instructions below to update your macOS to the latest version:
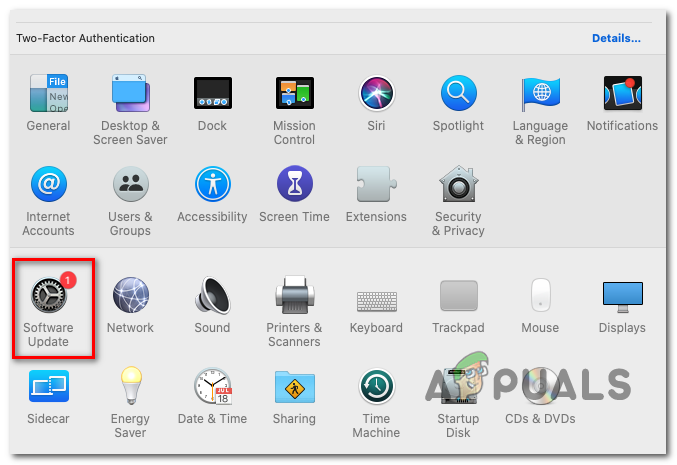
- On your macOS computer, start by clicking on the System Preferences icon from the action bar at the top.

Accessing the System Preferences menu - Once you’re inside the System Preferences screen, click on the Software Update icon.
Updating your macOS version to the latest - Wait until the utility checks for updates, then follow the on-screen prompts to install the latest available version that is available according to your computer configuration.
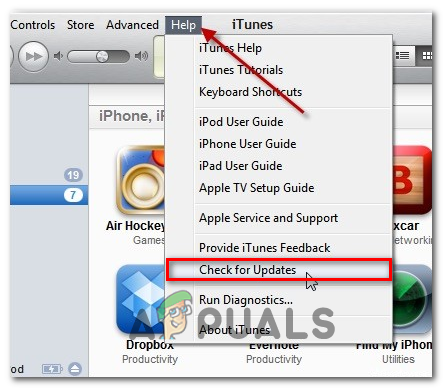
Checking for updates in iTunes - In case a new version is found, simply click on the Update Now button and wait until the new version is installed.
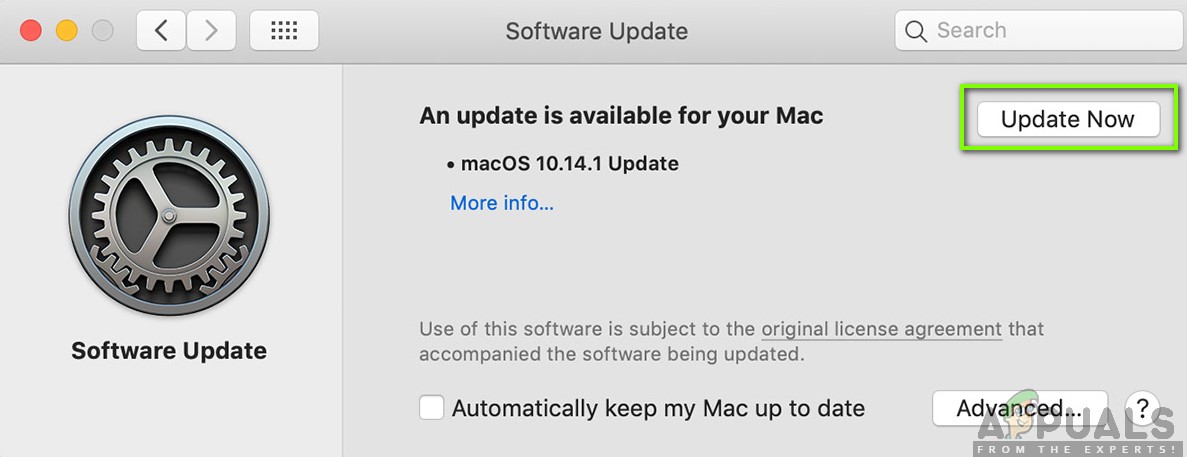
Updating macOS to the Latest Version - Once the update is completed successfully, your Mac will restart automatically.
Once the next startup is complete, check the Console menu and see if the new occurrences of the macOS error – 67050 have stopped occurring.
Method 2: Running a First Aid operation
As it turns out, this particular issue can also occur due to some type of underlying system corruption issue. Some users facing the same macOS error – 67050 error have confirmed that the issue was fixed after they have initiated a repair disk operation on the affected drive from the Disk Utility app.
If this scenario looks like it could be applicable, follow the instructions below to initiate a repair disk procedure directly from the Recovery Menu of your macOS installation:
- Start by restart your macOS conventionally. Once you get at the initial screen, press and hold Command + R while it boots up until you see the Apple logo.
- When you see the logo, let both keys go at the same time.
- After you’re finally inside the macOS Utilities menu, click on Disk Utility from the list of available options.
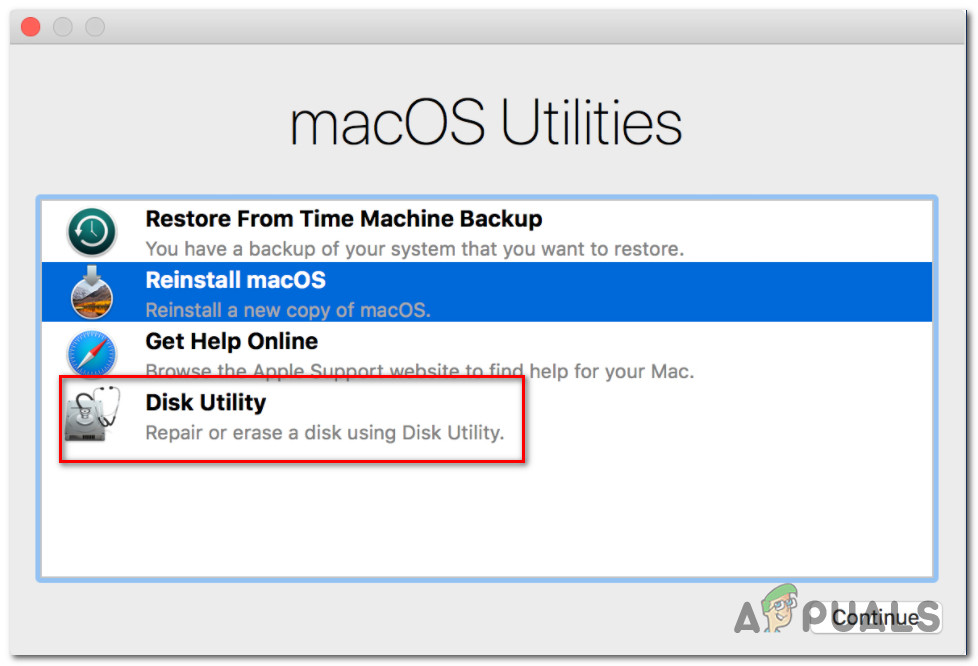
Opening the Disk Utility menu Note: If you are prompted for your account password, insert it and hit Enter to grant admin access.
- Inside the interface of Disk Utility, click on the affected drive that is triggering the error (from the left-hand section), then click on the First Aid icon (top of the screen).
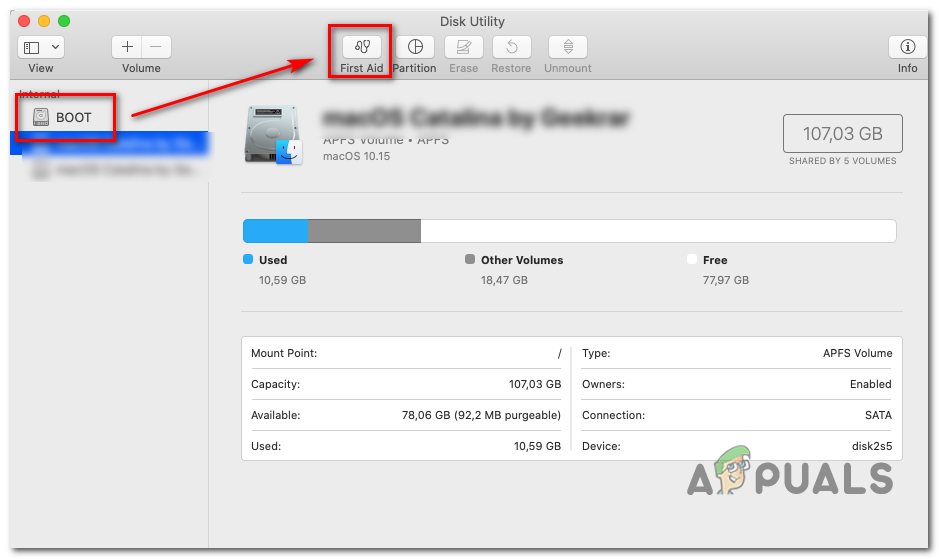
Running the first aid utility - Once you arrive at the confirmation prompt, click on Run to start the operation, then wait for the utility to finish checking the entire volume for errors. If an issue is discovered, the utility will attempt to repair the errors on the volume automatically.
- After the First Aid scan is complete, restart your macOS and see if the problem is now fixed.
Method 3: Using a Machine Backup
If none of the methods above have worked in your case (even after attempting the first-aid procedure), chances are you’re dealing with some kind of system file corruption that is preventing your system from changing the signature string to a new format when the certificate needs to be renewed.
In this case, one elegant way of resolving the corruption issue is to mount a previously created machine state and use it to restore your macOS state back to a previous system state when this issue was not occurring.
Note: This operation is only applicable if the issue is not rooted in a hardware issue. Furthermore, you can only hope to mount an older machine state if you have previously created one. It can either be stored on a physical drive or on the cloud)
If the requirements above are met, follow the instructions below to restore your macOS files back to a healthy state in which the same issue was not occurring:
- First things first, start by making sure that the backup disk or flash disk is connected to your Mac.
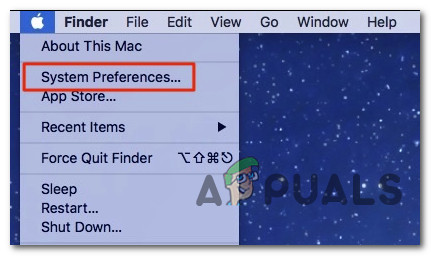
Note: If the backup is stored via Time Capsule, you need to connect your macOS computer to the same home network that you’re using for Time Capsule. - Next, on your Mac, click on the Apple menu from the ribbon menu at the top, then click on System Preferences from the context menu that just appeared.
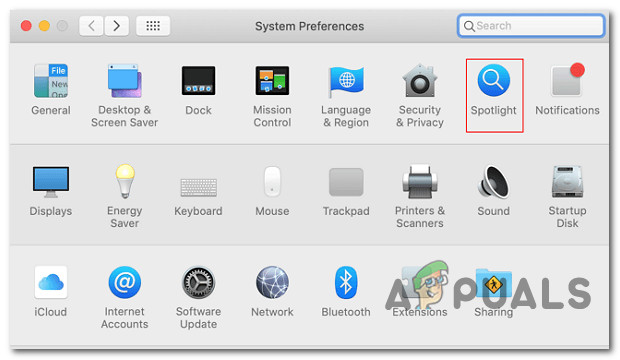
Accessing the System Preferences tab - Once you’re inside the System Preferences menu, go ahead and click on the Spotlight option from the list of available options.
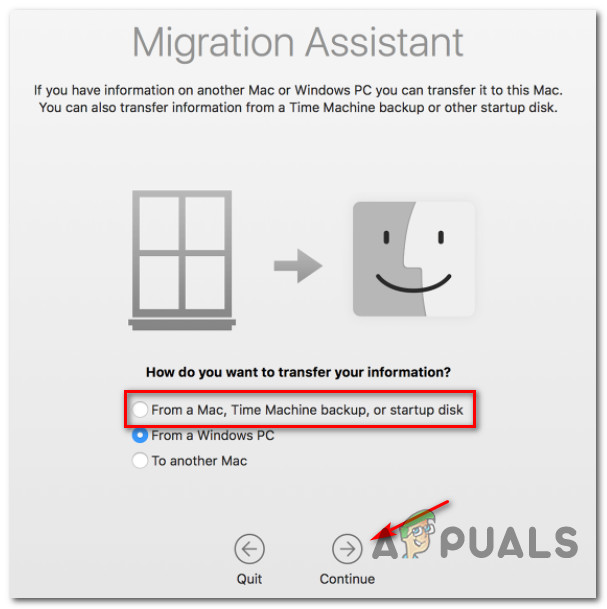
Accessing the Spotlight utility - Next, click on Migration Assistant from the menu that just came up, then select the From a Mac, Time Machine backup, or startup disk toggle from the list of options before clicking Continue.
Accessing the migration assistant - Next, follow the remaining prompts to start the operation of restoring your healthy Mac state.
Once the operation is complete, repeat the action that was previously causing the issue and see if the problem is now fixed.


