How to: Restore Mac to Previous Date
In order to use your computer efficiently, you need to get used to the fact that you always need to keep your data backed up if you don’t want to end up in a situation where a simple mistake on your side can cost you your computer and your files.
Additionally, malicious software can destroy your files easily if you happen to download it from sketchy websites or if you get a virus via a DVD or a USB drive. It’s important to keep track of the fact that you are always able to restore your device to an earlier date, no matter which operating system you are using. Let’s check out how to restore your Mac OS X computer to an earlier date.
Restoring Mac OS X To an Earlier Date
Casual Mac OS X users may not be aware of the fact that they are able to restore their Mac OS X running devices to an earlier date simply by running a built-in tool. This feature is available on Windows under the name of System Restore but Mac users have their own alternative called Time Machine.
Handling this process is fairly easy but we will guide you through the solution step by step just to make sure you don’t make any mistakes or cause any errors on your computer.
Solution: Time Machine
Time Machine is Apple’s software to back up your Mac, and it comes with every Mac. All you need is a separate storage device, or a MacOS Server, to back up to.
Time Machine keeps a backup of everything you create on your Mac. It makes hourly backups for the past day, daily backups for everything you have been doing in the last month, and weekly backups as well. There are also snapshots which can be used as soon as you start your computer and they are also created quite often. These snapshots will exist if you have provided a storage device Time Machine will use to back up to, but the snapshots are located on your Mac.
Note: You will need to use quite a large external hard drive for your Mac if you want these backups to be as detailed and as often as the ones we have mentioned above. A 1TB USB drive or SSD drive is recommended but you will be able to manage with a smaller one as well.
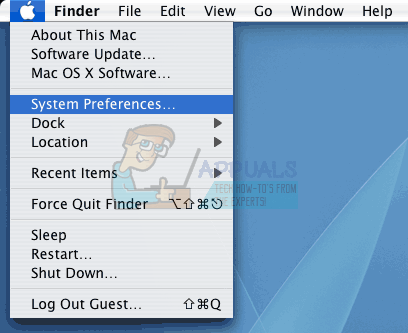
- Click on the System Preferences option from the Apple menu located at the top left part of your home screen.
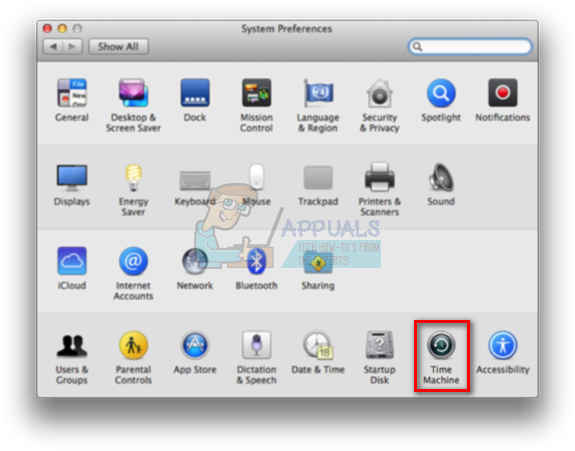
- Tap on the Time Machine icon in order to begin with the process. Make sure that you have already connected the required storage device you want to use to save the backups to. If the storage device is not large enough, you won’t be able to store all data.
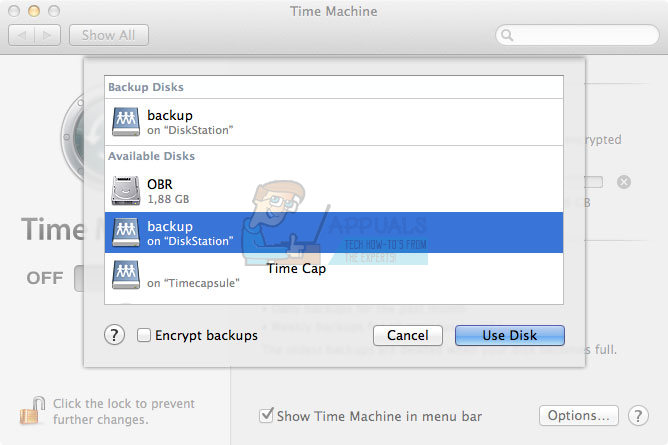
- Click on the Select Backup Disk and wait for the tool to prompt you with a list of available disks
- Choose the disk you would like to use in order to backup up everything on your Mac. Note that the backup takes a long time the first time you set it up but after that, it only takes note of what has changed from the previous backup so the future ones won’t take a long time at all.
- Check the box next to the Back Up Automatically option if you want to back up your data automatically to the disk you chose.
The next option you are able to use after you have setup a Time Machine copy is the option which allows you to restore old versions of files backed up on your Time Machine disk. This is quite useful if you have overwritten an important file or if it has been infected by a malicious application. Follow the steps below!
- Click on the System Preferences option from the Apple menu located at the top left part of your home screen.
- Tap on the Time Machine icon in order to open the settings section related to it.
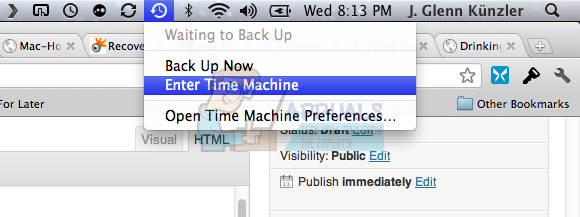
- Check the Show Time Machine in menu bar option in order to make the option appear in the context menu.
- The Time Machine icon should now appear in the menu bar so make sure you click on its icon and select the Enter Time Machine option.
- Locate the file you want to restore to its original location which should be displayed along with the date from where the file was backed up. Choose the Restore option which should put the file back to the location from which it was backed up from.
- Time Machine will then copy that file back to its original location on your hard drive.
Additionally, Time Machine can be tweaked in order not to backup everything but rather to let you choose just which files to exclude from Time Machine in order to save some precious space from the storage device of your choice.
- Click on the System Preferences option from the Apple menu located at the top left part of your home screen.
- Tap on the Time Machine icon in order to open the settings section related to it.
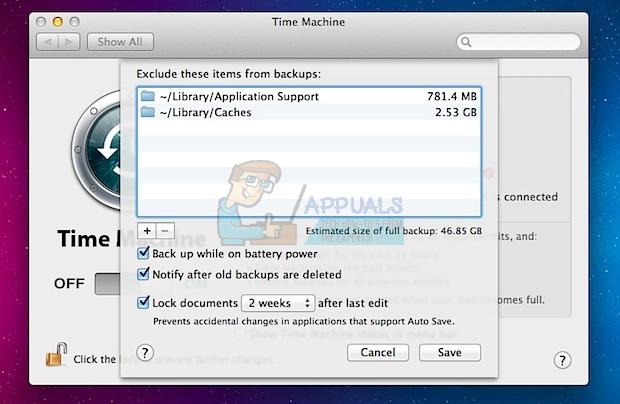
- After the Time Machine windows opens, click on the Options… button in order to access settings related to Time Machine.
- Click on the + button and navigate through your storage in order to locate files and folders you do not wish to create a backup off. Click on the Exclude button after you have finished. Finish by clicking on the Save button.
Finally, one of the most useful applications of this great tool is its ability to restore your entire hard drive from the backup if you find yourself in a situation where something on your PC went corrupt. If certain system files are broken or if a malicious application has done some damage to your hard drive, you can use this option to restore your hard drive.
- Turn your Mac OS X running device on and hold the Command + R keys in order to open the macOS Recovery Partition which deals with these boot problems. This screen is called macOS Utilities and it should open if you use the key combination on any device.
- Select the Restore from Time Machine Backup options and click Continue.
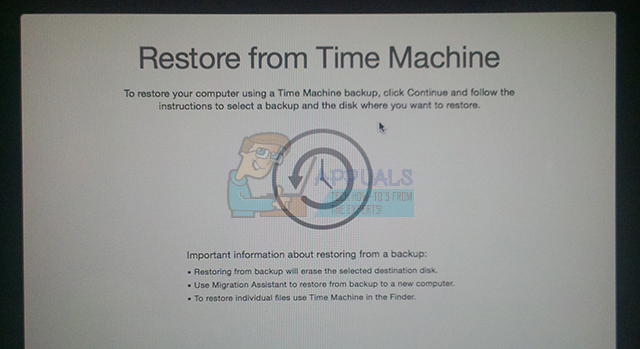
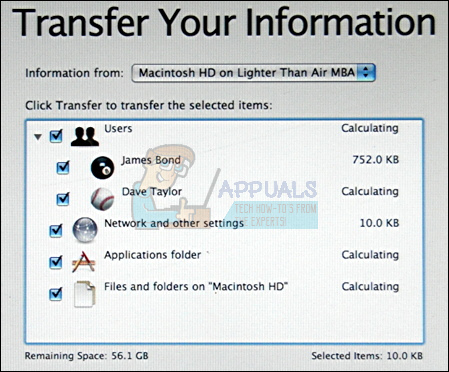
- Make sure you check out the information on the Restore Your System page. Click the Continue button after you have finished.
- Choose the backup you want to use in order to restore your system and click continue. Make sure you choose the last working configuration by checking the date of the backup.

- Be patient while the process finishes as it definitely may take a while. After the process is over, your Mac will restart and you should be done dealing with problems.