How to Fix “LowLevelFatalError” in Remnant II?
 Reviewed by Muhammad Zubyan
- The Low Level Fatal Error in Remnant II occurs when the game crashes on your device. This can occur when your graphics card fails to respond to the GPU scheduler, resulting in the shaders being unable to decompress. There can be other elements to the issue as well that we have mentioned down below. Follow the below solutions to resolve the error message.
- Turn off in-game overlays that are enforced by third-party apps on your game to prevent interference with the game files.
- Delete the corrupted cache on your system which can result in Remnant II crashing on startup.
- Update the display drivers installed on your machine to resolve any compatibility issues with the graphics drivers.
- Use the compatibility mode on Windows to run the game to overcome any game engine bugs with Remnant II.
- Update the firmware of your motherboard to ensure your hardware is able to run the new-gen game without any issues.
- Increase the timeout limit of your graphics card via the Windows Registry to overcome any issues that are caused when the driver is not responding to the GPU scheduler.
- Clear the shaders cache generated on your drive to get rid of any corruption in the shaders that can cause crashes.
- Execute a clean boot on your PC to run the game in a standard environment of Windows, preventing the involvement of any third-party apps.
The LowLevelFatalError in Remnant II pops up when the game client crashes on your PC. This can happen when the Unreal Engine encounters an issue with the shaders compilation on your device, or when the graphics card does not respond to the GPU scheduler due to being hung, along with other things.

We will use this article to go through the diverse list of causes of the low level fatal error in Remnant II and list down numerous solutions that you can apply to get rid of the error message.
What causes the LowLevelFatalError Error Message?
The causes of the error message can vary, from outdated firmware of your motherboard to problematic graphics drivers on your system, the list goes on. Let us go through the possible causes in more detail below.
- Damaged Game Cache: The game cache on your local drive can impact the functionality of the game causing it to crash when it tries to startup.
- In-game Overlays: The in-game overlays employed by various apps in the background interfere with the game files which can lead to instability and result in the error message.
- Problematic Graphics Drivers: The graphics drivers running on your system can be another potential cause of the error message, especially when they are running into inconsistencies while rendering the game shaders due to their obsolete state.
- Outdated Firmware Version: The firmware version on your motherboard is another reason for the LowLevelFatalError since it controls the behavior of your hardware components.
- Corrupted Shader Cache: The shader cache generated by the game to help improve the performance can catch corruption which results in the game crashing at different instances.
- Third-Party Intervention: The apps running on your system can also cause Remnant II to crash when they interfere with the game process or files. You will need to prevent them from involvement to mitigate the problem.
Fixing LowLevelFatalError in Remnant 2
With the causes of the low level fatal error out of the way, we can finally jump into the list of solutions that will help you get rid of the error message.
- Disable In-game Overlays: The LowLevelFatalError error message can often be caused by in-game overlays from other applications on your computer. Discord and NVIDIA GeForce Experience commonly use in-game overlays, which can lead to the error message above. To mitigate this issue, you will have to turn off the in-game overlays of other apps.
- Use Compatibility Mode: Enabling compatibility mode for the game on your machine presents another potential solution for addressing the error message. This approach is particularly beneficial when the game is encountering an issue with the game engine which needs to be looked at by the developer team. In the meantime, forcing compatibility mode should help get rid of the problem.
- Update Graphics Drivers: The error message can also be attributed to outdated graphics drivers on your computer. This particularly occurs when the display drivers on your device do not fully support the new game which results in improper compilation of the game shaders. In such a situation, resolving the issue will require updating the graphics card drivers on your system.
- Clear Shader Cache: Corruption in the shader cache of the game on your local drive can result in the error message as well. The shader cache is essentially generated to improve the performance of the game. The shaders are loaded from the local drive into the game per requirement. However, any corruption will lead to problems in decompressing the shaders which can cause the issue.
- Delete Remnant II Cache: On some occasions, a corrupted game cache on your PC can lead to the game crashing on startup and presenting the error message in question. This is because the user cache is loaded at startup which can cause issues if it is damaged. Thus, by deleting the user cache, you prompt the game to create a new one, ultimately resolving the issue.
- Increase Graphics Drivers Timeout Limit: If the graphics card drivers are not responding to the GPU scheduler in a timely manner because of a hanging state, Remnant II is likely to crash with the error message. In such an instance, you will need to use the Windows Registry to increase the timeout limit of the drivers.
- Update BIOS: The firmware version on your motherboard can greatly impact the performance of your hardware as it is responsible for managing the components properly. An outdated firmware version can sometimes run into issues with new game engines which is why you will need to update your BIOS.
- Perform Clean Boot: Another possible cause of the error message can be the influence of third-party apps. This situation arises when background apps attempt to impose their functionality within the game, or when a third-party security program restricts the access of the game process to system resources. As such, you will need to do a clean boot to check if the game operates normally. If the issue disappears, you will need to identify the responsible app by enabling third-party services one by one.
1. Disable In-game Overlays
1.1. Discord
- Open the Discord app on your device.
- Go to the Settings screen by clicking the gear icon.
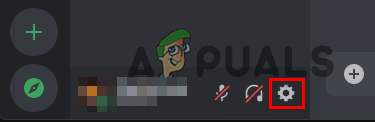
Opening Discord Settings - Then, switch to the Game Overlay tab.
- Disable Discord overlay via the Enable in-game overlay slider.
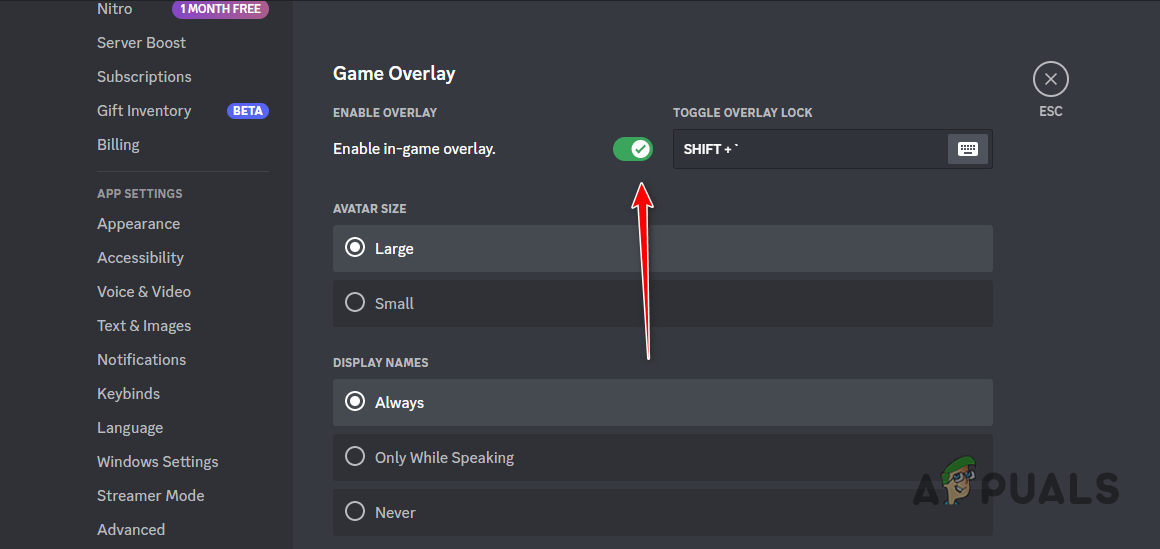
Disabling Discord Overlay
1.2. GeForce Experience
- Open GeForce Experience.
- Click on the gear icon to go to the Settings screen.
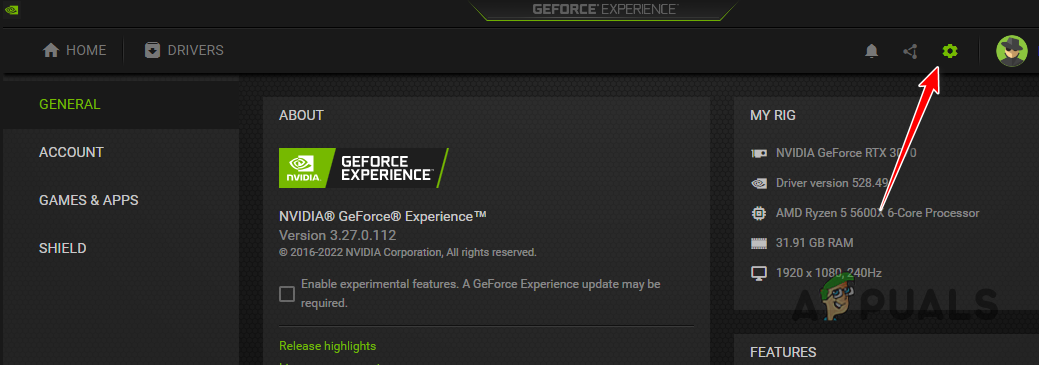
Opening GeForce Experience Settings - Then, use the In-game overlay slider to disable the overlay.
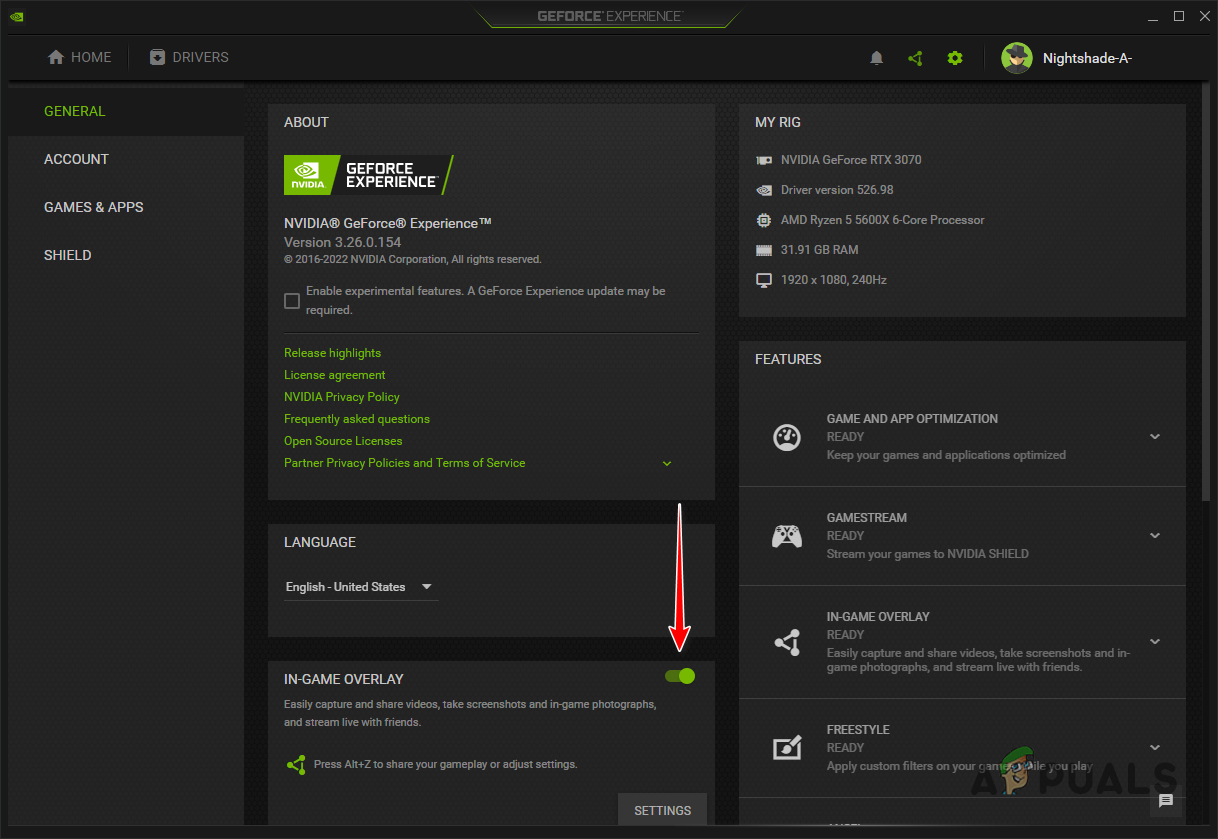
Disabling GeForce Experience In-game Overlay
2. Use Compatibility Mode
- Start by opening the Steam client.
- Then, right-click on Remnant 2 in the games library.
- Use the Manage > Browse local files option to open the installation directory.
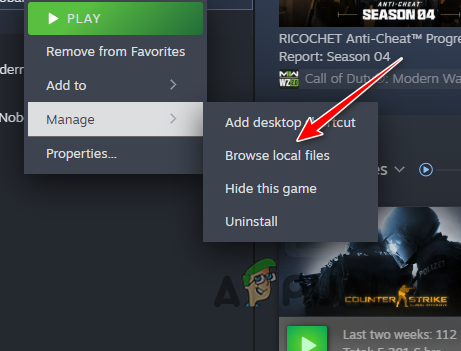
Opening Remnant 2 Installation Folder - After that, right-click the Remnant2.exe file and choose Properties.
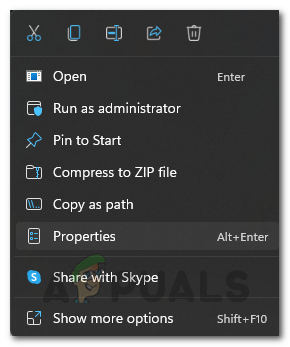
Opening Remnant 2 Properties - Then, open the Compatibility tab.
- Finally, use Run this program in compatibility mode for option.
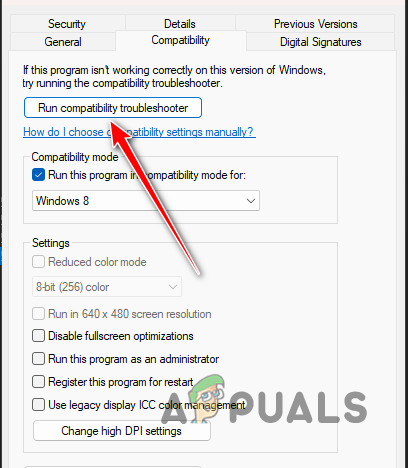
Running Remnant 2 in Compatibility Mode - Keep Windows 8 as the selected option.
- Click Apply and hit OK.
3. Update Graphics Drivers
- Use the official link for Display Driver Uninstaller (DDU) here to download it.
- After that, unzip the downloaded file to any location.
- Then, go to the unzipped folder and open the Display Driver Uninstaller.exe file.
- Once DDU opens, click Continue on the Options screen.
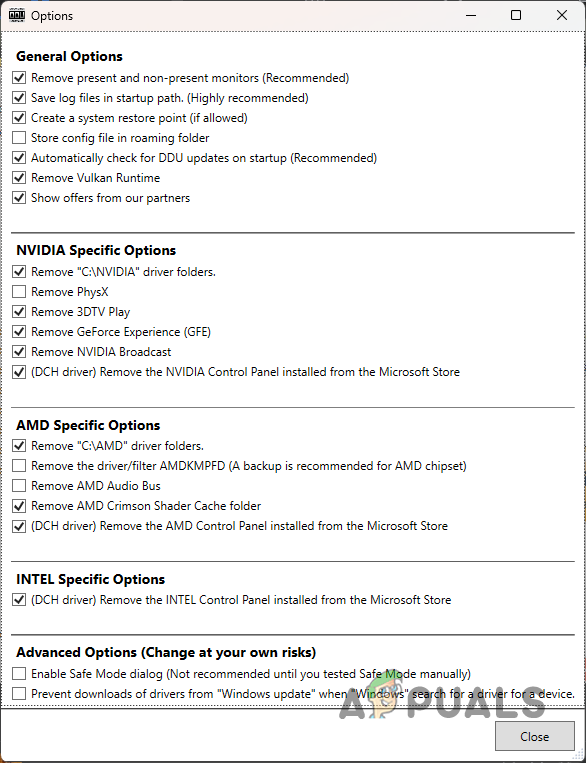
General Options Screen - After that, use the Select device type menu to select GPU.
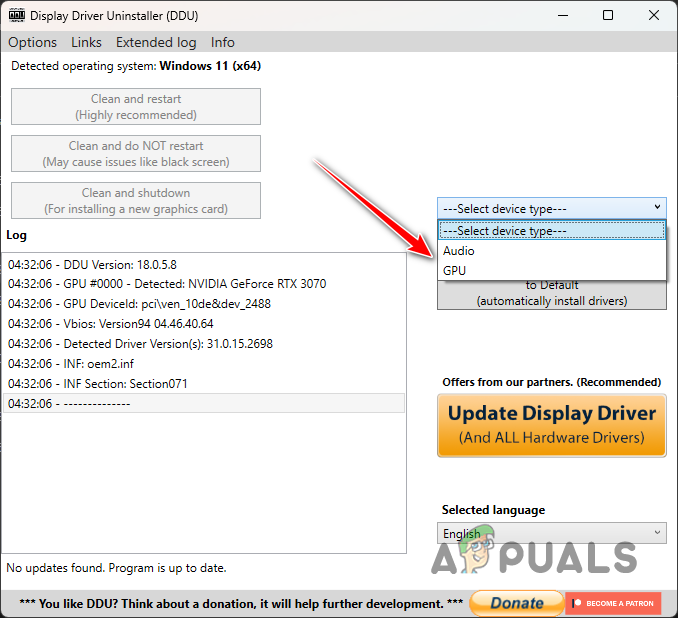
Selecting Device Type - Then, select the manufacturer of your GPU via the Select device menu.
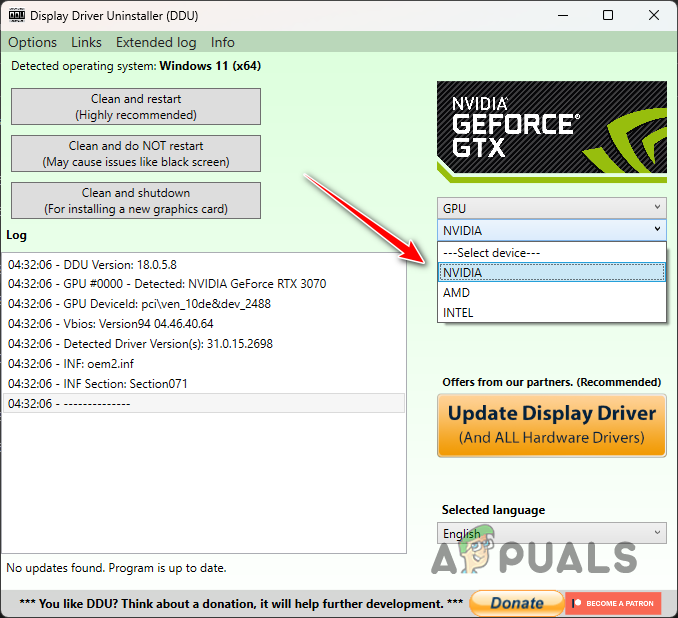
Selecting GPU Brand - After that, click the Clean and restart option.
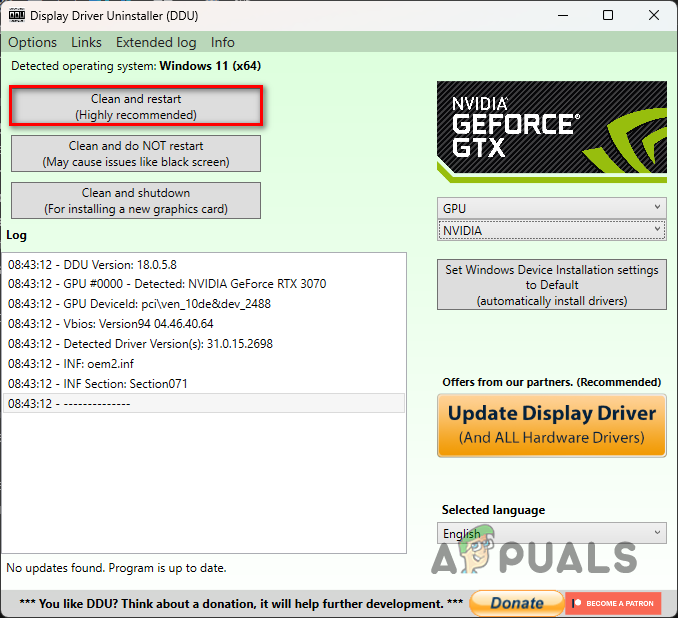
Uninstalling GPU Drivers - After your PC boots, download your display drivers from the manufacturer’s website.
- Install the new display drivers and run Remnant II.
4. Clear Shader Cache
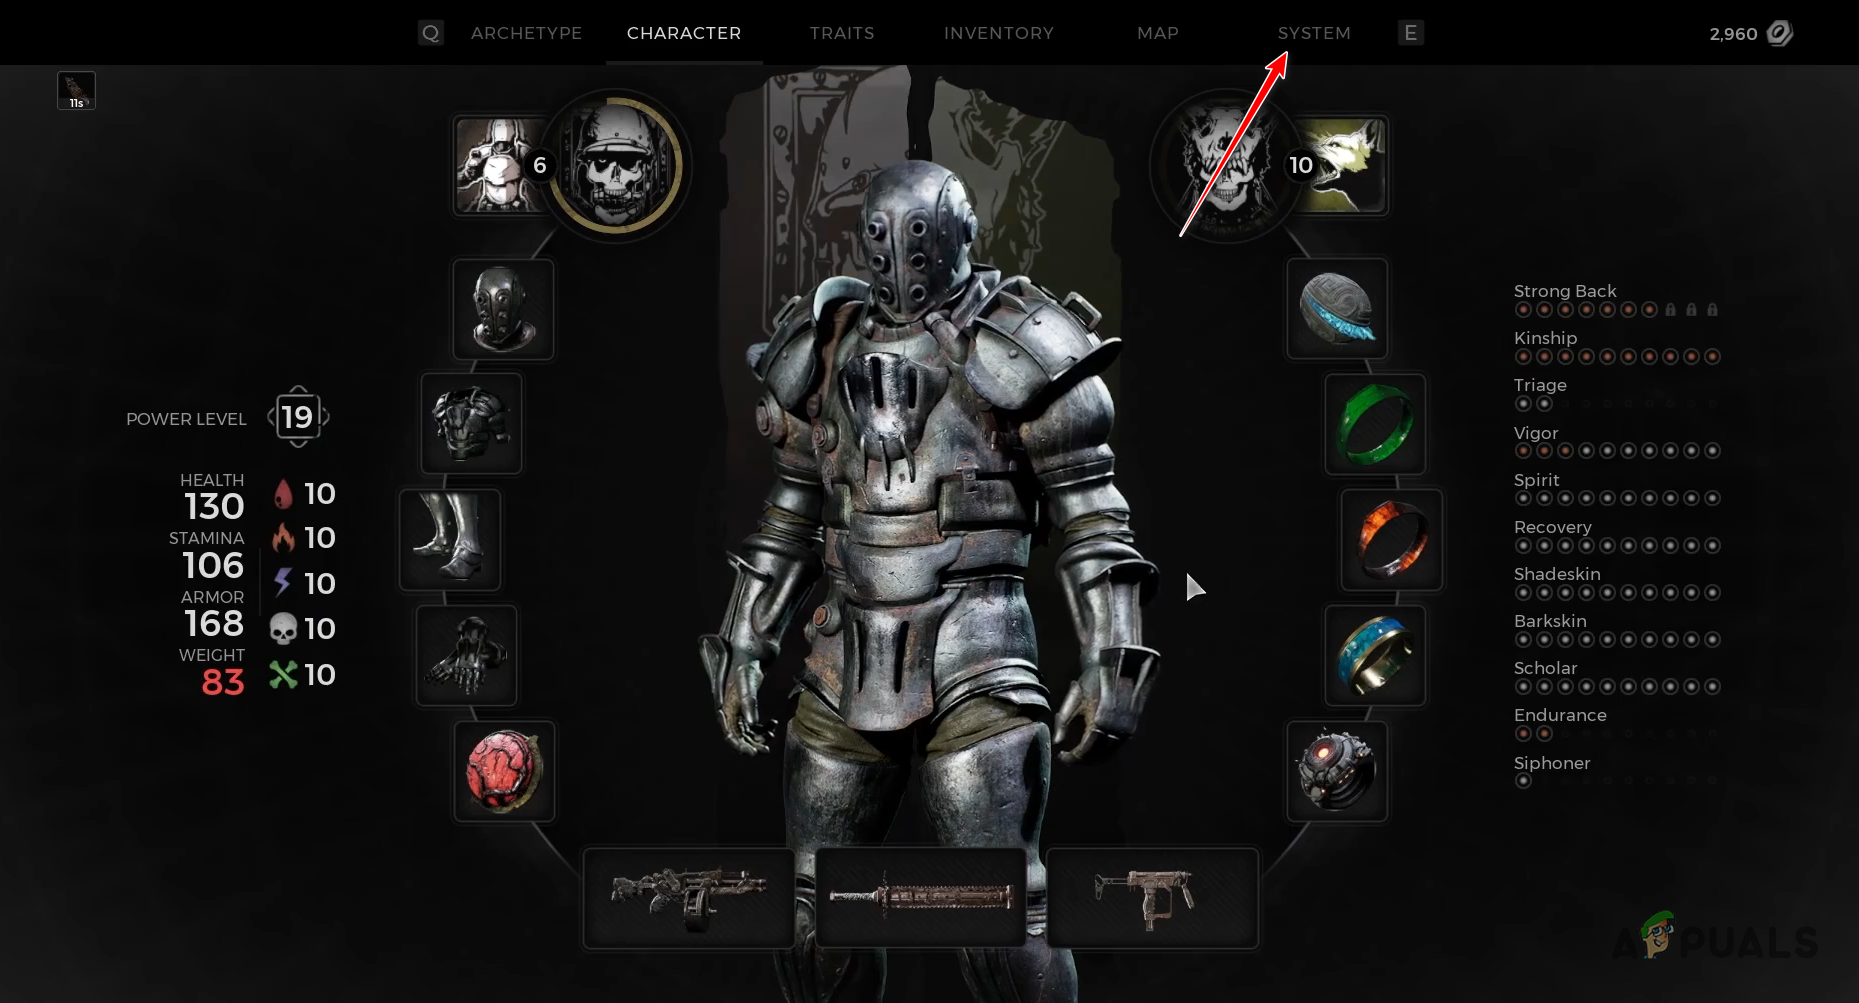
- Open Remnant II on your PC.
- Navigate to the System tab.
Navigating to Remnant 2 System tab - Then, click on Options.
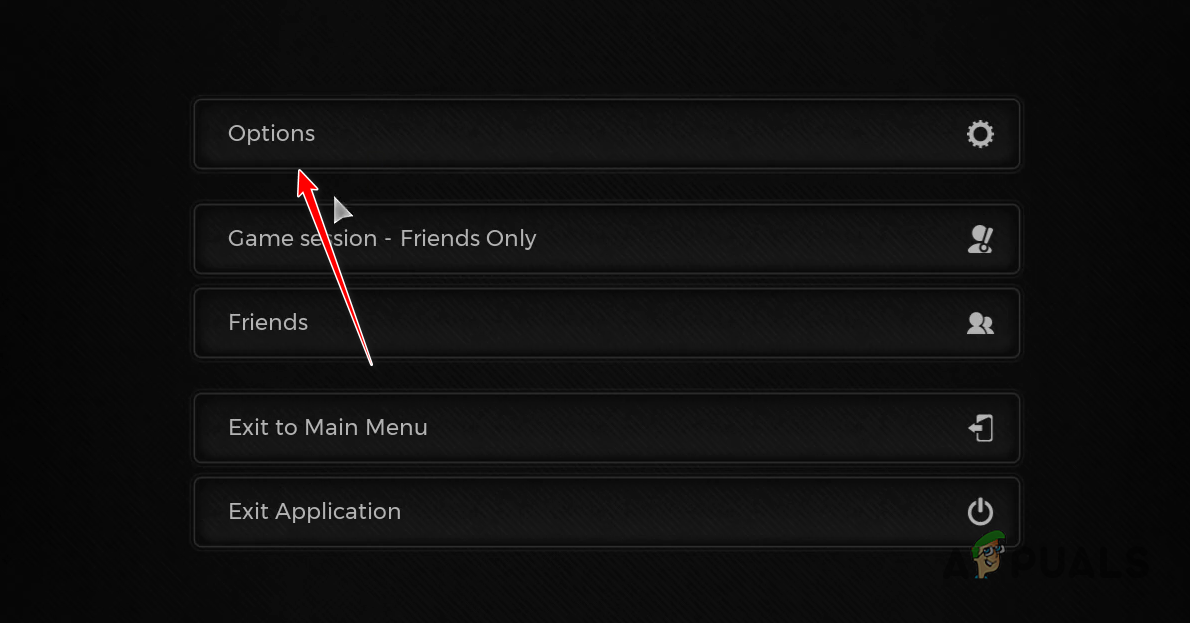
Opening Remnant 2 Options - Use the Video tab to locate the Shader Cache option. Clear it.
5. Delete Remnant II Cache
- Open the Run dialog box via the Win key + R shortcut.
- In the dialog box, type in %localappdata% and hit Enter.
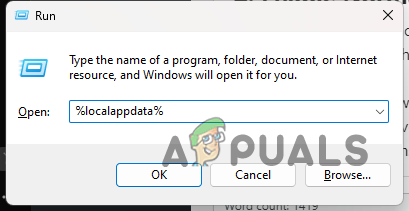
Opening Local AppData Directory - Then, look for the Remnant2 folder and delete it.
- Use the keyboard shortcut to open Run again.
- This time, type in %appdata% and press Enter.
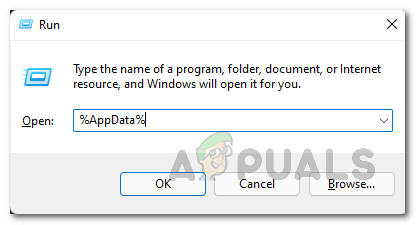
Opening AppData Directory - Again, look for the Remnant2 folder and delete it.
- After that, restart Steam and run the game.
6. Increase Graphics Drivers Timeout Limit
It is important to note that you work carefully with the Windows Registry. Any unwanted change can result in various issues on your PC. You can create a backup of the Windows Registry to be on the safe side. Follow the instructions accurately.
- Open the Run box via the Win key + R on your keyboard.
- Type in regedit and hit Enter in the Run dialog box.
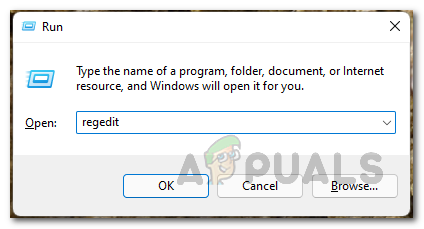
Opening Windows Registry - This will open the Windows Registry editor.
- In the address bar, copy and paste the following path:
HKEY_LOCAL_MACHINE\SYSTEM\CurrentControlSet\Control\GraphicsDrivers\

Navigating to Graphics Drivers Path - Then, locate the TdrDelay and TdrDdiDelay keys on the right side.
- If you do not find the keys, you will have to create them. Right-click on the right side and choose New > DWORD (32-bit) Value.
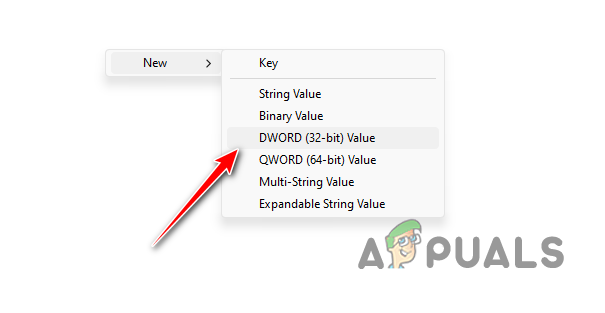
Creating New Registry Key - Then, name the keys TdrDelay and TdrDdiDelay.
- Finally, change the value of the keys to 60.
- Restart your computer and then run the game.
7. Update BIOS
- Head to your motherboard manufacturer’s website and download the latest firmware available for your BIOS.
- If you are not sure about your BIOS model and manufacturer, open the Run dialog box via the Win key + R shortcut.
- Then, type in msinfo32 and hit Enter.
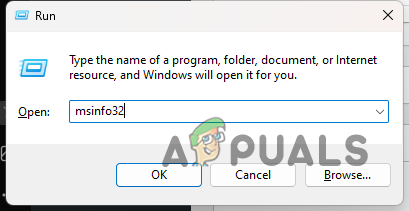
Opening System Information - From the list of information, locate BaseBoard Product and BaseBoard Manufacturer. This is your motherboard model and manufacturer respectively.

Motherboard Info
8. Perform Clean Boot
- Start by opening the Run box. Do this via the Windows key + R shortcut.
- Type in msconfig and hit Enter in the Run box.
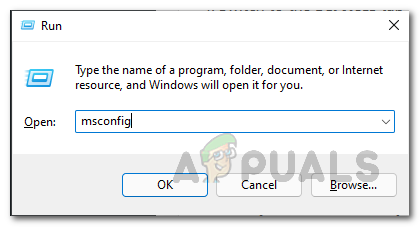
Opening System Config - Then, switch to the Services tab and select the Hide all Microsoft services option.
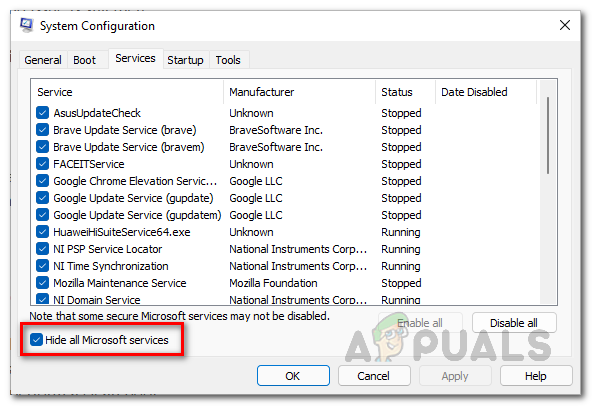
Hiding Microsoft Services - After that, click the Disable all button and hit Apply.
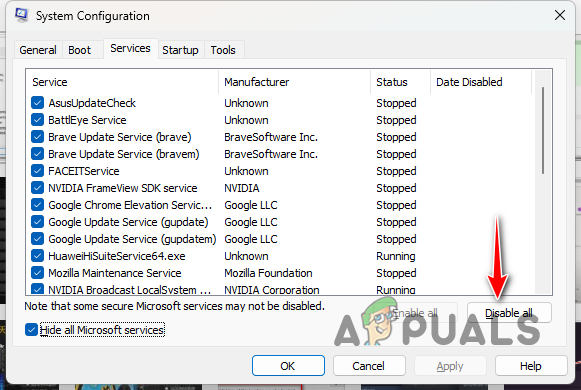
Disabling Third-Party Services - Once you do that, jump to Startup.
- Afterwards, click on the Open Task Manager option.
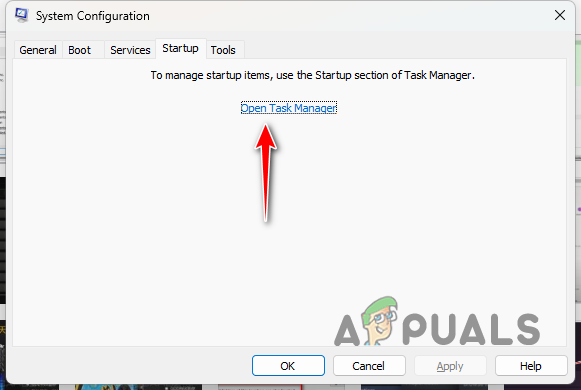
Opening Task Manager - Then, select the apps one by one and hit Disable in the Task Manager window.
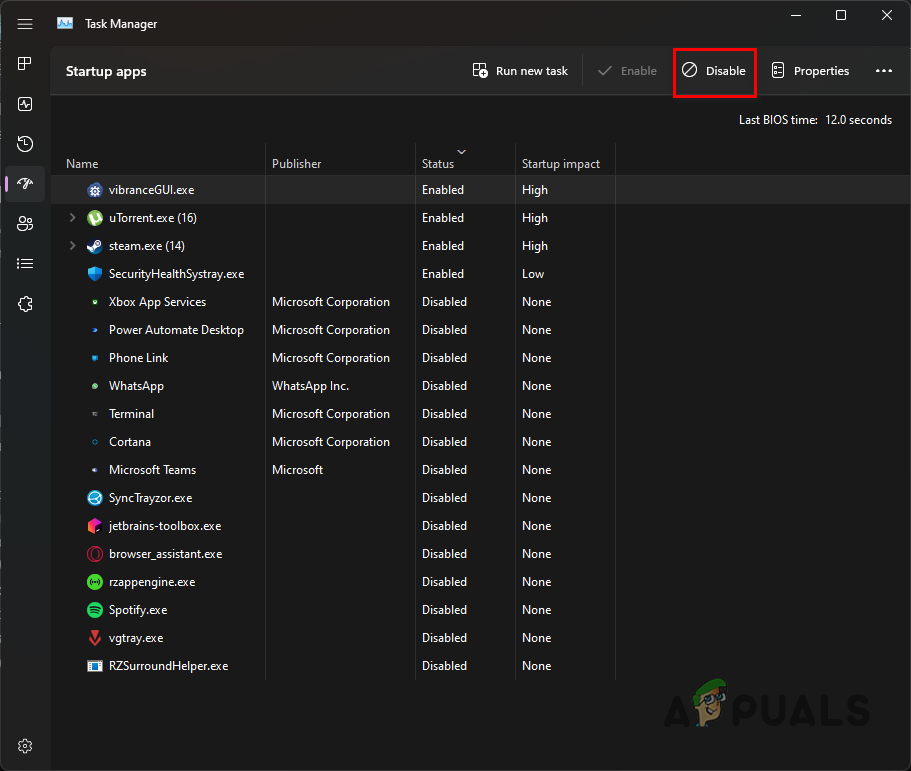
Disabling Third-Party Apps - After that, perform a clean boot by restarting your PC.
The error message in question should go away with one of these solutions. It is always a good decision to check for any firmware updates on your motherboard to resolve any crashes with newer games on your machine.
Still facing Low Level Fatal Error?
If you continue to experience the error message after the solutions above, you will need to ask for assistance from Remnant II’s official customer support. This will allow you to get in contact with the developer team who can help isolate the issue faster by looking at the crash logs. Join the official Discord server of Remnant II to connect with them.
Reviewed by Muhammad Zubyan


