What is ‘LocalserviceNoNetworkFirewall’ and How to Fix its High CPU Usage?
Fix: 'LocalserviceNoNetworkFirewall' High CPU Usage
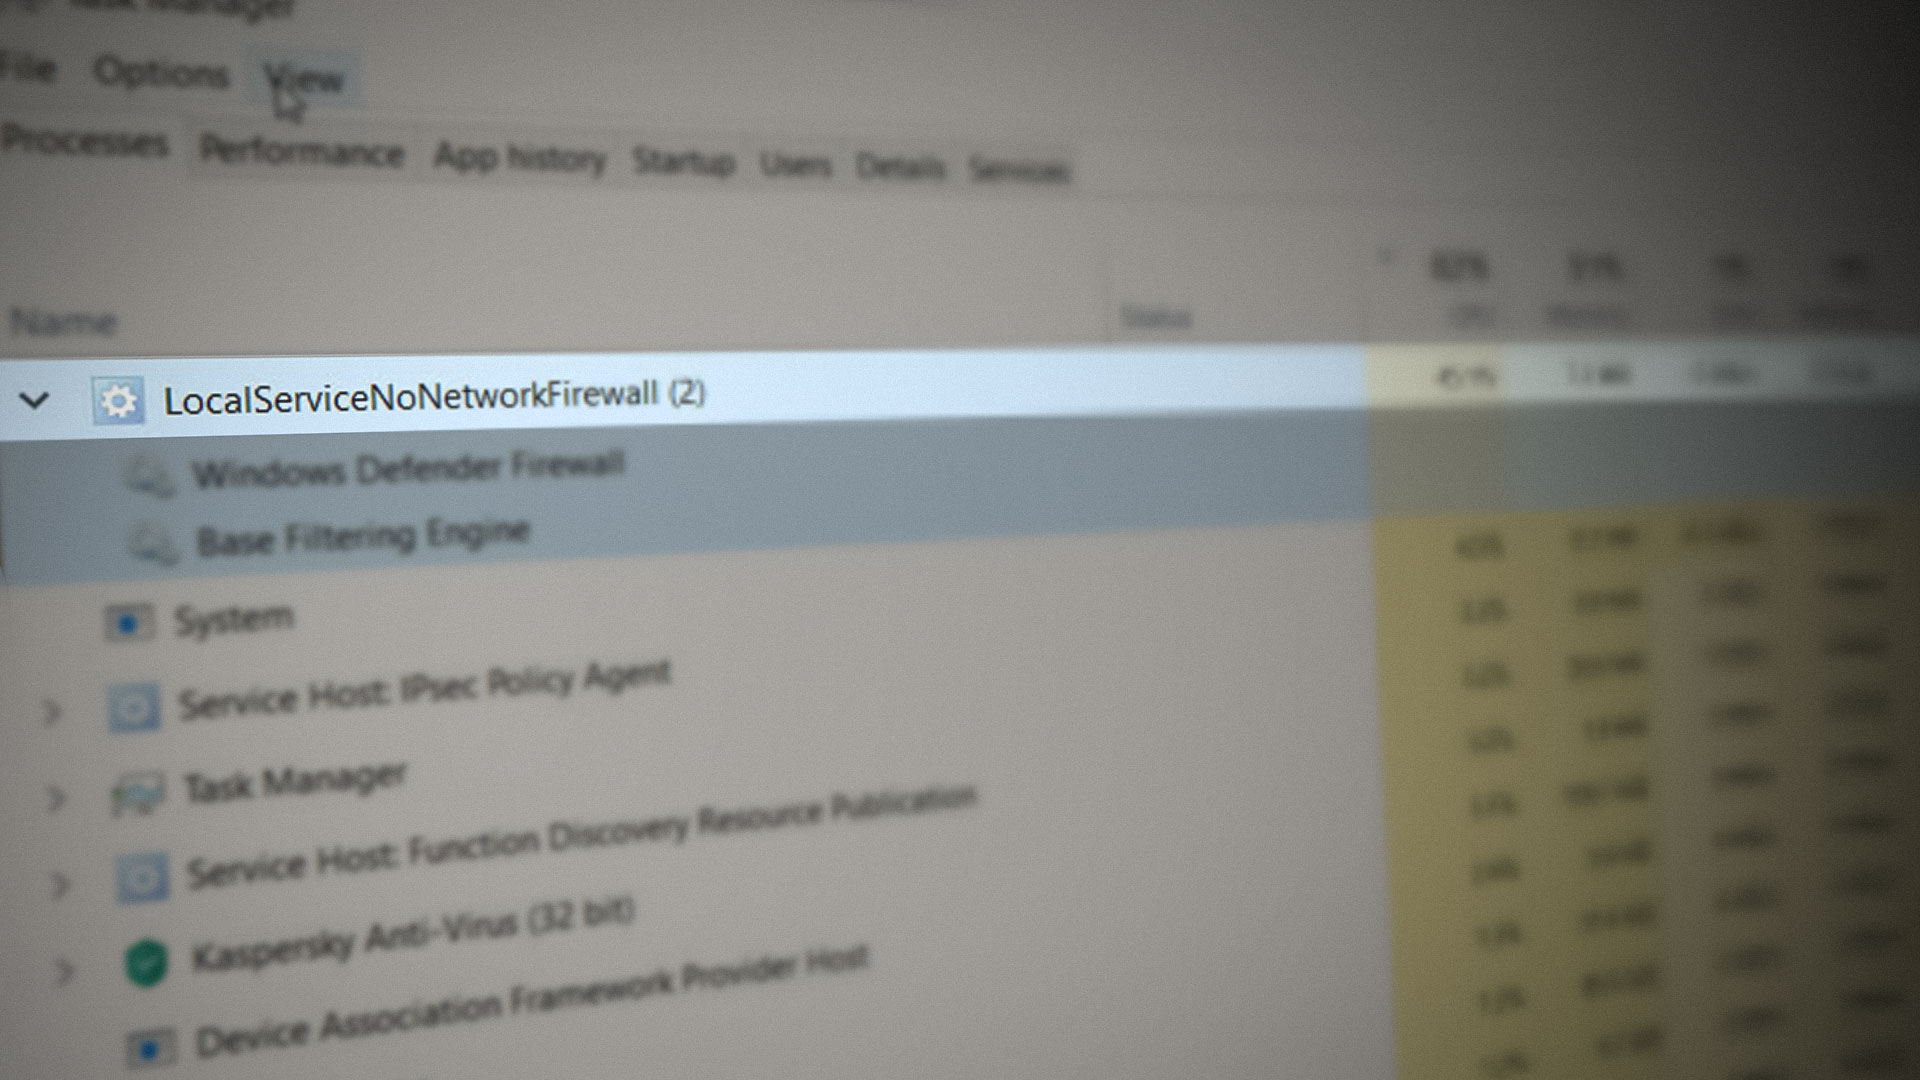
LocalserviceNoNetworkFirewall is a part of Windows security and is used by Windows Defender (or by other Windows API-based firewalls) in their operations. Usually, this service does not use much CPU or memory.
But the issue arises, when this service starts eating a chunk of memory along with high CPU usage (in some cases, more than 50%) and causes the system to be so sluggish that it becomes impossible to use the system.
Many things can trigger a high CPU usage by the LocalserviceNoNetworkFirewall but we identified the following chiefly responsible for the issue:
- Conflicting Firewalls: If you are using another firewall (especially, that is using the Windows Defender API) along with the Windows firewall, the two may conflict with each other, resulting in high CPU usage.
- A Large Number of Conflicting Firewall Rules: If an old installation of a 3rd party firewall has included thousands of inbound/outbound rules, while Windows defender has its own such rules, these conflicting rules may require the firewall to use the excessive CPU to execute all of them.
- Corrupt Installation of 3rd Party Security Product: If the 3rd party security product like Avast Premium has become corrupt, then this corruption can cause the excessive use of the CPU by the LocalserviceNoNetworkFirewall.
- Corrupt Settings of Windows Firewall: The LocalserviceNoNetworkFirewall service may show a high CPU usage if the Windows firewall settings have become corrupt due to interference from the other security product.
Keep in mind that some of the users may fail to perform the under-mentioned solutions on their systems because the system can be very sluggish. In such a case, you may try the solutions after disconnecting the system from the Internet (either by unplugging the ethernet cable or switching off the router) or try them in the safe mode of your system.
Restart the Windows Firewall
The high CPU usage by the LocalserviceNoNetworkFirewall could be a temporary glitch of the Windows Firewall and restarting the same may solve the problem.
- Right-click Windows and open Task Manager.
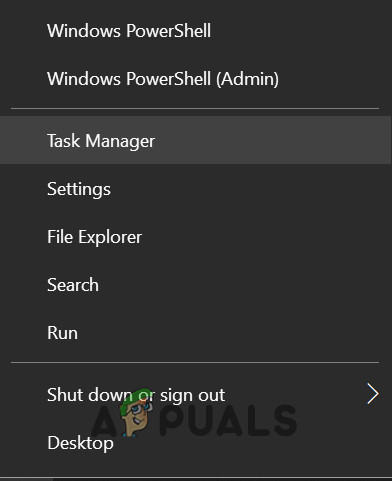
Open the Task Manager from the Quick Access Menu - Now head to the Services tab and right-click on WinDefend (Microsoft Defender Antivirus Service).
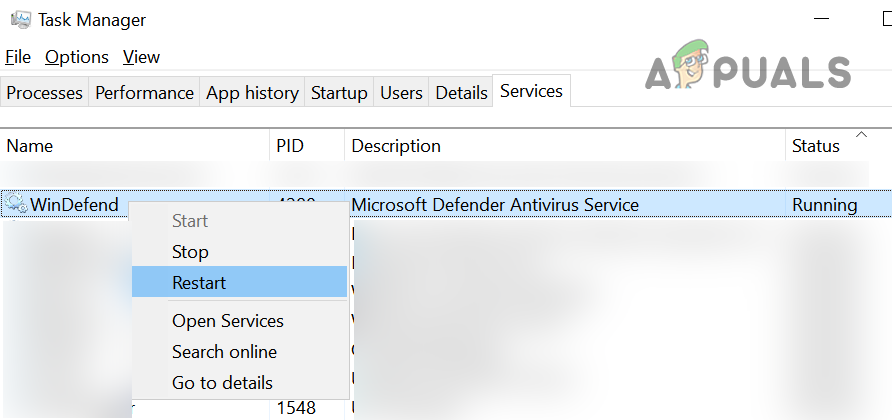
Restart the Windows Defender Service - Then, in the sub-menu, select Restart and once the service is restarted, check if the CPU usage is back to normal.
Update the PC’s Windows to the Latest Build
The incompatibility between the outdated OS and other system modules (like a driver or a 3rd party firewall) may cause the high CPU usage by LocalserviceNoNetworkFirewall. Here, updating the PC’s Windows to the latest build may solve the high CPU.
- Click Windows, search, and open the System Settings of Check for Updates.
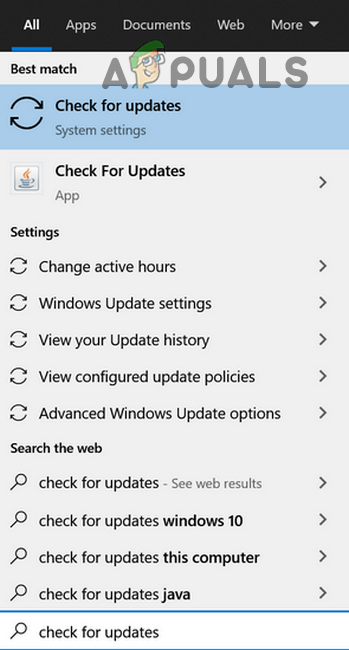
Open Check for Updates - Now, in the Windows Update, click on Check for Updates.
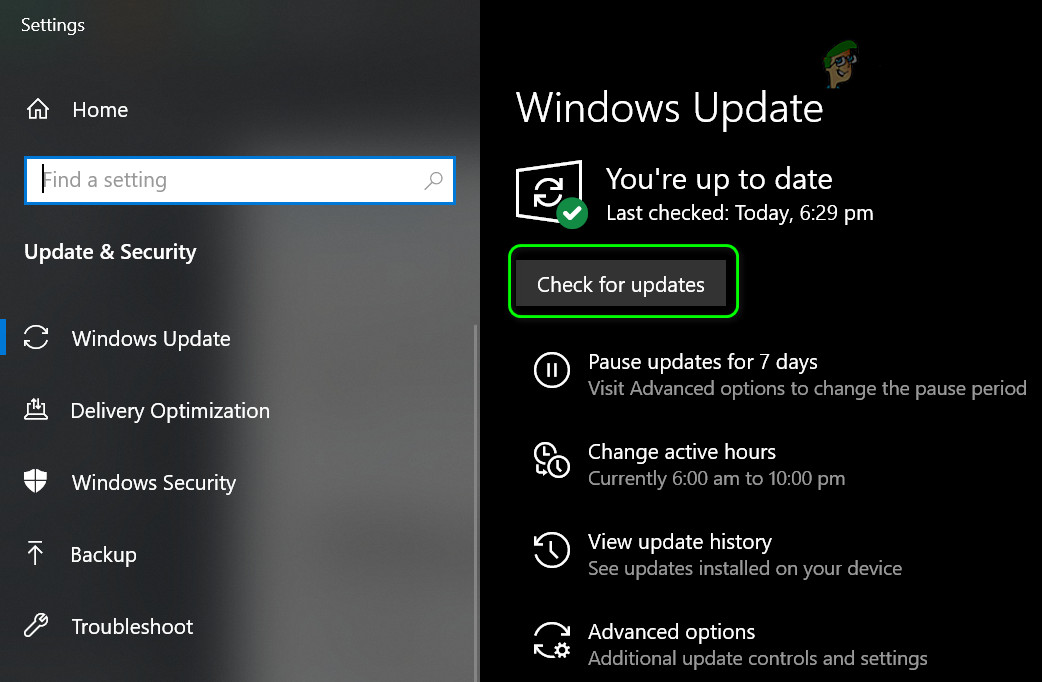
Check for Windows Updates - If it shows some updates are available, then download and install those updates.
- Once the PC’s Windows is updated to the latest build, check if the high CPU usage by LocalserviceNoNetworkFirewall is normalized.
Disable/ Enable the 3rd Party Security Firewall and Windows Defender Firewall
If you are using more than one firewall on your system i.e., Windows Firewall and a 3rd party firewall (like GlassWire), then one may not be working properly with the other due to a glitch and causing the issue. In this context, disabling and enabling both firewalls may solve the problem.
- Right-click on the 3rd party firewall like GlassWire in the system’s tray and select Exit.

Exit GlassWire from the System’s Tray - Now click Windows and type Windows Defender.
- Then right-click on Windows Defender Firewall with Advanced Security and select Run as Administrator.
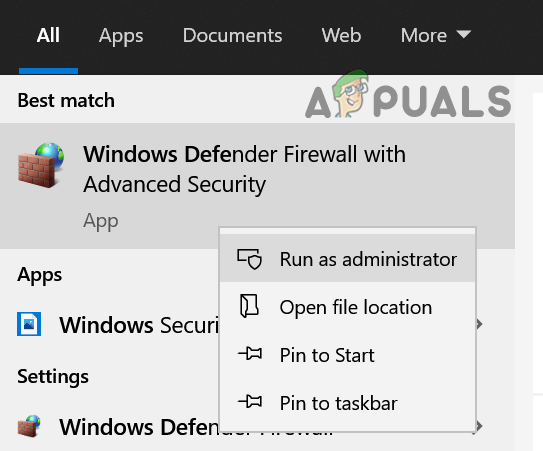
Open Windows Defender as Administrator - Now click on Windows Defender Firewall Properties and for the following profiles, set the Firewall State to the off position to disable the Windows Firewall:
Domain Profile

Private Profile

Public Profile
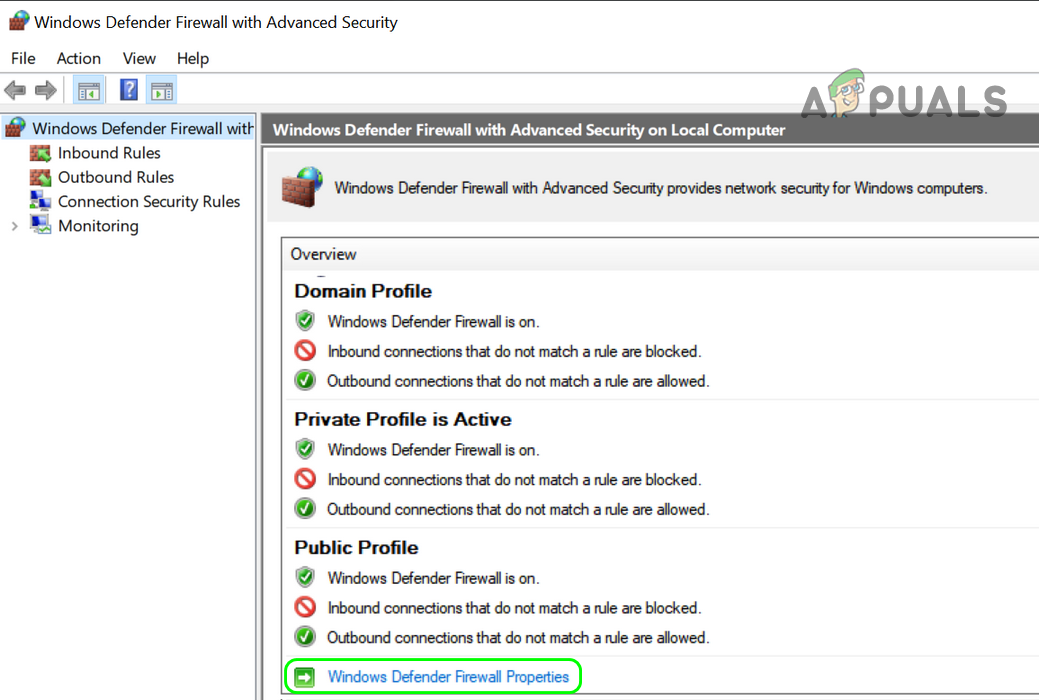
Open Windows Defender Firewall Properties - Then apply your changes and close the Windows Defender.
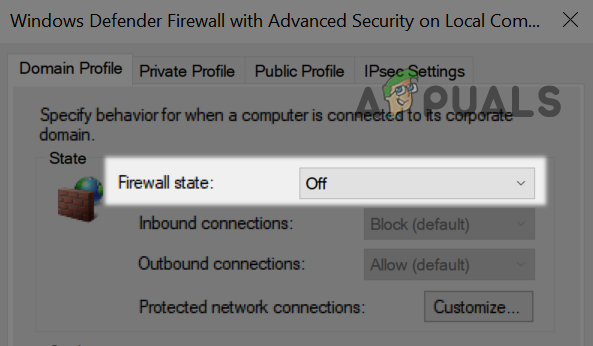
Disable Firewall for All the Profiles of Windows Defender Firewall - Again, open the Windows Defender and enable its Firewall as discussed above.
- Now close the Windows Defender and enable/launch the 3rd party firewall to check if the LocalserviceNoNetworkFirewall issue is resolved.
Revert the Driver Update
If your system recently got through a driver update, especially, ATI Radeon driver, then that update may conflict with the system’s firewall, and reverting the update may solve the problem.
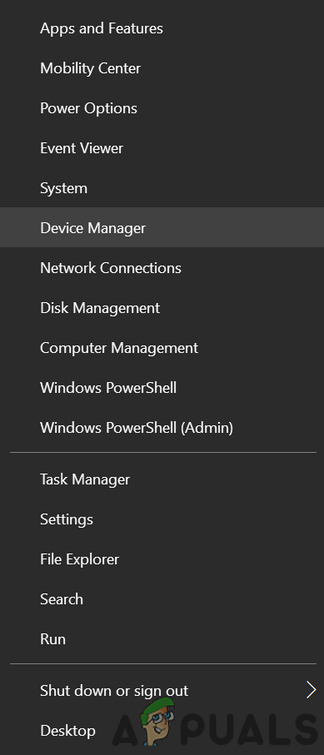
- Right-click Windows and open Device Manager.
Open Device Manager - Now expand the latest updated device (e.g., Display Adapters) and double-click on the device (e.g., ATI Radeon).
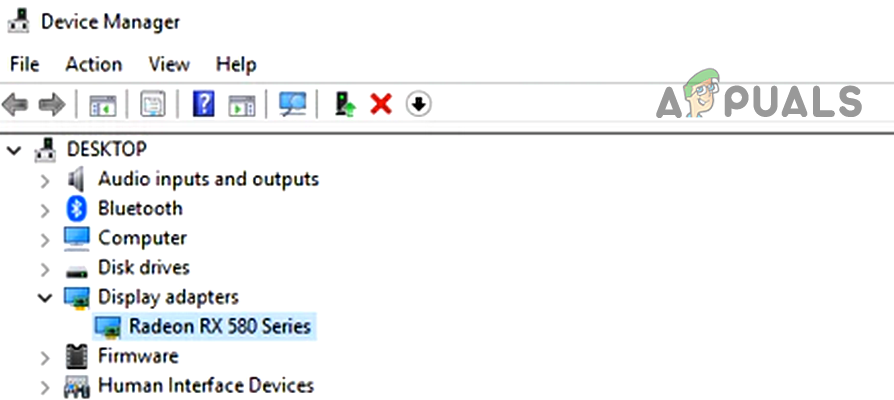
Double-click on Radeon Device in the Device Manager - Now head to the Driver tab and click on Roll Back driver (if applicable).
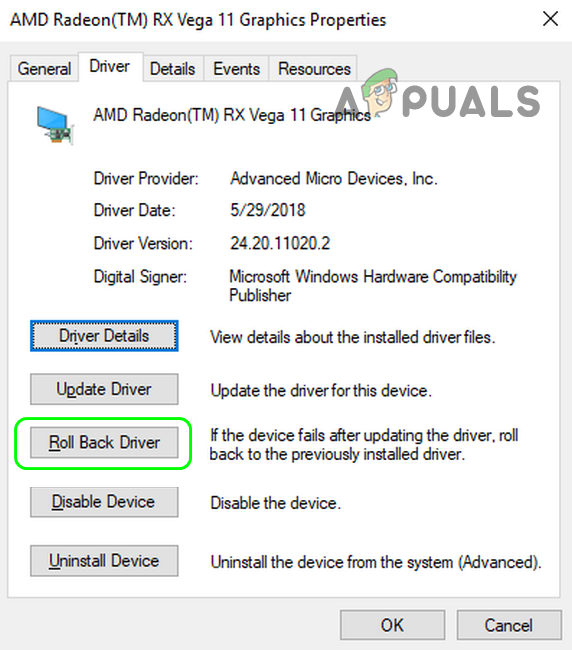
Roll Back the Radeon Driver - Then follow the prompts to revert the driver update and restart your system.
- Upon restart, check if the high CPU usage is resolved. If so, then you may defer the driver update, till the issue is reported to solve.
Reset the Windows Firewall to its Defaults
Any customization of the Windows firewall (e.g., a newly added inbound or outbound rule) may have caused the overload on the system, thus causing the issue. In such a scenario, resetting the Windows Firewall to its defaults may solve the problem.
- Click Windows, type, and open Windows Security.
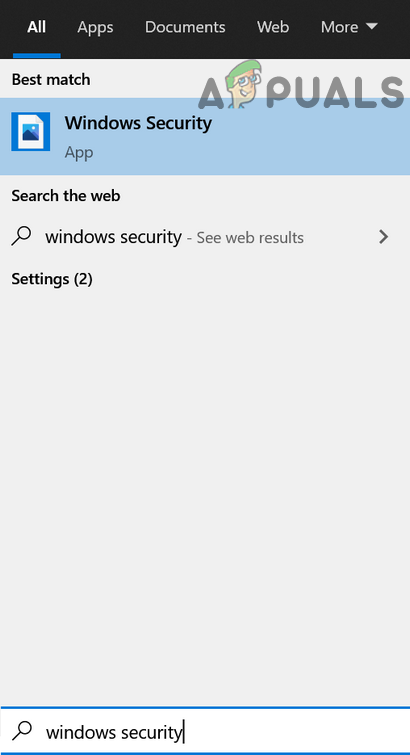
Open Windows Security - Now, in the left pane, head to the Firewall & Network Protection.
- Then click on the Restore Windows Firewall to its Defaults.
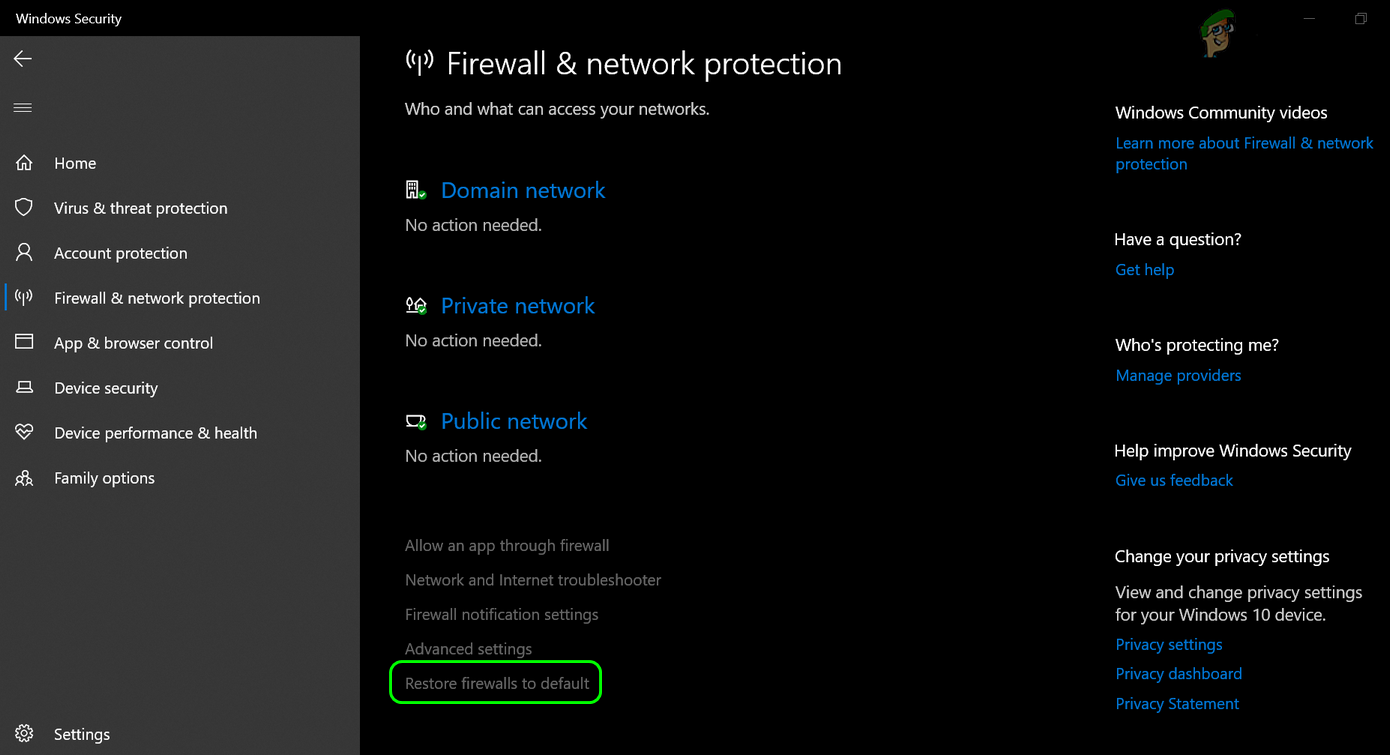
Restore the Windows Firewall to the Defaults - Now head to the Virus & Threat Protection tab (in the left pane) and under Virus & Threat Protection Settings, click on Manage Settings.
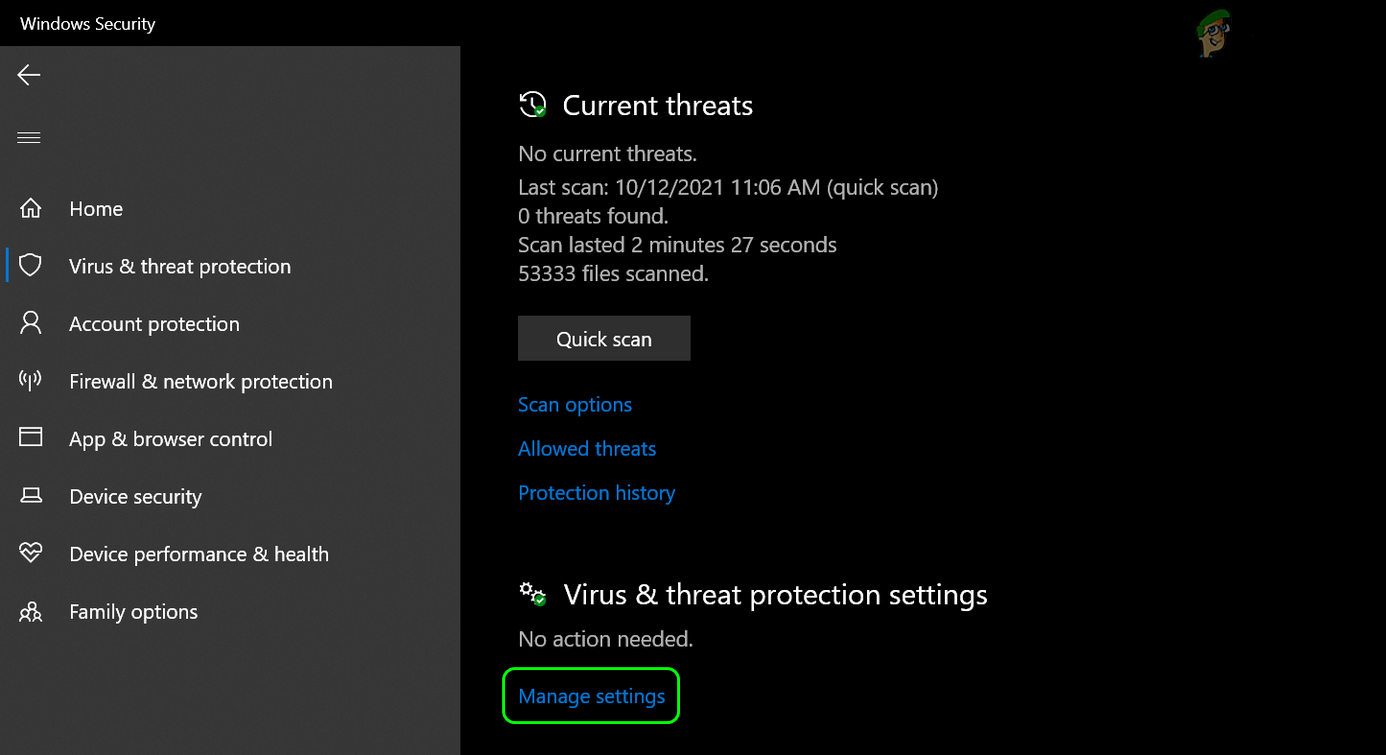
Open Manage Settings Under Virus & Threat Protection Settings - Then open Add or Remove Exclusions under Exclusions.
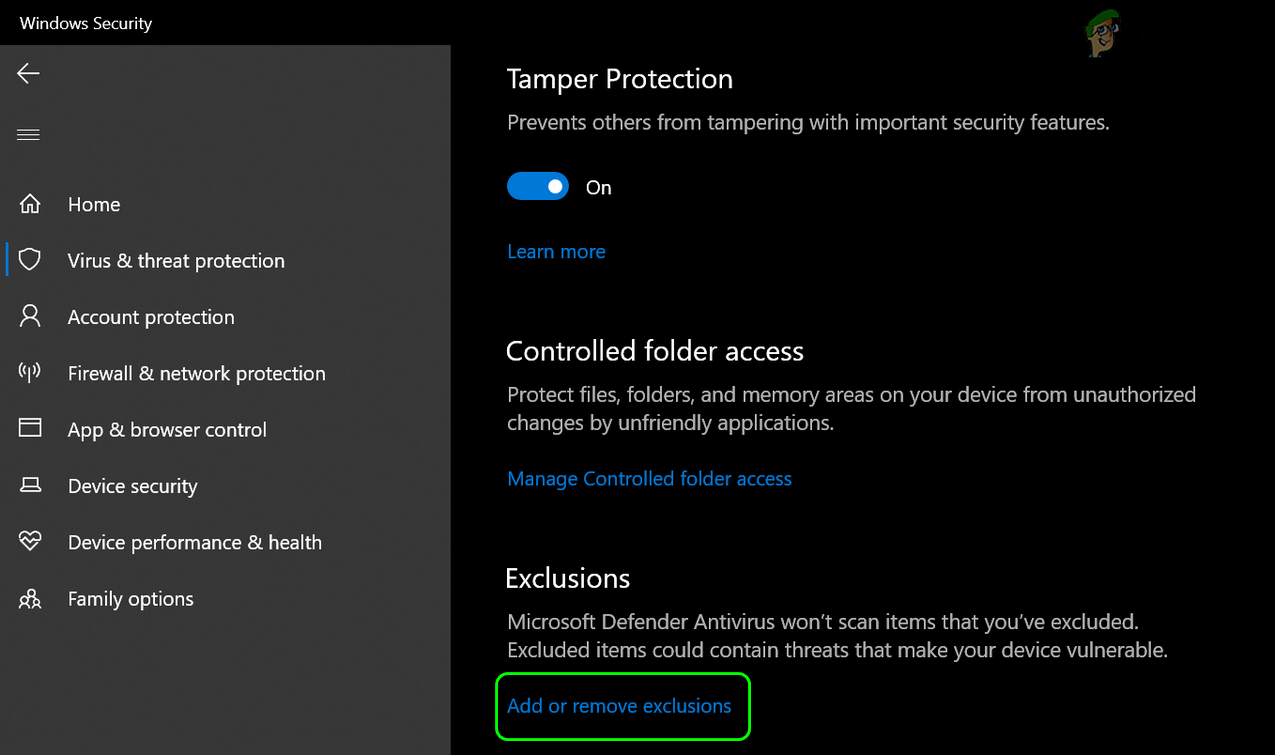
Click on Add or Remove Exclusions Under Exclusions - Now click on Add an Exclusion and select Folder.
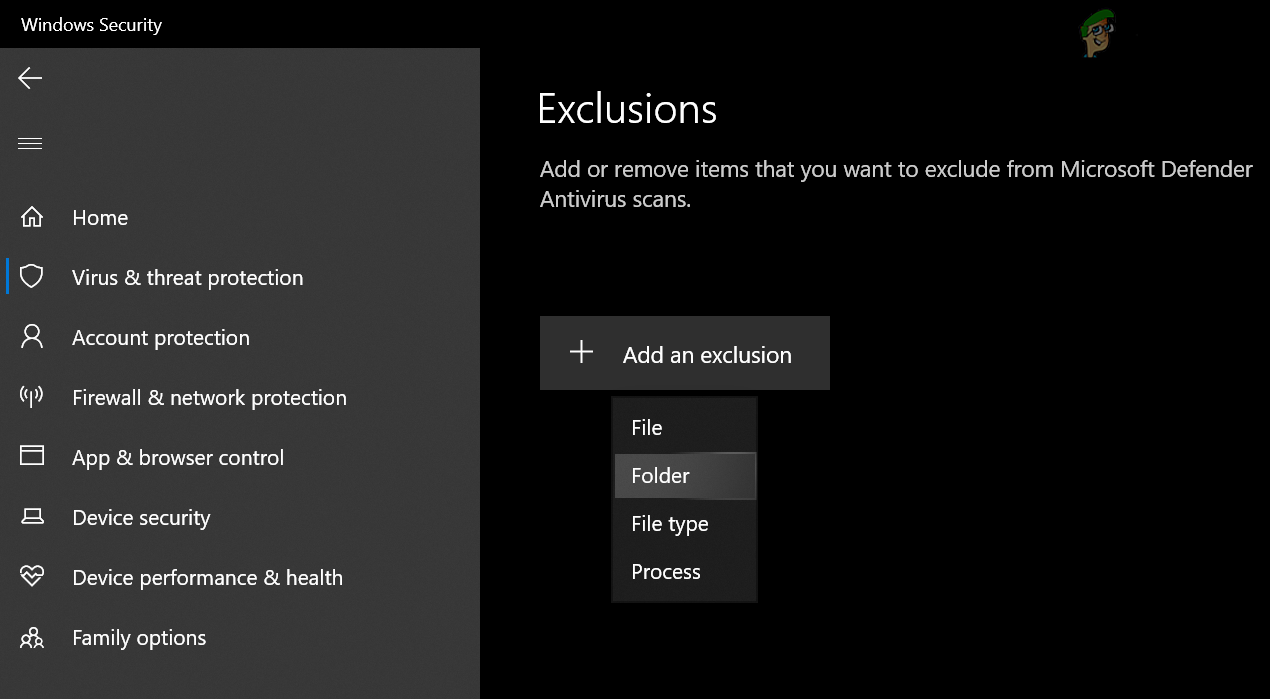
Add a Folder Exclusions in the Windows Security - Then enter the following path in the address bar:
C:\ProgramData\Microsoft\Windows Defender\
- Now click on Select Folder and close the Windows Security.
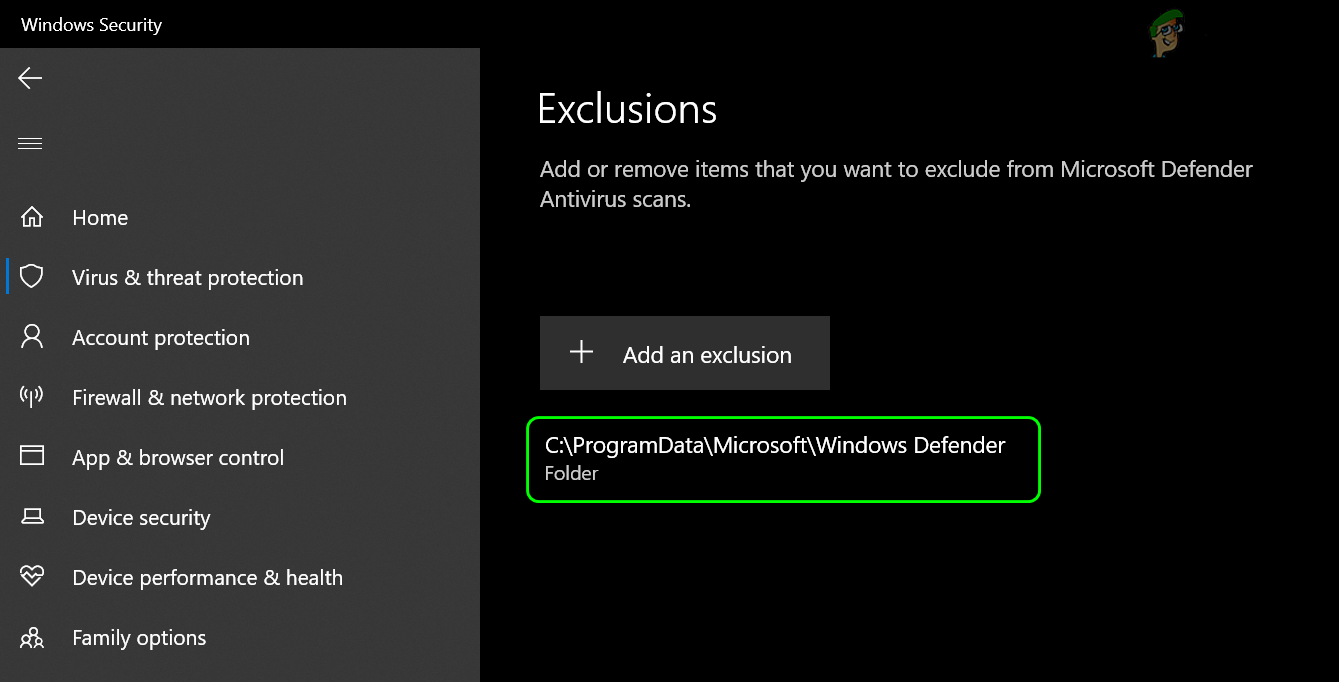
Add Windows Defender in the Exclusions of Windows Security - Then restart your PC and upon restart, check if the high CPU usage issue is resolved.
Edit the Cisco Umbrella Settings
Many of the Cisco Umbrella (a cybersecurity product) users reported that this application caused the high CPU usage on their system’s due to a bug. If you are using the Umbrella application, then check if the same is not causing the issue for you. Before proceeding, make sure that you are using the latest version of the Cisco Umbrella client.
Disable IP Layer Enforcement Feature of Cisco Umbrella
- Navigate to the Centralized Settings of the Umbrella Roaming client and open its Advanced Settings.
- Now, in the section of Enable Intelligent Proxy, uncheck Enable IP-Layer Enforcement and click Continue to save your changes.
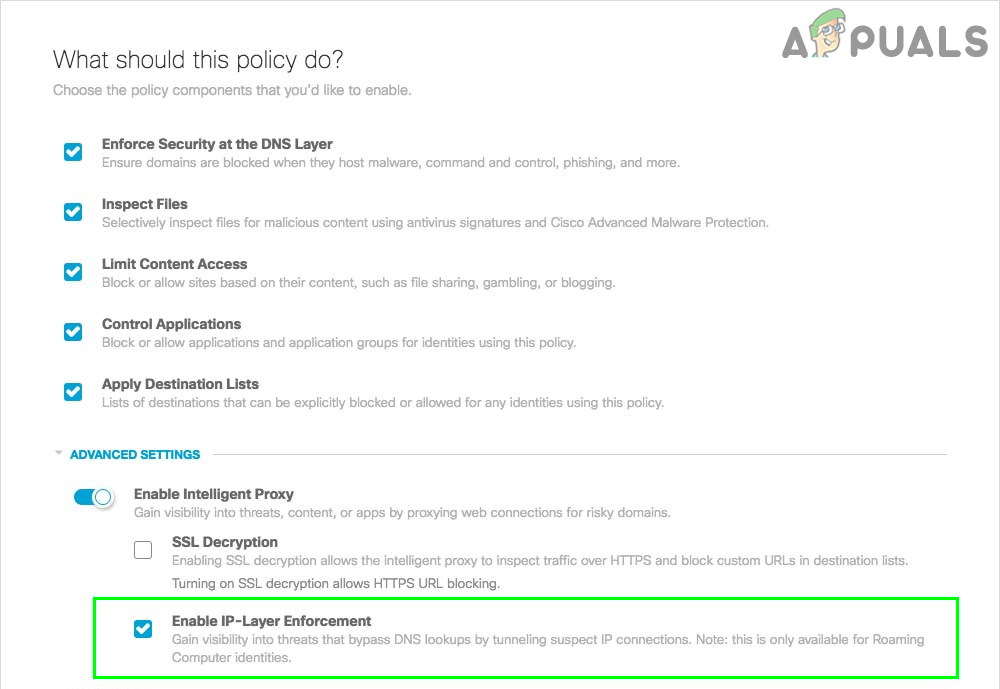
Uncheck Enable IP-Layer Enforcement in Cisco Umbrella - Now restart your phone and upon restart, check if the High CPU usage issue is resolved.
Disable the Cisco Umbrella Service
- Click Windows and type Services.
- Then, right-click on it and select Run as Administrator.

Open Services as Administrator - Now double-click on the Umbrella service and set its Startup type to Disabled.
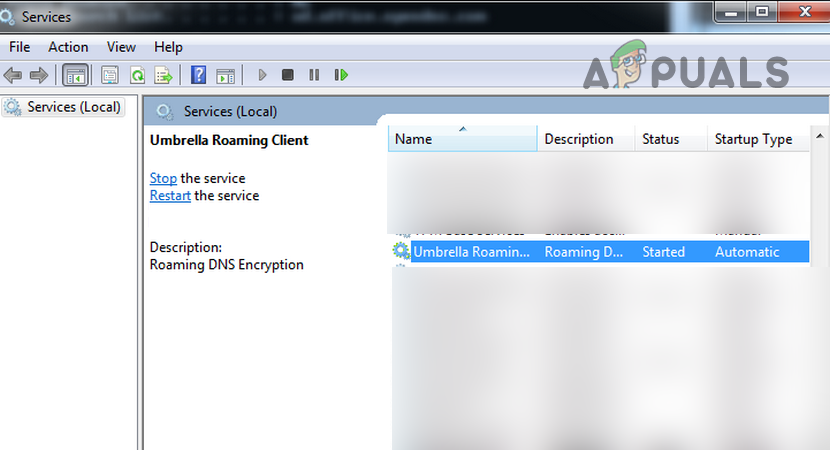
Open the Umbrella Client Service - Then click on the Stop button and reboot your PC.
- Upon reboot, check if the High CPU usage is normalized.
- If not, then check if uninstalling the Umbrella client clears out the issue. If so, you may reinstall the client to check if the issue does not return. If it does, then you may contact Cisco support to find the feature triggering the issue.
Delete the Firewall Rules
If there are some firewall rules added to the Windows firewall e.g., from a previous installation of a 3rd party firewall (like a Trend Micro), whereas the Windows firewall has its own set of similar rules, then that can overload the Windows firewall to execute all the conflicting rules. In such a case, deleting the firewall rules in the Windows firewall may solve the problem.
- Click Windows and type Windows Firewall.
- Then, right-click on Windows Firewall with Advanced Security and select Run as Administrator.
- Now, in the right pane, click on Export Policy and then save the file (just in case…).
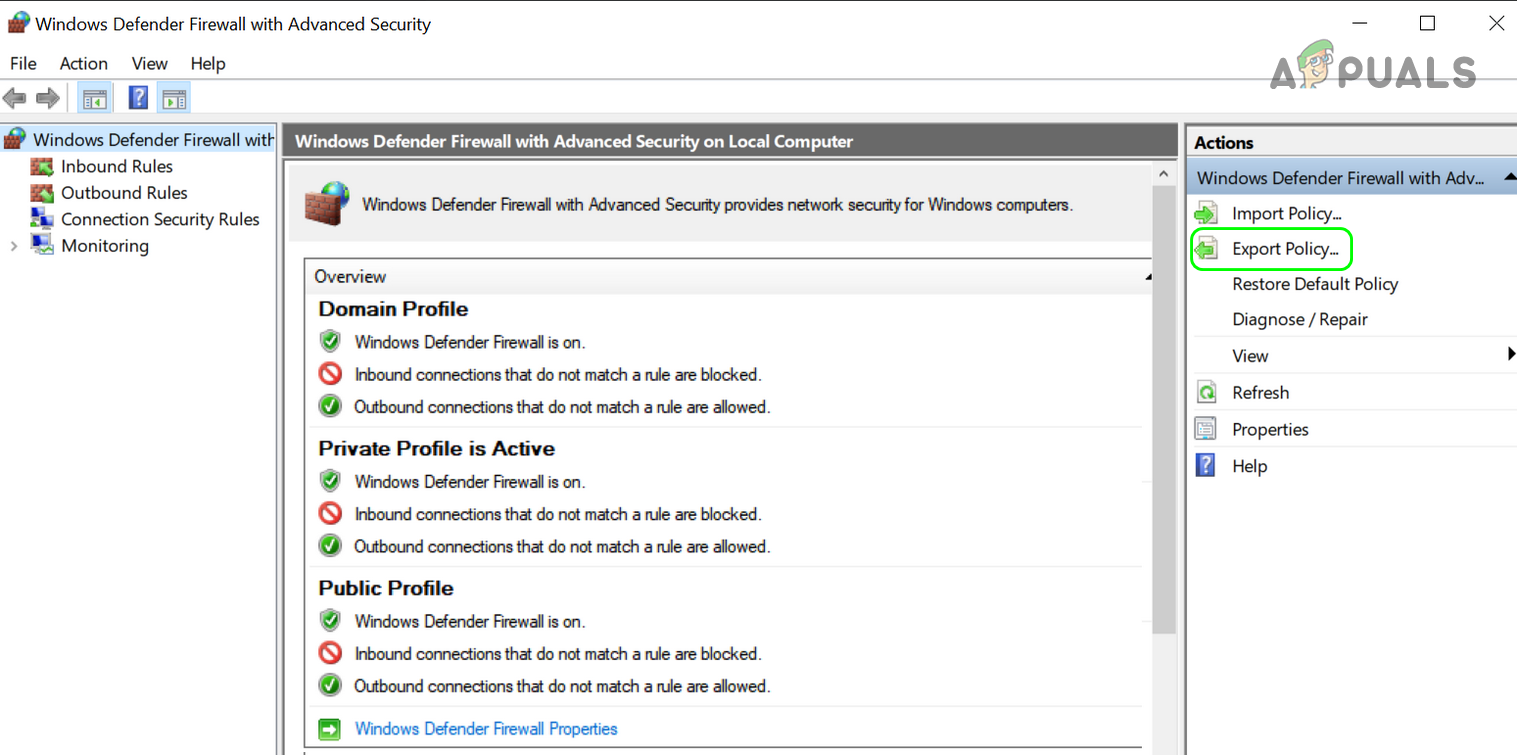
Export Policy of the Windows Defender - Then select the Inbound Rules tab and in the right pane, delete the rules you do not want to keep or not required. It may take some time to complete but be careful, do not delete something essential.
- Now repeat the same in the Outbound Rules tab and check if the issue is resolved.
- If that did not work or you do not want to check every rule, then, in the left pane, select Windows Defender Firewall with Advanced Security and expand the Action menu.
- Now select Restore Default Policy and then confirm to restore the policy.

Restore Windows Defender Firewall to Default Policy - Then close the Windows Defender Firewall window and check if the CPU usage issue is resolved.
- If you cannot open the Windows Defender Firewall or its rules cannot be edited, then boot your system into the Safe Mode.
- Now click Windows and type WF.MSC.
- Then right-click on it and select Run as Administrator.
- Now check if repeating steps 4-6 solves the LocalserviceNoNetworkFirewall issue.
Reinstall the 3rd Party Security Product
If you are using a 3rd party security product like Avast Premium, its corrupt installation may conflict with the Windows Firewall and thus cause the issue at hand. In such a scenario, reinstalling the 3rd party security product may solve the problem.
- Right-click Windows and open Apps & Features.
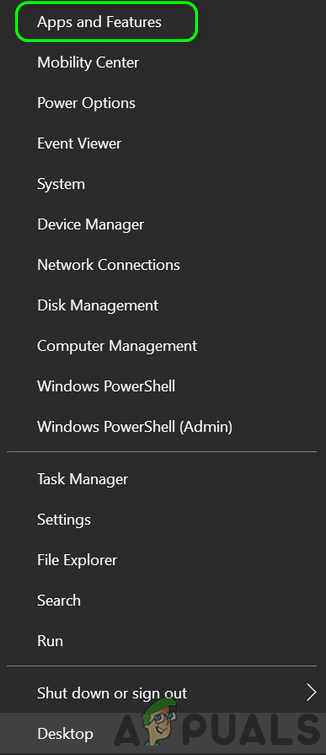
Open Apps & Features - Now click to expand the security product (e.g., Avast) and click on Uninstall.
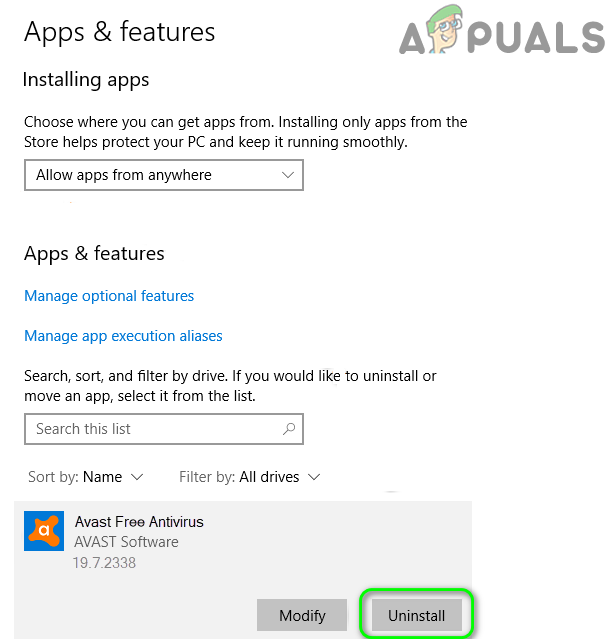
Uninstall Avast Antivirus - Then follow the prompts to completely uninstall the product and reboot your PC.
- Upon reboot, check if the LocalserviceNoNetworkFirewall issue is resolved.
- If not, then download the security product removal tool from the OEM’s website (like the Avast website) and remove any left-over traces of the security product.
- Now check if the system is not sluggish anymore. If so, then you may reinstall your security product, if it does not cause the issue again.
- If that did not work, then clean boot your PC and check if that resolves the issue. If so, then you may find the problematic application/process/service by one by one re-enabling the ones that were disabled during the clean boot process.
Edit the System’s Registry
If nothing has worked for you so far, then editing the Windows Defender-related registry values may solve the problem.
Warning: Proceed at your own risk as editing the PC’s registry is a skillful task and if not done right, you may cause everlasting damage to your data/system.
- Firstly, to be safe, create a backup of the system’s registry.
- Now click Windows, type, and open Notepad.
Open Notepad - Then copy and paste the following in the Notepad:
Windows Registry Editor Version 5.00
[HKEY_LOCAL_MACHINE\SYSTEM\CurrentControlSet\services\MpsSvc]

"DisplayName"="@%SystemRoot%\\system32\\FirewallAPI.dll,-23090"

"ErrorControl"=dword:00000001

"Group"="NetworkProvider"

"ImagePath"=hex(2):25,00,53,00,79,00,73,00,74,00,65,00,6d,00,52,00,6f,00,6f,00,\

  74,00,25,00,5c,00,73,00,79,00,73,00,74,00,65,00,6d,00,33,00,32,00,5c,00,73,\

  00,76,00,63,00,68,00,6f,00,73,00,74,00,2e,00,65,00,78,00,65,00,20,00,2d,00,\

  6b,00,20,00,4c,00,6f,00,63,00,61,00,6c,00,53,00,65,00,72,00,76,00,69,00,63,\

  00,65,00,4e,00,6f,00,4e,00,65,00,74,00,77,00,6f,00,72,00,6b,00,00,00

"Start"=dword:00000002

"Type"=dword:00000020

"Description"="@%SystemRoot%\\system32\\FirewallAPI.dll,-23091"

"DependOnService"=hex(7):6d,00,70,00,73,00,64,00,72,00,76,00,00,00,62,00,66,00,\

  65,00,00,00,00,00

"ObjectName"="NT Authority\\LocalService"

"ServiceSidType"=dword:00000003

"RequiredPrivileges"=hex(7):53,00,65,00,41,00,73,00,73,00,69,00,67,00,6e,00,50,\

  00,72,00,69,00,6d,00,61,00,72,00,79,00,54,00,6f,00,6b,00,65,00,6e,00,50,00,\

  72,00,69,00,76,00,69,00,6c,00,65,00,67,00,65,00,00,00,53,00,65,00,41,00,75,\

  00,64,00,69,00,74,00,50,00,72,00,69,00,76,00,69,00,6c,00,65,00,67,00,65,00,\

  00,00,53,00,65,00,43,00,68,00,61,00,6e,00,67,00,65,00,4e,00,6f,00,74,00,69,\

  00,66,00,79,00,50,00,72,00,69,00,76,00,69,00,6c,00,65,00,67,00,65,00,00,00,\

  53,00,65,00,43,00,72,00,65,00,61,00,74,00,65,00,47,00,6c,00,6f,00,62,00,61,\

  00,6c,00,50,00,72,00,69,00,76,00,69,00,6c,00,65,00,67,00,65,00,00,00,53,00,\

  65,00,49,00,6d,00,70,00,65,00,72,00,73,00,6f,00,6e,00,61,00,74,00,65,00,50,\

  00,72,00,69,00,76,00,69,00,6c,00,65,00,67,00,65,00,00,00,53,00,65,00,49,00,\

  6e,00,63,00,72,00,65,00,61,00,73,00,65,00,51,00,75,00,6f,00,74,00,61,00,50,\

  00,72,00,69,00,76,00,69,00,6c,00,65,00,67,00,65,00,00,00,00,00

"FailureActions"=hex:80,51,01,00,00,00,00,00,00,00,00,00,03,00,00,00,14,00,00,\

  00,01,00,00,00,c0,d4,01,00,01,00,00,00,e0,93,04,00,00,00,00,00,00,00,00,00

[HKEY_LOCAL_MACHINE\SYSTEM\CurrentControlSet\services\MpsSvc\Parameters]

"ServiceDll"=hex(2):25,00,53,00,79,00,73,00,74,00,65,00,6d,00,52,00,6f,00,6f,\

  00,74,00,25,00,5c,00,73,00,79,00,73,00,74,00,65,00,6d,00,33,00,32,00,5c,00,\

  6d,00,70,00,73,00,73,00,76,00,63,00,2e,00,64,00,6c,00,6c,00,00,00

"ServiceDllUnloadOnStop"=dword:00000001

[HKEY_LOCAL_MACHINE\SYSTEM\CurrentControlSet\services\MpsSvc\Parameters\ACService]

[HKEY_LOCAL_MACHINE\SYSTEM\CurrentControlSet\services\MpsSvc\Parameters\PortKeywords]

[HKEY_LOCAL_MACHINE\SYSTEM\CurrentControlSet\services\MpsSvc\Security]

"Security"=hex:01,00,14,80,b4,00,00,00,c0,00,00,00,14,00,00,00,30,00,00,00,02,\

  00,1c,00,01,00,00,00,02,80,14,00,ff,01,0f,00,01,01,00,00,00,00,00,01,00,00,\

  00,00,02,00,84,00,05,00,00,00,00,00,14,00,fd,01,02,00,01,01,00,00,00,00,00,\

  05,12,00,00,00,00,00,18,00,ff,01,0f,00,01,02,00,00,00,00,00,05,20,00,00,00,\

  20,02,00,00,00,00,14,00,8d,01,02,00,01,01,00,00,00,00,00,05,04,00,00,00,00,\

  00,14,00,8d,01,02,00,01,01,00,00,00,00,00,05,06,00,00,00,00,00,28,00,15,00,\

  00,00,01,06,00,00,00,00,00,05,50,00,00,00,49,59,9d,77,91,56,e5,55,dc,f4,e2,\

  0e,a7,8b,eb,ca,7b,42,13,56,01,01,00,00,00,00,00,05,12,00,00,00,01,01,00,00,\

  00,00,00,05,12,00,00,00
- Then expand the File menu and click Save.
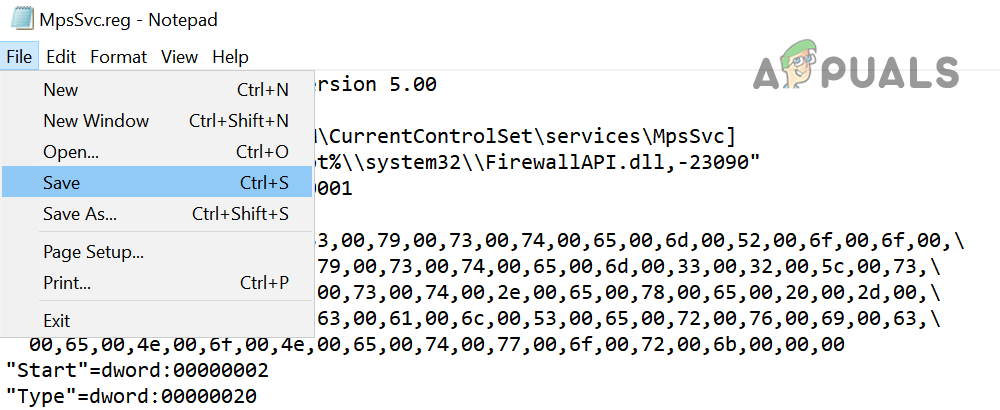
Save the File with .reg Extension - Now select a location to save the file, preferably on the desktop of your system, and enter the name for the file with .reg extension e.g., MpsSvc.reg.
- Then close the Registry Editor and right-click on the above-mentioned file (e.g., MpsSvc.reg).
- Now select Merge and then confirm to merge the registry keys.
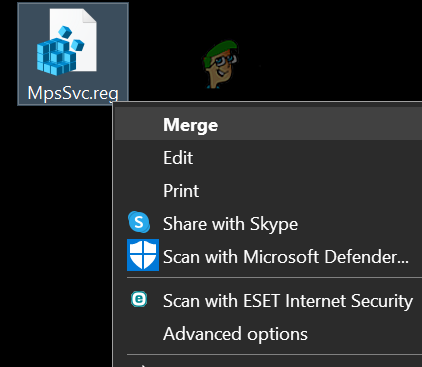
Merge the Registry Key to the Registry - Then restart your system and upon restart, hopefully, the CPU will not be throttling.
If nothing works, then you may perform a clean installation of Windows to get rid of the high CPU usage by LocalserviceNoNetworkFirewall.


