How to Fix iTunes Error Code -50 on Windows ‘temporary problem’
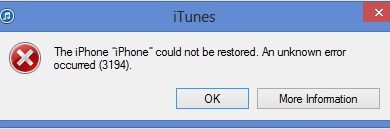
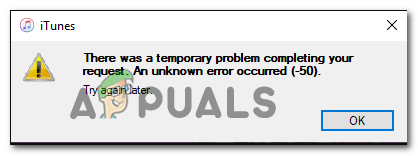
The iTunes error code -50 (An Unknown Error Occurred) appears for some users whenever they attempt to download from iTunes or sync with their iPod, iPad, or iPhone device using a Windows computer. This problem is confirmed to occur on Windows 7, Windows 8.1, and Windows 10.
As it turns out, there are two main causes that will end up producing the error code on Windows computers:
- 3rd party AV interference – If you’re using a 3rd party suite like Norton or Panda Global Protection, chances are the iTunes attempt at communication with the external server is being blocked due to a false positive. In this case, you should be able to fix the problem by disabling real-time protection while syncing your Apple device via iTunes.
- Corrupted iTunes installation – If you recently performed an AV scanned that ended up quarantining some items belonging to iTunes, chances are the syncing procedure fails due to some corrupted or missing files. In this case, you should reinstall iTunes from scratch and see if this fixes the problem.
Method 1: Disabling 3rd Party AV (if applicable)
If you’re using a 3rd party suite like Norton (AV + Firewall) or Panda Global Protection, chances are you’re dealing with an overprotective suite that is blocking the communications with the iTunes sever due to a false positive.
If this scenario is applicable, you should be able to fix this problem by disabling the 3rd party suite while you are performing the action in iTunes. Of course, this process will be different depending on the 3rd party suite that you’re using.
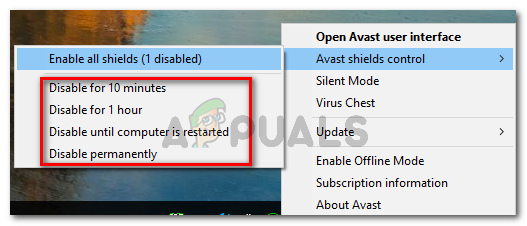
However, in most cases, you will be able to disable the real-time protection directly from the tray bar menu. Simply right-click on your AV icon and look for an option that allows you to disable the real-time connection.
Once you manage to disable the real-time protection, open iTunes again, and repeat the action that was causing the -50 error code in iTunes.
Note: If you are using a 3rd party AV that includes a firewall component, disabling the real-time protection will likely not be enough. In this case, you might need to uninstall the AV suite and remove remnant files to complete the operation.
If this scenario is not applicable or you already disabled the 3rd party suite with no improvement, move down to the next method below.
Method 2: Reinstalling iTunes
According to some affected users, this issue can also be facilitated by some kind of corruption originating from the iTunes installation folder. In this case, reinstalling the iTunes program or app should allow you to clear the -50 error code and utilize the program normally.
In most cases, this issue is reported to occur after an AV ended up quarantining some items belonging to the main iTunes application or to dependencies like the Bonjour app.
But keep in mind that depending on the type of iTunes application you’re using (desktop or UWP), the fix will be different. If you’re using the desktop app, you’ll need to use the Programs and Features menu to do the uninstallation manually and then re-download the program from the official channels.
However, if you’re using the UWP (Universal Windows Platform) iTunes version of Windows 10, you can fix this issue simply by resetting the app via Windows Store.
Depending on the scenario in which you find yourself in, follow the sub-guide applicable to the iTunes version that you’re currently using:
A. Reinstalling the UWP version of iTunes (Windows 10 Only)
- Open up a Run dialog box by pressing Windows key + R. Next, type ”ms-settings:appsfeatures” and press Enter to open up the Apps & Features tab of the Settings app.
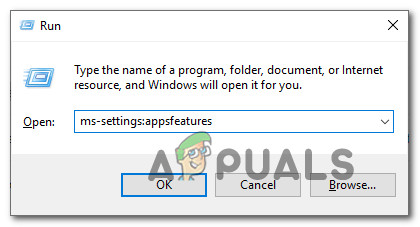
Accessing the Apps & Features menu of the Settings app - Inside the Apps & Features menu of Windows 10, go ahead and use the search function to search for ‘iTunes’. Then, from the list of results, click on the Advanced Options hyperlink under iTunes.
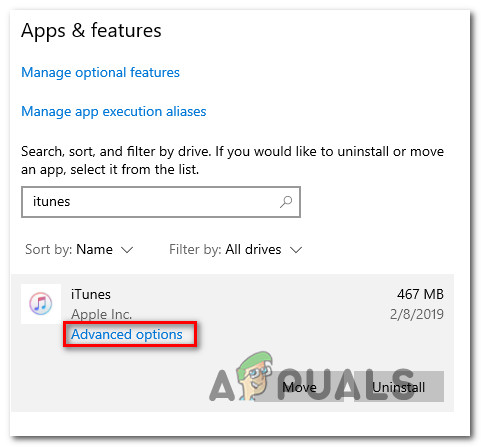
Accessing the Advanced Options menu of iTunes - Once you’re inside the Advanced menu of tunes, scroll all the way down to the Reset tab near the bottom o the window.
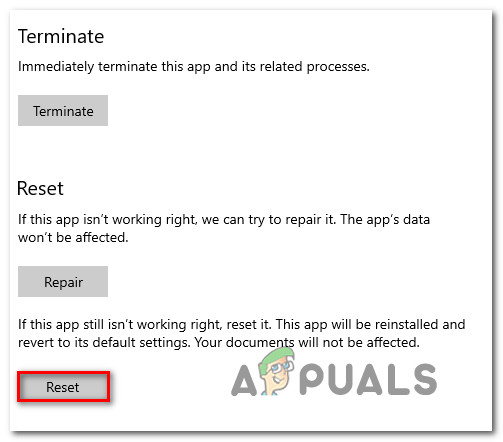
Resetting the iTunes app - At the confirmation prompt, click Reset once again, then wait for the operation to complete.
Note: During this process, iTunes will be reverted back to the initial state and every associated component will be reinitiated. - After the operation is complete, launch iTunes once again and see if the problem is now resolved.
B. Reinstalling the Desktop Version of iTunes
- Press Windows key + R to open up a Run dialog box. Next, type ‘appwiz.cpl’ inside the text box and press Enter to open up the Programs and Features menu.
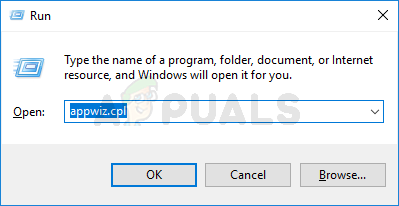
Type appwiz.cpl and Press Enter To Open Installed Programs Page - Once you’re inside the Programs and Features screen, scroll down through the list of applications, then right-click on the iTunes app and click on Uninstall. Next, follow the on-screen prompts to complete the uninstallation.
- Once the main iTunes apple is uninstalled, go ahead and uninstall the associated components. To make sure you don’t miss out on anything, filter the Programs & Files list by clicking on the Publisher column.
- Next, go ahead and uninstall everything signed by Apple .Inc. Once every relevant subcomponent is uninstalled, reboot your machine and wait for the next startup to complete.
- After your computer boots back up, access the iTunes download page and look for the latest Windows version (under Looking for other versions)

Downloading the desktop version of iTunes - Once the executable is successfully downloaded, follow the on-screen instructions to install the latest version of iTunes on your computer.
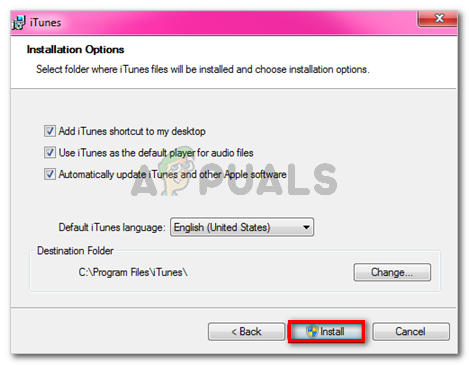
Installing iTunes on your computer - Reboot your computer and launch iTunes once the next startup is complete to see if the problem is now fixed.