How to Install Xplorer in Windows?
We all use a file manager on our system on a daily basis. File managers are a vital part of an operating system as they allow us to access and manage our documents and files that are stored on the computer. While the default file manager that comes with Windows, also known as File Explorer, works pretty well, it does lack the aesthetics and does not look that modern. This especially applies if you are on Windows 10 and not the newest Windows 11 which brought about a user interface overhaul. In this article, we will be showing you how to install Xplorer which is a file manager that is open source and more.
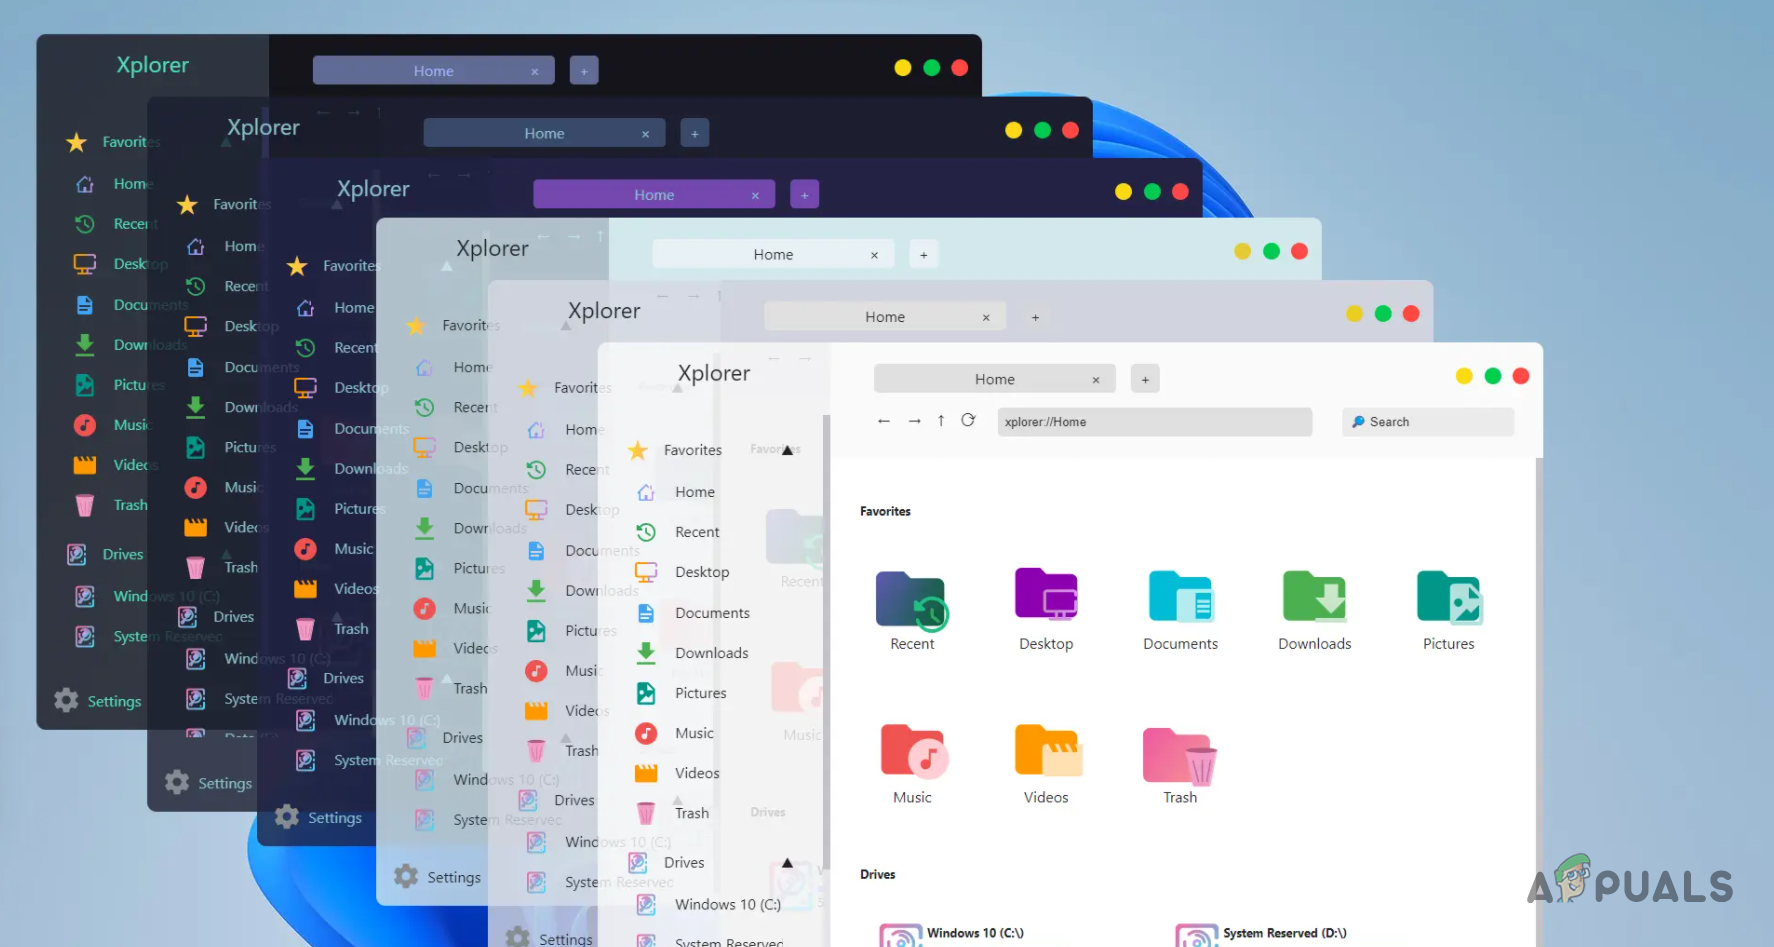
As it turns out, Xplorer is a community driven file manager that is open source and made using the Tauri framework. The project is open source which allows anyone to contribute to it. Xplorer offers a modern user interface as compared to the default File Explorer that is used by Windows which can sometimes come across issues like File Explorer not starting. Speaking of its features, while the project is still relatively new, it does pack quite a few exciting features such as customizability which allows you to install different themes that may have been made by other people.
In addition to that, it also offers file preview which, as is obvious from the name, allows you to preview the contents of a file within the file manager so you don’t have to open up the file. Videos are always supported by the file preview feature. With that said, let us get started and show you how you can install the Xplorer file manager on your Windows machine.
Xplorer Installation
As it turns out, the installation process of the file manager is pretty simple. To install the file manager, you will simply have to download the latest version of the installer available from the GitHub repository and then run it on your system. To do this, follow the instructions that are given down below:
- First of all, in your browser, head to the releases page of the official GitHub repository by clicking here.
- Once you are there, under the latest version, expand the Assets list and from there, click on the .msi file provided to download the installer.

Downloading Xplorer - Windows Defender might flag the file unsafe but you can go ahead and choose the keep option.
- After the file has been downloaded, go ahead and run it on your system.
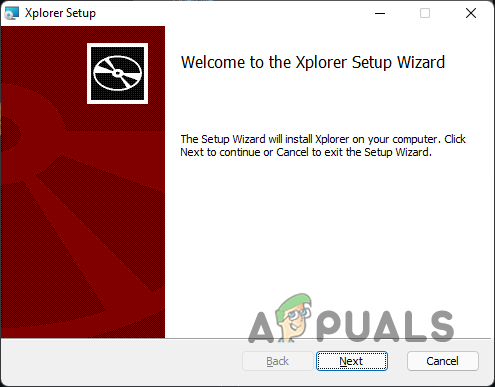
- On the Xplorer Setup screen, click the Next button provided.
Xplorer Setup - Agree to the license agreement and then click the Next button.
- Choose where you wish to install the file manager and then click the Next button again.
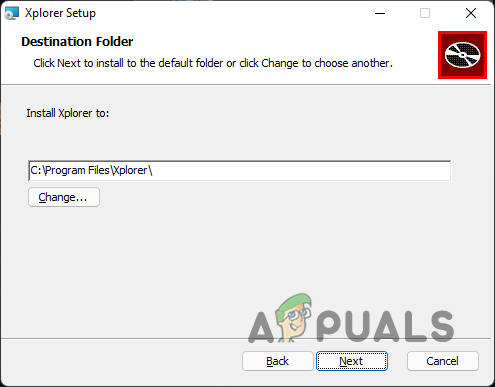
Choosing Installation Directory - Finally, click the Install button provided to install the file manager.

Installing Xplorer - Wait for it to complete and then click the Finish button.
- To launch Xplorer, simply search for it in the Start Menu.
Using Xplorer
Now that you have installed Xplorer on your system, you will be able to open up the file manager by simply searching for it in the Start Menu. Simply installing the file manager won’t be making it the default file manager on your system.
As it turns out, you could previously change the default file manager on your system by editing a key in the Windows Registry. However, that does not seem to work anymore and as such, there does not seem to be any other way to achieve this. With that said, one way you can use the Xplorer all the time is by simply pinning it to your taskbar instead of the default File Explorer. That way, you will be opening up the Xplorer file manager instead of the Windows File Explorer.
You can customize the appearance of the file manager by simply going to the Settings menu that is provided at the bottom left corner. From there, you can change the font size, the theme of the app along with many other things such as file preview settings. Customize it to your liking and you are good to go.
Uninstalling Xplorer
Since the file manager is currently in active development, there are bound to be issues and bugs with the app which is not something everyone might be fine with daily driving. As such, if you wish to uninstall the file manager from your system, you can do so quite easily. To do this, follow the instructions given down below:
- To start off, open up the Control Panel by searching for it in the Start Menu.
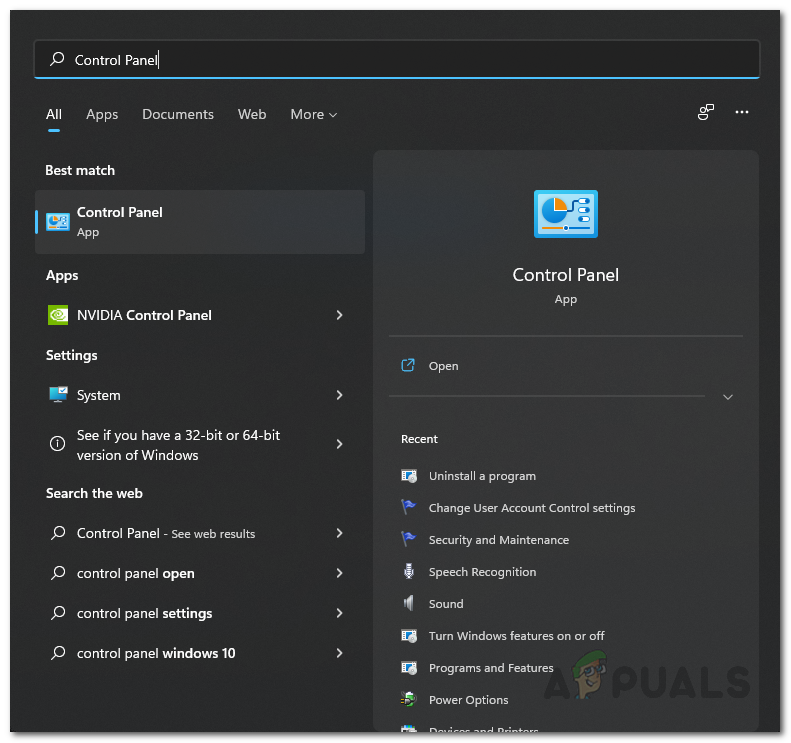
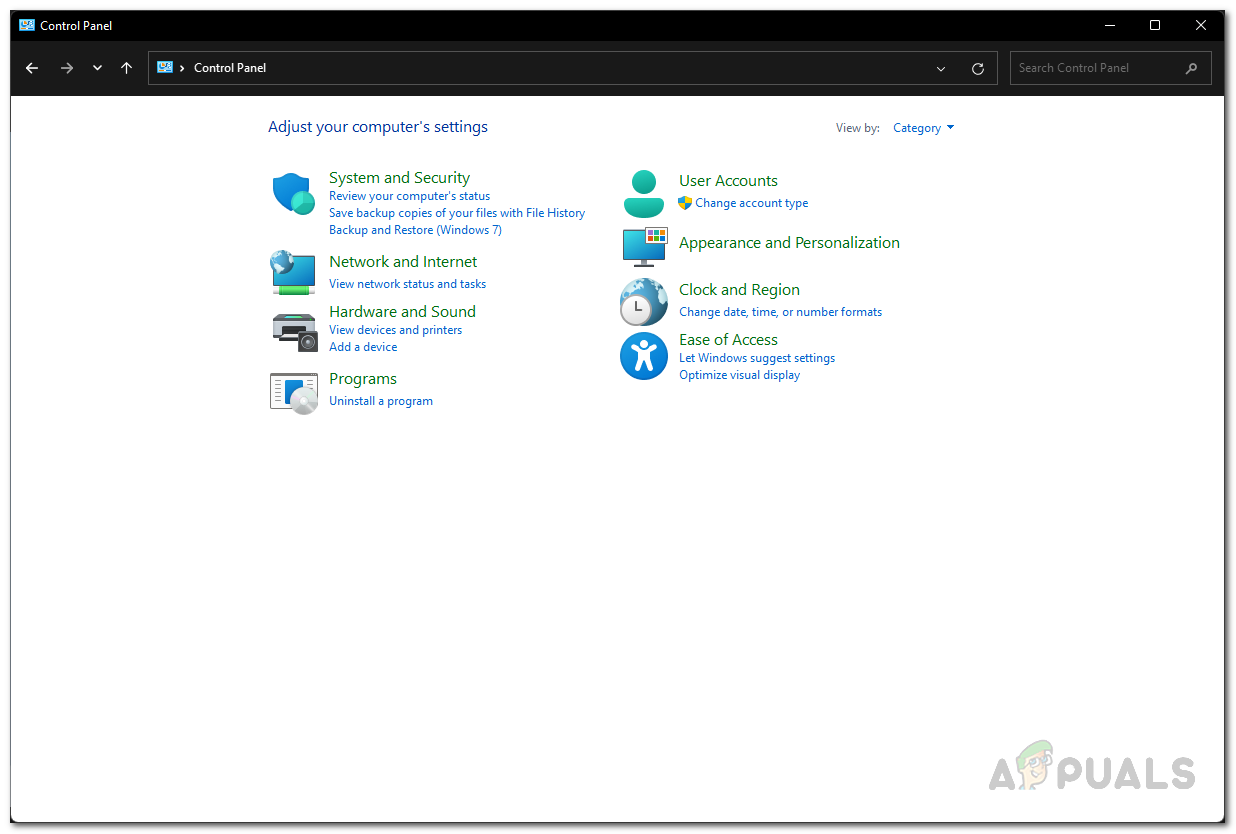
Opening up Control Panel - On the Control Panel window, click on the Uninstall a program option under Programs.
Control Panel - From the list of installed applications on your system, locate Xplorer and then double click on it to uninstall it from your system.
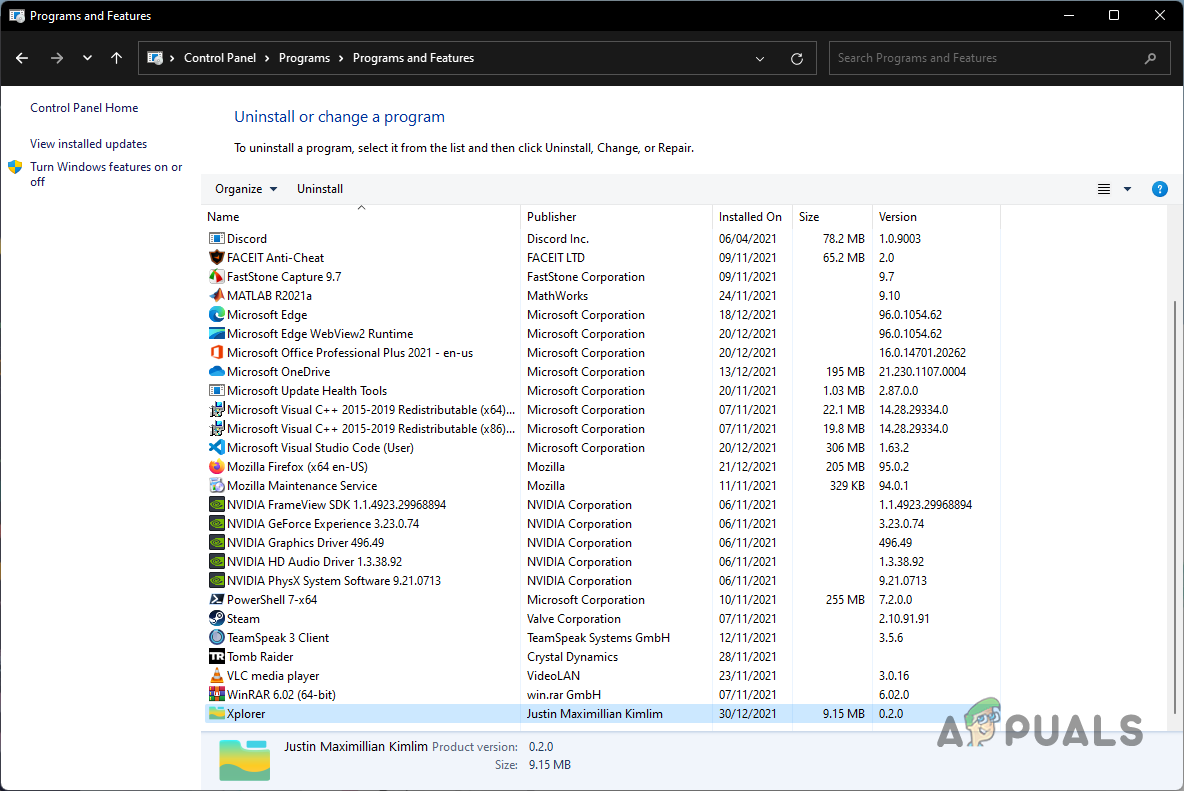
Uninstalling Xplorer - With that done, you have successfully uninstalled Xplorer from your system.