File Explorer Not Starting on Windows 11? Try these methods
Some users have been experiencing an issue with their File Explorer on Windows 11. As it turns out, after logging into the respective user account, users are not prompted with the File Explorer window after trying to open it up. The problem in question can usually occur when there’s some sort of corruption in the system files since File Explorer is part of the operating system or in some cases, the cache files of the File Explorer can also result in the issue. In this article, we will take you through the process and show you how to resolve the problem mentioned.
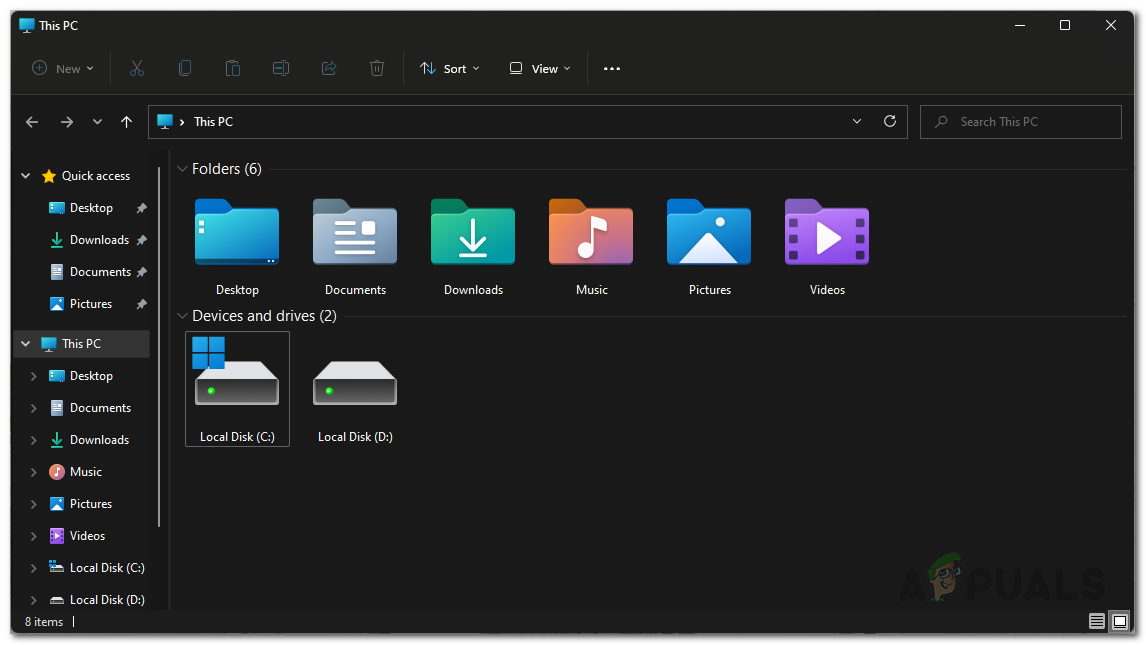
As it turns out, the File Explorer is a vital part of the operating system and we all have to use it daily in order to access our files and documents. Now, as we have mentioned, the problem can sometimes occur when the cache files of the File Explorer are corrupted or damaged. In such a scenario, you will have to delete the files so that they can be generated again. In addition to that, in some cases, the problem can also arise if your system has some corruption which can be resolved by performing an SFC scan. With that said, let us get started and show you the different methods that you can use to circumvent the issue in question without further ado.
Restart File Explorer Process
The first thing that you should do when your File Explorer is not starting up is to restart the process. As it turns out, the problem can occur, in some cases, when the explorer process does not start properly or bugs out. In such a scenario, you can easily resolve the issue by simply restarting the process from the Task Manager. To do this, follow the instructions given down below:
- First of all, right-click on the Windows icon on your taskbar, and then from the menu that appears, choose the Task Manager option.
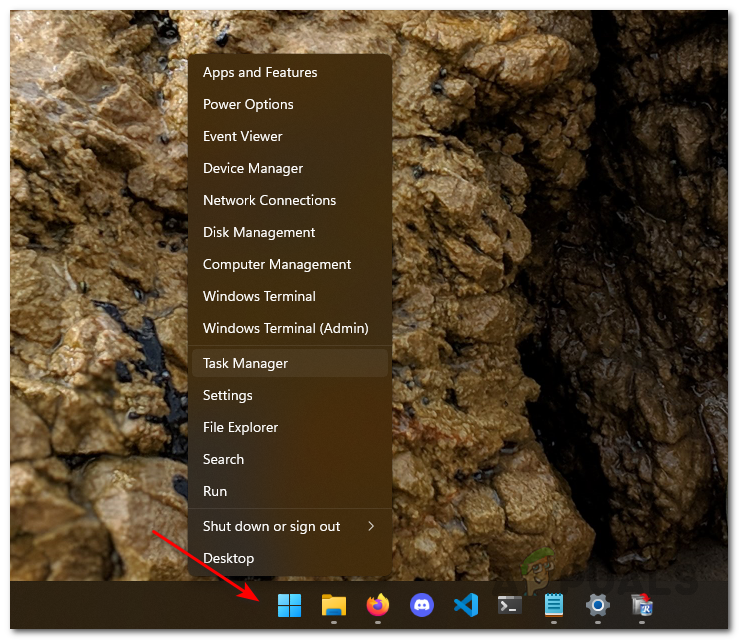
Opening Task Manager - After that, from the list of processes, locate Windows Explorer and select it.
- Once you have done that, click the Restart button at the bottom right corner.
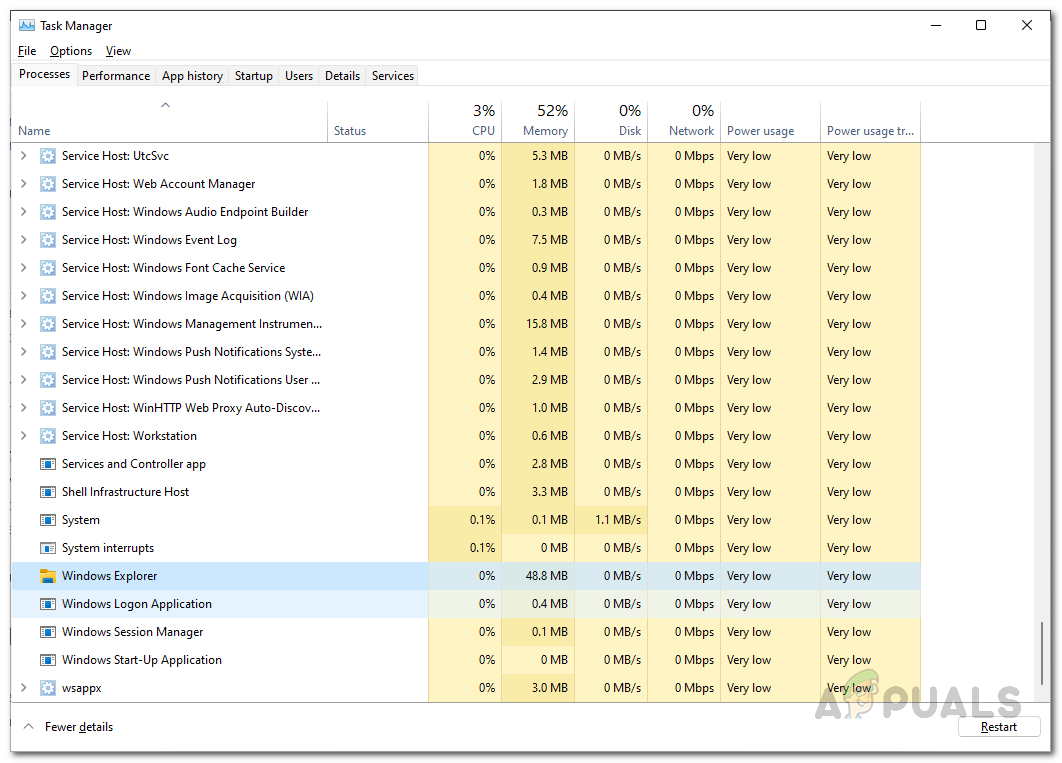
Restarting File Explorer Process - See if that resolves the problem for you.
Clear File Explorer Cache
As it turns out, another reason that the problem may be surfacing is due to the cache files that are stored on your system. Cache is pretty common and every app that you use on your system has its own cache files that are often used to store general settings or info about how you use the app in order to make the experience smoother in future. In this case, your search history is stored by File Explorer.
If the cache files are corrupted, it can prevent the application from starting up. In such a scenario, you can fix the problem by clearing out the cache. These files are temporary so you don’t have to worry about anything while deleting them as they will be generated the next time you start File Explorer. To do this, follow the instructions given down below:
- To start off, open up the Start Menu and search for File Explorer Options and then open it up.
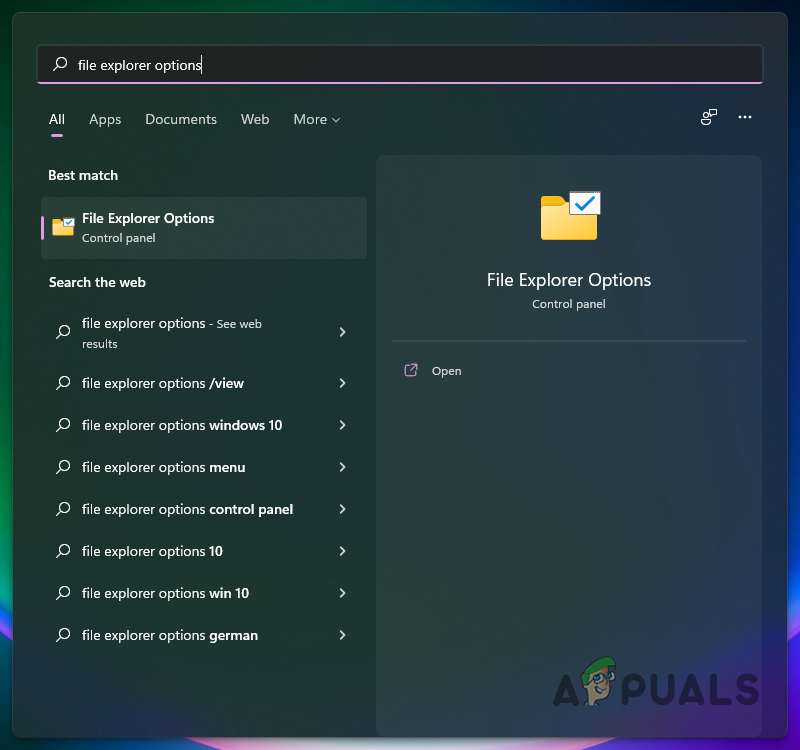
Opening up File Explorer Options Window - Then, in the File Explorer Options window that comes up, click the Clear button under Privacy and then hit the OK button.
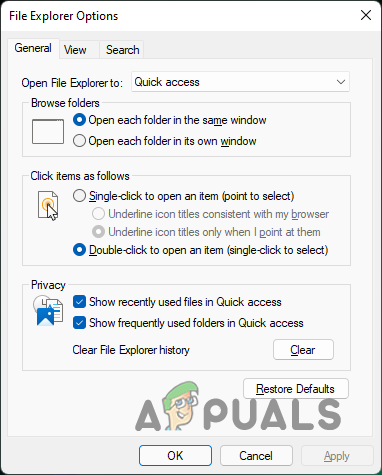
Clearing File Explorer Cache - Once you have done that, go ahead and see if the problem is still there.
Run SFC Scan
File Explorer is a part of the Windows operating system and comes pre-installed as we all know. In some cases, the problem can originate when your system files are damaged or corrupted. If this case is applicable, you will have to run the SFC scan on your system.
System File Checker or SFC scans your system files for any corruption and in case of any anomalies, the damaged files are replaced with a cached copy. After the SFC scan, we will be running the DISM tool that will repair the corrupted system components. Follow the instructions given down below:
- First of all, open up the Start Menu and search for cmd. Then, either right click on the result shown or click on the Run as administrator option provided on the right hand side to run it as an admin.
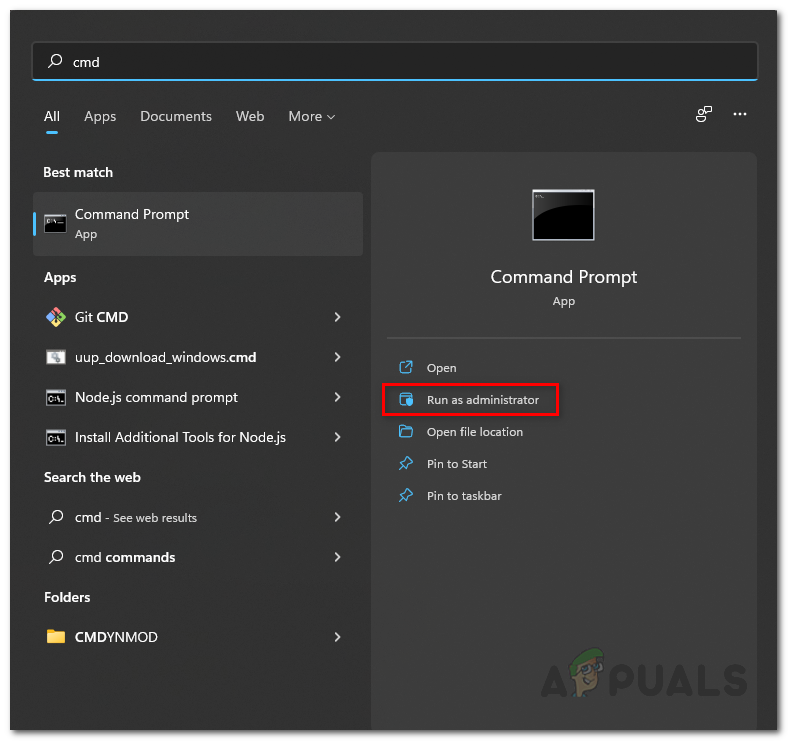
Opening Command Prompt as an Admin - Once the command prompt window is open, type in the following command and then hit the Enter key:
sfc /scannow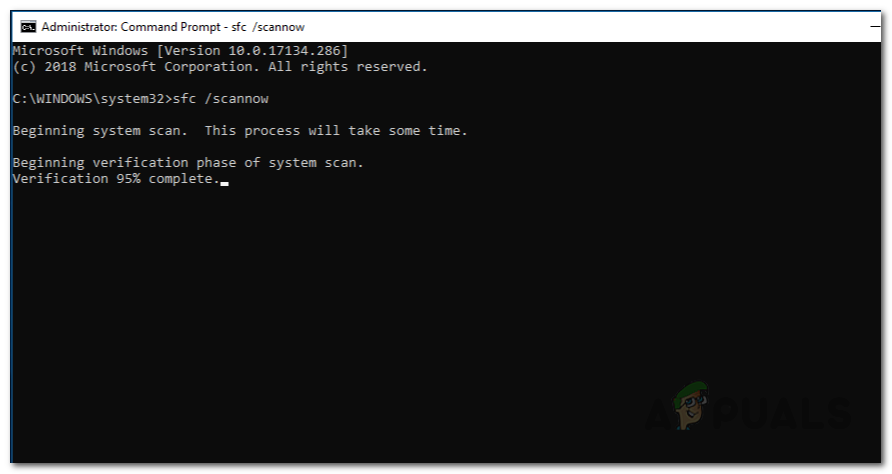
Performing SFC Scan - Wait for this to complete. After the scan has been completed, enter the following command to repair the corrupted system components:
Dism /Online /Cleanup-Image /RestoreHealth
Repairing Corrupted System Components - After that is finished successfully as well, go ahead and restart your system.
- Then, try opening up the File Explorer to see if that resolves the issue.
Reset Windows
Finally, if the above solutions have not fixed the problem for you, then in such a scenario, you will have to reset your Windows operating system. Resetting your PC is essentially like reinstalling Windows. However, you are given the choice of choosing what files or programs to keep and what to remove. That way, you do not lose the data that you have on your system drive like you normally would by performing a clean installation of Windows.
To reset your PC, follow the instructions given down below:
- First of all, open up the Windows Settings app by pressing Windows key + I on your keyboard.
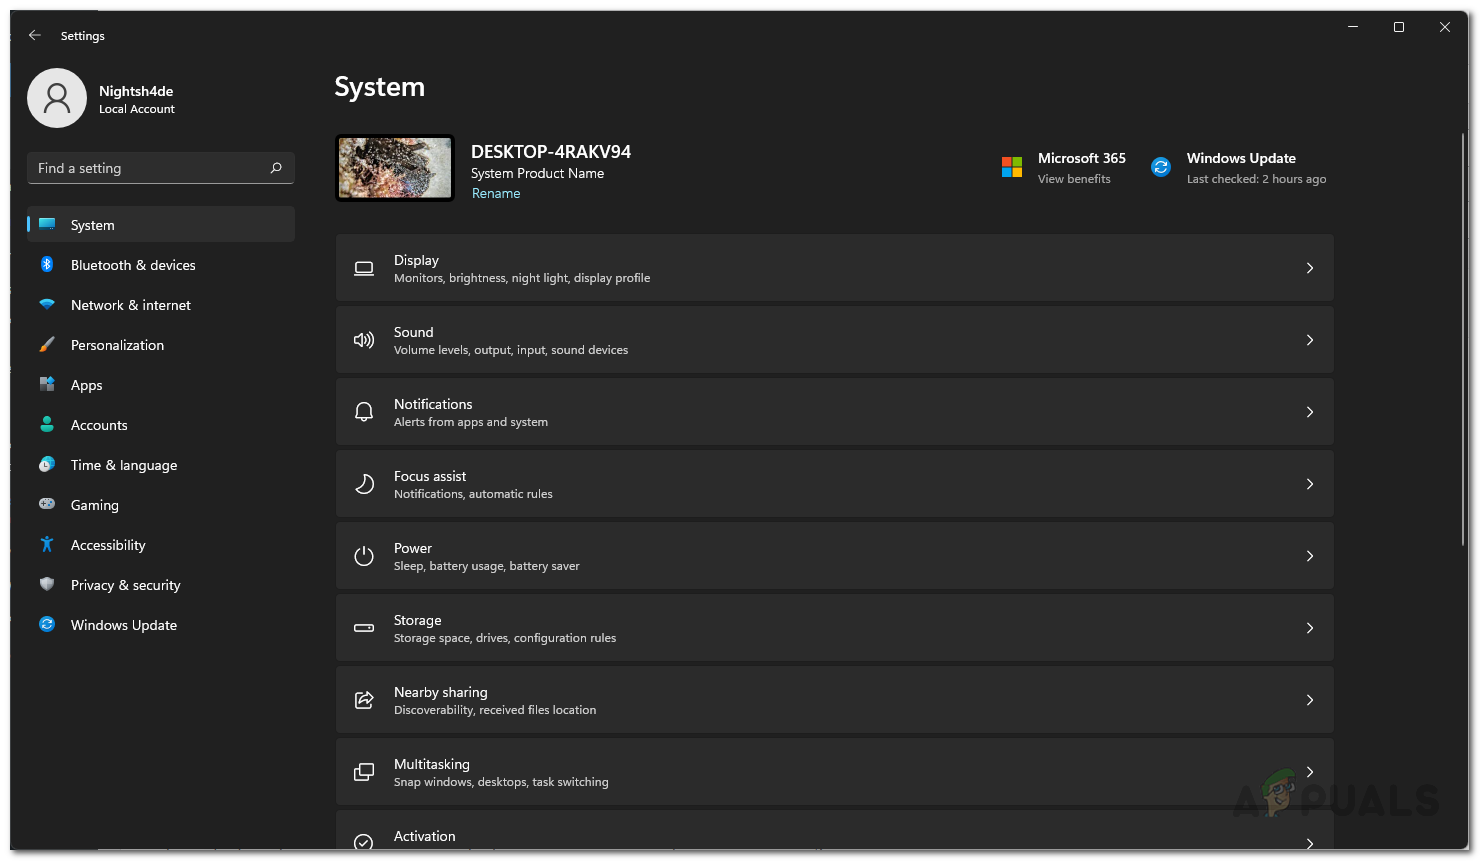
Windows Settings - Then, on the System tab, scroll down and then click on the Recovery option provided.
- Once you are there, click on the Reset PC button.
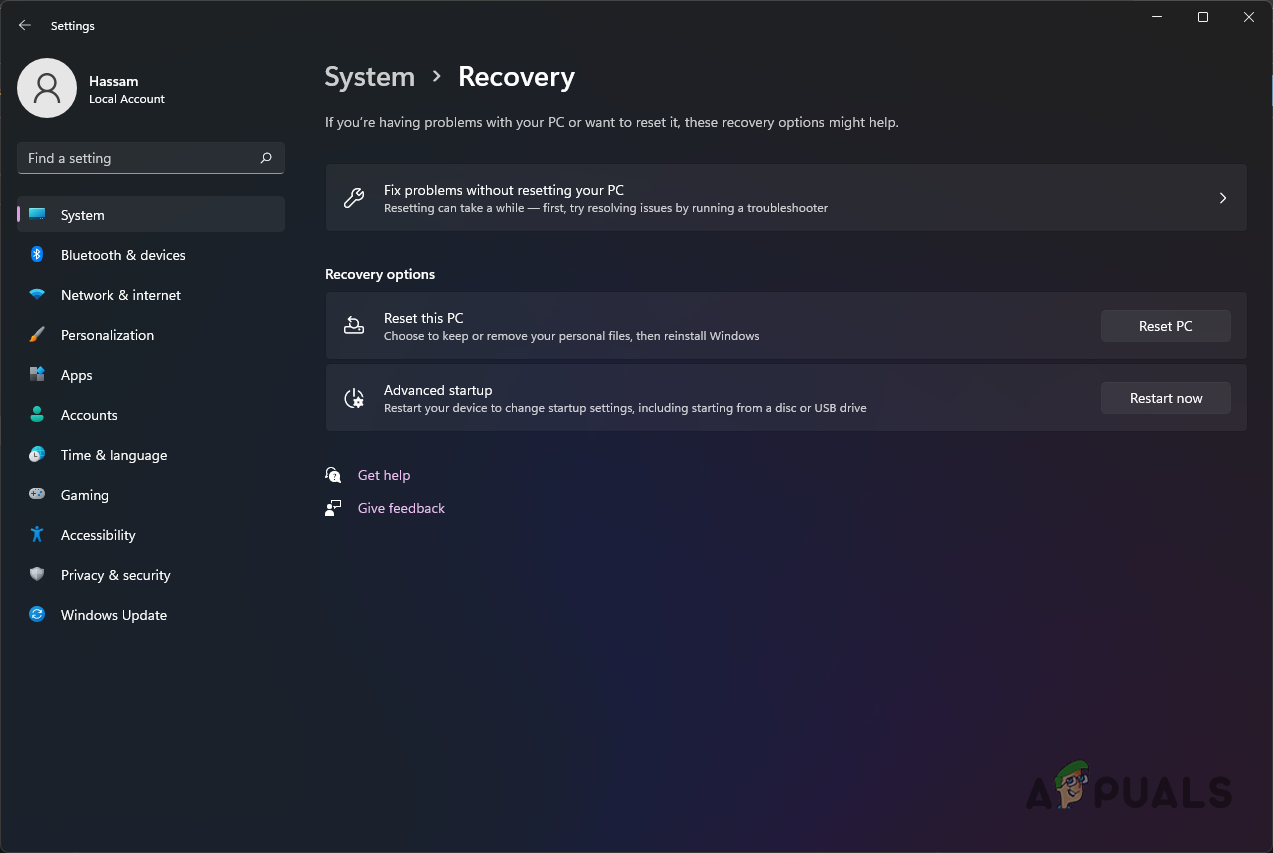
Recovery Settings - Finally, follow the on-screen prompts to reset your PC.


Thank you so much!!! After following the step using “CMD” and restarting my computer, my issue was resolved! The issue I had was that the folder options settings I was selecting would not implement, even after selecting “apply”, and “OK”. There was large spacing between each line in the file explorer and there were check boxes. I can’t stand seeing either, so it was frustrating when the folder options I was selecting wasn’t changing anything. Thankfully we have people like Kamil Anwar to help us with our computer problems!