What is Tiny11? (Installation Guide) | is it safe to Install?
Windows 11 has been slowly replacing your last version of the operating system, even though at a very slow rate. One of the reasons for this slow switch is the system requirements of Windows 11. Many systems have been left out due to the rigorous system requirements of the new version, from specific hardware components to support for various features, older systems have been left alone.
While some of these requirements can be bypassed, Windows 11 has still been found lacking, considering the speed of the operating system on older generations. If you find yourself in this dilemma, luckily there is some good news for you with the release of Tiny11.
Tiny11: An Introduction
Tiny11 is essentially a flavor of Windows 11 that has been modified to make the operating system lightweight. It has been made by a third-party developer known as NTDev who is known to experiment on Windows. This means Tiny11 is not an official release and is not related to Microsoft in any way.
The primary objective of this lightweight version was to allow older systems to be able to use the new operating system without the cost of speed or performance. This has been achieved by removing a lot of the bloatware from the operating system.
While the majority of the preinstalled apps have been removed from the image, accessibility features offered by Microsoft as part of the operating system have not been touched. This includes Narrator, and Magnifier, along with other common apps like Notepad, Calculator, and more.
Tiny11: Comparison to Windows 11
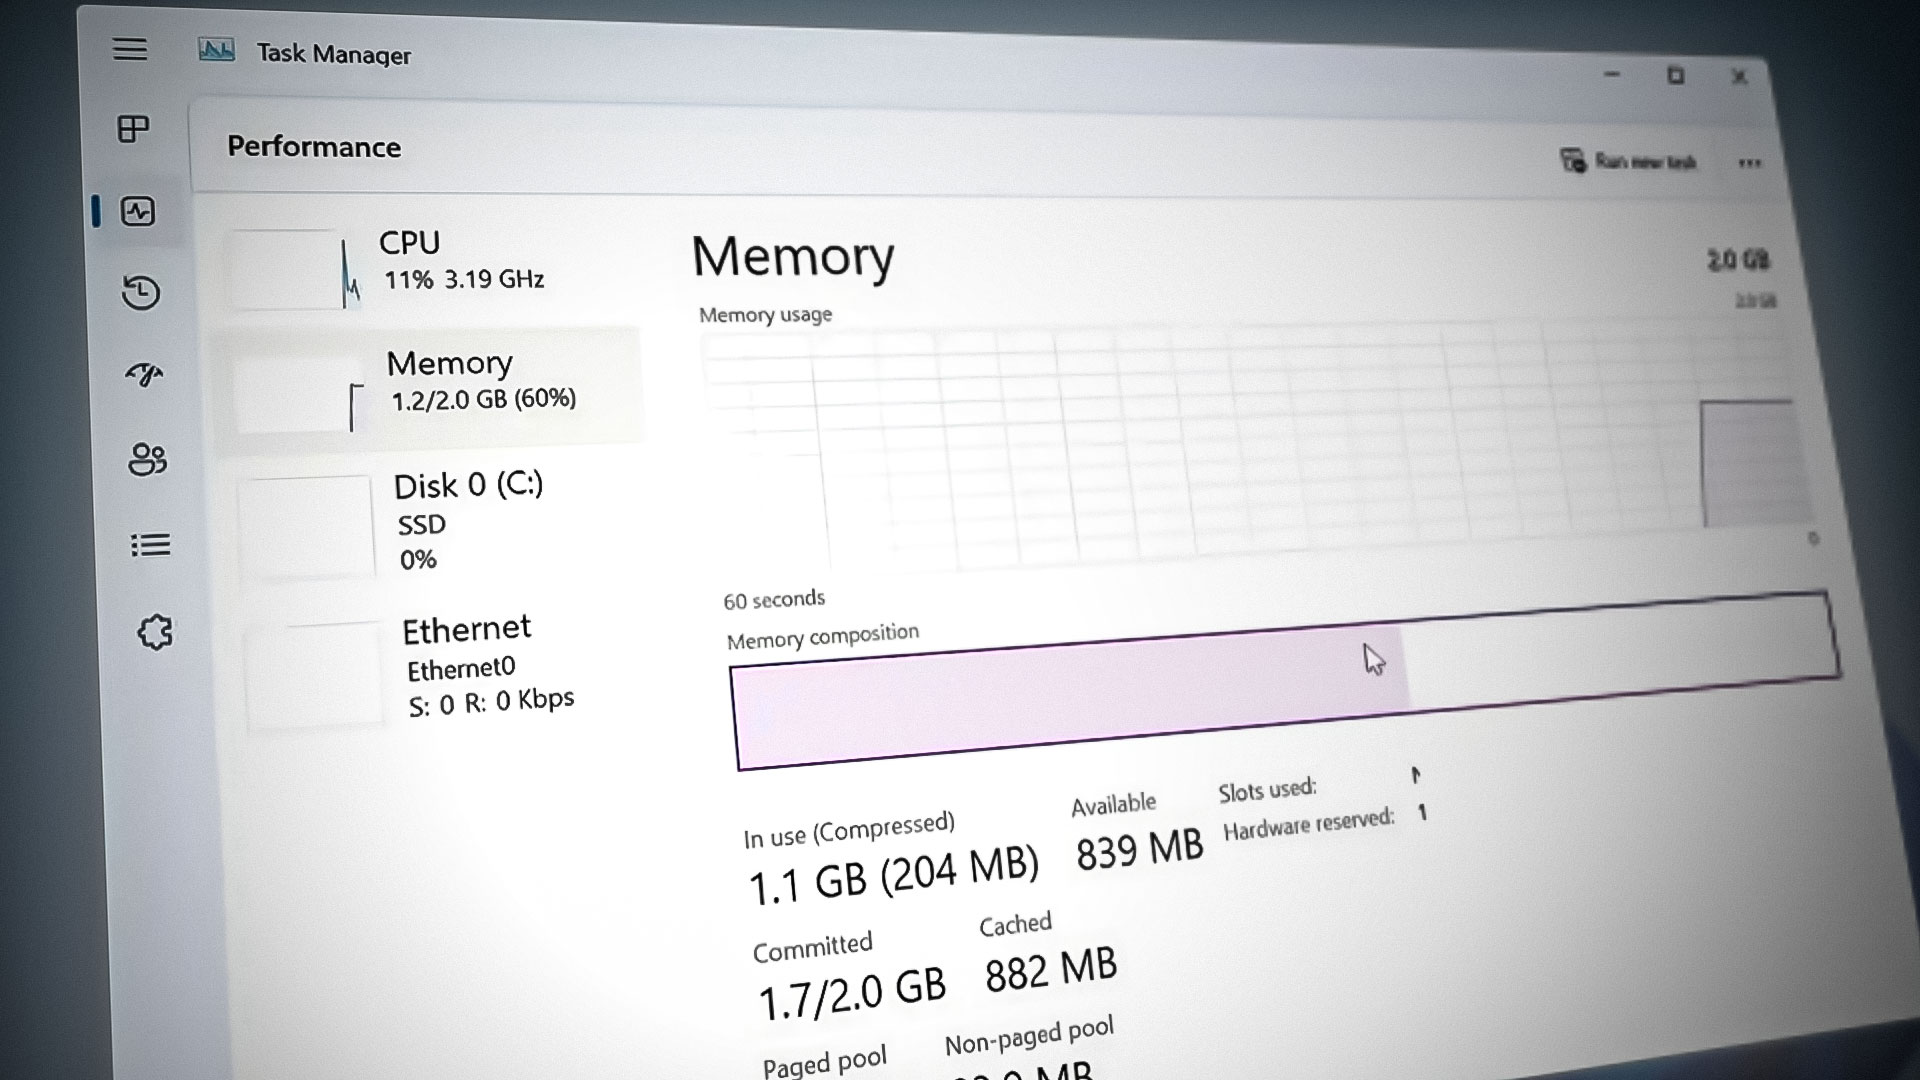
In comparison to the full-fledged version of Windows 11, Tiny11 uses low fewer resources. The default installation size of Windows is around 20 GB, while Tiny11 only takes 8 GB of space on your drive. There are no defined requirements for the operating system as it is able to run even with 2 gigs of RAM.
A lot of the preinstalled apps have been removed, as we have mentioned, which includes Microsoft Teams, Microsoft Edge and more. However, Microsoft Store has been left in place which you can use to download any apps that you would like, such as a browser to set off the journey.
In addition, the operating system uses a local system account by default as compared to the Microsoft account requirement of Windows 11. Contrary to the default behaviour, you can opt to use a Microsoft account.
Furthermore, you are able to update the Windows operating system, thanks to the Windows Store Component. This was not present initially but has been added by NTDev in a later update. This allows you to receive important feature and security updates pushed to the Windows Update pipeline.
Tiny11: Is it Safe?
To start off, we would recommend sticking with the standard version of Windows 11 if your computer supports it. This has also been advised by the developer, NTDev, himself. This is because the operating system lacks a lot of features offered in the standard Windows 11 installation, and some of you might find it useful.
As we have mentioned prior to this, the idea behind Tiny11 is to allow older systems to run the new operating system. Even with a lightened version like Tiny11, you should take the performance of the operating system with a grain of salt. Not to mention, a single developer is responsible for maintaining it, compared to the large number of developers at Microsoft. As such, you might even encounter errors here and there.
NTDev is a known creator in the community, thus, the safety of Tiny11 should not have any issues. The reviews of various users of the operating system also solidify and strengthen this claim. Nonetheless, this is not an official release and we would recommend being careful with it.
Installing Tiny11
There are two ways you can install Tiny11 on your computer. The first would be to update from Windows 10 to Tiny11. Secondly, you can download the ISO and create a bootable USB drive to install the operating system.
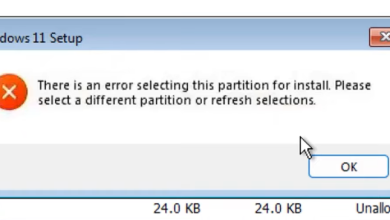
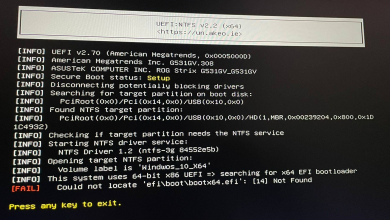
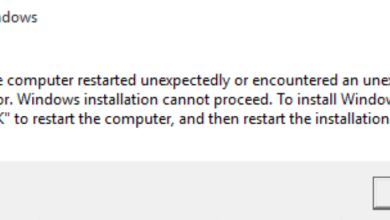
We recommend using the second approach as upgrading your Windows 10 to Tiny11 is not a smooth process and there are tons of errors you can encounter. Follow the instructions below to download and install Tiny11 on your system:
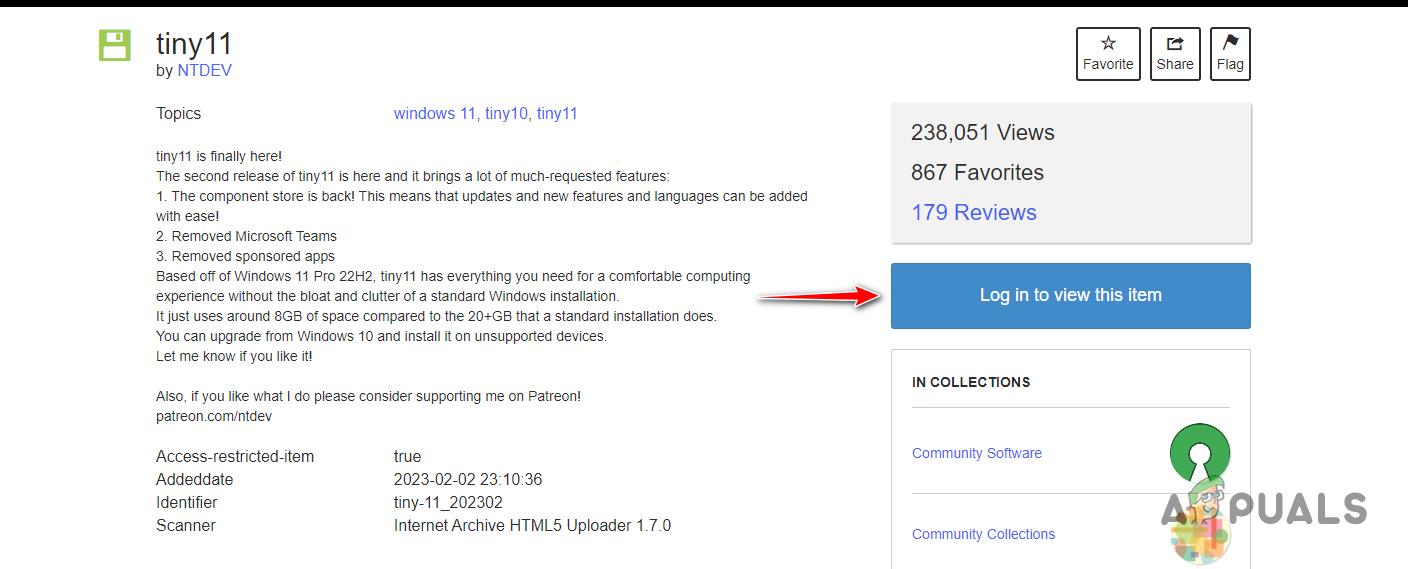
- First, you will have to download the ISO image from the official link provided by NTDev. Click here to open the official source of Tiny11. There are various third-party links available. These have the possibility of being modified so it’s not recommended to download the image from there.
- To download the ISO image, you will need to create an account on the website. Click on the Log in to view this item option and create an account.
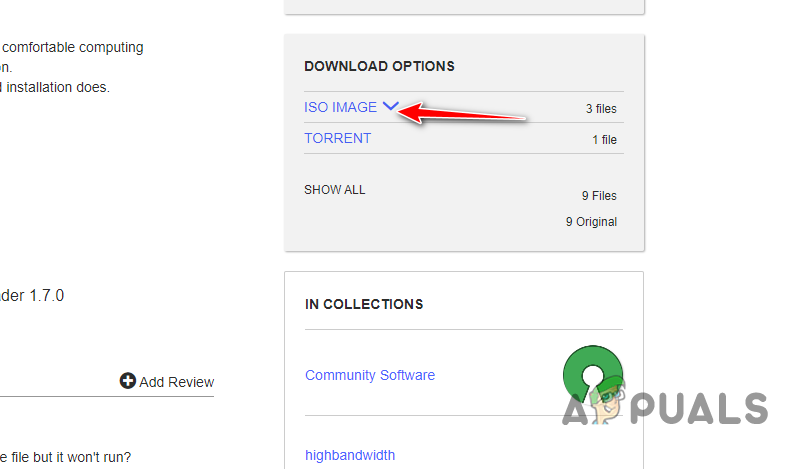
- After logging in, click on the down arrow option next to ISO Image.
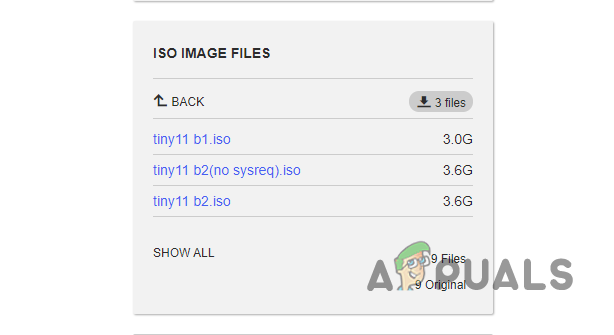
- If your system supports TPM / Secure Boot, use the Tiny11 b2.iso option to download the image. If your PC does not support TPM / Secure Boot, you will have to download the tiny11 b2(no sysreq).iso file.
- The download process will take a while even if you have a fast internet connection. This is because of the bandwidth-limiting policies of the Internet Archive website. If you would like to avoid that, you can use the torrent link.
- After you have downloaded the ISO image, you will need to create a bootable USB drive using Rufus. To do this, download Rufus from the official website by clicking here.
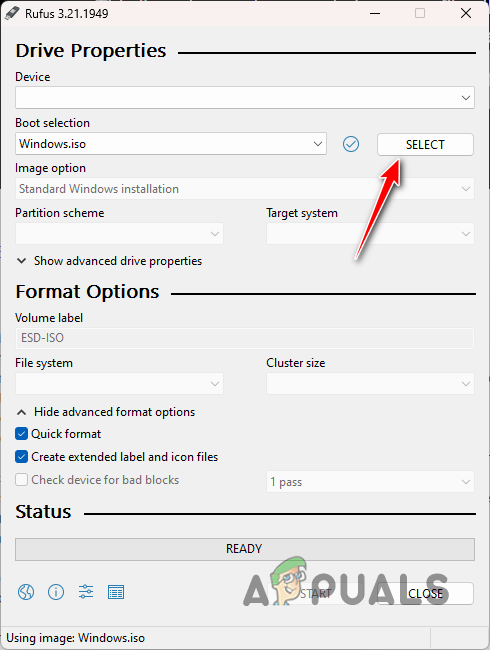
- Open Rufus on your computer, and click on the Select option. Navigate to the folder where the ISO image exists and open it.
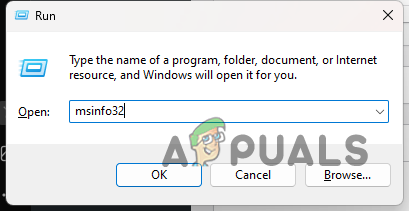
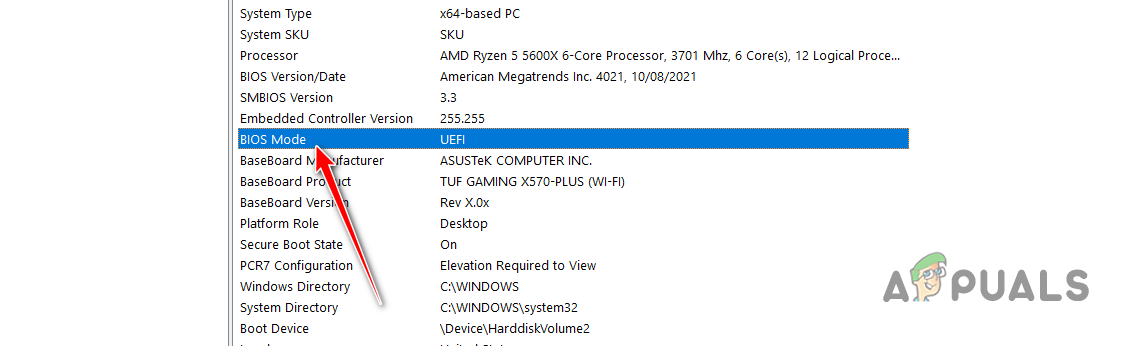
- For the Partition Scheme, you need to look at your BIOS Mode. Press the Windows key + R on your keyboard to open the Run dialog box. Type in msinfo32 and hit Enter.
- Then, locate BIOS Mode. If it is Legacy, use MBR as the Partition Scheme. Select GPT in Rufus if the BIOS Mode is UEFI.
- Finally, click the Start button to create your bootable USB drive.
- Once that completes, restart your computer. As your PC boots up, you will need to open the Boot Menu. This can be done via a shortcut key which can differ per motherboard manufacturer. The most common keys are F9, F10, and F11. You should see a message at the start mentioning your respective key. Press it to open the Boot Menu.
- In the Boot Menu, use the arrow keys to boot using your USB drive.
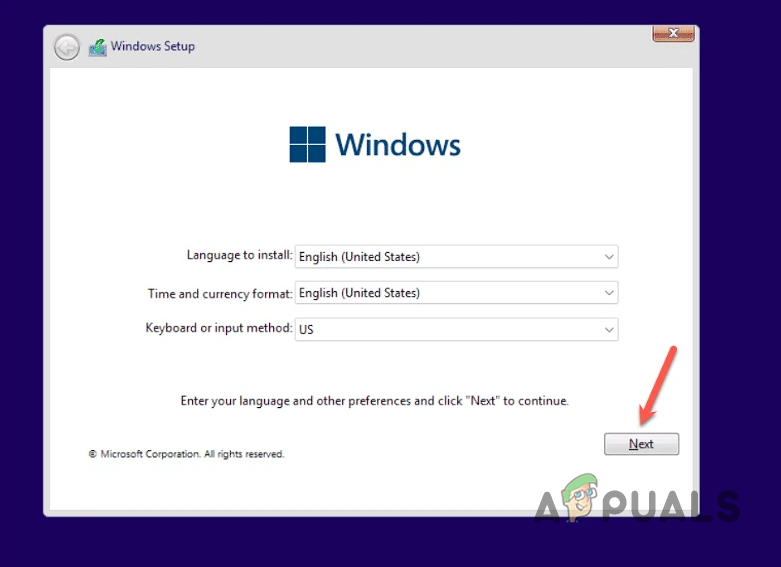
- At this point, you will reach the Windows Setup screen. The installation process is not different from your standard Windows installation. Follow the on-screen prompts to complete the installation.