How to Download and Install iTunes on Chromebook?
For many users who transition between Apple devices and Chromebooks, one key piece of software that’s often missed is iTunes. With its vast library of music, movies, and podcasts, iTunes is a staple for Apple users. However, Chromebooks do not natively support iTunes, leaving those who have come to rely on its media-rich content in search of a solution.
While ChromeOS excels in simplicity and speed, the absence of a native iTunes application may seem like a significant drawback. Nevertheless, there are ways to bypass this limitation. In this article, we’ll explore several methods for getting iTunes up and running on your Chromebook, thus bringing your favorite media content to the versatile ChromeOS environment.
Despite the lack of native support, there are workarounds to run iTunes on a Chromebook. They include:
- Using Wine
- Using the iTunes website
- Using Virtual Machine Applications like Parallels or VirtualBox
Use Wine to Install iTunes on a Chromebook
Since ChromeOS is based on Linux, its Linux capabilities can be harnessed to install Wine, which facilitates installing Windows apps like iTunes on Linux. The installation process involves several steps (as outlined below). Ensure that you have created an iTunes account beforehand, if you don’t already have one.
Enable the Linux Feature on Chromebook and Update It
- Open the Chromebook Settings and navigate to the Linux Beta tab in the left pane. Some users may find this option under the Advanced settings.
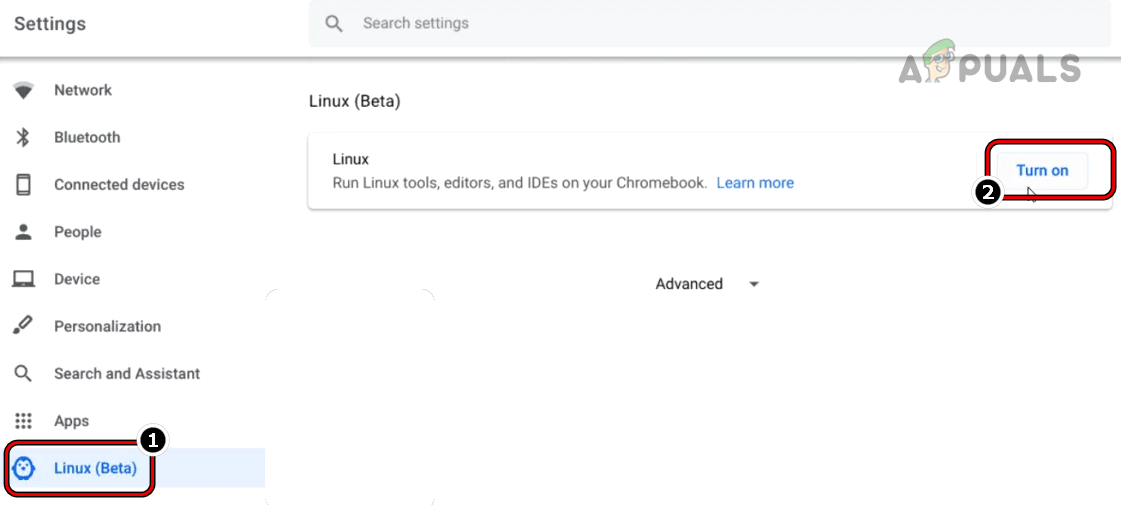
Turn on Linux (Beta) in the Chromebook Settings - In the right pane, click on Turn on, then follow the on-screen prompts to configure Linux on your Chromebook.
- After completing the setup, the Linux Terminal will appear, or you can launch it from the Applications menu. Then execute the following commands in the Terminal:
sudo apt-get update && sudo apt-get upgrade -y
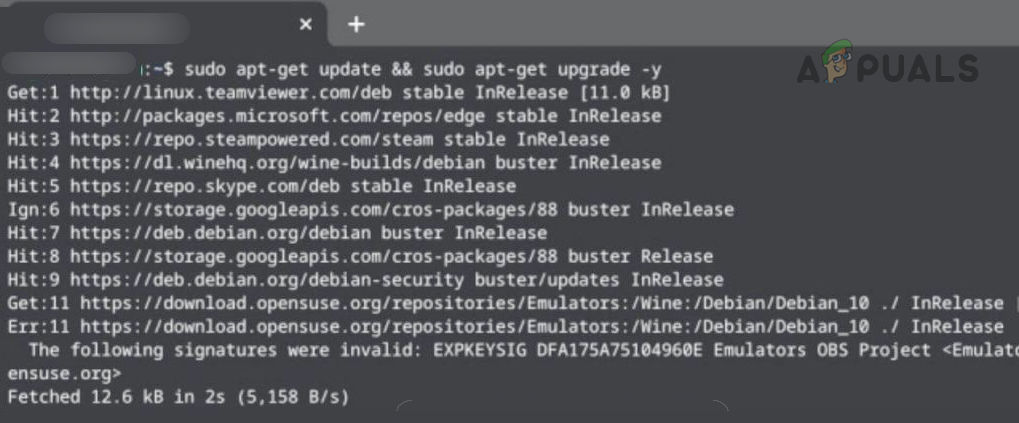
Update and Upgrade Linux on Chromebook
Install Wine on Chromebook and Enable Support for 32-Bit Applications
- Execute the following command in the Linux Terminal to install Wine:
sudo apt-get install wine
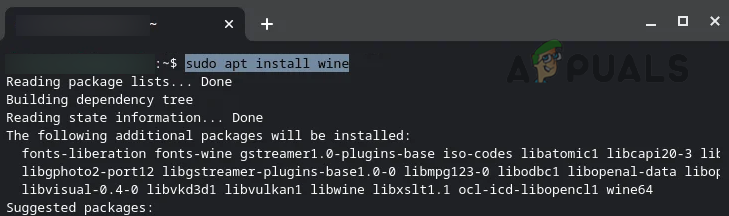
Install Wine on the Chromebook - Wait for the installation to complete, and then execute the following commands, one at a time, in the Terminal to enable support for 32-bit applications:
sudo dpkg --add-architecture i386

sudo apt update

sudo apt-get install wine32
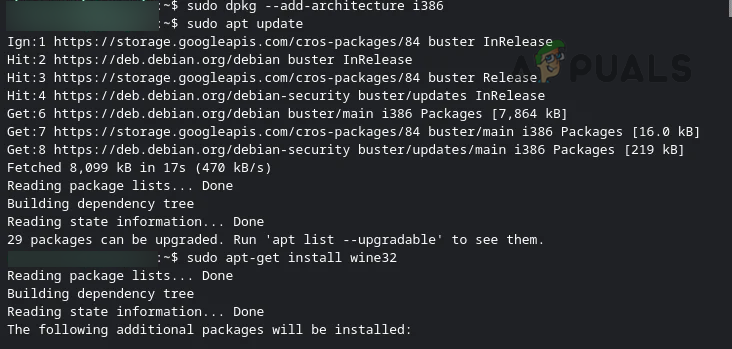
Enable 32-bit Support on the Chromebook
Download the iTunes 32-bit Version
- Open a browser on your Chromebook (such as Chrome) and navigate to the official iTunes download page on Apple’s website.
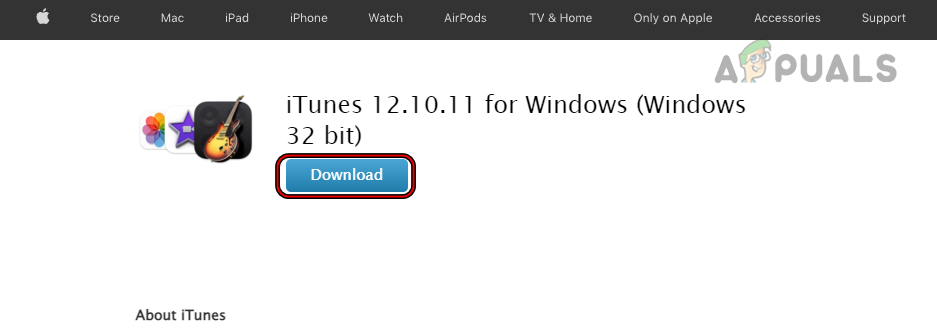
Download the iTunes 32-bit Version for Windows - Click on Download and save the file on your Chromebook. Rename the file to something like iTunes.exe for easier identification.
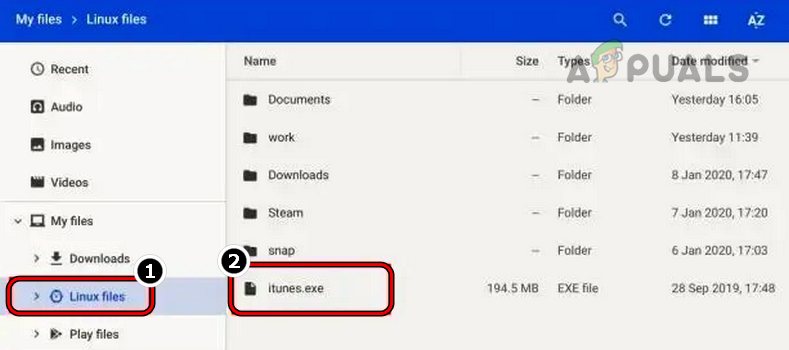
Move iTunes.exe to Linux Files - Then, move the downloaded file to the Linux Files directory or provide the Linux environment with access to the location where the file was saved.
Install the Wine 32-bit Version of iTunes
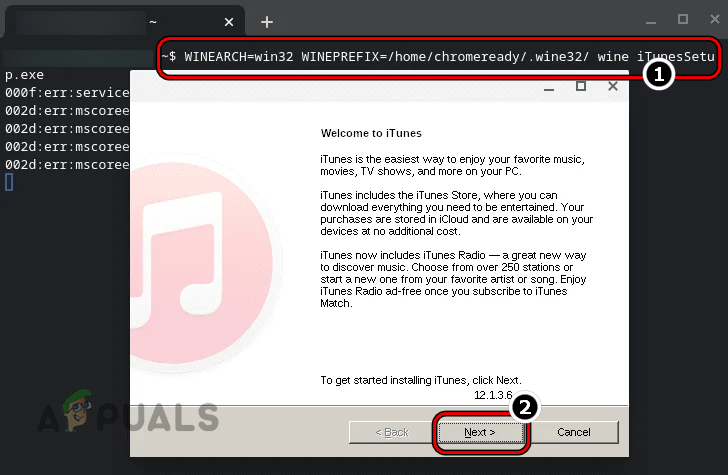
- Launch the Linux Terminal and execute the following command:
WINEARCH=win32 WINEPREFIX=/home/username/.wine32/ wine iTunesSetup.exe
Replace “username” with your actual username.
- In the iTunes installation window, click Next, then Install.
Install iTunes on Chromebook - Follow the on-screen prompts to complete the iTunes installation.
- Finally, open the Applications on your Chromebook and launch iTunes to begin using it.
Create an iTunes Shortcut
If you prefer a quicker way to access iTunes than from the Applications folder, you can create a shortcut on your Chromebook.
- Open the File Manager on your Chromebook and navigate to the Linux Files section.
- Click on the three vertical dots in the top-right corner and select Show Hidden Files.
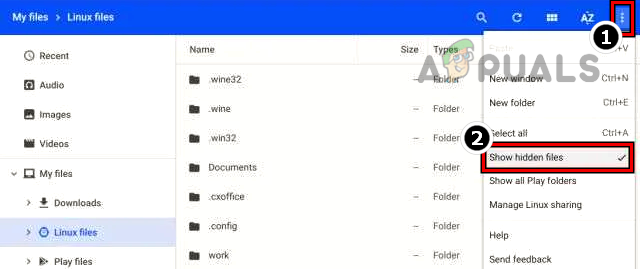
Show Hidden Files in Chromebook - Navigate to the following path:
.local >> share >> applications >> wine >> Program Files >> iTunes

Navigate to the iTunes Shortcut Location - Right-click on iTunes.desktop and select Open With, then choose Text Editor (you may need to install a text editor if none is installed).
- Add the following command after “Exec=” in the text file, replacing “<yourusername>” with your actual username:
env WINEPREFIX="/home/yourusername/.wine32" wine "/home/yourusername/.wine32/drive_c/Program Files/iTunes/iTunes.exe"

Edit the iTunes.desktop File - Save and close the Text Editor.
- You can now launch iTunes from the App Drawer, and you have the option to pin iTunes to the Chrome Shelf for easy access.
Use the iTunes Website
If the aforementioned Wine method feels too complex or didn’t work for you, and your primary interest lies in streaming music from iTunes, then consider using the iTunes website directly. You might find it convenient to create a shortcut to the website on your Chrome browser. Below, we’ll demonstrate how to add a shortcut for the Music page of the Apple website.
- Open Chrome and visit the Music page on the Apple website.
- Click on the three vertical dots in the upper-right corner of the window, then navigate to More Tools and select Create Shortcut.
- In the prompt that appears, enter the shortcut name as iTunes.
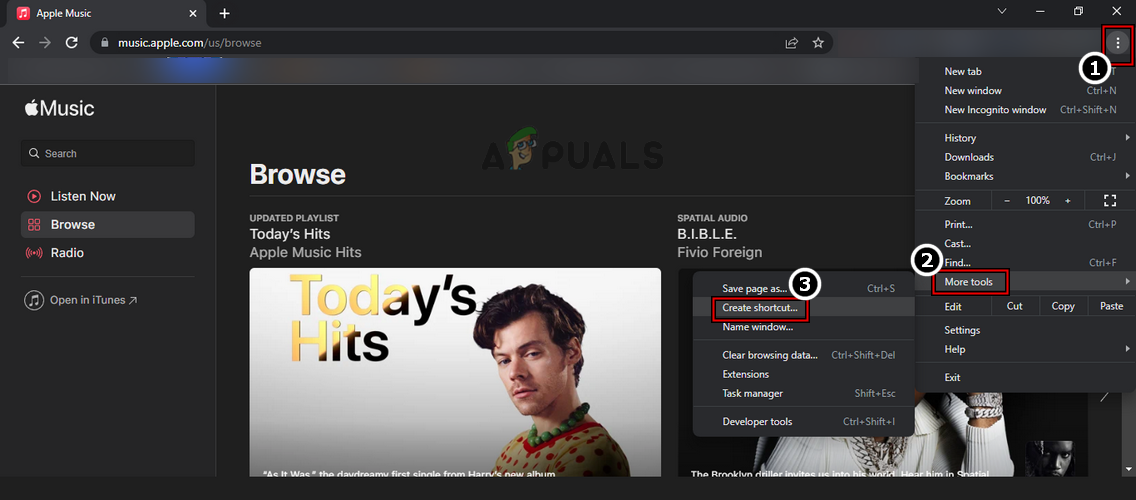
Create a Shortcut for the Apple Music Website in Chrome - A shortcut will now appear on the Chromebook’s desktop, allowing you to conveniently listen to music from iTunes.
Import iTunes Music to YouTube Music
Some users may prefer to transfer their iTunes music library to YouTube Music in order to utilize the Google ecosystem. To do this, you need to perform the following steps on a PC:
- Open a web browser and go to the YouTube Music website.
- Drag and drop the iTunes music files onto the YouTube Music web page.
- Accept the YouTube Terms of Service (if prompted) and wait for the transfer process to complete.

Drag & Drop the iTunes Music to YouTube Music and Accept its TOS - The uploaded iTunes music will be accessible and playable via YouTube Music. Moreover, YouTube Music has support within the Apple ecosystem, making it simple to synchronize your music library across devices.
Use a Virtual Machine Application
For users who desire the full iTunes experience on a Chromebook (especially if Wine didn’t suit their needs), a virtual machine application is an excellent choice. There are several options available, such as Parallel Desktop for ChromeOS (which is paid), but we will focus on the process for using VirtualBox. Keep in mind that many Chromebooks with ARM processors may not be able to run virtual machines effectively, whereas Intel-based Chromebooks are likely to handle them with fewer issues.
Before starting, ensure you have downloaded a Windows ISO file if you have a high-end Chromebook at hand, or choose a lightweight Linux distribution if needed. Additionally, verify that your Chromebook has enough space to accommodate the guest operating system for the virtual machine.
- Open a web browser on the Chromebook and visit the VirtualBox Linux downloads page.
- Select and save the Debian 10 version of VirtualBox (the file size is approximately 80 MB).
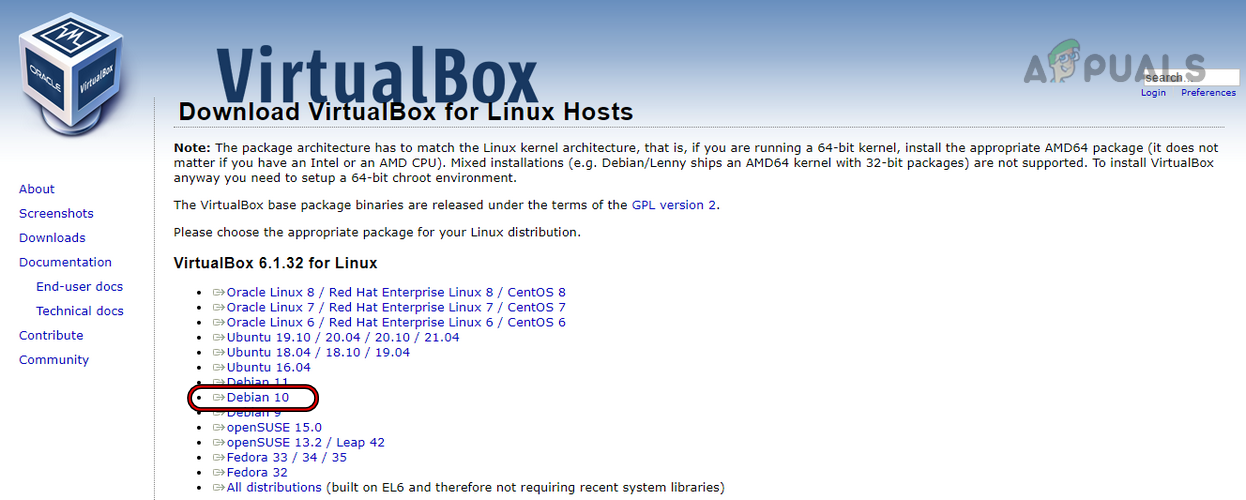
Download Debian 10 Version of VirtualBox - After the file has downloaded, navigate to its location on your Chromebook and double-click the file to initiate installation.
- Select Install with Linux (Beta) and follow the on-screen instructions to install VirtualBox.
- When VirtualBox is installed, launch it from the Linux Apps Folder, and click New to create a virtual machine.
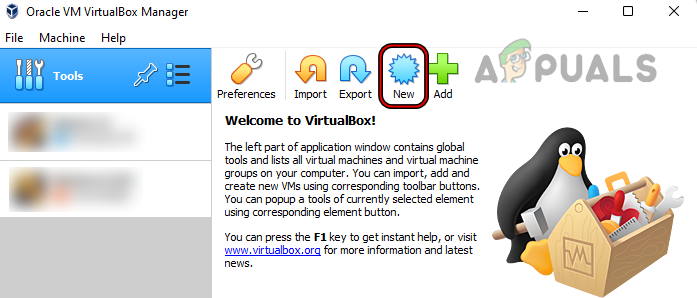
Create a New Virtual Machine in VirtualBox - Proceed with the guided steps to install a guest operating system, such as Windows or a lightweight Linux distribution, depending on your Chromebook’s capabilities.
- After the guest OS is installed, launch it from within VirtualBox and install iTunes on it.
- With the setup complete, launch iTunes to enjoy its full functionality on your Chromebook.
Please note that running virtual machines can be demanding and may not be suitable for all Chromebooks due to potential performance impacts.


Hi, I got to the point where you type in WINEARCH=win32 WINEPREFIX=/home/username/.wine32/ wine iTunesSetup.exe, but every time I do that I get the error message:wine: cannot find L”C:\windows\system32\iTunesSetup.exe”Do you happen to know what I”m doing wrong? I did replace “username” with my username, and I also put the itunes download in the linux folder.Thanks,
Sean