Install Hyper-V Role in Windows Server 2019
If you are a fan of our articles, you have probably seen many articles that talk about Hyper-V 2019. After we properly understand the virtualizations, the next step is to equip our environment with the machine that can work as a hypervisor and that is compatible with Windows Server 2010 or Hyper-V 2019 Core Server. There are two ways of installing Hyper-V 2019 on the physical machine. We can install it as Hyper-V Core Server as we already covered in the article hyper-v server core. The second way is to install it as a role in Windows Server 2019. As we want to show you the full picture of different installation types, we will walk you through the procedure of installing Hyper-V 2019 in Windows Server 2019.
As always, we will create a scenario in order to explain it in an easier way. We have a Dell Desktop Workstation that will be used to host Windows Server 2019. Windows Server is already installed on the machine with all required drivers. Before installing Hyper-V Server on the machine, it is mandatory to enable virtualization in the BIOS or UEFI. You can find a few articles on our website. In case you are not sure how to do it on your machine, please refer to the documentation on the vendor website.
The next step would be to open the Server Manager, the tool for managing Windows Server and to install Hyper-V. So, let’s start.
- Log in to the Windows Server 2019
- Left click on Start Menu and type Server Manager
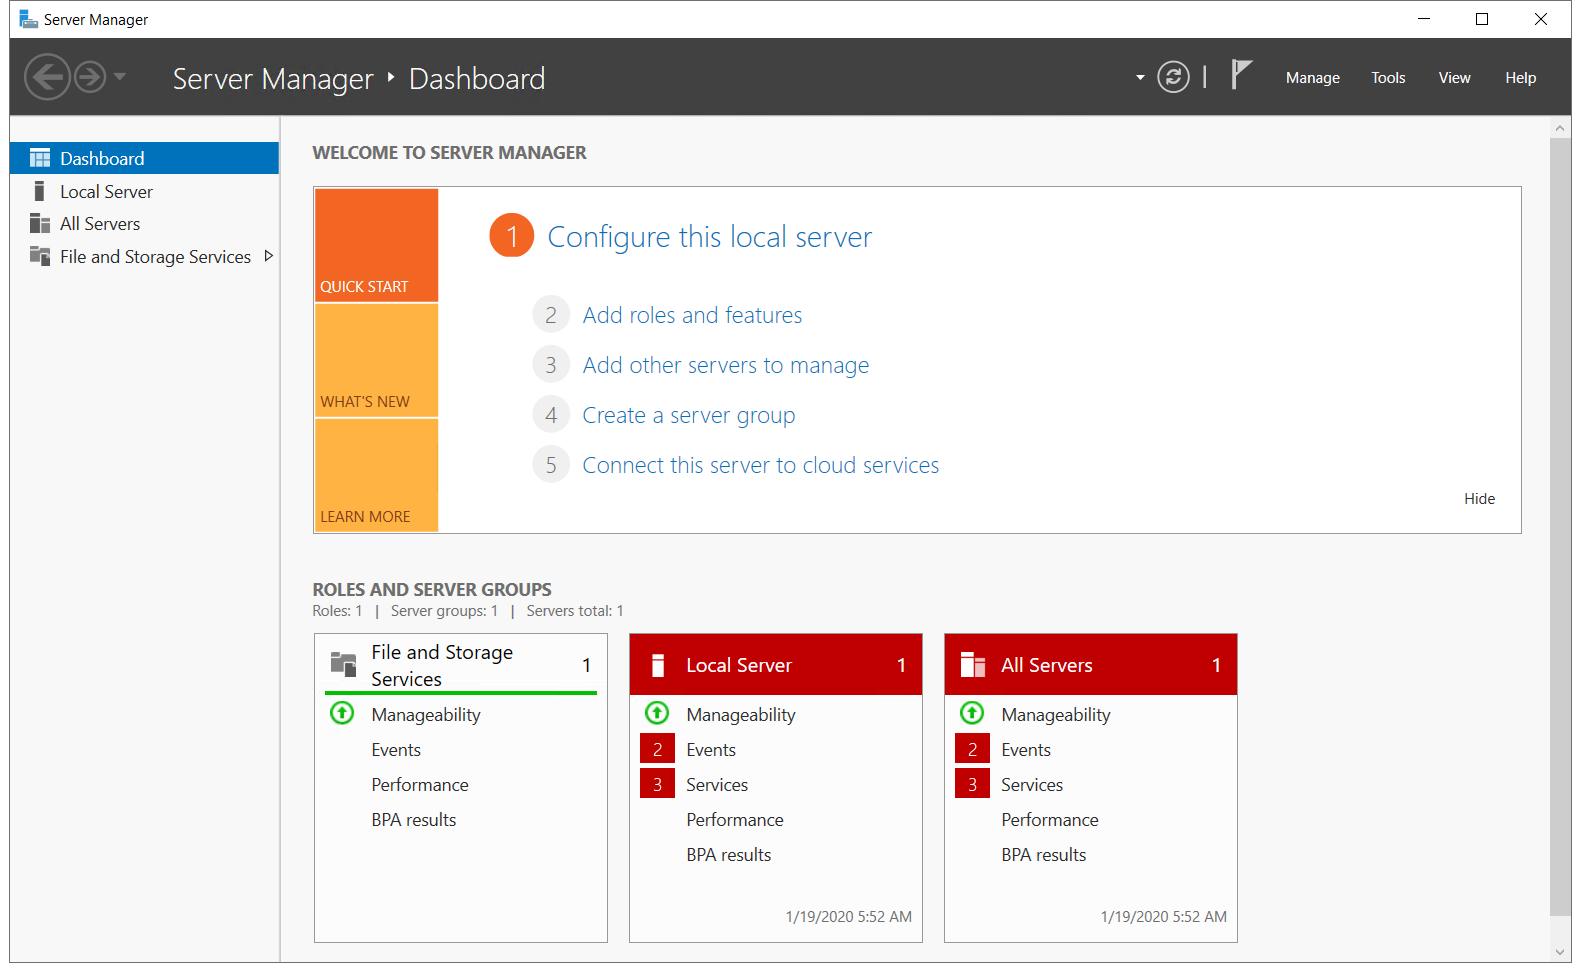
- Open Server Manager
- Under Configure this local server click on Add roles and features
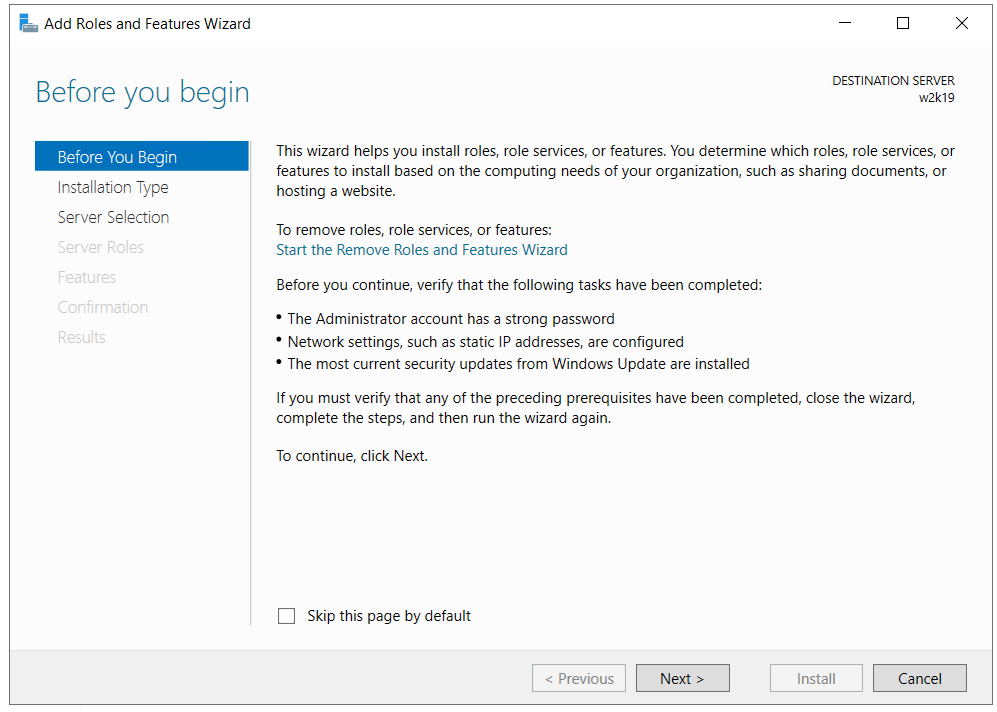
- Under Before you begin click
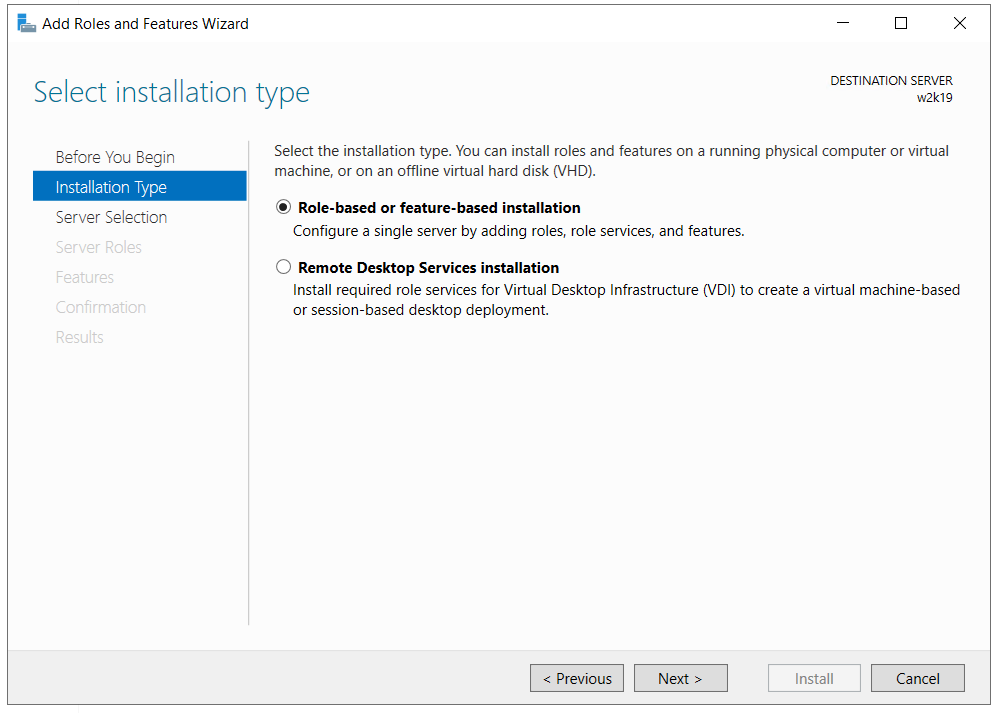
- Under Select Installation type select Role-based or feature-based installation and then click
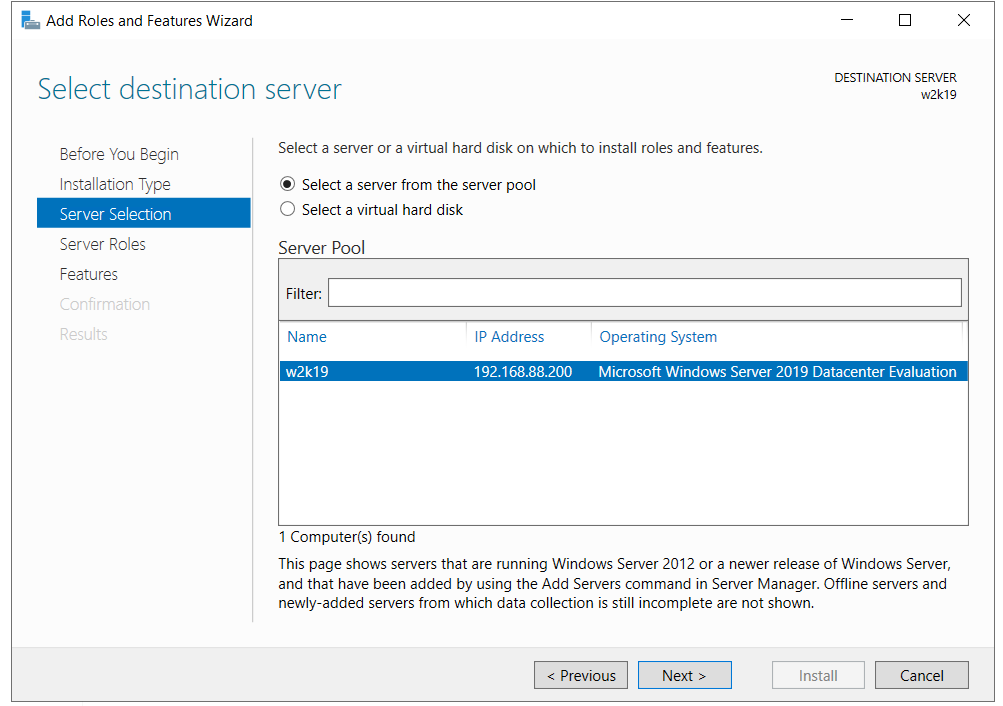
- Under Select destination server, choose the server where you want to install the Hyper-V role and then click Next. In our case, the destination server is named w2k19.
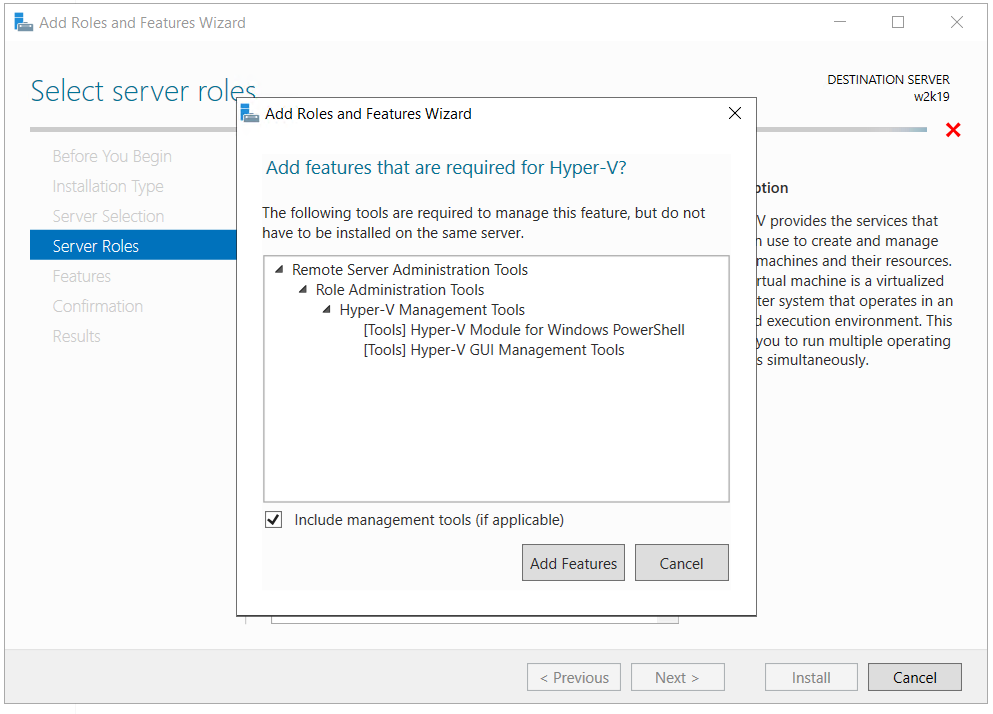
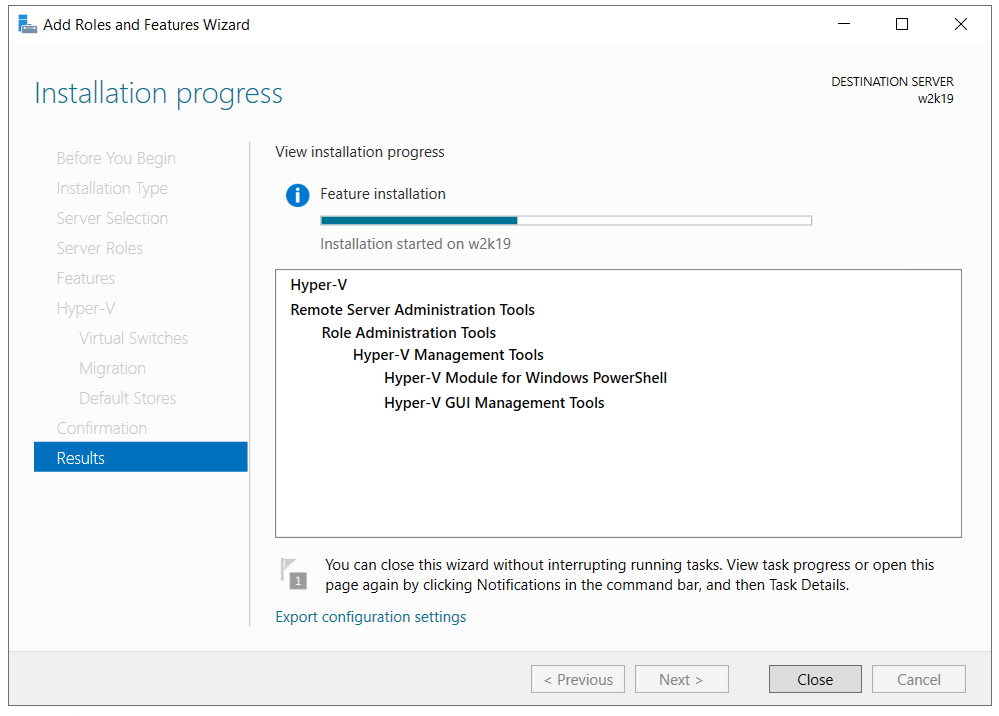
- Under Select server roles, select Hyper-V and then click Add Features in order to approve installation management tools features required for managing the Hyper-V. It will install the Hyper-V Module for Windows PowerShell and Hyper-V GUI Management Tools.
- Under Select server roles click Next
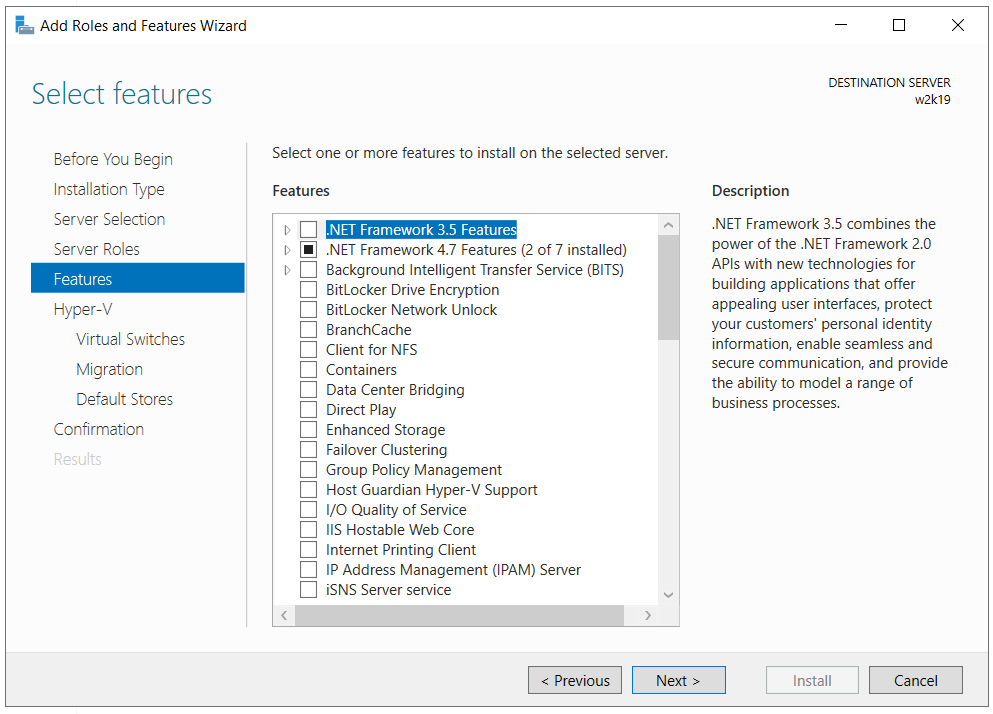
- Under Select features click Next. We do not need to add any additional features.
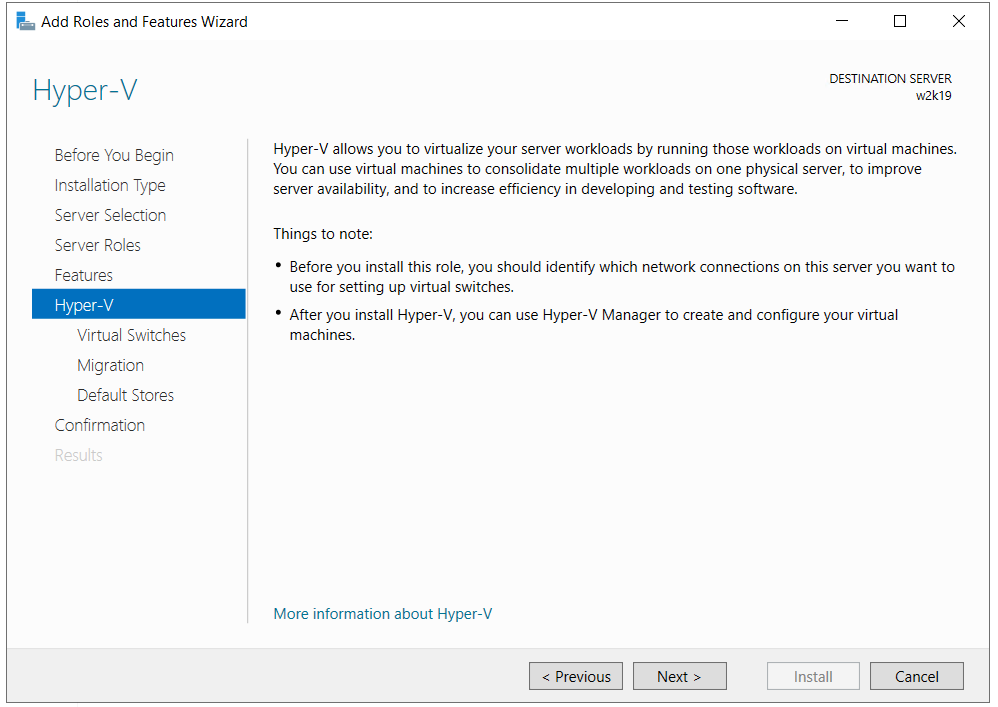
- Under Hyper-V click Next.
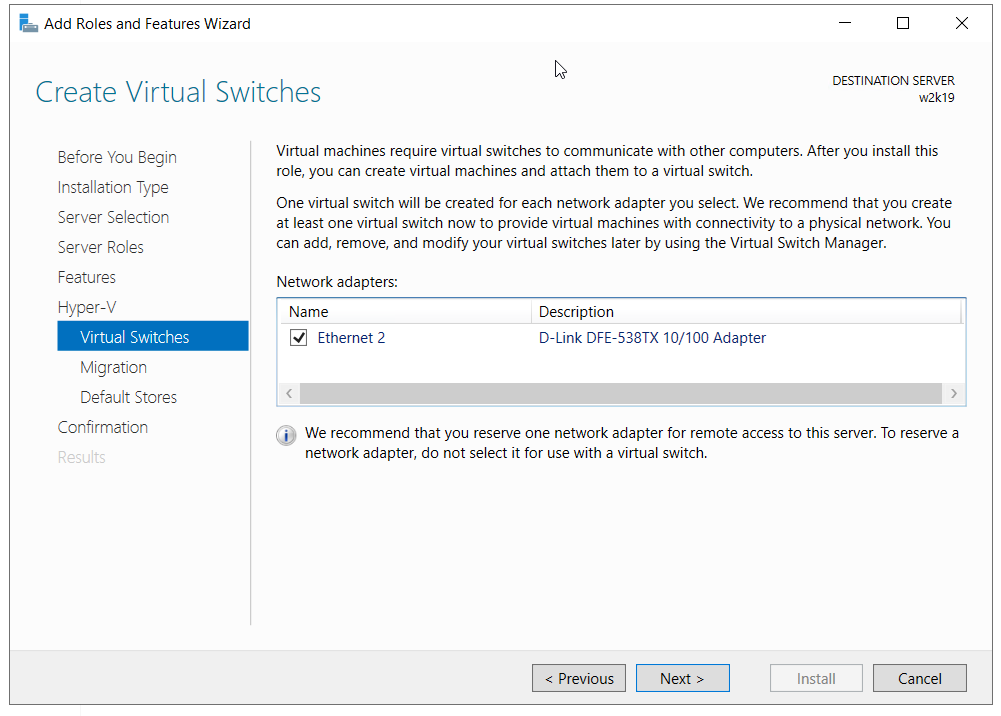
- Under Create Virtual Switches, select a physical network adapter that will be used to provide virtual network switches with connectivity to a physical server and then click Next. You can add, remove and modify your virtual switches later by using the Virtual Switch Manager. In our case, we will use physical network adapter D-Link DFE-538TX 10/100.
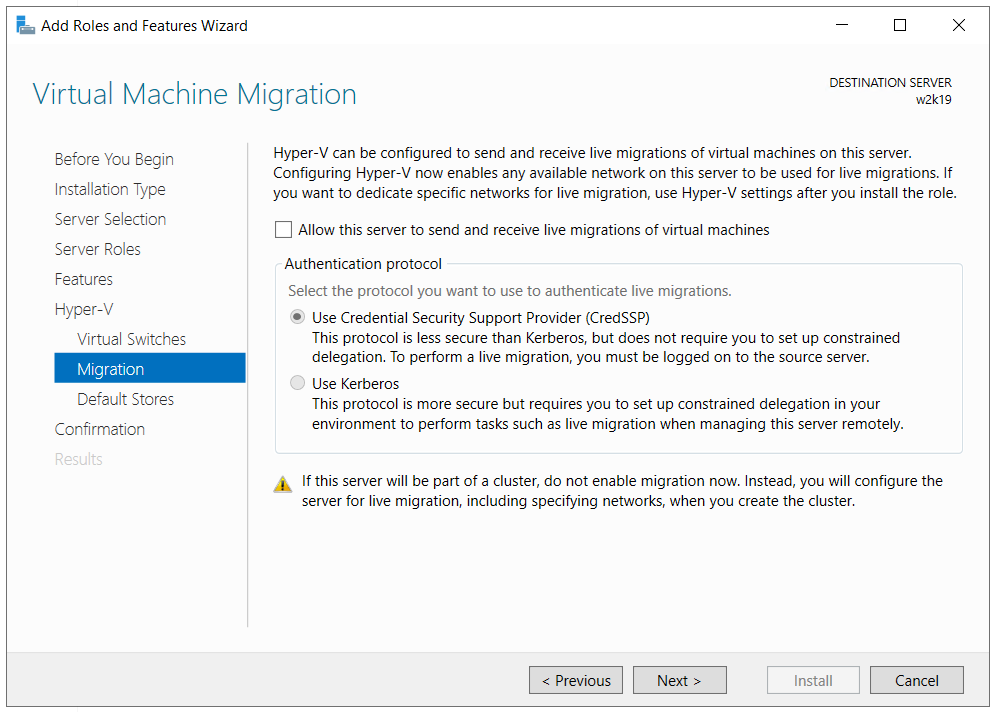
- Under Virtual Machine Migration, leave the default settings and then click Next
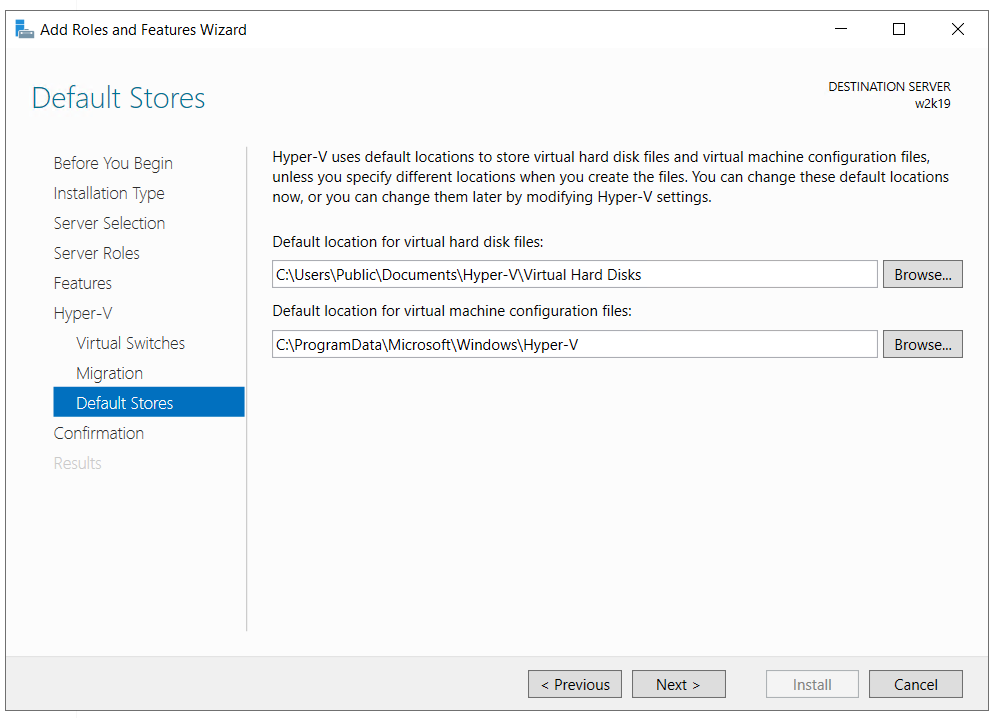
- Under Default Stores, leave the default setting or change based on your needs and then click Next. In our case, we will keep the default location for virtual hard disk and configuration files.
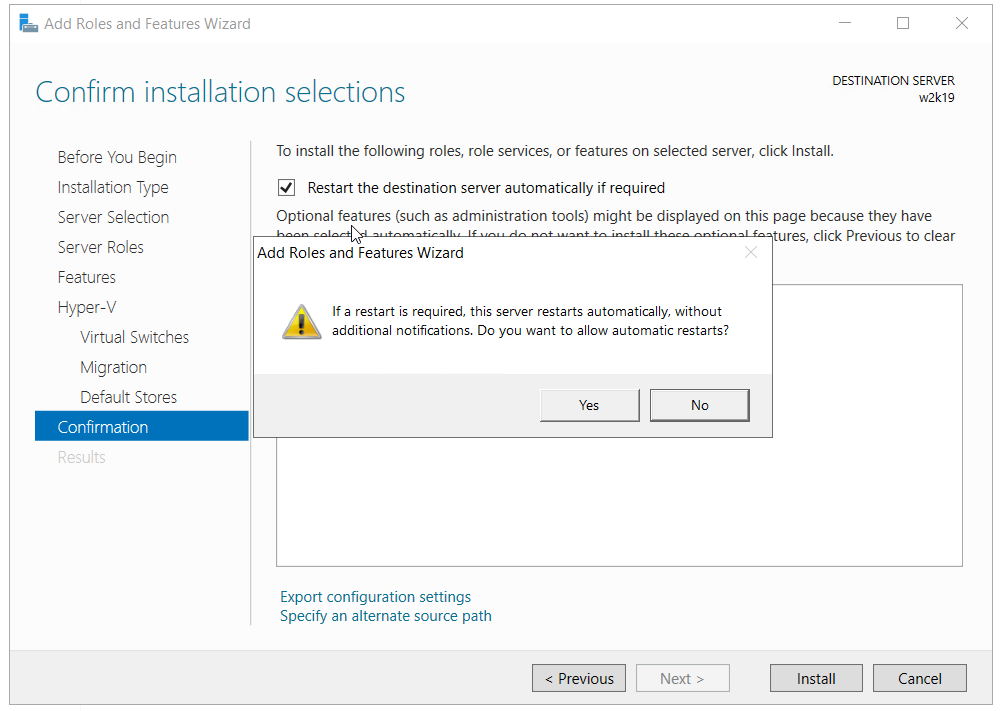
- Under Confirm installation selections select Restart the destination server automatically if required.
- On the next window click Yes to confirm restarting server automatically without additional notifications and then click Install
- Wait until Windows Server installs the Hyper-V Server role. After the procedure is finished, Windows Server will be restarted automatically.
- Congratulations. You have successfully installed Hyper-V role in Windows Server 2019.
- Log in to the Windows Server 2019
- Left click on the Start Menu and type Hyper-V Manager
- Open Hyper-V Manager
Create your first virtual machine and configure your server by following instructions from the following articles:
- Hyper-V 2019 Core Remote Management
- Create Your First Virtual Machine in Hyper-V 2019
- How to export and import virtual machine in Hyper-V 2019


