How to Install Fedora Workstation on Oracle VM Virtual Box?
If you are looking for ways to install Fedora workstation on your Virtual Box Machine, then you may find it amusing that there is a simple method to install this powerful operating system for your desktop. Following the steps below, you will learn how to Install and set up the Fedora Workstation on your Virtual Box machine.

Step 1: Download the Fedora ISO File
To install Fedora, it is necessary to have its ISO file, which you can load into VMware and start the installation process. Therefore, we will download the ISO file of fedora first.
- Open the official Fedora webpage.
- Click “Download Now” on the Fedora Workstation.
Downloading Fedora Workstation
Click on the x86_64 Live ISO Download button.

Once the ISO file is downloaded, you can move to Step 2.
Step 2: Setting up Virtual Box for the Installation process
Before installing the fedora on Virtual Box, you must adjust the settings of Virtual Box according to your needs. Follow these steps:
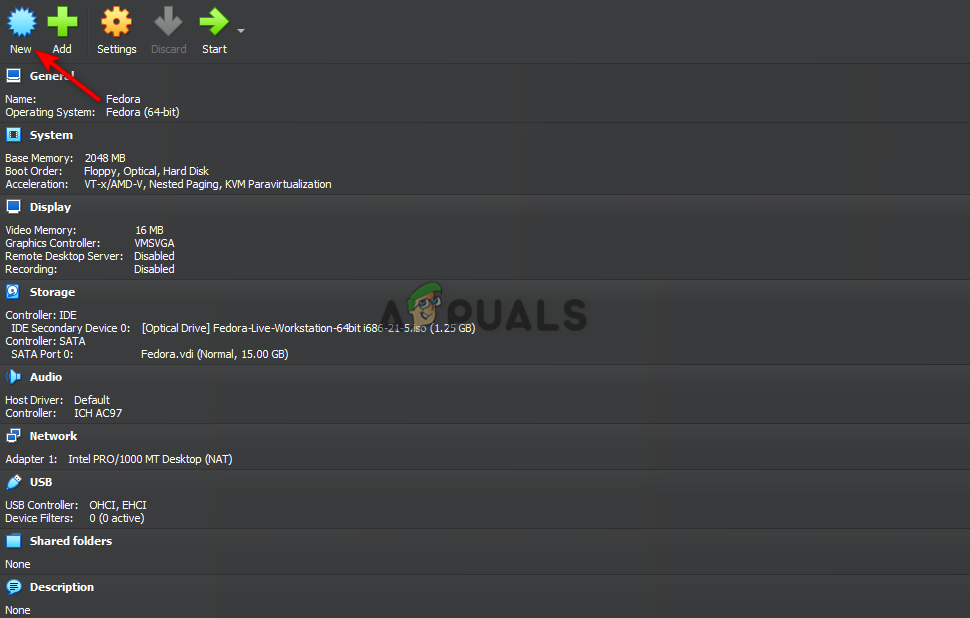
- Open your Virtual Box and Click on the “New” option on top of the screen to open the Virtual Machine Creation page.
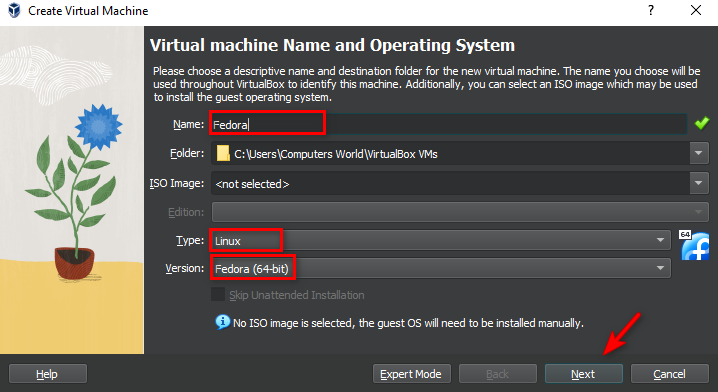
Setting up Fedora on Virtual Box - Type in “Fedora” as the File Name.
- Change the Version of the Machine by selecting “Fedora (64-bit).”
- Select “Linux” as the primary operating system type for the Machine and click on the Next button.
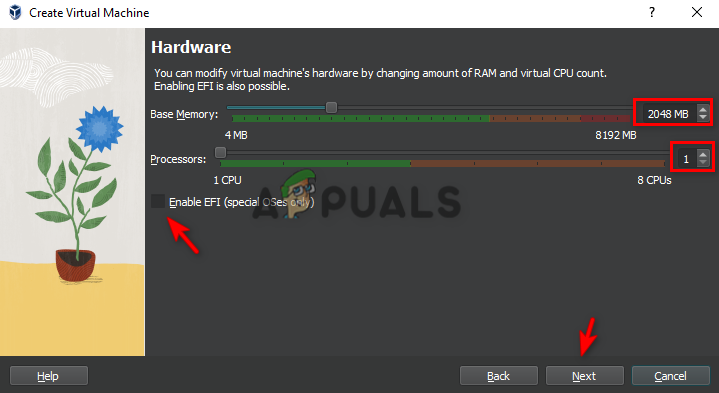
Creating a Virtual Machine - Set your Base Memory to 2048 MB and the Processors to 1.
(You can adjust the Memory and Processors that you want to dedicate to Fedora as you wish.) - Uncheck the “Enable EFI” option below and click on the Next button.
Modifying the Virtual Machine’s hardware - Click on the “Create a Virtual Hard Disk Now” option and set the Disk Size to 15.00 GB.
- Un-check the “Pre-allocated Full Size” option and click on the Next button.
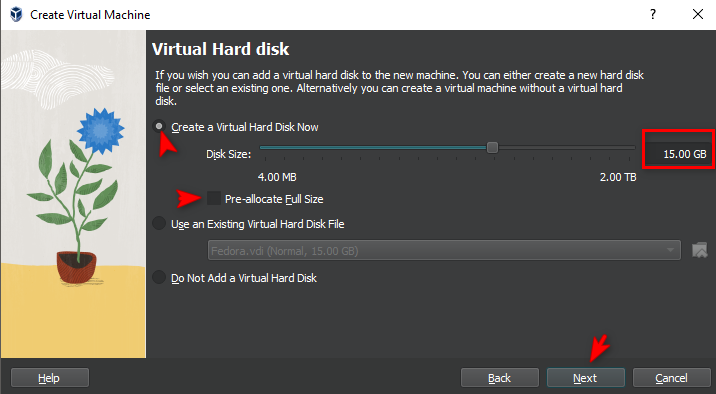
Creating a Virtual Hard Disk - Click the Finish button on the Summary page.
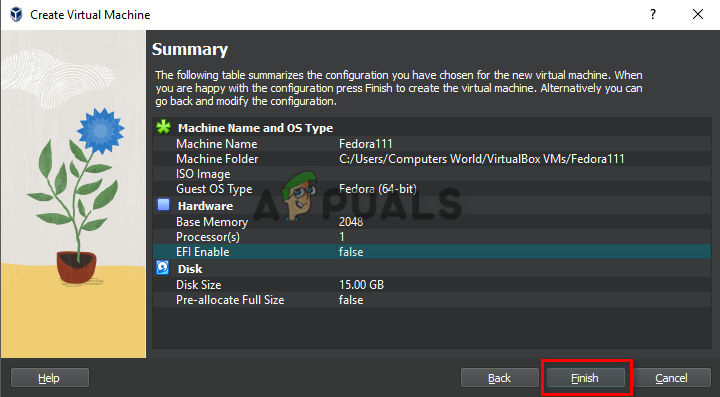
Finalizing Virtual Machine Creation
Step 3: Load the ISO file into Virtual Optical Disk
After setting up the Virtual Box for the Installation process, you must load the ISO file so that Virtual Box can detect the Fedora installation disk. Follow these steps:
- Click on the Settings option at the top of the screen to open the Fedora Settings page.
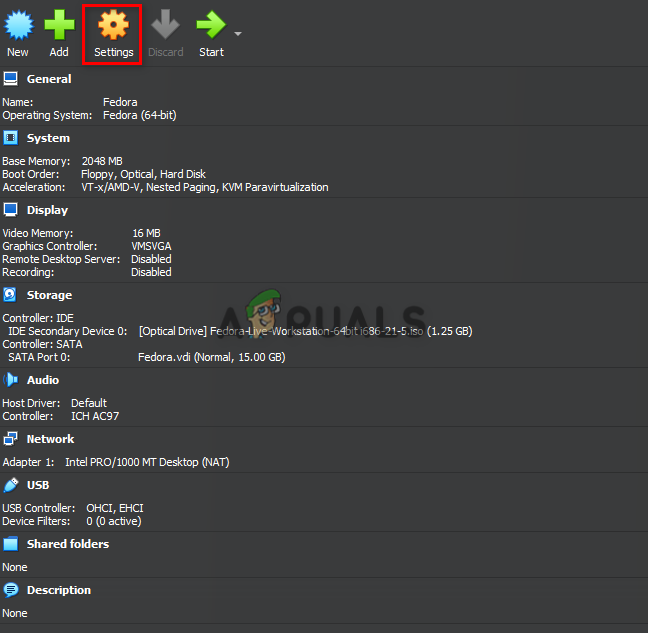
Opening the Fedora Settings - Click on the Storage option on the right side of the panel.
- On the Storage Device option, click on the Optical Disk Operator icon.
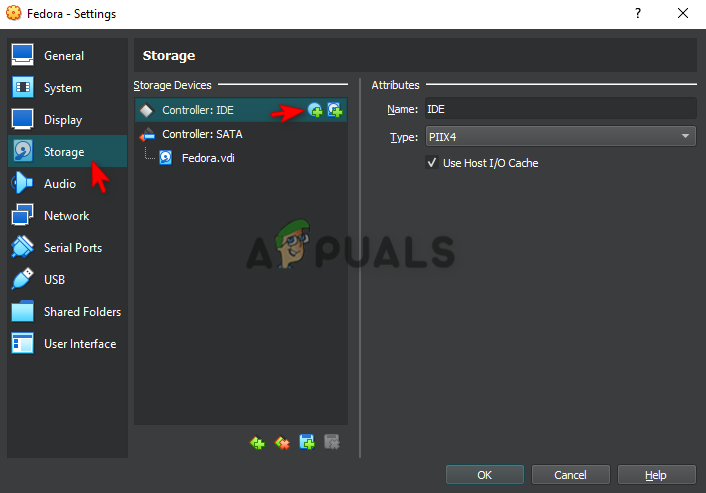
Adding Fedora Workstation into the Fedora Storage - Click on the Add option on the Optical Disk Operator page.
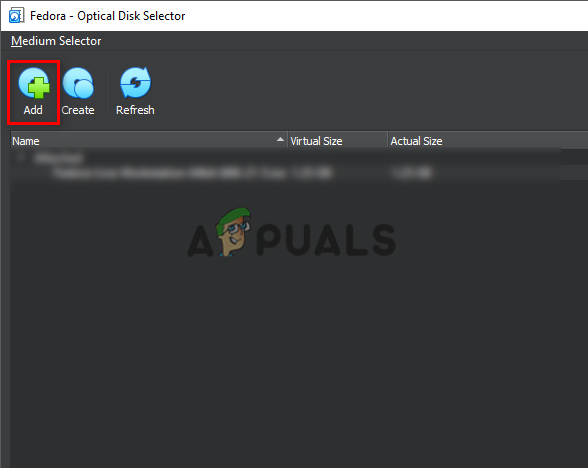
Adding Fedora Workstation file on the Fedora Optical Disk - Find the location where you downloaded the Fedora Workstation ISO File.
- Click on the downloaded file and then click on Open.
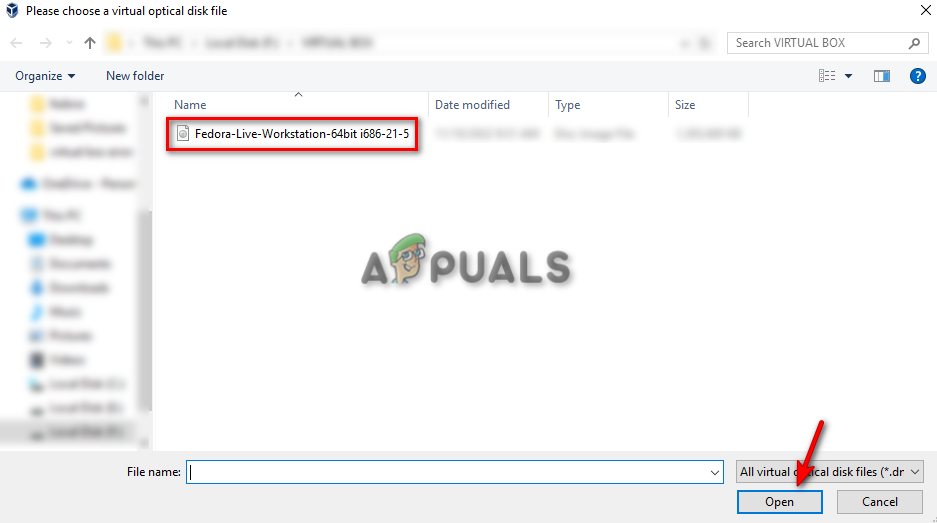
Locating the Fedora Workstation file on the Disk - Click on the “Choose” button.
- Click on OK.
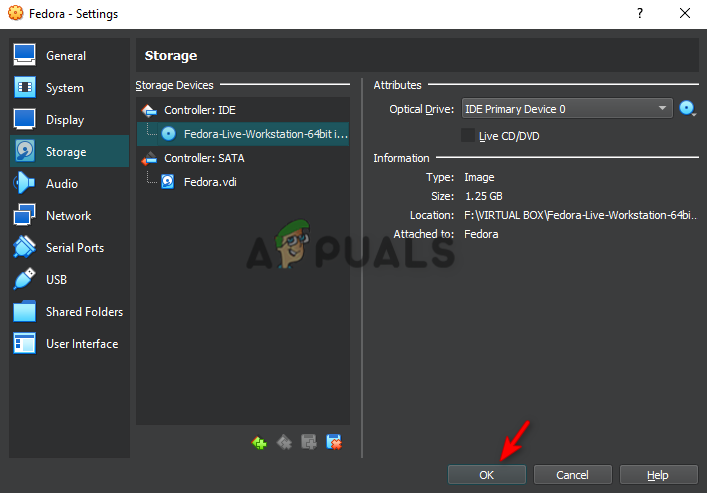
Confirming Fedora Settings
Step 4: Installation Process of Fedora
Let’s start installing Fedora now. Follow these steps:-
- Click on the Start Button at the top of the screen to start the Virtual Machine.
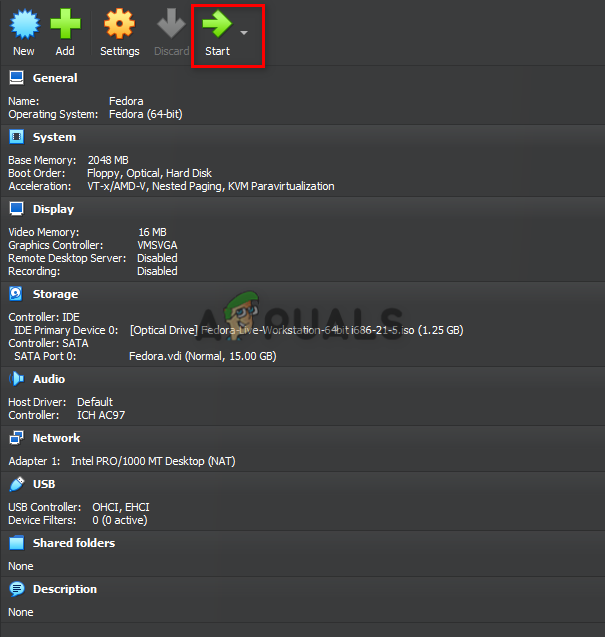
Starting Fedora on the Virtual Machine - Wait for for the Virtual Machine to turn on.
- Once you are on the Welcome to Fedora Screen.
- Click on the “install Fedora to Hard Drive” Option on the screen.
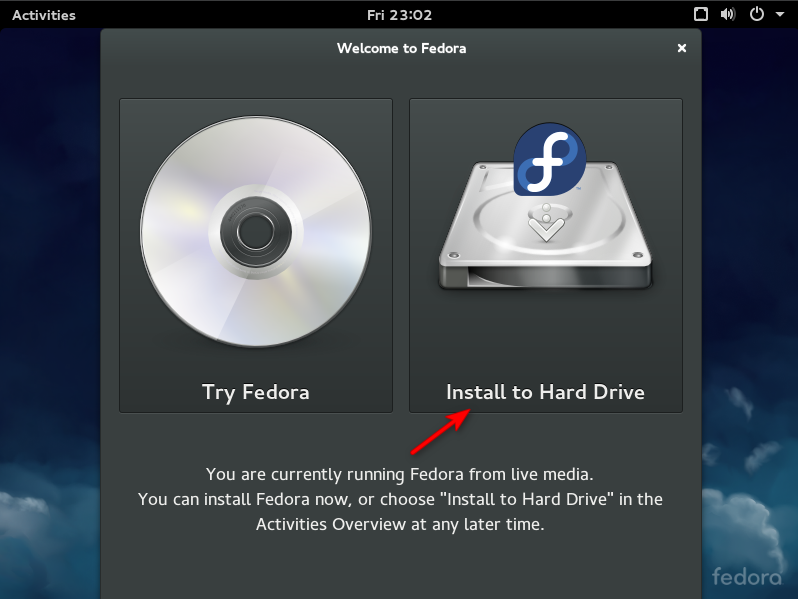
Installing Fedora into the Hard Drive - Select the Type of Language you want to assign to the system and click on “Continue.”
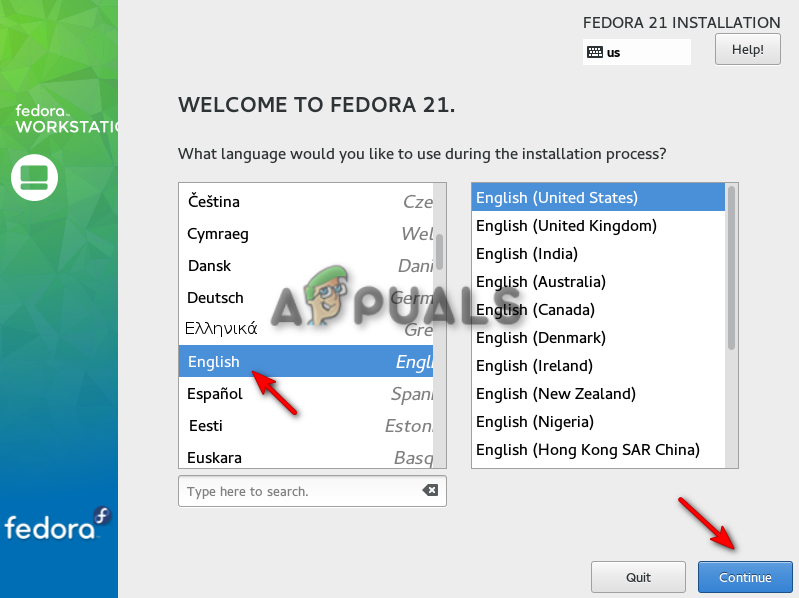
Selecting Language for Fedora - Click on the “Installation Desitination” option under “System” to decide where you want to install Fedora, and click on “Done.”
- Click on Begin Installation to initiate the installation process.
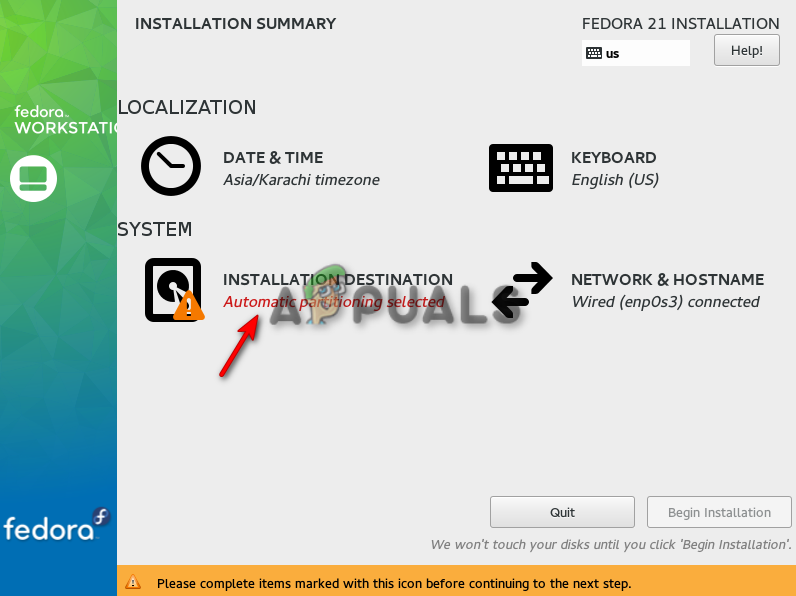
Selecting Installation Destination for Fedora - Click on “Root Password” and “User Creation” to set up your account on Fedora.
- Click on Finish Configuration and let the installation complete.
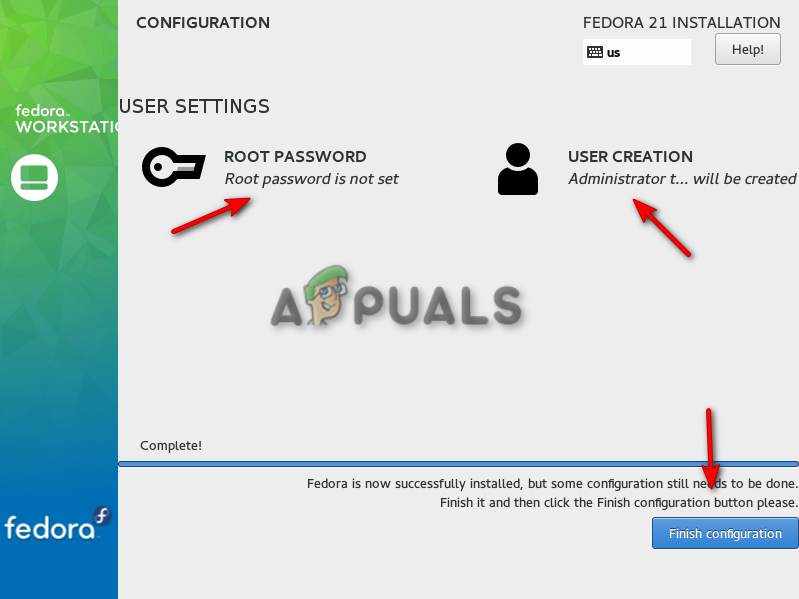
Finishing Configuration of Fedora - Click on Quit to fully install Fedora Workstation on your VirtualBox machine.
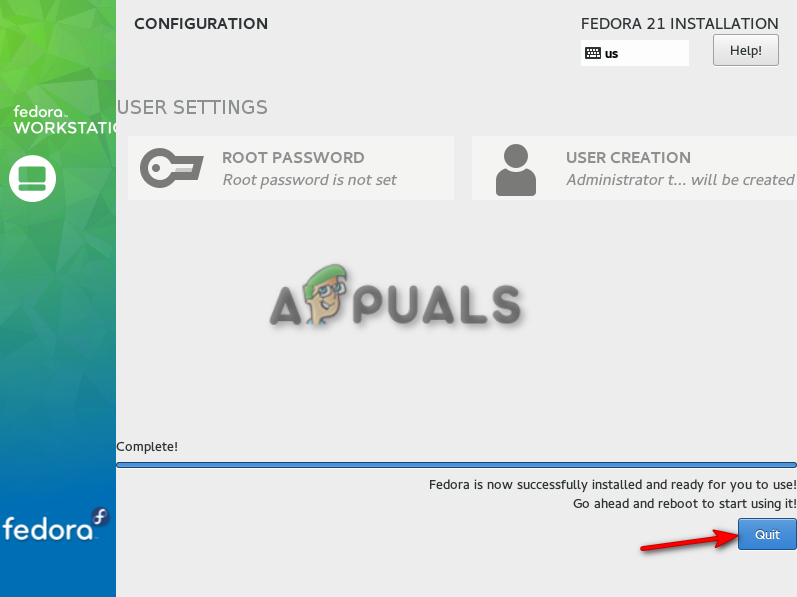
Quitting Installation Configuration
Note: Once you have followed each step we have listed above, you will Install and set up Fedora on your Virtual Box and can perform activities on the Virtual Machine, such as creating Terminals and accessing other features on Linux. However, note that when you click the start button at the end of the process, ensure not to press any key on your keyboard since any action from the keyboard will interfere with the Initiation of Fedora Live.


For desktop use I’d strongly recommend the free VMware Player instead, the performance will be much closer to native. Player also uses open-vm-tools, the same as VirtualBox, so you don’t need to use non-open repositories in your Fedora install. I personally consider desktop VirtualBox to be abandoned software because the performance optimization is basically nonexistent. It reminds me of the way desktop virtualization was back during the days of Virtual PC on Windows XP.