How to Fix HP Printer Error Code 0XC19A0003?
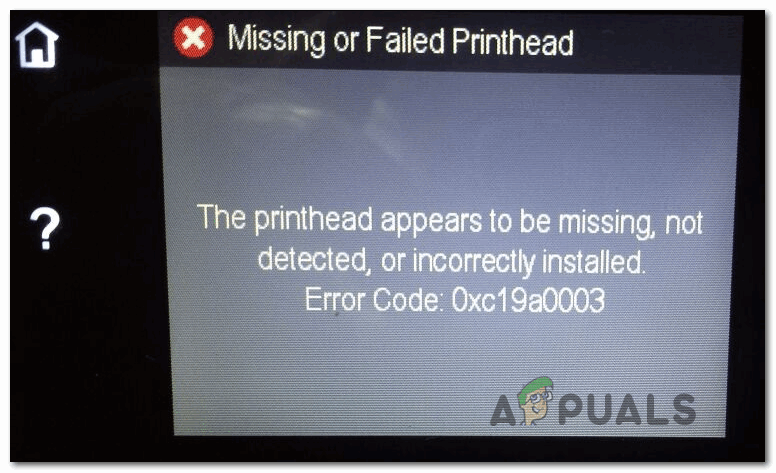
Some users are seeing the 0xc19a0003 error code on the display screen of their HP printer when attempting to print or copying a document. However, most affected users have confirmed that the scanning function still works.
When troubleshooting this particular issue, you should start with a simple printer reset. This operation will end up solving the majority of firmware-related inconsistencies that will trigger this error code.
If this doesn’t work for you, consider getting in contact with HP’s support team and have them go through a series of troubleshooting steps for you. If you are eligible, you might get sent a replacement part.
However, if you want to take matters into your own hand, there are also some steps you can do to troubleshoot against dried ink and lint accumulation that might inhibit the contact between your printer and the printer head.
Method 1: Resetting your Printer
Before you try any of the other fixes below, you should start this troubleshooting journey by resetting the entire printing mechanism. This is a universal procedure that is applicable to any HP printer model (LaserJet and OfficeJet).
Doing this will not require you to perform anything too technical and will not run the risk of damaging your printing device even further. Resetting the printing mechanism is the equivalent of performing a power cycling procedure on computers, network devices, and consoles. If the issue is being caused by a firmware inconsistency, this procedure should take care of it and eliminate the error 0xc19a0003.
To enforce this potential fix, follow the instructions below to perform a complete printer reset:
- Ensure that your printer is fully turned on and in idle mode (no job is currently active).
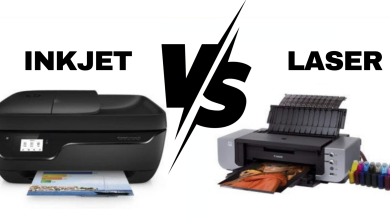
Note: If you can hear noises coming from your printer (like cartridges moving around) wait patiently until your machine becomes silent before moving to the step below. - Once you’ve ensured that your printer is in idle mode, go ahead and disconnect the power cord from the rear of your printer (while your printer is turned on). Next, remove the power cord from the wall outlet.
Unplugging the power cord from the socket - Wait for at least 60 seconds before plugging the power cord back into the wall outlet. Once this time period has passed, reconnect the power cord to the rear of your printer.
- Connect the power cord once again, start your printer up and wait for the warm-up period to complete.
- Once your printer enters idle mode once again, attempt to print or copy something to see if the error 0xc19a0003 is now fixed.
In case the same problem is still occurring, move down to the next potential fix below.
Method 2: Contact HP Support
If a simple printer reset didn’t fix the 0xc19a0003 and you’re not comfortable with performing any technical procedures that imply working with the internals of your printer, the best course of action is to get in contact with HP support.
HP support is fairly good and you should expect to get in touch with a live agent without much trouble. They typically offer support over the phone, and the way it usually goes in, you will be guided to a series of generic troubleshooting steps that are applicable to your printer model. In case that doesn’t fix it for you, you might be encouraged to send certain components for replacement.
Here’s a quick guide that will show you how to get live support from an HP live agent:
- Open up your browser and visit this official HP support page.
- Next, from the list of available options, click on Printer at the top of the page.

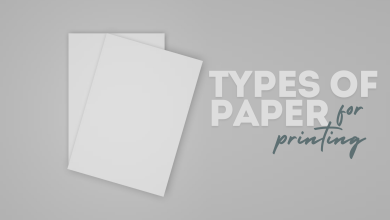
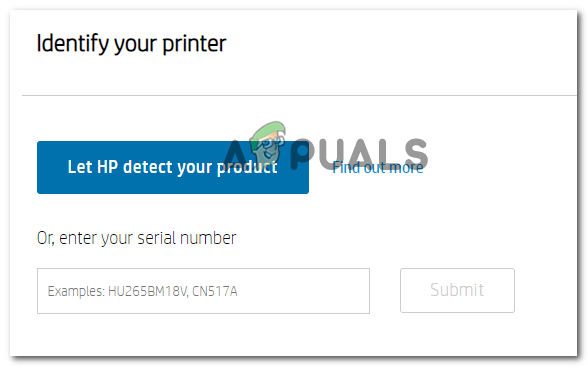
Accessing the Printer Contact menu - At the next screen, use the Serial Number box to enter the serial number of your printer in the correct box and press the Submit button.
Identifying your printer - After your HP printer model has been successfully identified, advanced to the next form and navigates through HP Contact Forms > Get phone number.
- Use the provided phone number to get in contact with an HP technician and follow through with the recommended troubleshooting steps.
In case you are not afraid to get your hands dirty and do some technical troubleshooting on your own, move down to the next method below.
Method 3: Clearing the Cartridge Contacts
If the two methods above didn’t fix the issue for you, your next troubleshooting attempt should be to ensure that the printer contacts and vents are properly cleaned so that your printer recognizes it. If the contacts are dirty, you might expect to get the error 0xc19a0003 because your device believes that some internal components are failing or aren’t properly connected.
Note: This troubleshooting step contains some advanced steps that might end up damaging some internal components if not performed properly. If your printer is still under warranty, do not attempt this fix as you might void it.
However, if you are determined to go through with it, keep in mind that you need to prepare a number of prerequisites: You’ll need a pin to clean clogged vents, a smooth piece of cloth, a dry cotton swab and a bottle of water (preferably distilled).
Once you have everything you need, follow the instructions below to clear you cartridge contents and fix the error 0xc19a0003:
- First things first, turn off your printer conventionally and then unplug it from the power outlet.
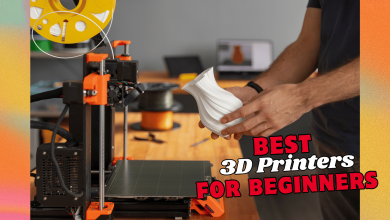
- Open up your printer and take a look at the vent areas of each of the connected cartridges (HP cartridges have the vent area in the top-left corner) and see if you noticed any clogged vents.
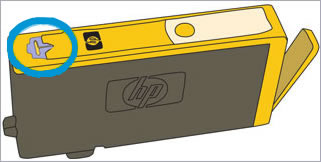
Checking for any clogged vents - If you see any evidence of a clogged vent, use the pin that you previously prepared to take out any dirt and lint.
- Next, start removing each and every cartridge and use a lint-free cloth to wipe out any accumulated ink and other solid debris that has accumulated on the copper contact.
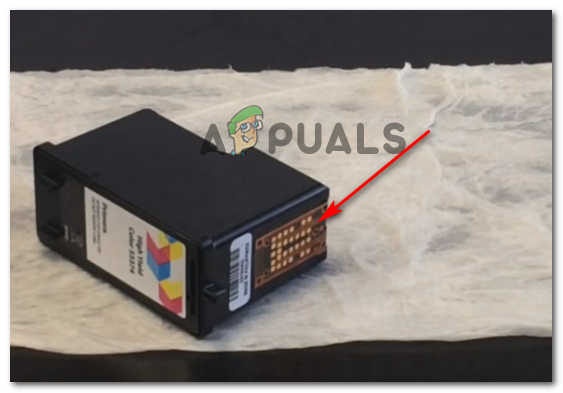
Cleaning the copper contact - Once you’ve done this procedure thoroughly with every ink cartridge contact, use a lint-free swab to wipe out any ink or accumulated debris from the copper-colored contact on the print head.
- When you are finished with this, reinsert each cartridge that you previously took out in the same place and push them into their slot carefully until they snap into place.
Note: Pay attention when inserting the colored cartridges and ensure that they are inserted into their respective colored slot. - Next, close the printer access door and, plug in the power cord once again and power your printer on again.
- Repeat the action that was previously causing the error 0xc19a0003and to see if the issue is now fixed.