How to Use steam://flushconfig
The command “steam://flushconfig” is supposed to fix a lot of issues Steam users experience while using this software. This feature will “refresh” the core files of Steam and return it to its original state without affecting either your Steam account or games and game files you have associated with it. Before trying out this method, try restarting Steam and verify cache files if you are struggling with a certain game. If nothing seems to help, this method should prove to be effective.
Some users even had problems using the command since they reported how their games went missing from the Steam library. This is not a big deal and we will explain the solution in this article.
A lot of users are not sure how to access this command so let’s break it down.
Windows Users
- Start off by exiting Steam completely by clicking Exit under the Steam tab. Make sure it’s completely closed and it’s not running in the background.

- After that, either click the Windows key (⊞) + R to open the Run dialog box or type run in the search box of the Start Menu (Windows 10). Earlier versions of Windows implement Run in the Start Menu by default.
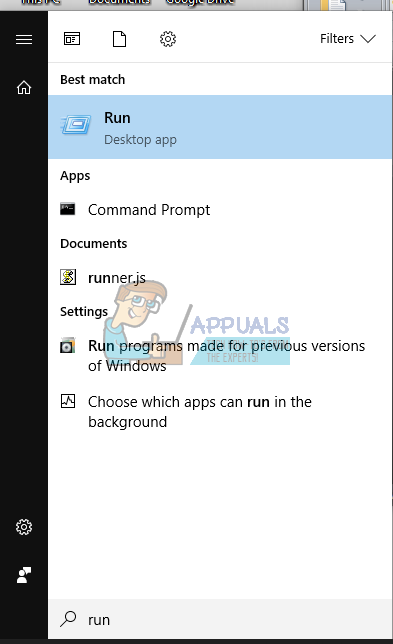
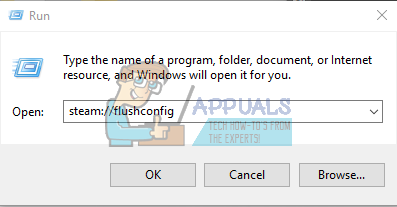
- Write down the command “steam://flushconfig” and click Enter. After waiting for a minute, restart your Windows PC.
- Open the Steam installation folder and open the Steam client from there. It’s important that you open Steam strictly from the installation folder.
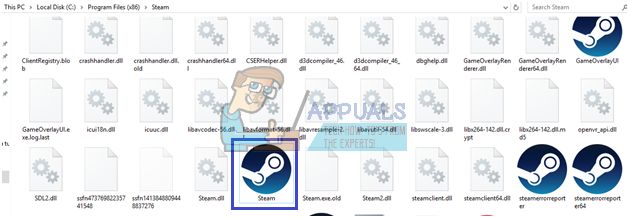
Your Steam files should be refreshed and returned to the original state.
Mac OS X Users
- Exit Steam in the same manner as described above
- Open your Safari browser and copy or write down the same text “steam://flushconfig”. Press Enter.

- Restart your Mac OS X computer and open your Steam client when it boots up. Your Steam files should be refreshed.
Linux Users
- Open the Terminal.
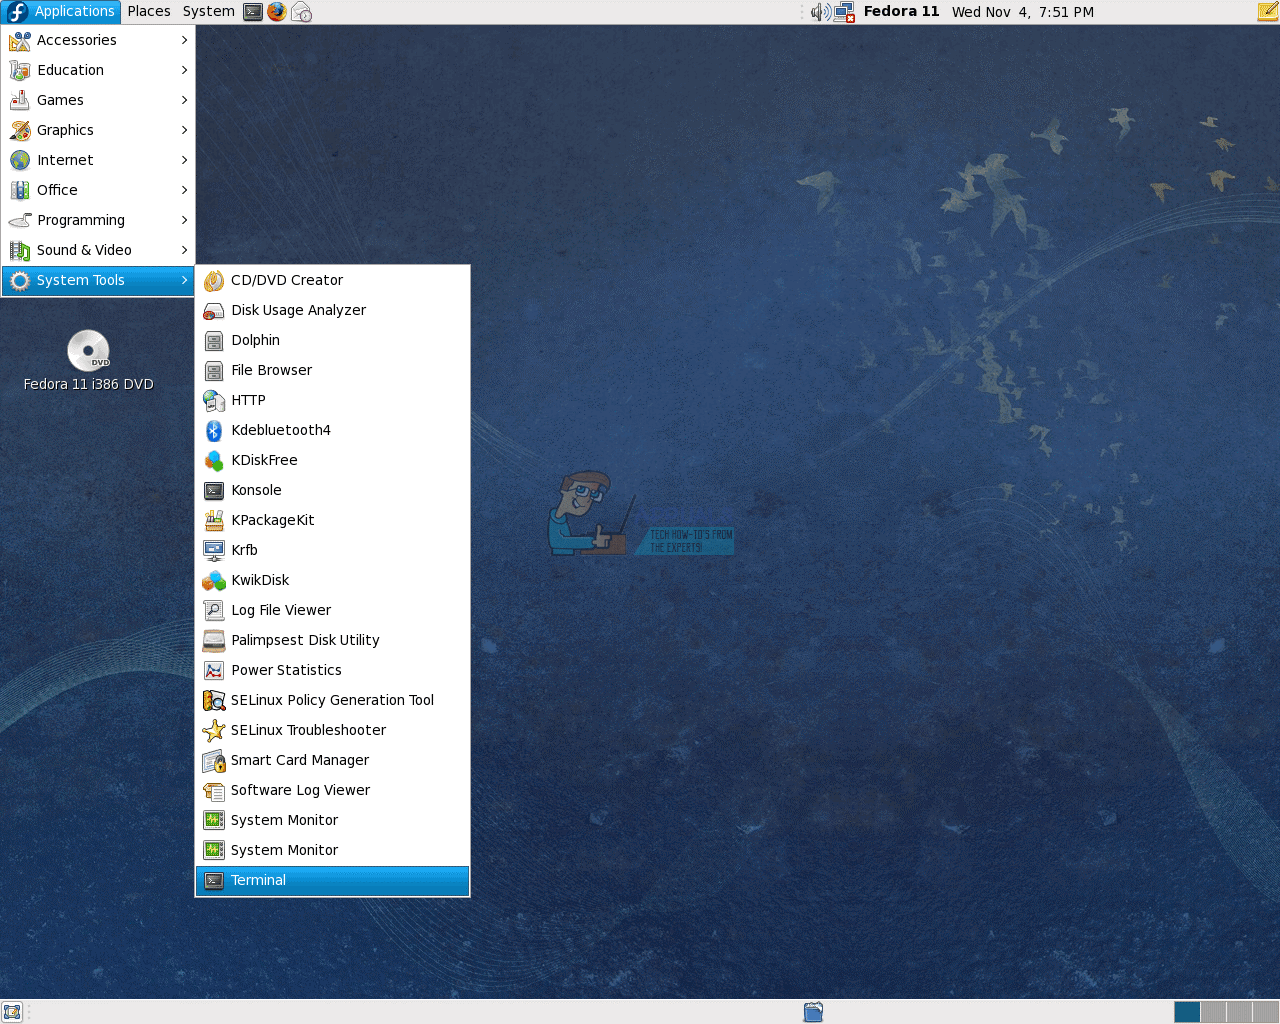
- Type or copy the text between the quotation marks “steam –reset”.
- A message should show up saying “Installing bootstrap /home/[username]/.steam/steam/bootstrap.tar.xz”. This means the operation has succeeded.
- Restart your Linux PC and open Steam.
TIP: Some Mac OS X have reported how Safari browser does not allow this command to run. In case you get a message from Safari saying “URLs with the type “steam:” are not supported.”, open the Network windows using Command + K combination and copy the same command there. If the operation turns out to be successful, repeat the following steps.
Refreshing Steam files should help you overcome various problems and difficulties with the Steam client and this operation should not interfere with your game files or your account on Steam.
Games Missing from Steam Library Issue
This command seemed to create additional problems for certain people who lost several games in their Steam library after running the function. The game files are still there and the games are visible in the list of installed programs but Steam is not recognizing it in the library and they require the game files to be redownloaded.
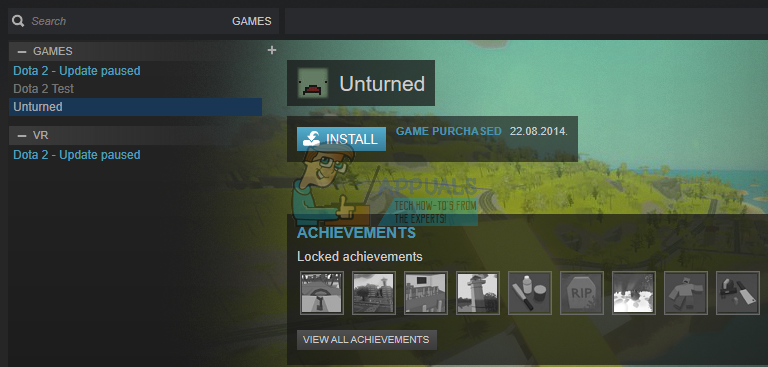
The game is featured in the library but Steam does not recognize its core files
The real solution to this problem is fairly simple. When you run the steam://flushconfig command, you are basically refreshing Steam completely and the client also forgets which folders you used as Steam libraries. There is only one stock Steam game library and it’s usually located in Steam’s installation folder. Users are able to add their own folders in other locations on the disc or even on another one but the command makes Steam forget about these locations.
Nothing basically changes since the game files are still intact and your purchase is not compromised in any way. The right way to fix this is to simply click Steam and open the settings from the drop-down list. After that, open Steam Library Folders from the Downloads tab and make sure to add every folder you used to install games. Steam will automatically realize that the game files are still there and you should be able to play right away.

Clicking Steam Library Folders enables you to manage the folders where you wish to store your games