How to Create Stunning AI Images on MidJourney [Detailed Guide]
 Reviewed by Huzaifa Haroon
Right now, there is a boom in the field of artificial intelligence. Many AI programs have led to this, including Midjourney, which provides unique services.
What is Midjourney?
Midjourney is the most widely used text-to-image convertor. The product’s success can be attributed to how simple it is to use. You don’t need prior experience with Photoshop or graphic design to make stunning images that bring your ideas to life. An appropriate cue is all that’s required to obtain the highest-quality AI-generated pictures available.
How does Midjourney function?
Midjourney’s functions are solely discord based, so you must have a Discord account and its application. In case you do not, install the Discord application on the device you will be using Midjourney on. Sign up using your email, and you will be good to go.
Joining Midjourney Discord Server
- Go to Midjourney’s website, and once it loads up, click on the “Join the Beta” option at the bottom right of the screen.

This will redirect you to Discord’s website and then automatically to the Discord application, inviting you to Midjourney’s server. Click on “Join Midjourney“, and you will enter their server.
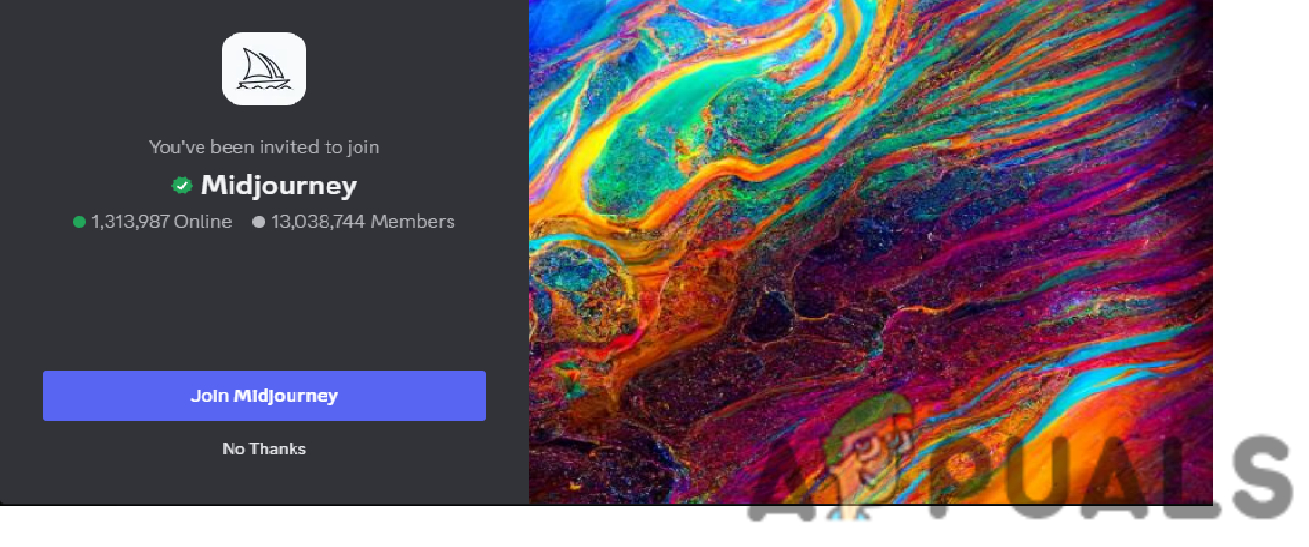
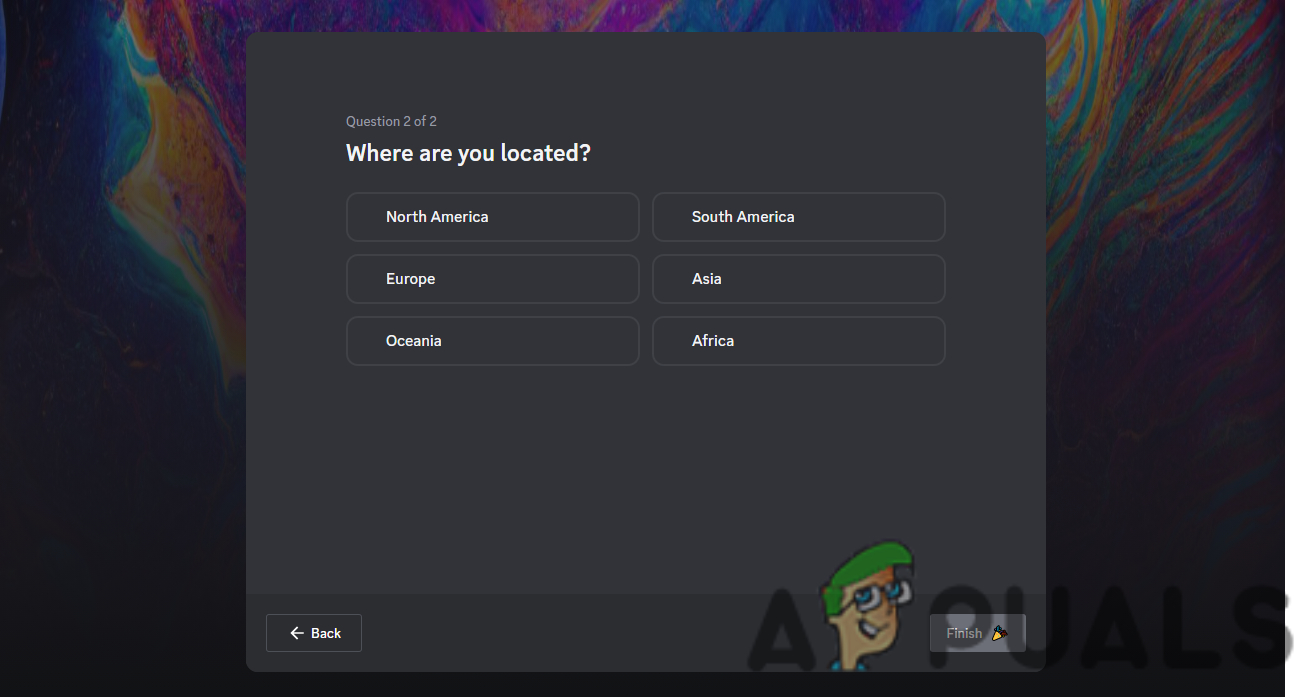
Depending on your case, you might have to take a reCAPTCHA test to verify that you are a human. As you are welcomed into Midjourney’s server, you will be asked about your preferred pronouns
and region. You can choose to answer or skip these questions according to your comfort.
After this, you will be able to view the server.
Creating Images using Midjourney
Now that you have joined their server, you can begin to create images. Just a heads-up that you only have twenty-five free images you can make on your free trial, so spend these wisely unless you want to purchase a subscription (more on that later). Start by following these steps:
- Once in the Midjourney server, you must scroll down the channels menu. There will be many “newbies” channels, such as newbies 42. Click on any one of them.
- Start typing “/imagine” in the message box once the channel opens.
- Once you do this, many recommendations will be shown. Select “/imagine” prompt.

Describe what image you want to create in the prompt. Description tips are given later. For exemplary purposes, we will use “iPhone 15 pro max.” Type your prompt and click enter. The process of creating the image will start now as the chat will be moving so fast due to other people also giving commands your created images might move up. Click on the “Inbox” icon at the top right of the page. There will be a “Mentions” subheading; select it and jump on the post you created.
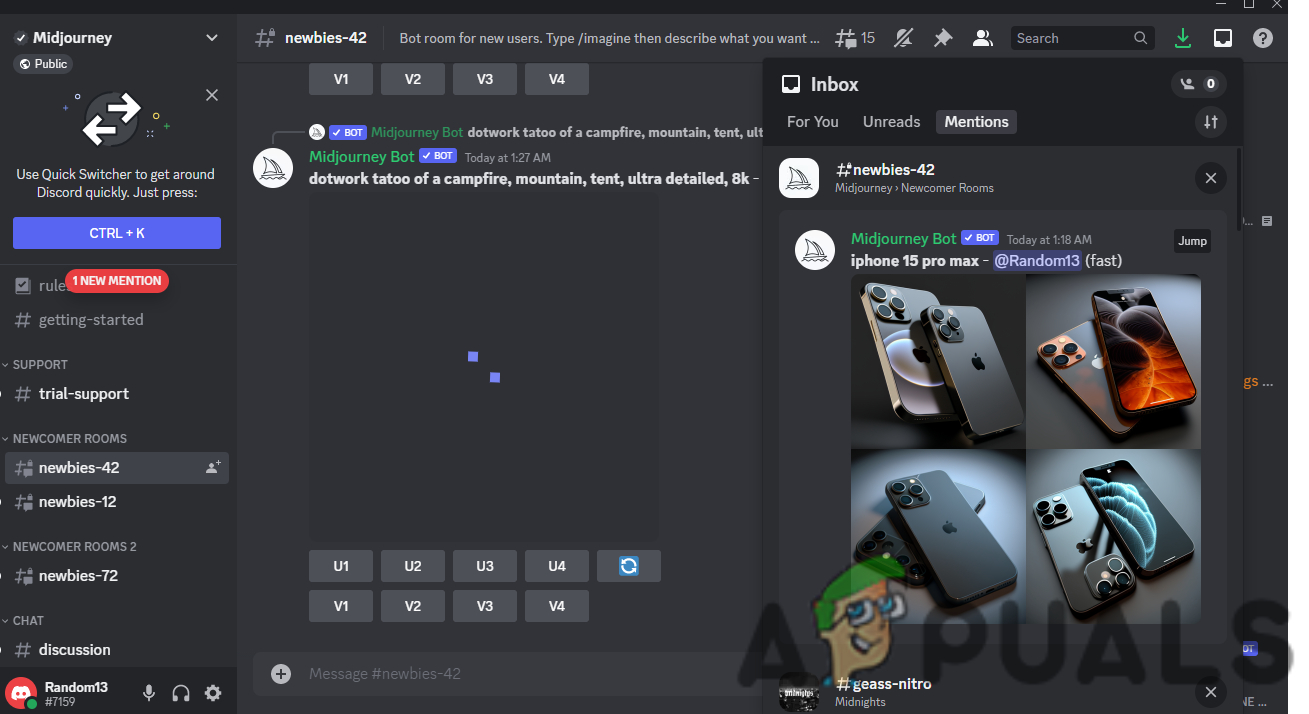
Midjourney creates four relevant images according to your description. There are also options for ” U1, U2, U3, U4” and “V1, V2, V3, V4” beneath the images. V stands for variance (images are changed slightly), and U stands for upscale. You can apply these changes to the images you like, and once again, changes can be viewed in Inbox. The numbers correspond to the order of the designs, so selecting “U4” will upscale the 4th design. Using the “Refresh” icon below the images, you can also request new photos, but remember that this will reduce your free images trial. If you like an image, right-click on it and select save to download it on your system.
Uploading Images to Midjourney
You can also take pre-existing images and give them a cool AI touch using Midjourney. Follow these steps:
- Go to the newbies channel and upload the image to the channel using the “+” option in the message bar.
- Once it is uploaded, right-click on the image and select “Copy Link” now open the Imagine prompt, paste this link, and press enter.
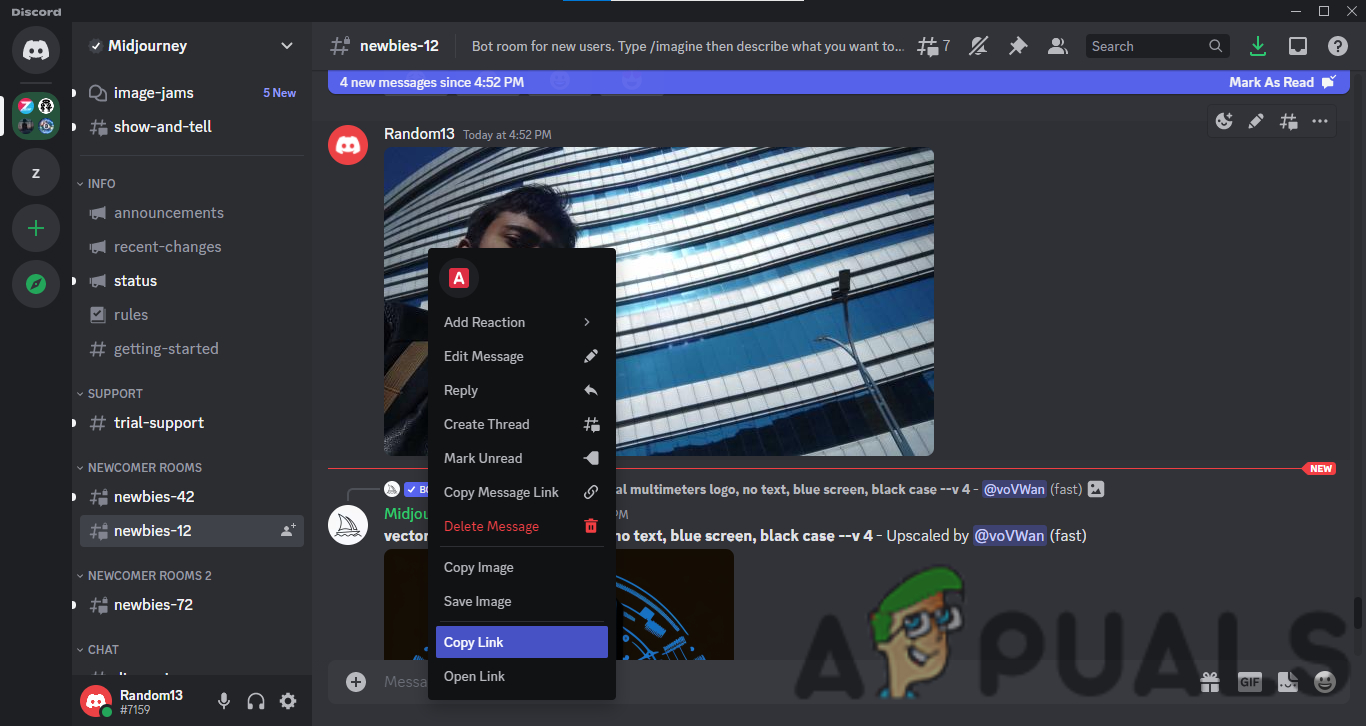
Your image will be processed, and you will get an AI version of your original picture.
Subscription Packages
If you plan to use Midjourneys services longer, you must get one of their subscription plans. You can view these plans by:
- Type “/subscribe” in the channel and press enter. You will be shown a link and allowed to be redirected to that page.
- On that page, you will be shown three plans for “Monthly Billing” and “Yearly Billing.” Choose whichever plan suits you the most; however, I recommend you go for the “Standard Plan,” which costs $30 or $24, depending on what billing option you opt for.
- Once you select a plan by clicking “Subscribe,” you will be taken to a checkout page where you must enter your card details.

Once you complete the payment process, you will get a dm from the Midjourney bot confirming your subscription. An added perk of having a subscription is that you can now create images here rather than on the crowded channel, and all your work will remain in one place.
How to Properly Describe An Image?
Now that you know how to create an image, you should also know how to get the best possible image. This is achievable through a proper image description. A fruitful description should completely convey what you require from the image. The description has no word limit, but keep it concise while delivering your requirements.
For example, if you want images of a boy riding a horse, a suitable description would be a “realistic image of a young boy riding a big brown saddled horse along a village road.” Adding keywords like “super realistic” or “ultra-HD” works. Try to limit the thinking of AI as much as possible, so you get the best results.
Generation Info and Tips & Tricks
Following is some general information and easy tips regarding Midjourney that can make your experience more delightful.
- If you generate an image in the public server of Midjourney, you do not have the rights to the image. This means you cannot use it for commercial purposes, such as selling it to others as your work. However, if you have a subscription plan, the images generated against your command are owned by you and can be used in any manner you like.
- Images created in private chat with the bot are still visible to the public linked with your account, so though you may own them, the public can still view them.
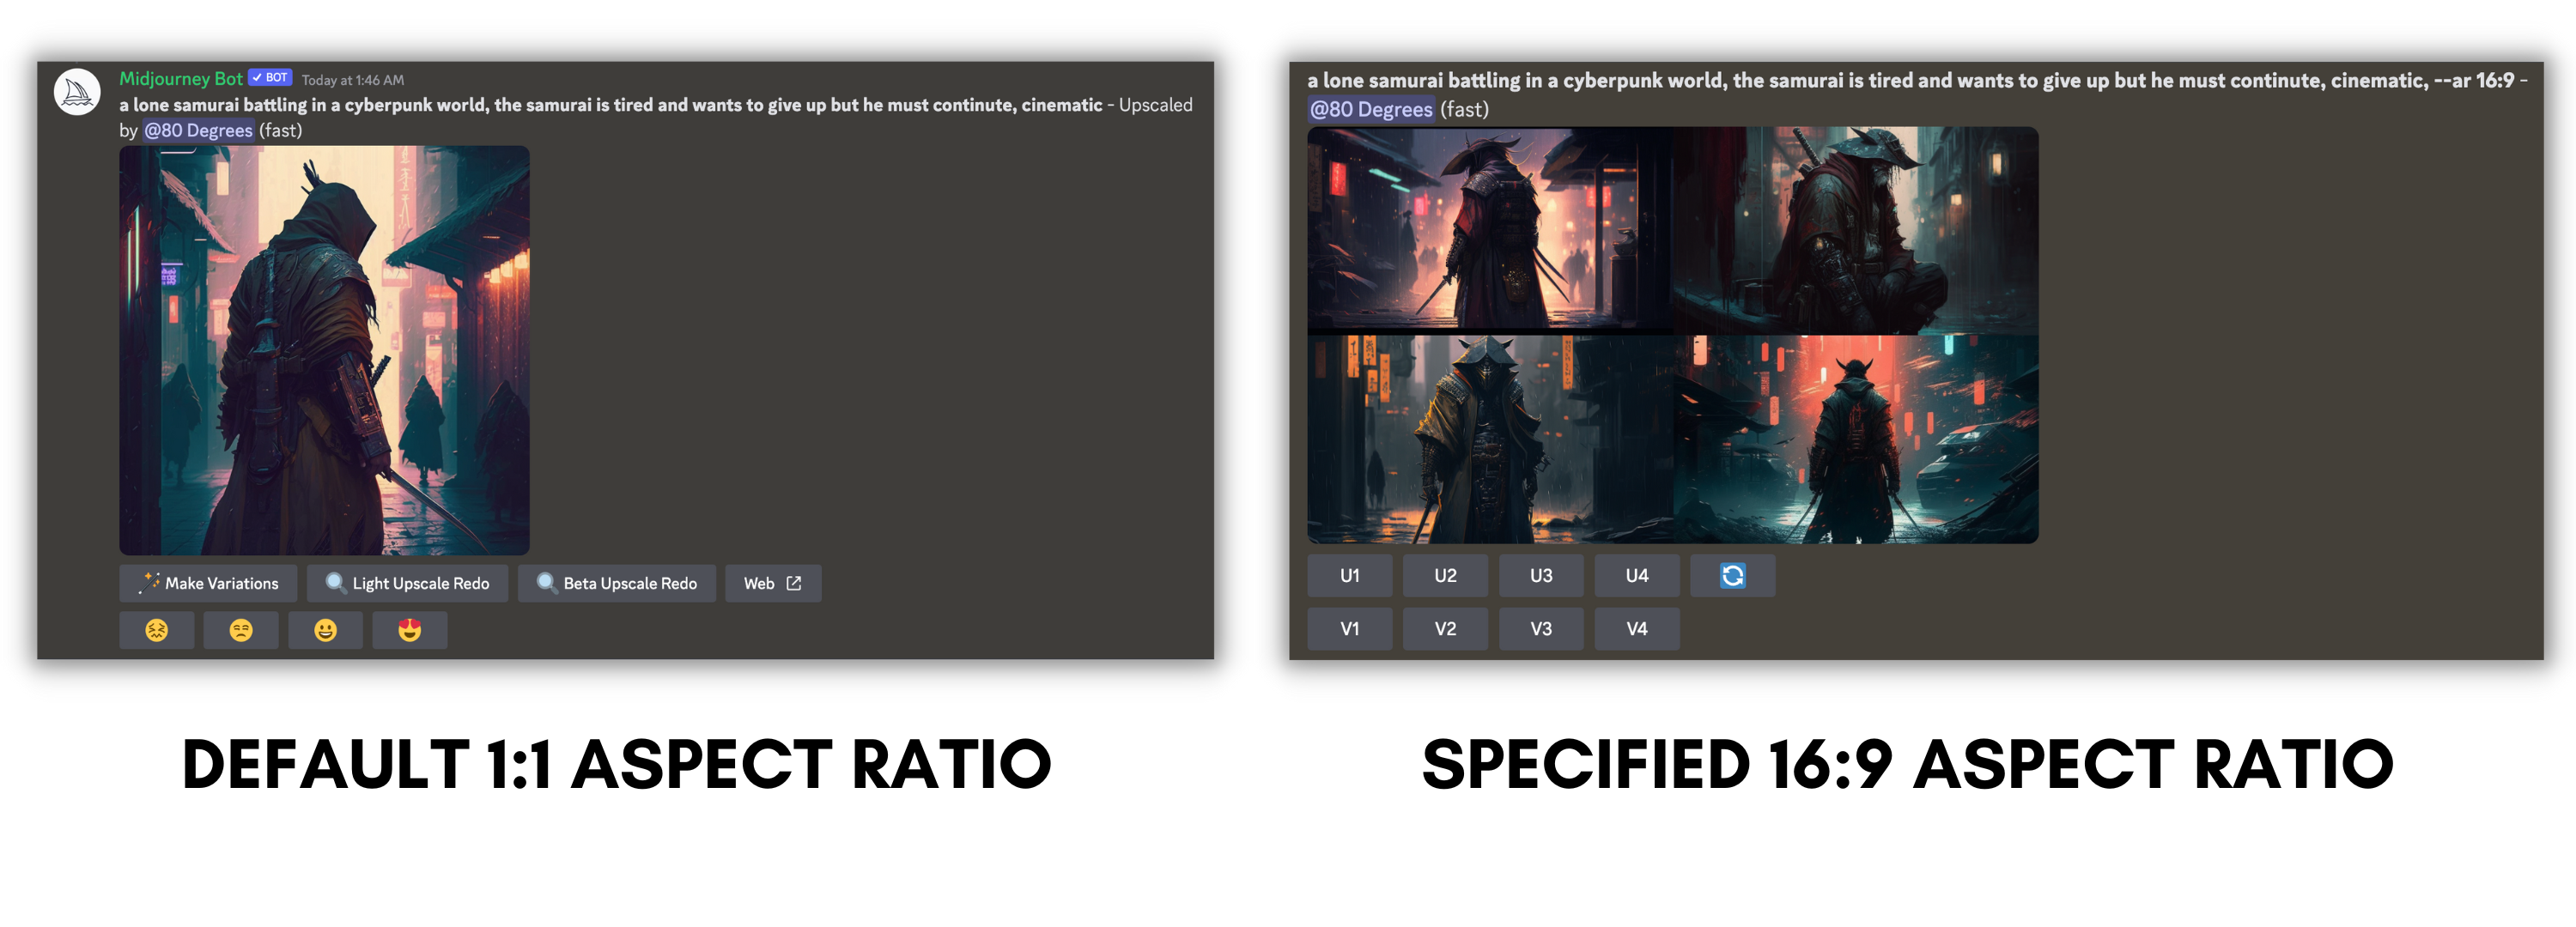
- Originally, images are presented in a 1:1 aspect ratio meaning in a square shape. However, you can change this by using “–ar 3:2” or any other ratio you like. This command will be entered at the end of the image description in the “/imagine” prompt.
- To check your remaining credits, type “/info” in the message bar. This will display all the statistics of your usage. Remember that images created will be shown in “Fast Time Remaining,” where minutes equal the number of photos left rounded to the nearest whole number.
- Type”/help” and press Enter; this will show you some useful links and data from Midjourney that you can apply to create better images.
The potential of Midjourney
Within just 5 months of its release, Midjourney has exploded in popularity due to its immense potential. Because Midjourney is an AI that works off a neural network, it is always learning and improving itself. It’s come to the point where you can actually fool somebody with scarily convincing images, all generated within Midjourney.
Who knows where we’ll be in a few years from now where these image engines would’ve taken on even crazier forms, creating photorealistic images. While this is certainly cool and even convenient for some use cases, we have to keep in mind that people will, for sure, try to use it in unethical ways. So be careful and double-check everything you see online. That goes without saying for even non-AI scenarios.
Reviewed by Huzaifa Haroon


