How to Stop Automatic Redirects on Google, Firefox and Edge
While some browser redirects are harmless, some have the potential of being malicious and expose your PC to certain security threats. This is precisely why more and more users are opting to prevent their browsers from being redirected to different websites. Automatic redirects are a fairly common occurrence nowadays – they are mainly used to direct your attention to an advertisement. But there are situations where the redirect is malicious, with the intent of making you install spyware or malware on your computer.
What is causing constant redirects on Firefox, Chrome, Opera or Edge?
There are several different reasons why you might bee seeing a browser redirect, and the reason usually depends on the website that you’re visiting.
Some developers are using this technique to generate traffic to their sites, while others have been using to gather search terms and redirect users to websites where they’ll receive a commission for each referred visitor. It’s not uncommon to be redirected to a tracking website when trying to load a webpage and only then be allowed to go to the desired website.
But there are also more severe cases where the user is redirected while doing a Google, Yahoo or Bing search. In this case, a malicious browser hijacker is doing the dirty work and will hijack the search results and redirect to a series of interconnected websites.
Excluding the possibility of a redirect virus
TDL4 rootkits, boot kits, and malicious browser add-ons can all be responsible for a malicious redirect. Since the infection can operate silently with no apparent symptom, it’s important to start your quest of eliminating redirects by making sure that you’re not actually dealing with a malware infection.
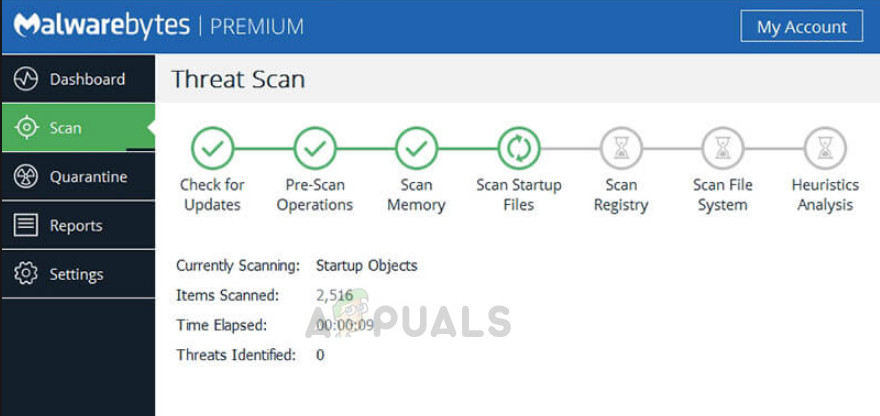
When it comes to hunting down and removing browser hijackers and redirects viruses that might be responsible for your behavior, there is very few security software that will do it better than Malwarebytes. But the only difference is, Malwarebytes free scan is just as effective as most of the premium options out there.
Before you start reconfiguring your browser settings to prevent it from accepting redirects, we recommend you to follow this article (here) and perform a Deep Scan with Malwarebytes. Most likely, this will remove any malicious browser redirects that might be responsible for your issue.
Once the scan is completed and the threats eliminated, it’s important to uninstall & reinstall the affected browser. This is required because not all browsers will have the capacity to regenerate the affected files after an infection has been dealt with. With this in mind, follow the guide below to reinstall the browser after the infection has been removed:
- Press Windows key + R to open up a Run dialog box. Then, type “appwiz.cpl” and press Enter to open up the Programs and Features screen.

Type appwiz.cpl and Press Enter to Open Installed Programs List - Inside the Programs and Features screen, scroll down through the list of applications and locate the browser that was just cleaned of browser hijackers or other redirecting software. Then, right-click on it and choose Uninstall to initiate the uninstallation process.
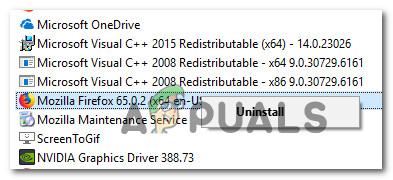
Uninstalling Mozilla Firefox - Follow the on-screen prompts to complete the uninstallation process, then restart your computer.
- At the next startup, navigate to one of the links below (depending on which browser was affected) and re-download & install the web browser:
Firefox
Chrome
Opera
If the affected browser was Microsoft Edge, you won’t be able to remove it conventionally since it’s a built-in part of Windows 10. In this case, you’ll need to remove it’s AppData folder, forcing your operating system to recreate it from scratch. Here’s a quick guide on how to do this:
- Make sure that any instance of Microsoft Edge is closed.
- Press Windows key + R to open up a Run dialog box. Then, type “C:\Users\%username%\AppData\Local\Packages” and pressEnter to open up the folder that holds the data related to Microsoft Edge.
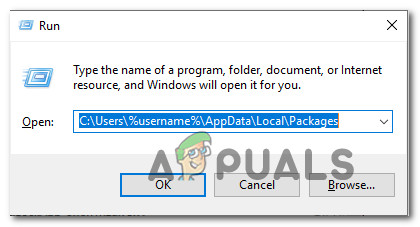
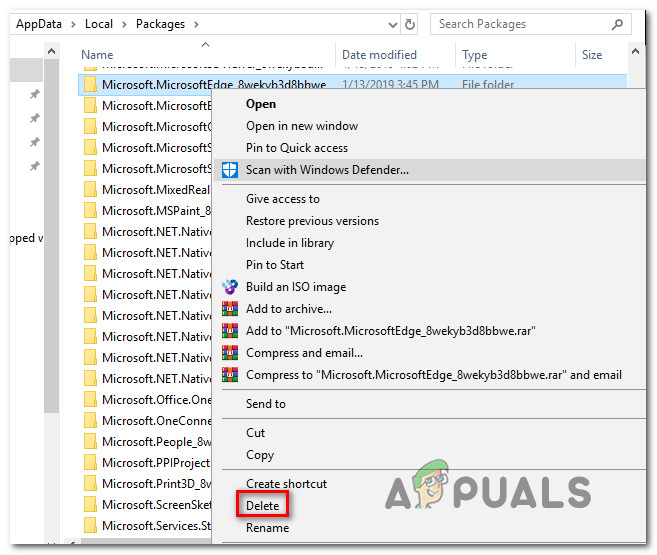
Accessing the Packages folder via Run command - Inside the Packages folder, scroll down through the list of applications and locate the folder named as Microsoft.MicrosoftEdge_8wekyb3d8bbwe.
- Once you see it, right-click on it and choose Delete to remove it.
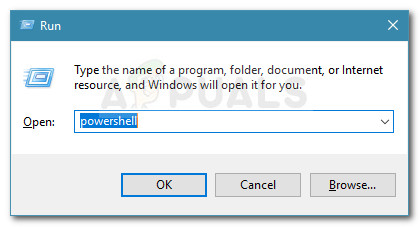
Deleting the Microsoft Edge package - Next, press Windows key + R again to open up another run dialog box. This type, type “powershell” and click Ctrl + Shift + Enter to open up an elevated Powershell Prompt. When prompted by the UAC (User Account Control), click Yes to grant administrative privileges.
Run dialog: powershell Then press Ctrl + Shift + Enter - Inside the elevated PowerShell window, type the following command and press Enter to reinstall Microsoft Edge:
Get-AppXPackage -AllUsers -Name Microsoft.MicrosoftEdge | Foreach {Add-AppxPackage -DisableDevelopmentMode -Register “$($_.InstallLocation)\AppXManifest.xml” -Verbose} - Restart your computer to allow your operating system to recreate the necessary components of Microsoft Edge.
How to disable Redirects in your browser
Now that you’ve ensured that your redirects are not being caused by a malware/adware/spyware, you can safely modify the default behavior of your browser to prohibit redirects.
But keep in mind that the process of doing this will be different depending on which browser you’re using. With this in mind, please follow the guides applicable to your browser.
Disabling redirects on Chrome
Google Chrome already comes with some built-in protection against browser redirects. However, this security is not perfect and could be complemented by an extension. Not to mention those cases where Safe Browsing is disabled.
Here’s how to disable redirects on Chrome:
- Open Google Chrome and click the action icon in the top-right corner. From the newly opened menu, choose Settings.
- In the Settings menu of Chrome, scroll down to the bottom of the screen, then expand the Advanced menu.
- Make your way to the Privacy and Security tab and ensure that the toggle associated with Safe Browsing is enabled.
- Once Sae Browsing is enabled, see if you’re still experiencing browser redirects. If you are, visit this link (here) and click on Add to Chrome to install the Skip Redirect browser.
- After a short while, you’ll see a confirmation prompt. Click Yes to accept the installation, then wait for the operation to complete.
- Visit some websites that we’re previously redirecting you and see if the issue has been resolved.
Disabling redirects on Firefox
Much like Chrome, Firefox is also equipped with some security features capable of keeping malicious redirects at bay. And if that’s not enough, you can always install an additional add-in that will prevent any sort of redirect from happening.
Here’s a quick guide on disabling redirects on Firefox:
- Open Firefox and click on the action button (three line icon) in the top right corner of the screen.
- From the newly appeared menu, click on Options.
- Inside the Firefox Options menu, go to the Privacy & Security tab and scroll down to the Permissions tab. When you get there, make sure that the checkbox related to Block pop-up windows is checked. This step will prevent Firefox from opening redirected pop-up windows.
- Next, scroll down to the Security tab, and make sure that the box associated with Block dangerous and deceptive content is checked. Doing this will ensure that harmful redirects are disabled from the get-go.
- If you’ve already enforced this changes and you’re still encountering page redirects, visit the link (here) and click on Add to Firefox to install an add-in capable of blocking redirects entirely.
Disabling redirects on Microsoft Edge
While Microsoft Edge doesn’t have an extension add-in capable of blocking redirects, it manages to do a good job of blocking them internally. Here’s a quick guide on how to prevent any redirects on Microsoft Edge:
- Open Microsoft Edge and click the action button in the top-right corner.
- From the newly appeared menu, click on Settings.
- In the Settings menu, click on the Smart & security tab.
- In the Smart & security tab, scroll down to the Security tab and make sure that the toggles associated with Windows Defender SmartScreen and Block pop-ups are enabled.
- Restart your browser to allow the changes to take effect.