How to Uninstall GeForce Experience
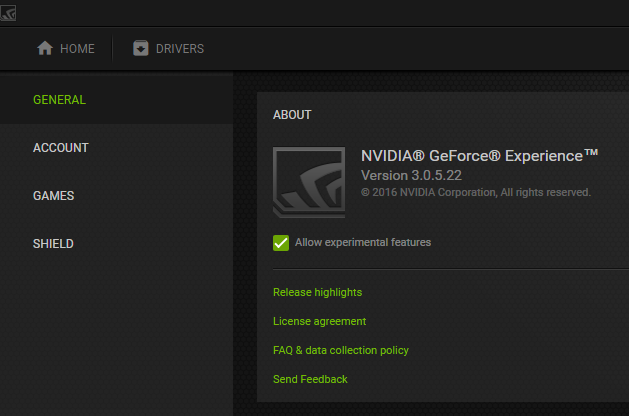
GeForce Experience is an application that comes bundled with the graphics drivers for all NVIDIA GeForce GTX graphics cards. The application is designed to automatically check for and install updated driver software for the GPU, optimize graphics settings for any or all games to allow for optimum graphics performance, and to allow users to stream and share what they do on their computers with others. GeForce Experience has been designed to make users’ lives easier and to enrich user experience.

However, in many cases, it ends up doing just the opposite – some users of the application experience complain of outrageous computer resource usage (RAM and processor bandwidth usage) on the part of the application, whereas others simply don’t like how intrusive and autonomous the application can be. For example, GeForce Experience causes drops in FPS for some users, whereas others simply despise the fact that the program one-click optimizes the settings for all of the games they play – messing with the settings they so carefully configured for each of their games is not something gamers take lying down.
GeForce Experience hasn’t gone over well with the gaming community (to say the least), which is why there are many GeForce GTX GPU users out there who want to get rid of it. Thankfully, it is entirely possible to uninstall GeForce Experience from a Windows computer, and the process is pretty much the same as what you would do to uninstall any other program from your computer. However, it should be noted that GeForce Experience is what automatically keeps the drivers for your GeForce GTX graphics card up to date – once you uninstall the program, you are going to have to manually download updated driver software from NVIDIA’s official website every time new drivers for your GPU and OS combo are released, and then install it. To uninstall GeForce Experience from a Windows computer, you need to:
- Open the Start Menu.
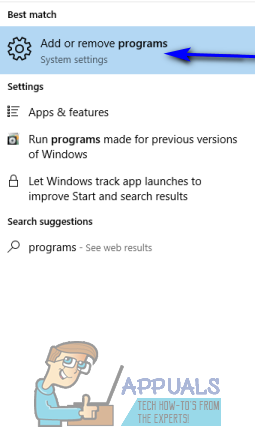
- Search for “add or remove programs“.
- Click on the search result titled Add or remove programs.

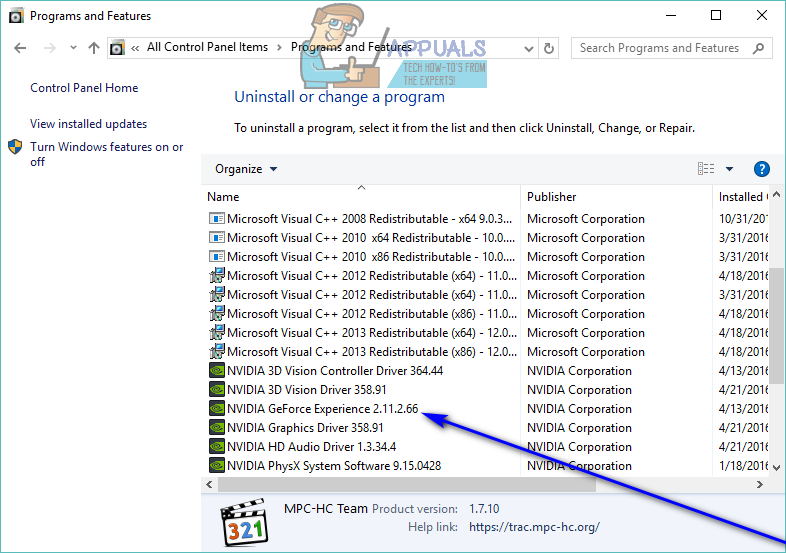
Open Add or Remove Programs - Look through the list of programs installed on the computer and locate and right-click on the listing for NVIDIA GeForce Experience.

Uninstall NVIDIA GeForce Experience - Click on Uninstall in the resulting context menu.
- Go through the uninstallation utility by following the onscreen instructions, and the program will be uninstalled from the computer.
If you cannot uninstall GeForce Experience through Control Panel, then look for uninstall.exe in the installation directory of GeForce Experience and run it to uninstall GeForce Experience. You can try the system restore to revert your system to the point of time when GeForce Experience was not installed on your system.
If you are still having issues, then
- Open File Explorer and navigate to ‘
C:\Program Files (x86)\NVIDIA Corporation\.
- Now find and delete the folder labelled as GeForce Experience.
- Download and install the latest version of GeForce Experience and then uninstall using the method discussed above.
If, for some reason, you fail to uninstall GeForce Experience using the steps listed and described above, simply follow uninstall programs on Windows 10 and try out additional methods to get rid of the program. Once GeForce Experience has been uninstalled, the latest drivers for your graphics card will no longer be automatically checked for, downloaded and installed. You are going to have to manually download updated driver software from NVIDIA’s official website, and every single time you install updated driver software for your graphics card, the installer will automatically install GeForce Experience back on your computer if you use the default installation options. That being the case, whenever you install updated drivers for your graphics card, be sure to opt for the Custom Install option and ensure that the installer is not configured to also install GeForce Experience on your computer along with the drivers.


