How to Troubleshoot and Fix a GPU Not Detected by Your PC
When your GPU isn’t detected by the PC, it usually means there’s no video output, or your system switches to the built-in graphics, making the GPU inactive. This can happen during startup, resulting in no signal to the monitor, and the device not showing up in the Device Manager or BIOS. The main reason for this error is often a power delivery failure to the GPU or a bad PCIe connection.
Other causes include outdated or missing drivers, wrong BIOS settings, or even a faulty GPU.
Now that you know the causes lets discuss the solutions.
1. Check Graphics Card Slot
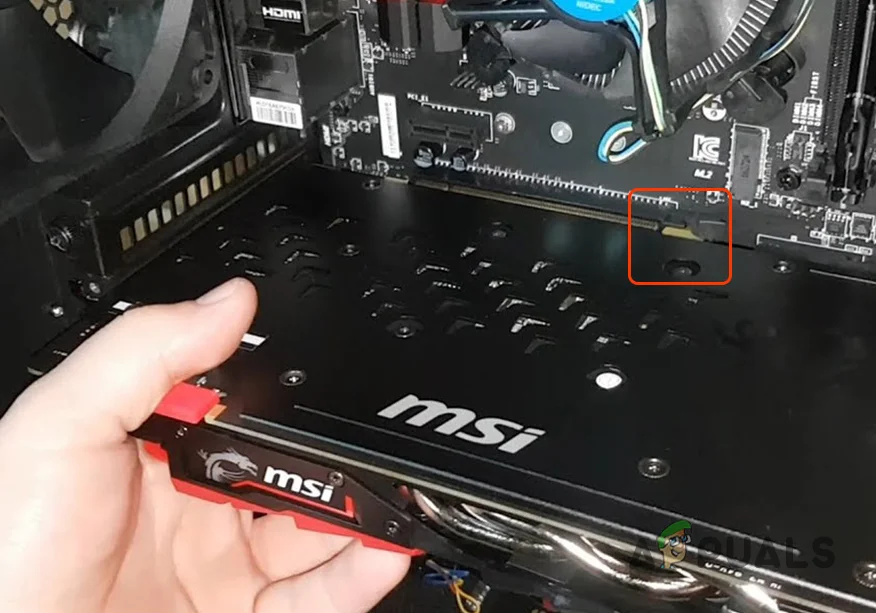
Sometimes the graphics card isn’t properly connected in the PCIe slot, leading to detection problems. Reseating the card ensures it’s securely attached, allowing it to communicate well with the motherboard. Dust or small shifts can disrupt this connection, so carefully reinserting the card often fixes the issue.
- Remove the back cover of your computer.
- Check the motherboard and graphics card slots. Power on your computer and see if the graphics card fan is working.
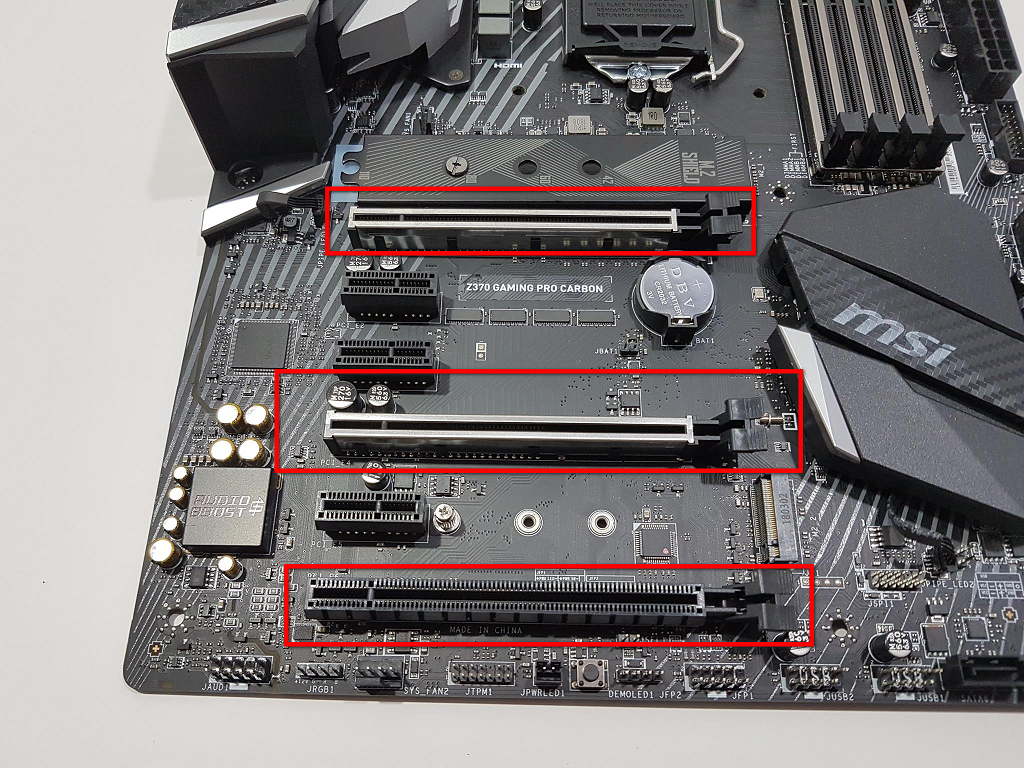
- If the graphics card isn’t working, the slot might be damaged or faulty.
- Power off your computer, remove the graphics card, and insert it into another slot to see if the issue is resolved.
2. Uninstall and Reinstall Graphics Drivers
Reinstalling your graphics drivers can often solve detection problems. Removing the old drivers gets rid of any broken or outdated files that might be causing issues. Installing the latest version helps your system connect properly with the GPU, making sure it is recognized and works well.

Checkout our article for detailed guide on how to reinstall graphics driver here.
3. Set your Graphics Card to Default
When the system switches to the built-in graphics, the dedicated GPU might not be used or detected. By setting your separate GPU as the main graphics processor, you make sure the system uses it for all graphic tasks, which can fix detection issues.
Note: The following instructions are specific to NVIDIA graphics cards. Steps may differ for other brands.
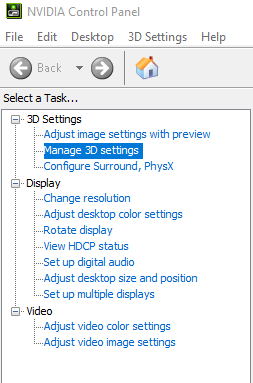
- Open the NVIDIA Control Panel by right-clicking on your desktop and selecting NVIDIA Control Panel.

- Select 3D Settings.
- Choose Manage 3D Settings from the left pane under 3D Settings.
- Go to the Program Settings tab.
- Select a program from the drop-down list in the Select a program to customize section.
- Choose High-performance NVIDIA processor from the drop-down list in the Select the preferred graphics processor for this program section.
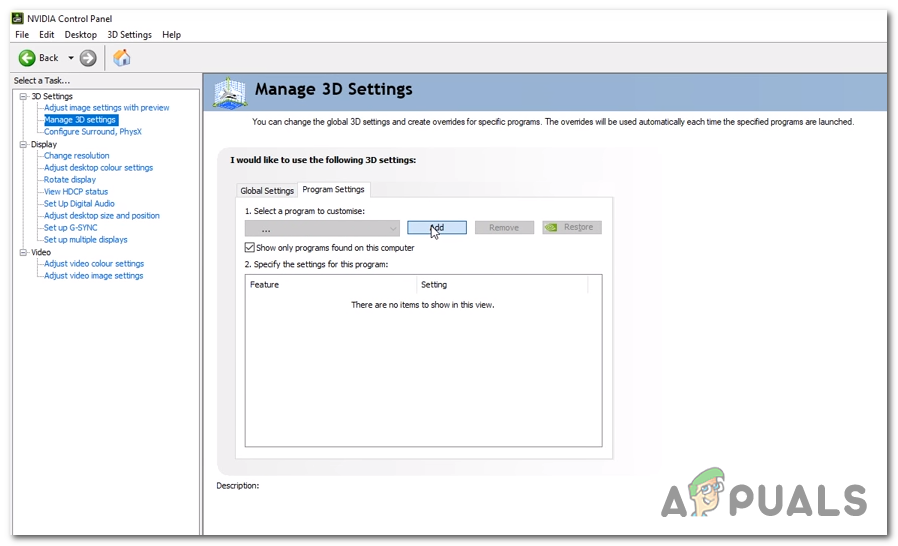
Modifying the 3D settings
After completing these steps, close the control panel and test if the program now functions properly with the NVIDIA graphics card as the default device. Repeat these steps for other major applications as needed.
4. Check Power Supply
Making sure your GPU has enough power is important for fixing detection problems. If the power supply doesn’t give enough power to the GPU, the card might not work right or be detected by your system. Check that all power cables, especially the PCIe power connectors, are firmly connected to both the GPU and the PSU. Not enough power or a loose connection can cause the GPU to not be detected.
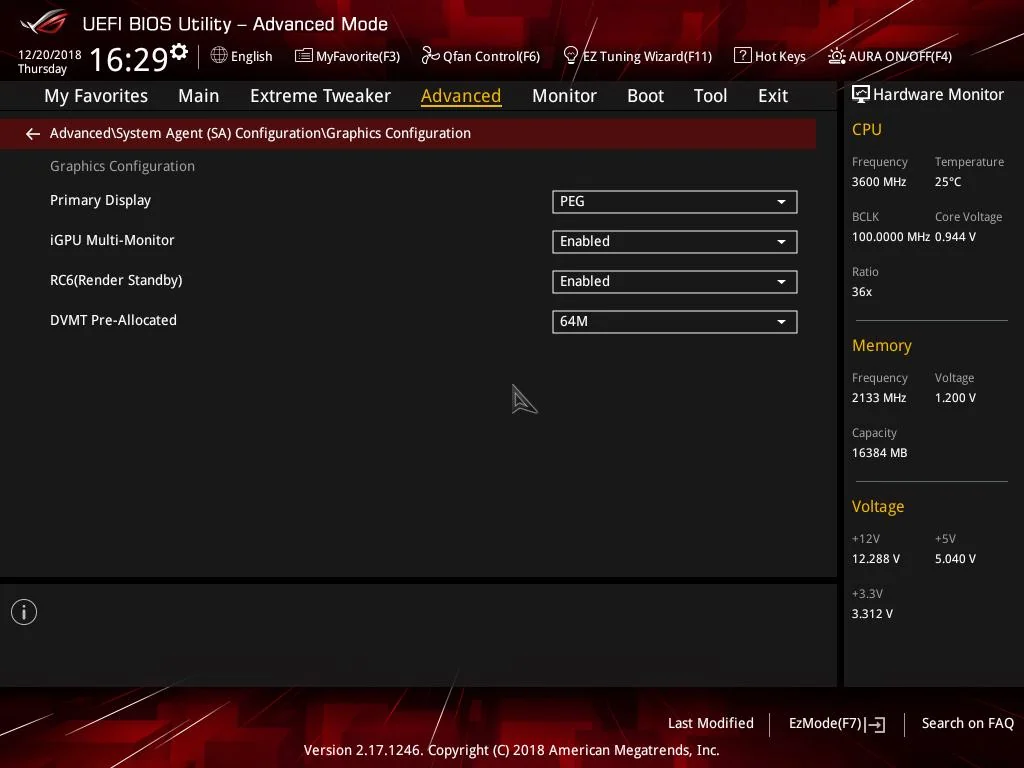
5. Change BIOS Settings
Changing your BIOS settings can help your PC recognize your GPU by making sure it uses the separate graphics card instead of the built-in one. Sometimes, your motherboard’s BIOS might choose the built-in graphics by default or not give the right resources to the PCIe slot where your GPU is installed.
- Power on your system.
- During boot-up, press Esc, F8, F12, or F10 when your manufacturer’s logo appears. The correct key varies by manufacturer and is usually shown on the screen. Check which key to press in our detailed guide.
- If a menu appears, use the arrow keys to select the BIOS menu option.
- Find a setting named iGPU or iGPU Multi Monitors, which is often linked to multiple monitors. Disable it if you use a single monitor.
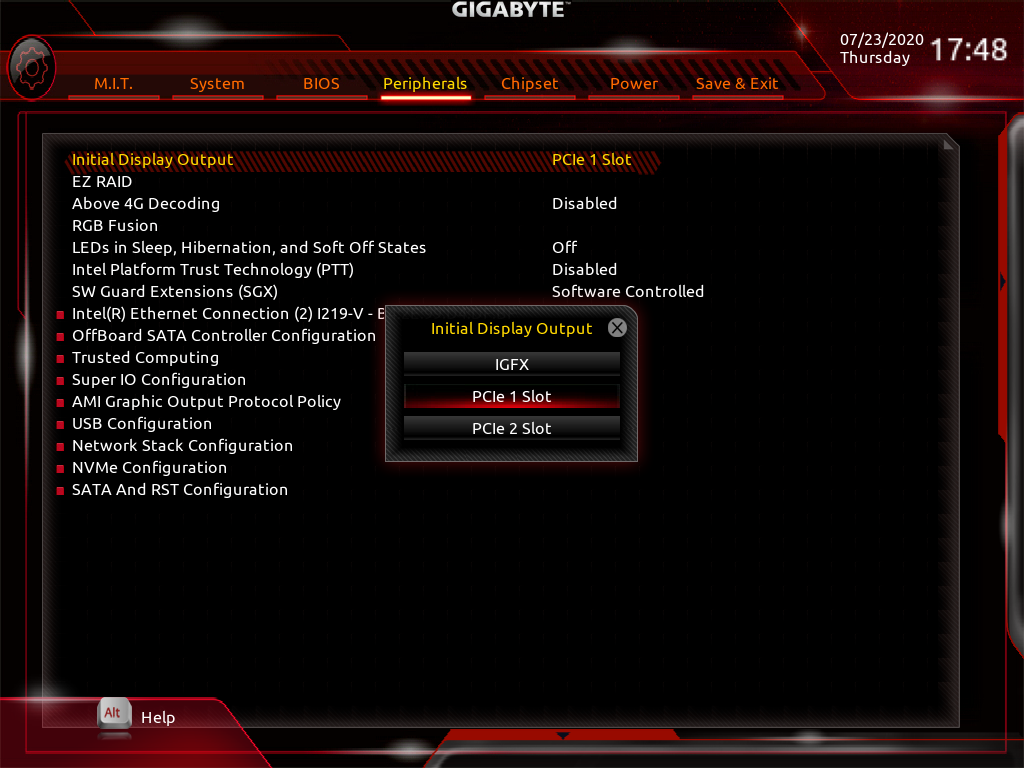
- Look for PCI and PCI-E configuration options, such as PCI, Onboard, PCI-e, and PCI-e/onboard backup. Select the PCI-e options one at a time to see if any fix the issue.
6. Uninstall Windows Updates
Sometimes, a recent update can cause hardware recognition problems. By removing recent Windows updates, you might fix changes that mess with your GPU’s driver or system setup. Windows updates, especially optional ones, can sometimes create compatibility issues with drivers or hardware, like GPUs.
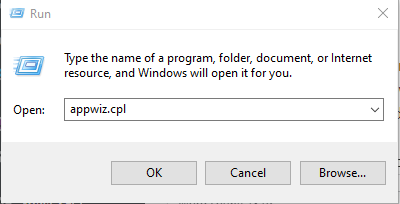
- Press Windows + R.
- Type appwiz.cpl and press Enter.
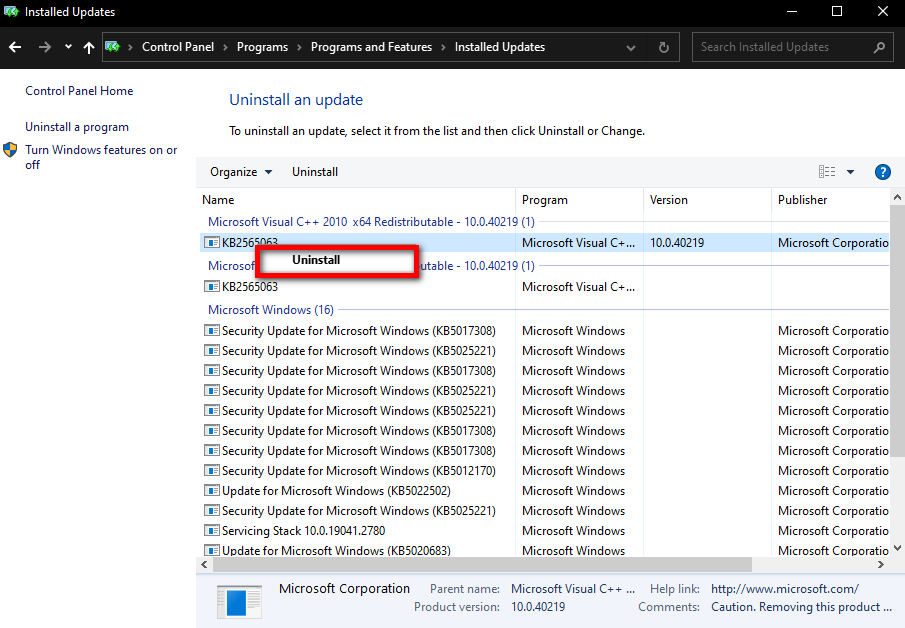
- Click View installed updates.
- Identify and select the recently installed updates by checking their installation dates.
- Choose Uninstall and follow the prompts.
- Consider removing any other updates installed on the same day.
- Restart your computer to see if the problem is resolved.
7. Restore BIOS to Default
Resetting the BIOS to default can fix any settings that stop the GPU from being detected. BIOS settings, like wrong PCIe setups, disabled slots, or conflicts with built-in graphics, can unintentionally block GPU detection.
- Start your system.
- As the computer reboots, press Esc, F8, F12, or F10 when the manufacturer’s logo appears. Follow the steps based on whether you see the BIOS menu or a list of options.
- If a list appears, use the arrow keys to select the BIOS menu and press Enter.
- In the BIOS menu, look for an option like Restore to defaults and select it. Follow any additional instructions provided.
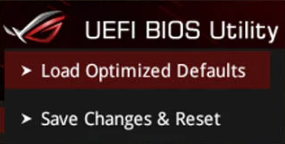
After resetting the BIOS to default, reboot your system and verify if the graphics card is now recognized.
8. Update BIOS
Updating your BIOS to its latest version can resolve detection issues, as it ensures compatibility with the newest hardware among other benefits.
Note: BIOS updating is a sensitive process requiring technical know-how. If you are unsure about updating your BIOS, seek assistance from an expert. Incorrect updates could potentially lead to a non-functional computer.
For detailed guides on BIOS updates for various manufacturers, follow the instructions provided in our articles linked below:
Update BIOS on Lenovo: Click here.
Update BIOS on Dell: Click here.
Update BIOS on HP: Click here.
Update BIOS on GATEWAY: Click here.
9. Reseat or Clean the Graphics Card
Dust build-up or improper seating of the graphics card can cause detection problems. Reseating the graphics card into its slot after cleaning can often resolve this issue.
- Power off your computer and unplug it from the power source.
- Carefully open the computer case.
- Gently remove the graphics card from its slot.
- Clean the gold contacts on the card with a soft rubber eraser to remove any debris or oxidation.
- Use compressed air to clean the slot and surrounding area to remove dust.
- Firmly reinsert the graphics card into the slot.
- Power on the computer and check if the card is detected.
10. Test the Graphics Card in Another System
Testing the graphics card in another system helps determine if the issue lies with the card itself or your current setup. If the card functions in a different PC, this confirms that the problem is likely due to your motherboard, power supply, or BIOS settings.
- Carefully remove the graphics card from the current system.
- Install the graphics card into another compatible system, following anti-static precautions.
- Boot the test system and check if the card is detected.
Ma computer got rekted by memz virussss sos halpppp!!11!!!