Fix: GeForce Experience Driver Preparing to install
The battle for supremacy in the GPU game takes place in many different sectors. While it’s impossible to declare an absolute victor, Nvidia has the advantage over AMD in terms of driver deployment. A big part of Nvidia’s appeal comes from the seamless driver integration and optimization across all GPU models. This is accomplished with tools like Gforce Experience (Nvidia’s proprietary tool). While AMD is severely struggling to cut down on driver fragmentation, Nvidia was and is one step ahead.
But as it turns out, Gforce Experience is by no means a bug-free software. For the last two years, users have started to report a lot of problems when trying to update their Nvidia drivers via Gforce Experience. Even more so if you’re using a beta version of GeForce Experience. The most common symptom of this issue is the software getting stuck at “Preparing for Installation” screen indefinitely.
Overall, it seems like this issue is mostly happening on low-end rigs and non-gaming laptops, but that’s not a given fact. The vast majority of users encountered this issues on M series Nvidia GPUs. But regardless of your Nvidia graphics card, we have some suggestions for you that have helped a lot of users bypass the “preparing for install” screen.
Before trying anything else, make sure you’ve crossed the obvious like restarting your machine and trying to install again. If that doesn’t work, follow the methods below in order until you find a fix that works.
Method 1: Run GeForce Experience as Administrator
As simple as this fix may seem, it has helped a lot of users bypass the “Preparing to Install” screen. And if you think about it, it really makes sense. At some point during the installation process, you will be prompted to confirm that you want to install the driver. But without administrator privileges, that prompt will not pop up and the installation will freeze.
If you’re not sure if you’re opening GeForce Experience in Administrator Mode, force it by right-clicking the desktop shortcut and click on Run as Administrator.

With GeForce Experience opened in Administrator mode, attempt to install the GPU driver again. If it gets stuck at “Preparing to Install” again, move to Method 2.
Method 2: Disable real-time scanning from your antivirus
A common culprit that is often overlooked when dealing with the “Preparing to Install” freeze is the antivirus. Most antiviruses have a real-time scanning feature that will prevent registry files from being updated. Since the driver package needs to create new files when updating your GPU, it might be prevented to do so. Norton and McAfee are particularly known to cause this issue.

But regardless of your antivirus version, it’s worth a shot to disable real-time tracking (real-time protection) from your antivirus settings. After you do it, attempt to reinstall the driver through GeForce Experience. If it fails again, moves to the next method.
Method 3: Downloading the driver manually
Since this issue is most likely caused by GeForce Experience, taking the alternative route may allow you to update your drivers with no problems. You can bypass GeForce Experience by downloading the GPU driver from the official Nvidia website.
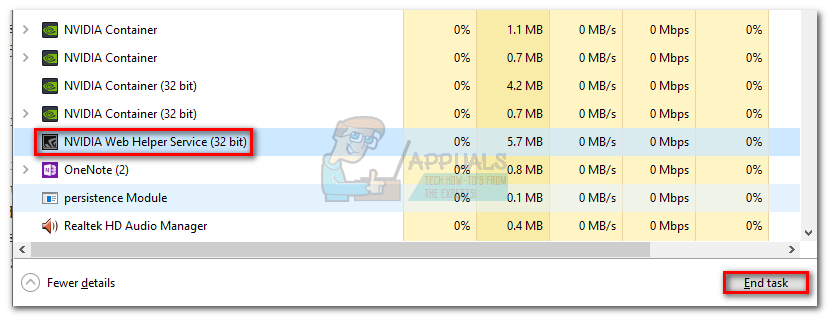
Before you do anything else, make sure GeForce Experience is completely closed. You can do that easily by closing any background process in Task Manager (Ctrl + Shift + Esc).
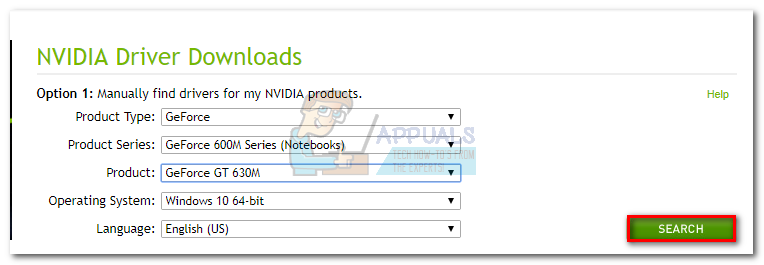
Once you get that going, Visit Nvidia’s Driver Download page and insert the appropriate Product and Product Series and Operating System. Use the Search button to find the appropriate driver and download it to your system.
Note: Stay away from beta drivers and make sure you distinguish between the Notebook drivers (M series) and desktop drivers.
Open the executable and see if it manages to get past the “Preparing for Installation” screen. If it fails again, try the next method.
Method 4: Forcing Windows Update to install the driver
Often times, the best course of action is to completely remove Nvidia drivers along with GeForce Experience before installing it again. If possible, it’s best to let Windows Update to apply the latest driver after removing all Nvidia related software. To make things easier, here’s a quick guide:
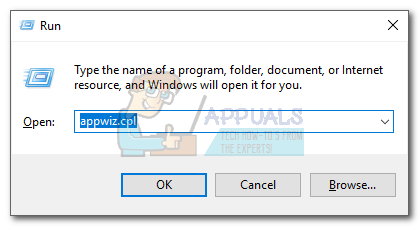
- Press Windows key + R to open a Run command. Type “appwiz.cpl” and hit Enter to open Programs and Features.
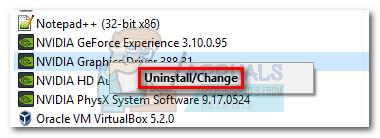
- Right-click on your Nvidia Graphics Driver and select Uninstall/Change.
- Follow through with the setup to uninstall it from your system.
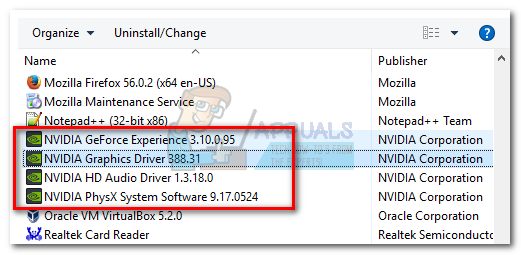
- Uninstall all the other Nvidia software including GeForce Experience, Audio Driver, and PhysX System.
- Once you uninstalled them all, restart your PC. After your system boots back up, use the search bar to Check for updates.
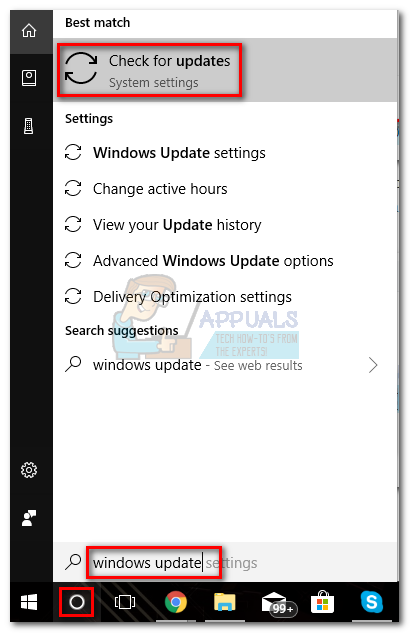
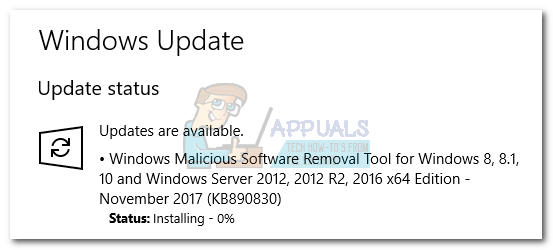
- Click on Check for Updates and see if there are any Windows Updates pending. If any of them are pending, do them first before attempting to install the driver manually.
 Note: Often times, Windows Update will automatically download the appropriate GPU driver if it finds out that it’s missing. You can confirm this by accessing Device Manager and see if the dedicated GPU driver is installed.
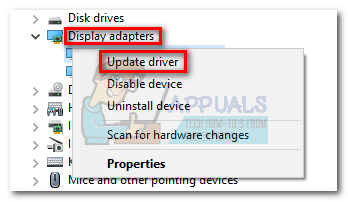
 - If you confirm your that your driver is missing in Device Manager, right-click on the entry related to your Nvidia GPU (under Display adapter) and select Update Driver. Normally, this will force Windows to download a fresh driver and install it automatically.
- If the driver is GPU driver is not found by Windows, follow Method 3 again to manually reinstall it.
Method 5: Performing a clean driver re-install
If all the methods above failed, we need to remove all traces of the Nvidia drivers and perform a clean driver reinstall. To achieve this, we are going to use two different types tools to wipe all traces of your old GPU drivers. Here’s what you need to do:
It’s recommended that you only attempt this procedure after trying every other method present in this guide. We are going to use Display Driver Uninstaller, which is not officially supported by Nvidia. Although no users have reported problems so far, you might end up facing unexpected problems after using this software.
If you decide to follow this method, here’s what you need to do:
- Press Windows key + R to open a Run command. Type “appwiz.cpl” and hit Enter to open Programs and Features.
- Right-click on your Nvidia Graphics Driver and select Uninstall/Change.
- Follow through with the setup to uninstall it from your system.
- Uninstall all the other Nvidia software including GeForce Experience, Audio Driver, and PhysX System.
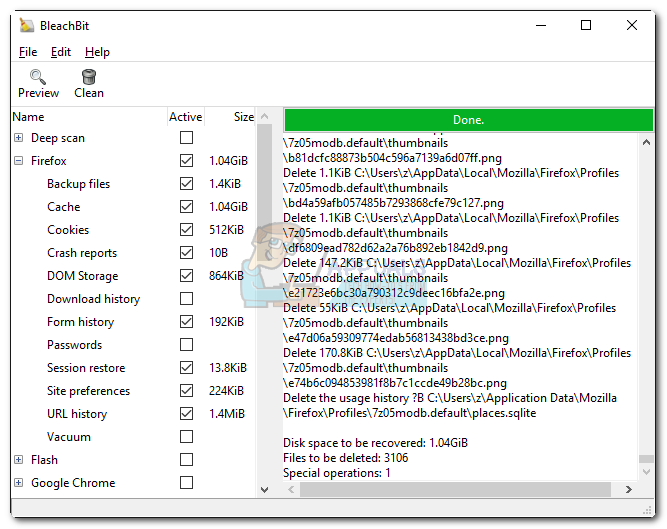
- Restart your computer, and use a software like CCleaner or BleachBit to remove any leftover Nvidia files.
- Next, download, extract and install Display Driver Uninstaller. This tool is specifically designed to remove all traces from all the popular display drivers.
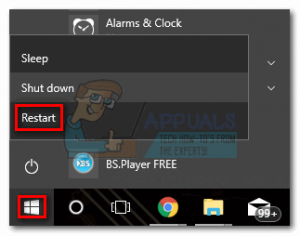
- In order for this tool to be effective, you’ll need to restart your system in Safe Mode. You can do this by opening the Start menu and clicking on the Power button. Then, hold the Shift key pressed while clicking the Restart button.
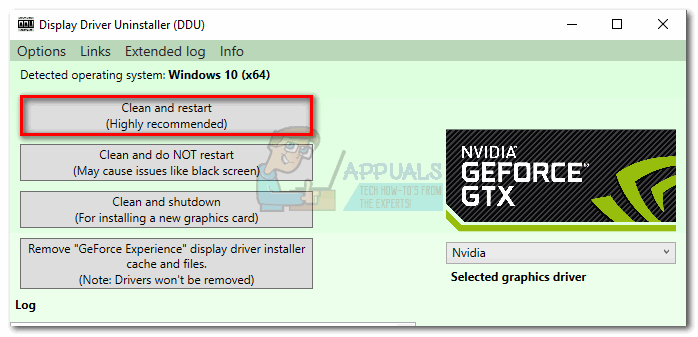
- Once your system reboots in Safe Mode, open Display Driver Uninstaller and click on Clean and restart. After a few minutes, your system will reboot again after cleaning the necessary files.
- You have now removed all traces of your old Nvidia GPU driver. Follow Method 3 again to manually install the driver. It should be able to install in full.
Bro go look at your hard drive and look at the numbers lower in your free space. It’s going to take a while!