How to Check How Much VRAM You Have on Windows?
VRAM (Video RAM) is a type of RAM used in graphics processing units (GPUs). Dedicated graphics cards have their own VRAM, separate from the computer’s RAM, reserved for display and graphics functions.
Graphics cards vary in VRAM amounts. More VRAM can improve handling of high-res textures and multiple displays, but overall performance also depends on GPU architecture, clock speed, and other specs.
Many users with dedicated graphics cards want to know their VRAM amount because it affects their GPU’s ability to manage graphics-intensive tasks.
Fortunately, checking VRAM is easy on Windows 10 and Windows 11. You can use built-in system utilities or third-party apps to check your VRAM. To find out how much VRAM your Windows computer has, use one of these methods:
Method 1: Using Task Manager
- Press Ctrl + Shift + Esc to open Task Manager.
- Navigate to the “Performance” tab by clicking on it.
- On the left sidebar, select “GPU”. If your system has more than one GPU (such as an integrated GPU and a dedicated GPU), you might see entries like “GPU 0” and “GPU 1”. Make sure to check both sections to find the VRAM for each GPU.
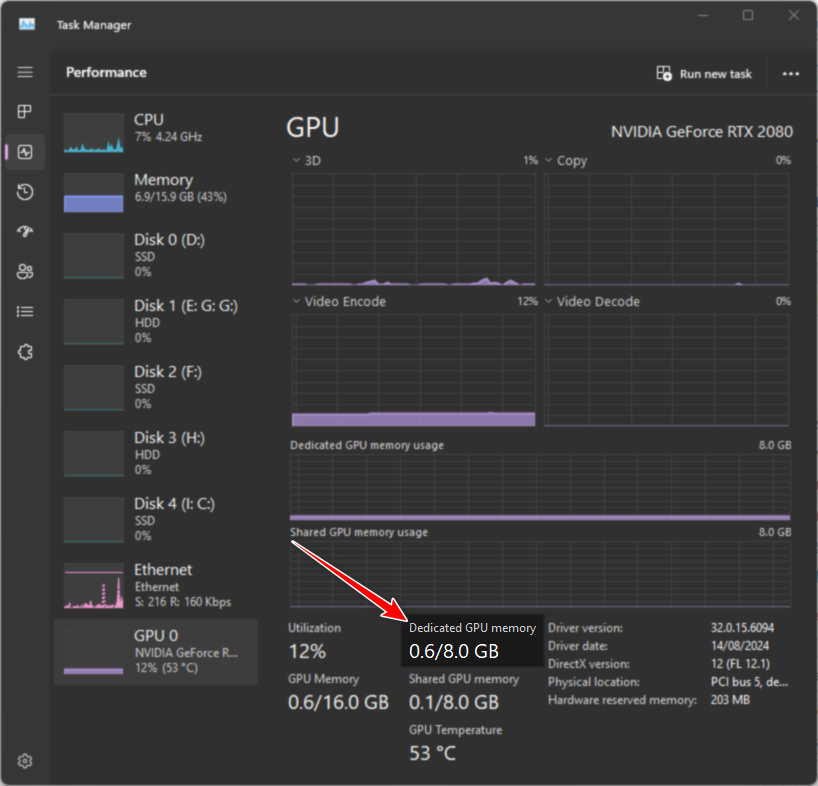
- The VRAM amount will be listed under the corresponding “GPU” section.
Note: The “GPU” section in Task Manager is available starting from Windows 10 Fall Creators Update (version 1709) and onwards, including Windows 11. If you are using an older version of Windows, this method may not be available.
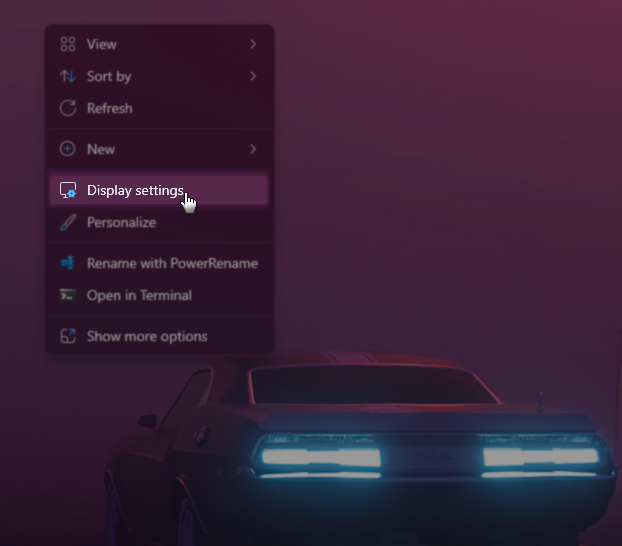
Method 2: Using the Display Settings
- Right-click on your desktop and select Display settings.
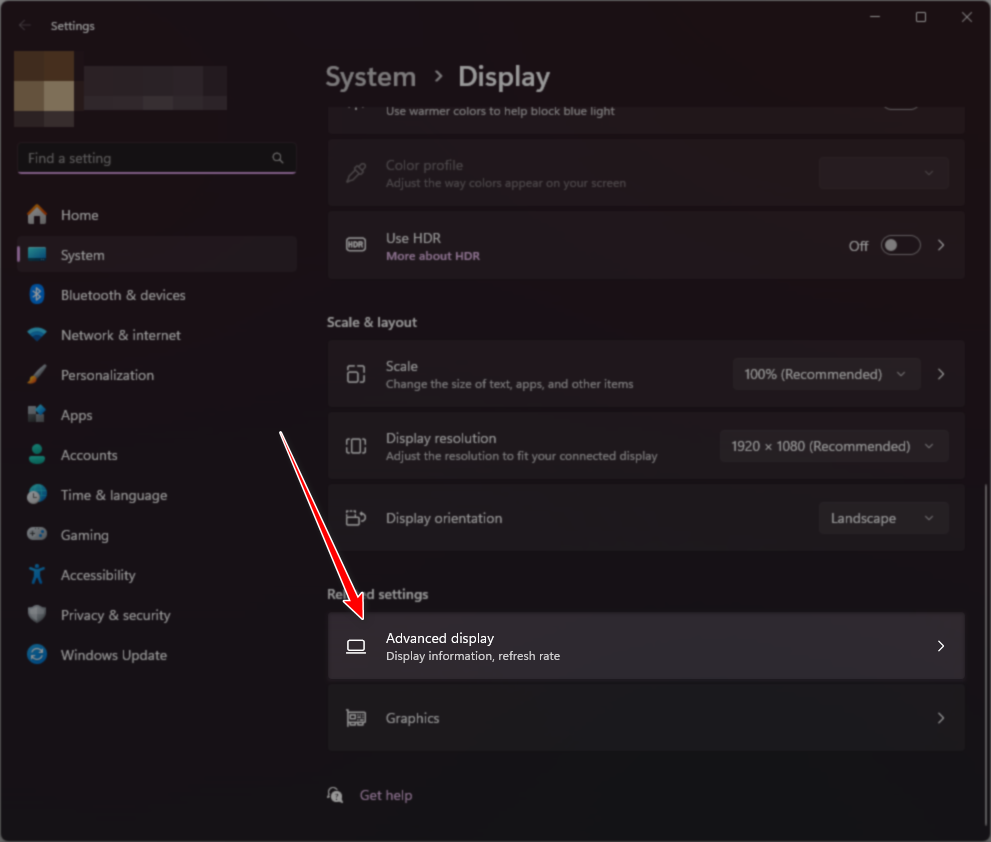
- Scroll down and click on Advanced display settings.
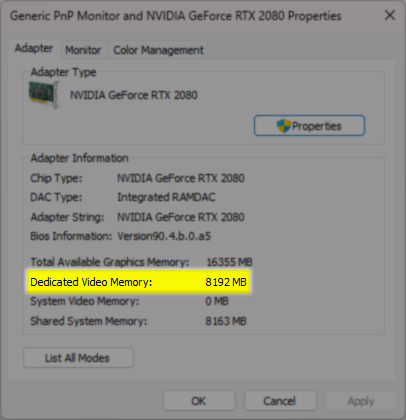
- Select Display adapter properties for the display you want to check.
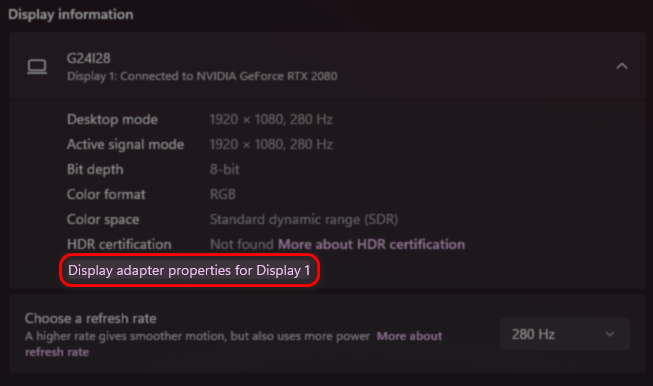
- In the new window, locate Dedicated Video Memory to see your VRAM information.
Note: The wording of the settings may differ between Windows 10 and Windows 11, but the general process is similar.
Method 3: Using DirectX Diagnostic Tool (dxdiag)
- Press the Windows key on your keyboard or click the Start button.
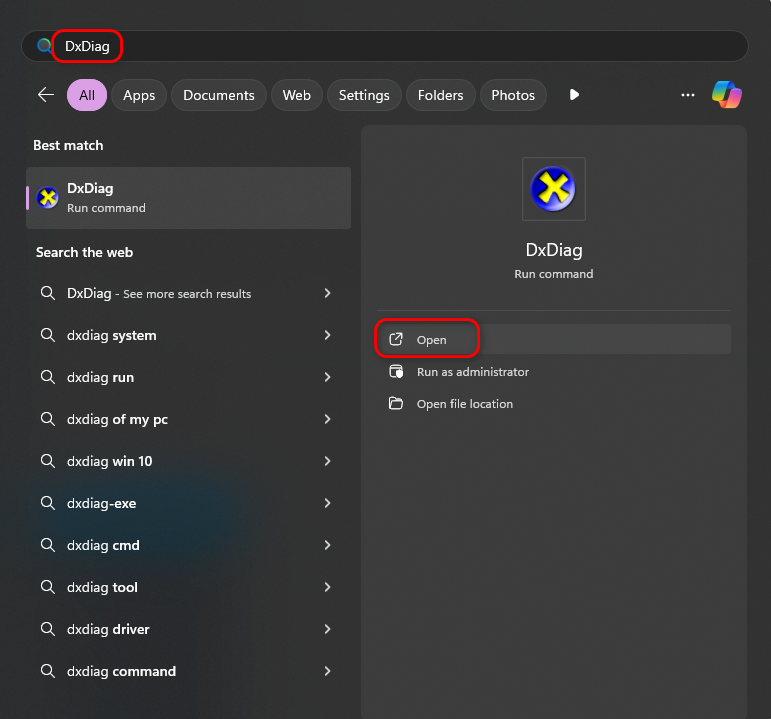
- Type DxDiag into the search bar and wait for the results to appear.
- Click on the DxDiag app in the search results.
- Once the DxDiag window opens, navigate to the Display tab at the top. If you have multiple monitors or graphics cards, you will see tabs labeled Display 1, Display 2, etc.
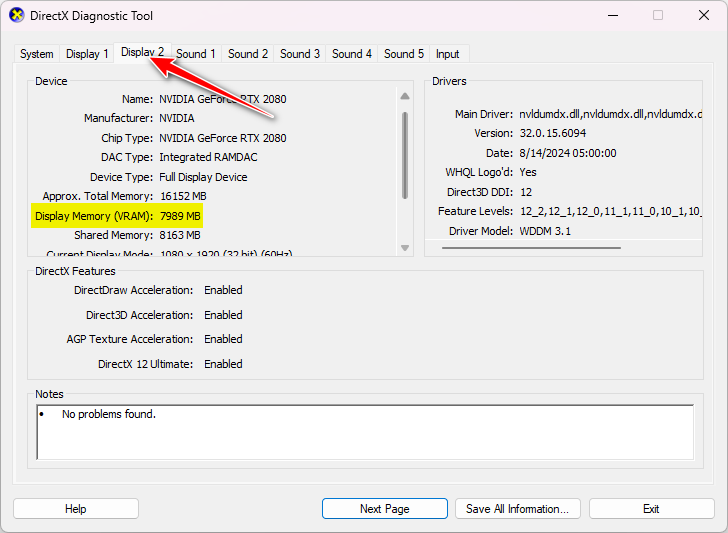
- The Display 1 tab contains information about your primary monitor and its associated graphics card. The Display 2 tab, if present, provides details about your secondary monitor and its graphics card.
- Under the Device section of each display tab, you will find detailed information about the graphics card associated with that particular monitor.
- After reviewing the VRAM details and other information, click Exit to close the DxDiag window.
Method 4: Using the System Information Tool
- Press the Windows key on your keyboard to open the Start menu.
- Type “System Information” in the search bar and press Enter.
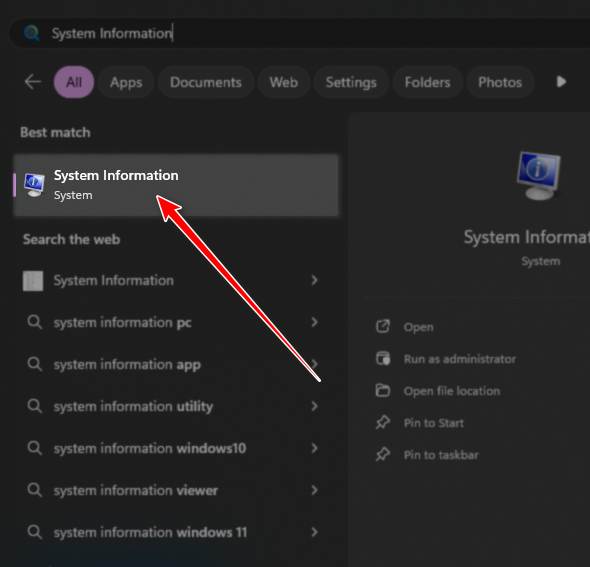
- In the “System Information” window, navigate to the “Components” section and click on “Display.”
- Locate the “Adapter RAM” entry in the right-hand pane to view your VRAM details. Note that the Adapter RAM is shown in bytes.
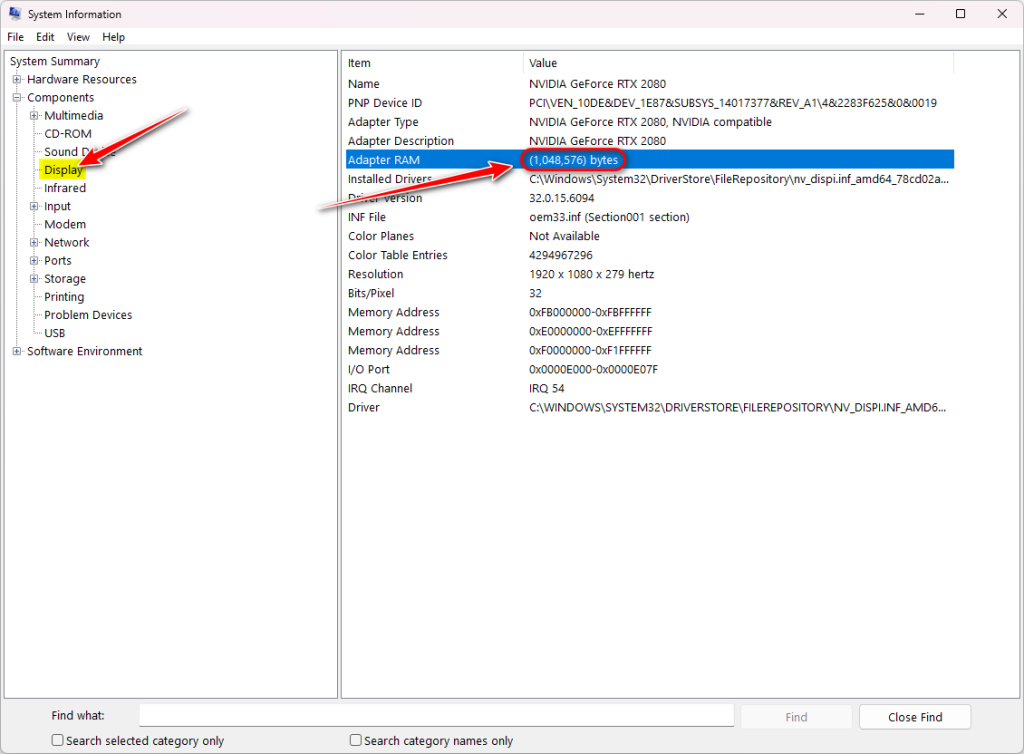
Note: To convert the Adapter RAM from bytes to megabytes, divide the number by 1,048,576. For example, if it shows 1,073,741,824 bytes, the VRAM is 1 GB (1,073,741,824 / 1,048,576 = 1024 MB or 1 GB).
Method 5: Using GPU-Z (Third-Party Tool)
GPU-Z is a lightweight and free third-party utility designed to provide detailed info about your graphics card and GPU (Graphics Processing Unit). Created by TechPowerUp, this tool is highly regarded in the tech community for its accuracy and comprehensiveness.
You can use GPU-Z to check your VRAM when official methods are unavailable or insufficient.
- Start by downloading GPU-Z from TechPowerUp’s GPU-Z download page.
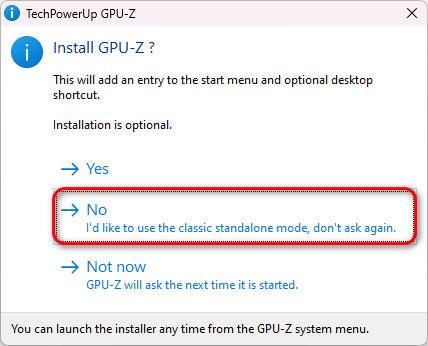
- Next, run the executable file you downloaded. If you are prompted to install GPU-Z, you can choose “No” or “Not now” if you only need to use it once.
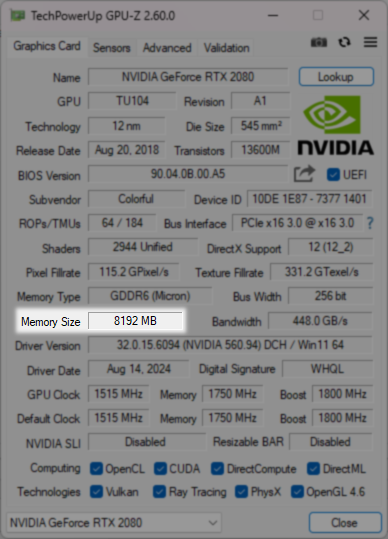
- On the main screen, you will see various details. Look for the field labeled “Memory Size” to find your VRAM information.
check via : WIN+R ->dxdiag->Display->Display Memory(VRAM)