How to Transfer Windows 10 to a New Hard Drive
Hard drives always have an expiration date – one may last you a couple years or even five if you’re lucky, but there will come a day when it starts to die out. In addition, hard drives can also quickly start feeling too small if you have a significant amount of data on your computer, in which cause you would want to upgrade to a different hard drive with a larger data capacity. What of your Operating System, though? Your computer’s OS is stored on its hard drive, so you’d be leaving it behind on your old hard drive if you’re planning on switching to a different one or upgrading to a larger one, right?
Well, not necessarily – you can take your computer’s Operating System with you when you switch to a different hard drive. This is also true in the case of Windows 10 – the latest and greatest in a long line of Windows Operating Systems. Yes, you could always leave the OS and all of your data behind on your old hard drive and perform a clean install of Windows 10 on your new hard drive and start from scratch, but if you want to, you can certainly transfer Windows 10 and all of the data you have on it from your old hard drive to a new one.
In addition, there are an array of different ways you can go about doing so, but they can quite easily be divided into two categories – transferring Windows 10 to a new hard drive using utilities built-in to the Operating System, and doing so using third-party applications designed specifically for this purpose. Regardless of what method you opt to use, you will simply be creating a system image of your old hard drive and restoring it on the new one, transferring Windows 10 and all of your data from the old hard drive to the new one. Without further ado, the following are the two most effective methods you can use to transfer Windows 10 to a new hard drive:
Method 1: Create a system image using Windows and restore it on the new hard drive
First and foremost, you can transfer Windows 10 (along with all of the data you have on your computer) to a new hard drive by creating a system image of your computer using tools built-in to Windows 10 and then restoring the system image on the new hard drive. Doing so is relatively more tedious than simply using a third-party program designed specifically for the purpose of migrating your data and your OS from one hard drive to another, but it is the only option available for users who do not want to use any third-party applications for the task.
By default, the system imaging utility built-in to Windows 10 only creates a system image of the partition of your hard drive Windows 10 is installed on. That being the case, be sure to move any data you want to transfer to your new hard drive to this partition before creating a system image of your computer. To transfer Windows 10 to a new hard drive using this method, you need to:
- Connect the external hard drive you want to store the system image on to your computer. Make sure the external hard drive has enough free space to easily accommodate the system image of your computer.
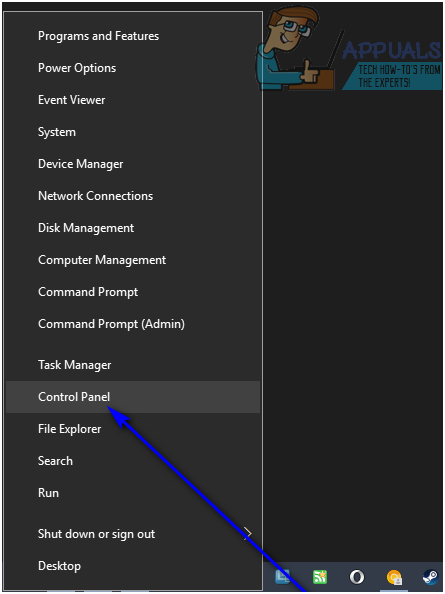
- Right-click on the Start Menu button or press the Windows Logo key + X to launch the WinX Menu.
- Click on Control Panel in the WinX Menu.
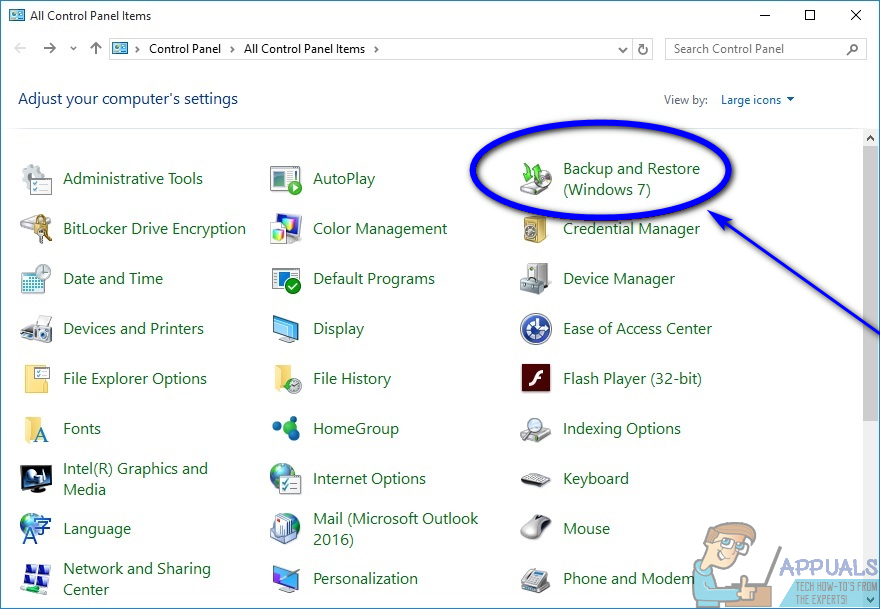
- With the Control Panel in Large icons view, locate and click on Backup and Restore (Windows 7).
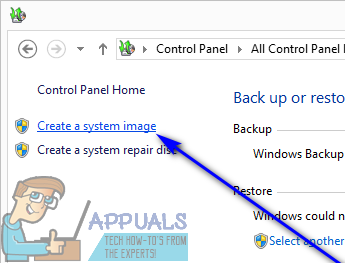
- Click on Create a system image in the left pane of the window.
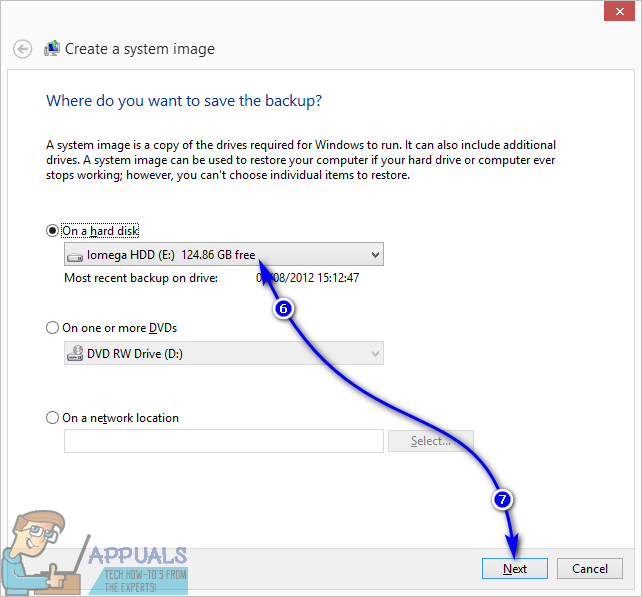
- Open the dropdown menu under On a hard disk and click on the external hard drive you connected to your computer to select it. Only perform this step if the utility does not automatically detect the external hard disk and select it as the destination drive.
- Click on Next.
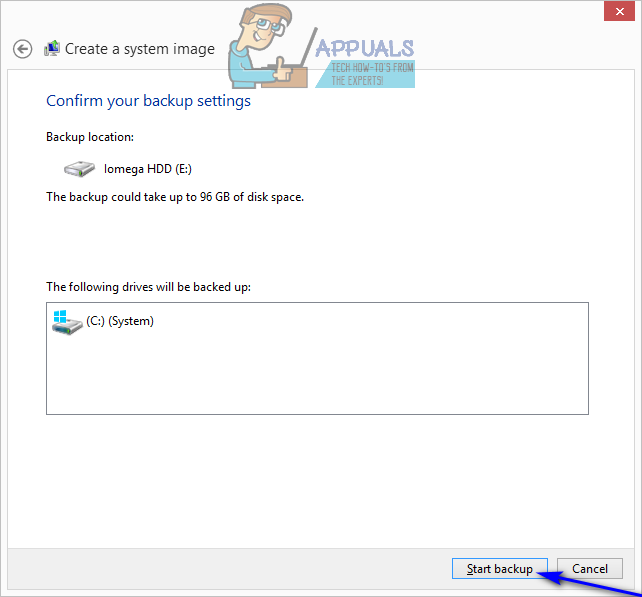
- Review the specifics of the backup, and click on Start Backup to initiate the process.
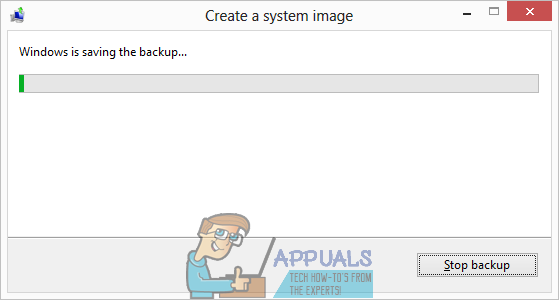
- Wait for the system image to be created – the amount of time this takes depends on how much data there is for Windows to back up, so you might have to wait for a while. Once the system image has been created, close the system imaging wizard.
- Replace your old hard drive with the new one (whether or not you wipe your old hard drive clean is entirely your choice), insert the external hard drive the system image is stored on into your computer, and also insert your Windows 10 installation medium into your computer. If you do not have a Windows 10 installation medium, simply follow windows 10 bootable usb to create a bootable Windows 10 installation USB, or burn windows 10 iso to create a bootable Windows 10 installation DVD.
- Boot your computer up.
- On the very first screen you see while the computer boots up, press the specified key on your keyboard to get into your computer’s BIOS or Setup. The key you need to press will be clearly specified on the first screen you see when your computer boots up.
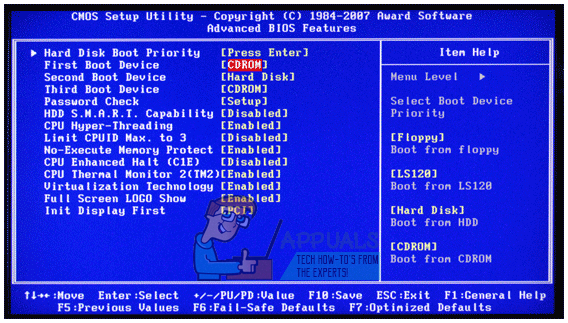
- Navigate to the Boot tab of the BIOS.
- Configure the Boot order of your computer as such that it boots from the CD-ROM (if you’re using a Windows 10 installation CD/DVD) or from USB (if you’re using a Windows 10 installation USB).
- Save the changes you have made to the BIOS and exit it.
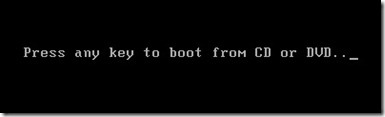
- When the computer boots up, it will try to boot from the installation CD/DVD or USB and ask you to press any key on your keyboard to boot from the medium. When it does, simply press any key to proceed.
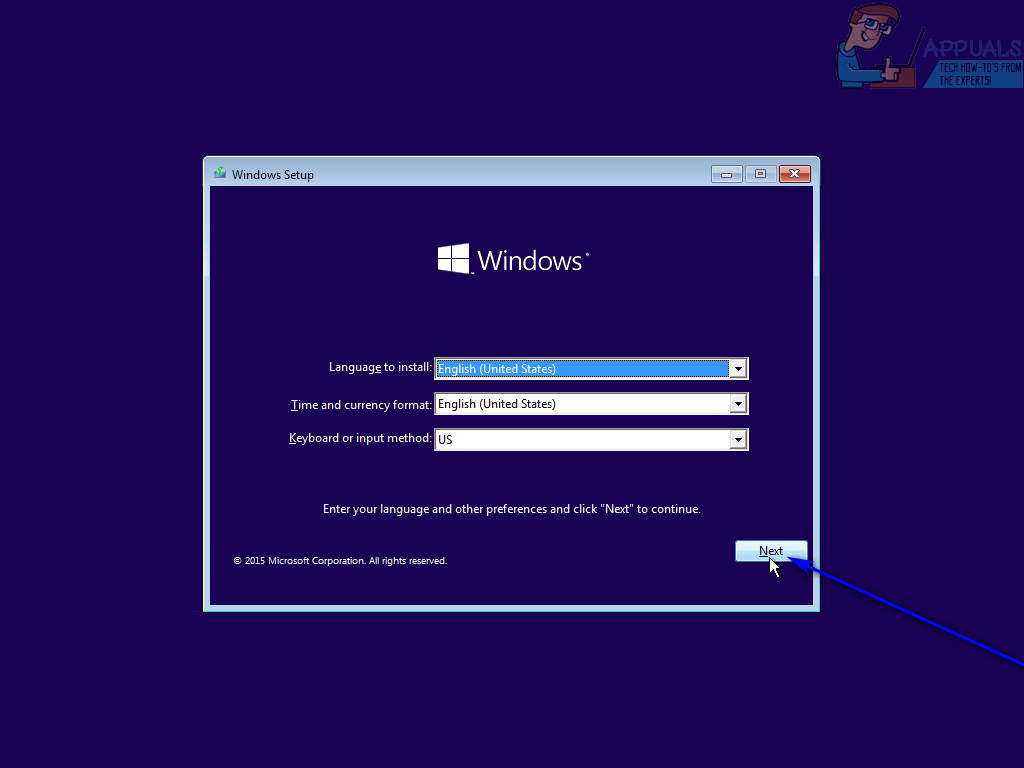
- When you see the Windows Setup window, configure your language and other preferences, and click on Next.
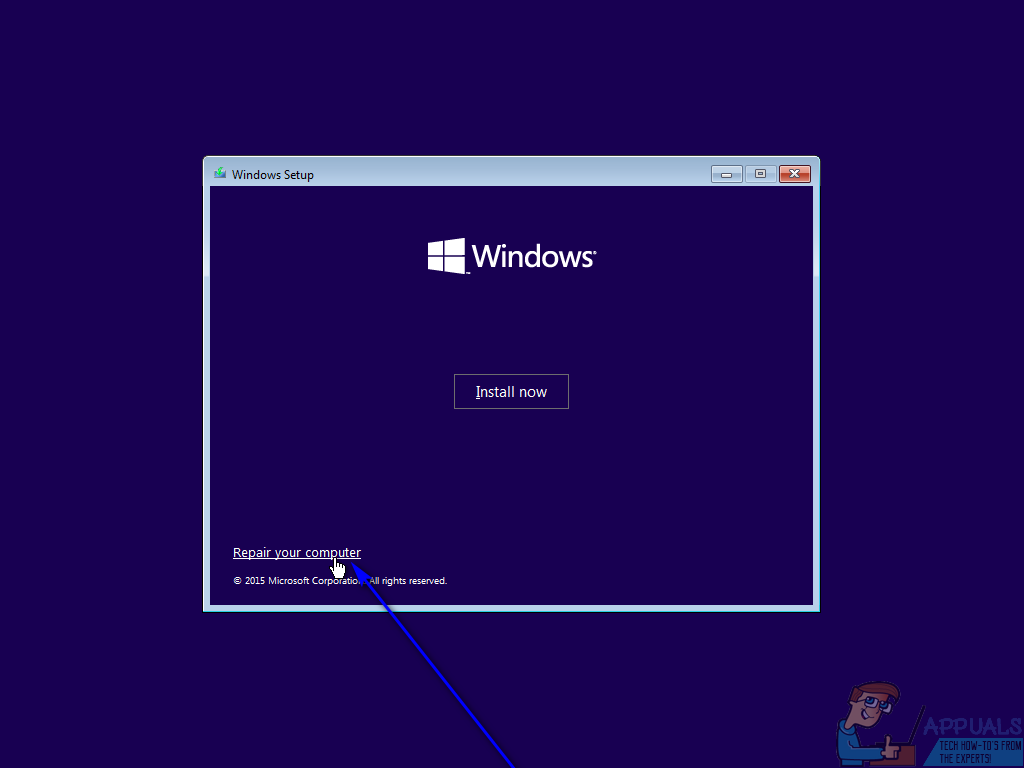
- Click on Repair your computer.
- Click on Troubleshoot.

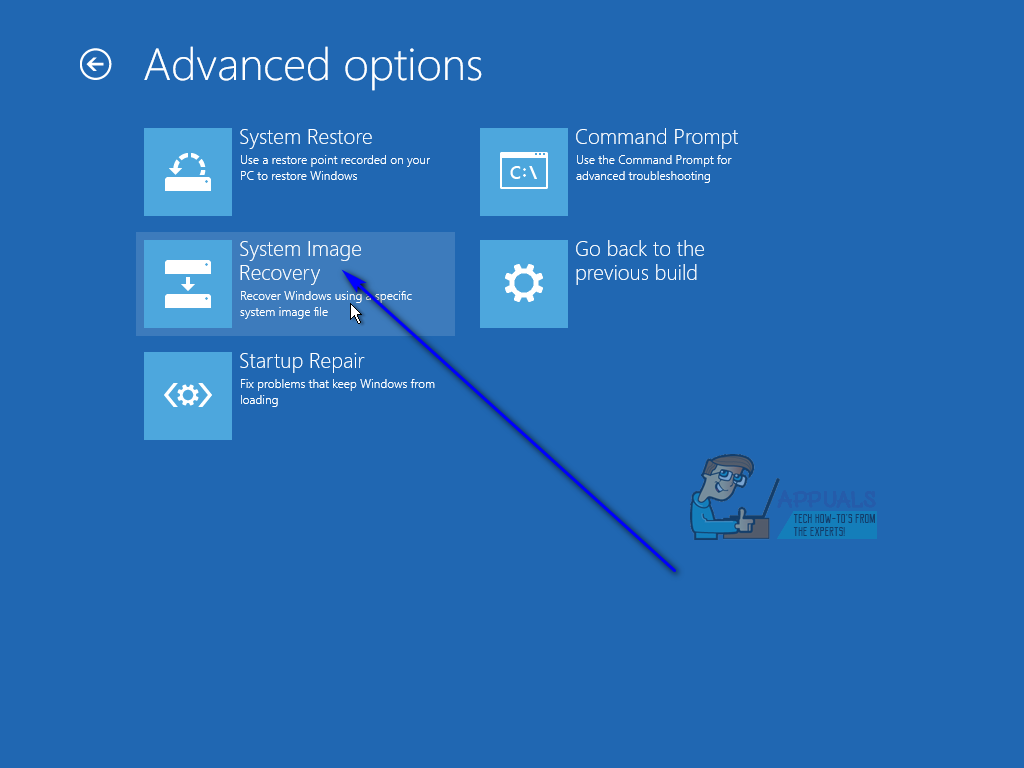
- Click on System Image Recovery.
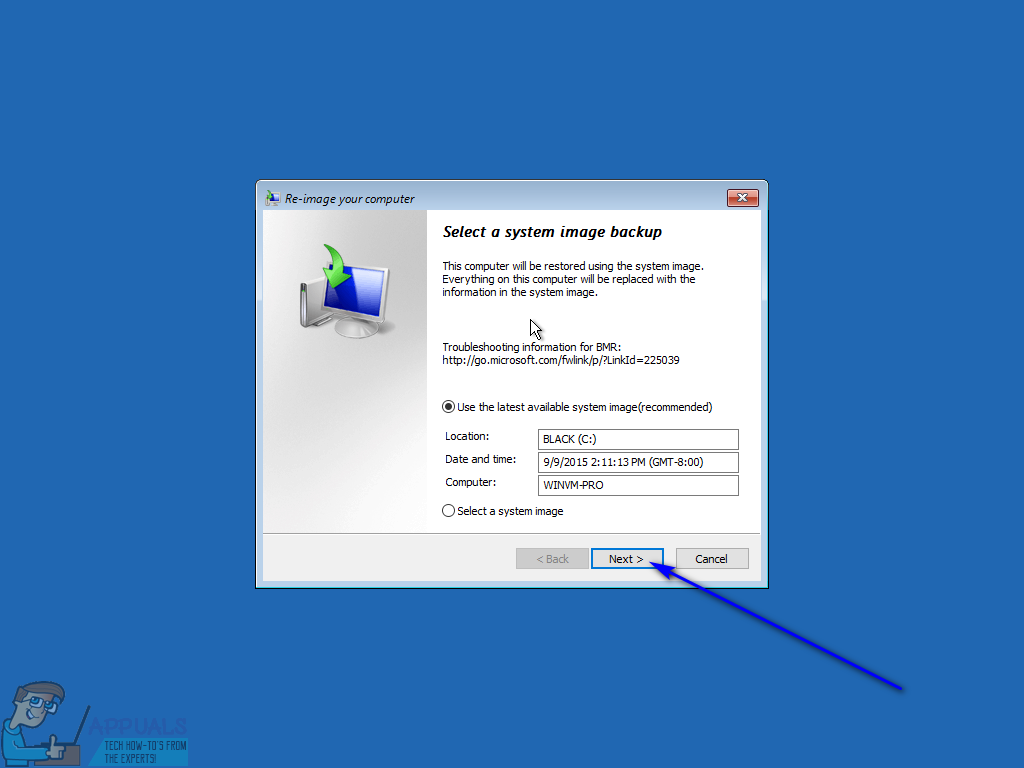
- Provided that the external drive with the system image on it is connected to your computer and active, the utility will automatically locate the system image and select it to re-image the new hard drive with. If the utility does so, simply click on Next. Otherwise, click on the radio button next to Select a system image, click on Next and go through the required steps to manually select the system image stored on the external drive.
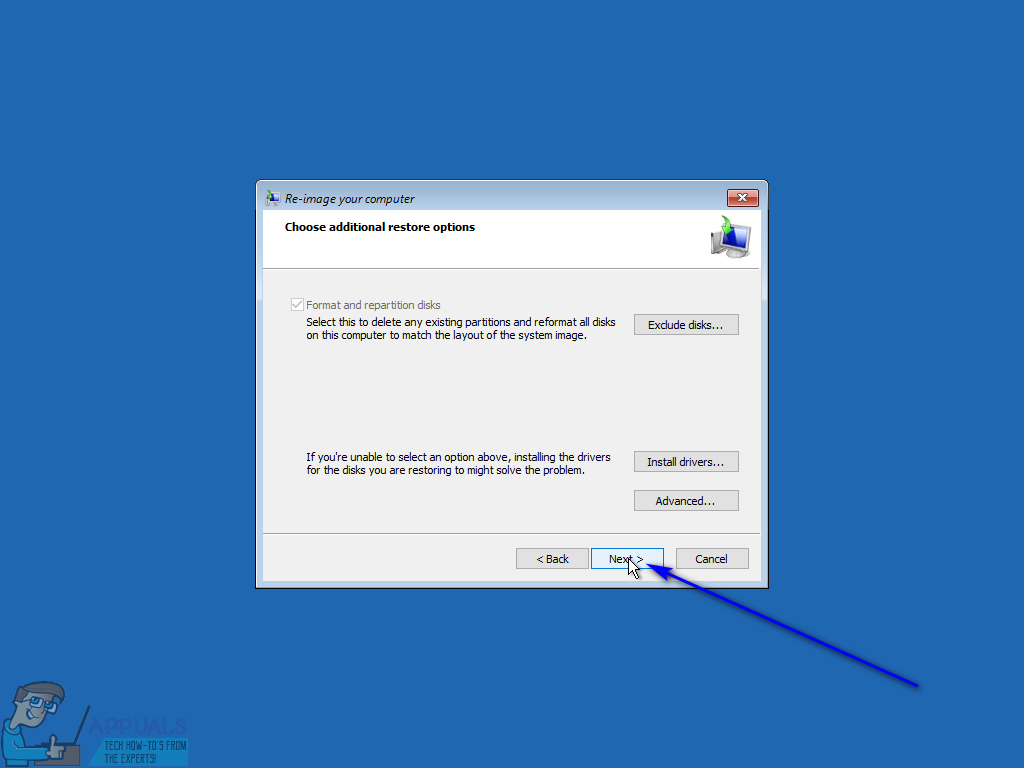
- Further configure the specifics of the system image restoration if you want to, and then click on Next on the Choose additional restore options page.
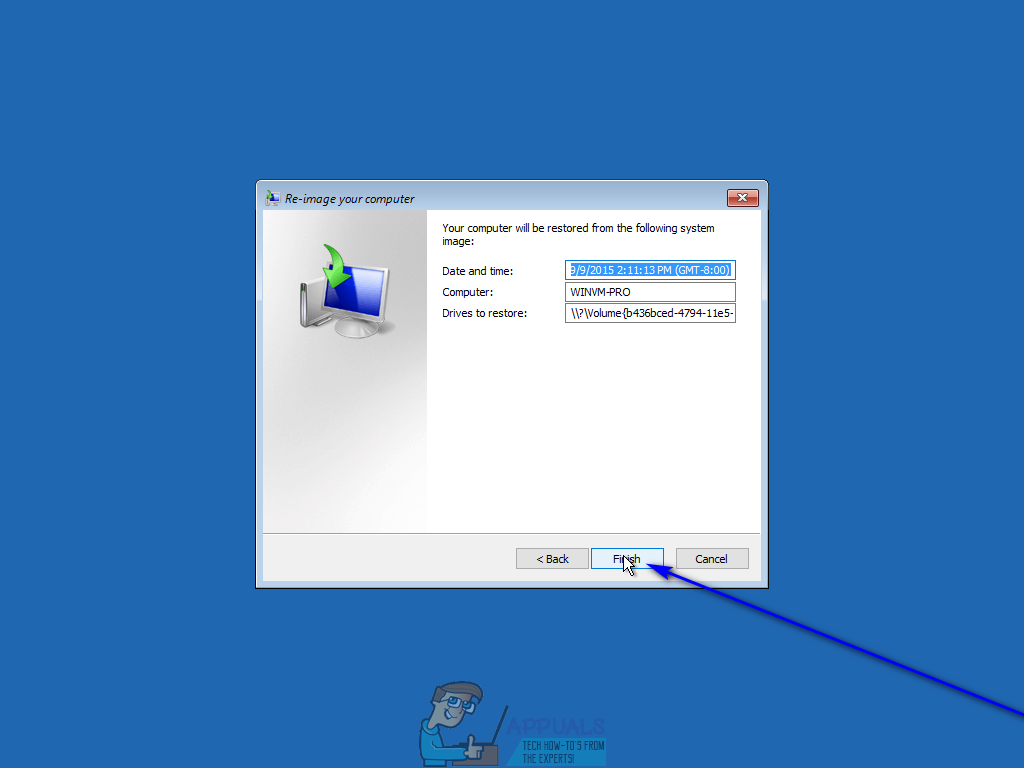
- Click on Finish.
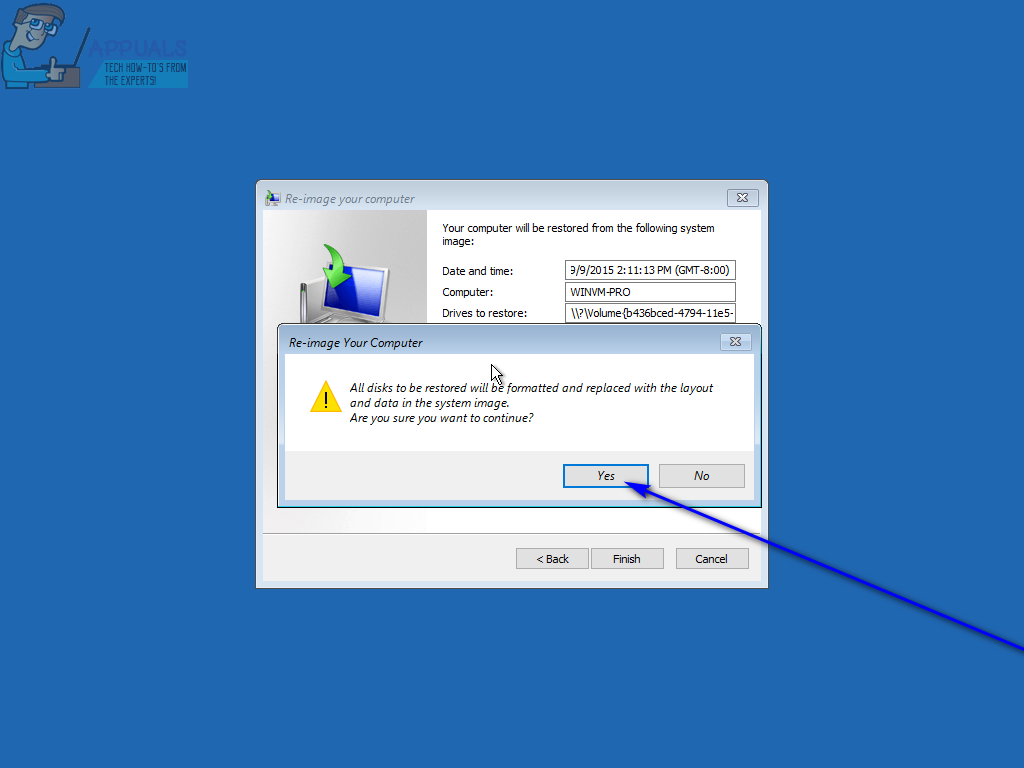
- Click on Yes in the resulting warning dialog to begin the re-imaging process.
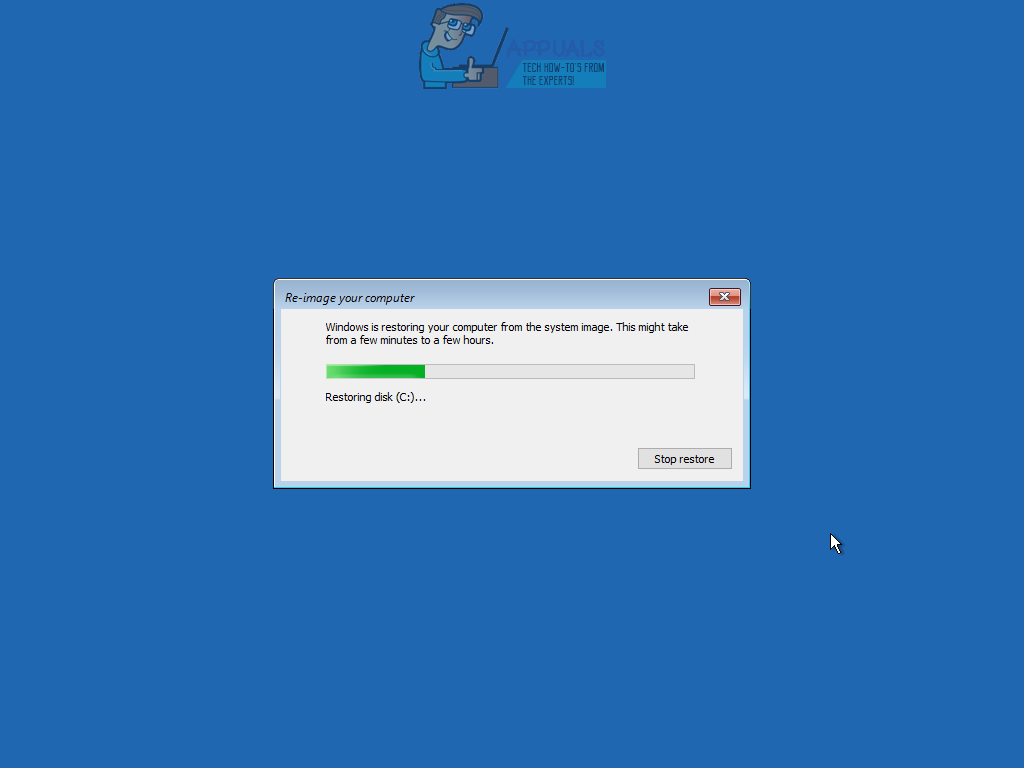
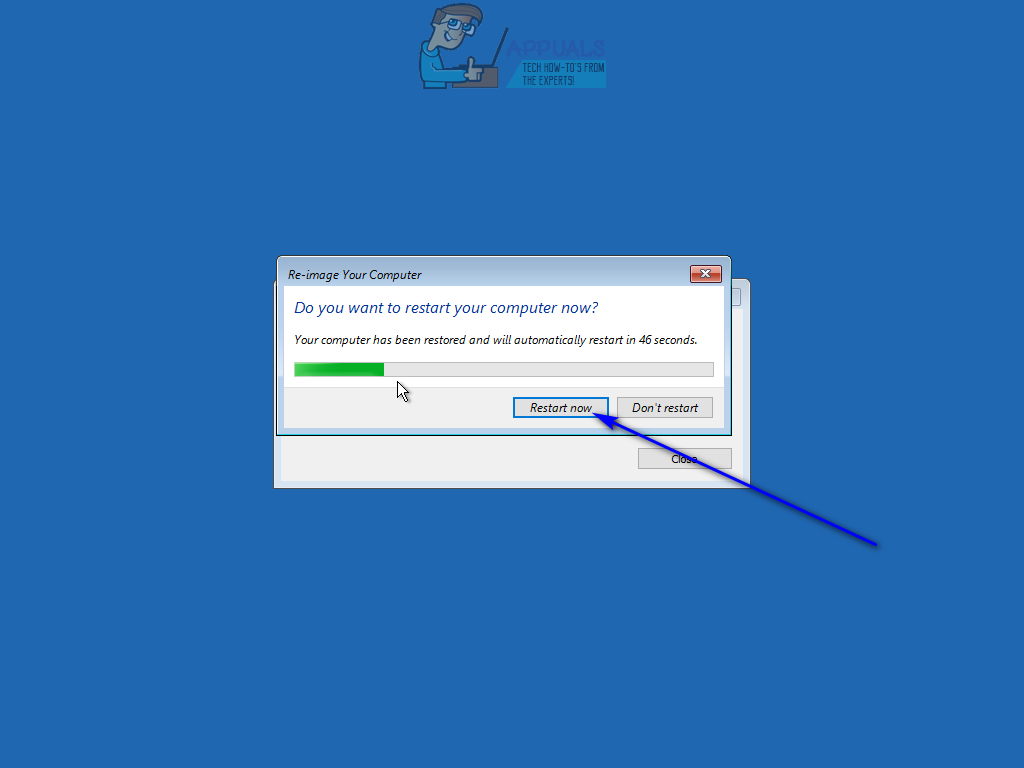
- Wait for the process to be completed – once the new hard drive has been successfully re-imaged and basically turned into a clone of your old hard drive, you will be informed that the computer needs to be restarted. Click on Restart now to immediately restart the computer.
In the aftermath of this procedure, the new hard drive will be turned into an exact clone of the old one – partition sizes and all. That being the case, any additional space on the new hard drive other than what is occupied by the partitions that were included in the system image will be turned into unallocated space, which you are going to have to reclaim so that you can use it. You can reclaim the unallocated space and turn it into usable disk space by simply opening the Disk Management utility and performing steps 8–17 from repartition drive.
Method 2: Use EaseUS Partition Master to transfer Windows 10 and your data to the new hard drive
If you would like to save yourself the time and effort it would take to create a system image of your old hard drive and then re-image your new hard drive with that system image using built-in Windows 10 utilities, you can simply use EaseUS Partition Master – a program capable of swiftly and effectively cloning an entire hard drive (Operating System, data and all) to another hard drive. In addition, EaseUS Partition Master also copies over the entirety of a hard drive to another hard drive, whereas a system image created by Windows 10 only includes the system drive(s). To use EaseUS Partition Master to transfer Windows 10 and all of your data to a new hard drive, you need to:
- Click here to download an installer for EaseUS Partition Master.
- Once the installer has been downloaded, navigate to where you downloaded it to, locate it and double-click on it to launch it.
- Go through the installer to install EaseUS Partition Master.
- Connect your new hard drive to the computer – you need both your old hard drive and your new hard drive connected to your computer at the same time in order for this to work.
- Launch EaseUS Partition Master.
- Click on Migrate OS to SSD/HDD.

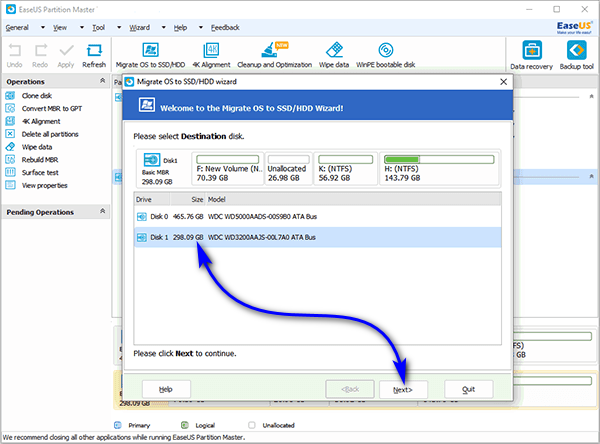
- Click on your new hard drive to select it as the destination disk and click on Next.
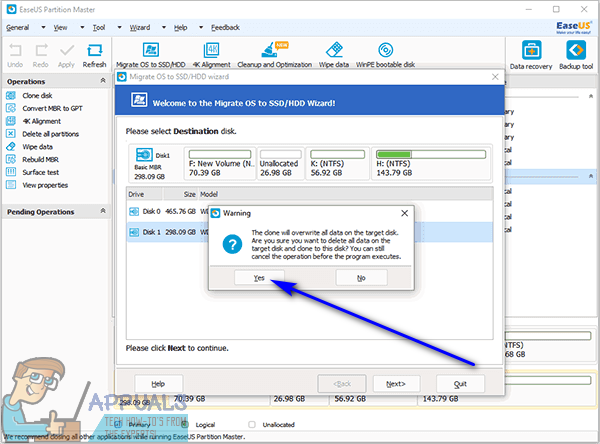
- If the destination disk has any partitions or data on it, you will receive a warning message. Click on Yes to give the program permission to wipe the destination drive clean before transferring the OS and data from your old drive to it.
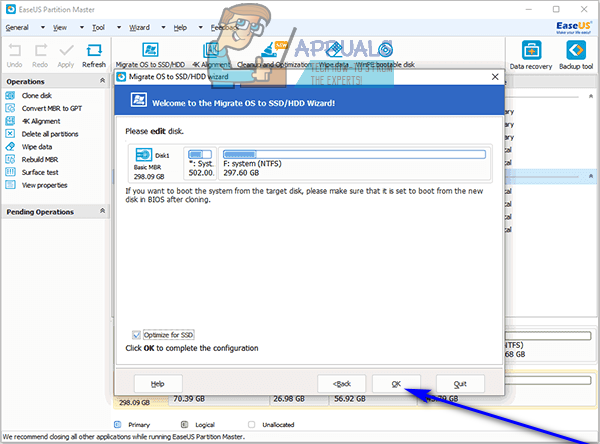
- Configure any other necessary preferences, and click on OK.
- Sneak a peek at the result of the transfer in the left pane of the window under Pending Operations. If everything looks alright to you, click on Apply to have the changes applied and saved (be sure to have the Shut down the computer after changes are applied option enabled).

Since I would be creating the disk image on the new drive would there be a requirement on how much free space there is for the restore program to install it, in other words should there be double the amount of space of the disk image size? thanks