How to Fix the Start PXE over IPv4
The “Start PXE over IPv4” error usually happens when the BIOS/UEFI boot order has network booting before the main storage device. This can occur if the system’s hard drive or SSD is disconnected, failed, or not detected, prompting the computer to attempt network booting.

Other causes include missing or damaged boot files or enabled network booting in BIOS/UEFI by default.
In this article, we will discuss different ways to solve this error.
1. Enable Your Boot Device
Sometimes, the system doesn’t recognize the main storage device because it’s disabled in BIOS/UEFI settings. Enabling the boot device allows the system to access and boot from it, skipping network boot attempts and directly loading the operating system.
- Turn on the computer and repeatedly press the Setup key (displayed as “Press __ to Run Setup”) until the Computer Setup Utility opens.
- Use the right arrow key to go to the Security menu, then the down arrow key to select Secure Boot Configuration, and press Enter.
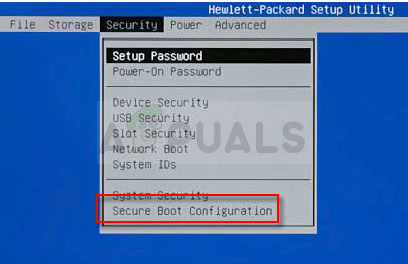
- Press F10 to proceed to the Secure Boot Configuration menu upon receiving a warning.
- In the Secure Boot Configuration menu, use the down arrow key to select Secure Boot and the right arrow key to disable it.
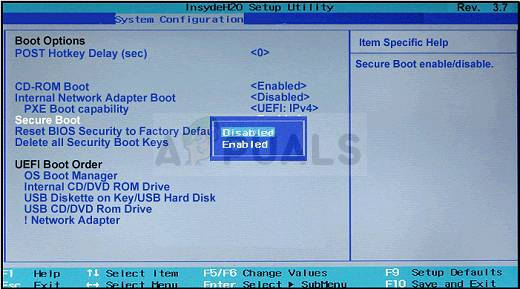
- Select Legacy Support using the down arrow and enable it with the right arrow. Press F10 to confirm changes.
- Navigate to the File menu, choose Save Changes and Exit, then press Enter.
- After the Computer Setup Utility closes and the computer restarts, turn it off using the power button.
To boot from your hard drive:
- Turn on the computer. When a message indicates the boot mode has changed, enter the four-digit code and press Enter.
NOTE: No text field will appear for the code. This is normal; the code is entered without a visible field.

- Turn off the computer, then turn it on and press the Escape key repeatedly until the Startup menu opens, then press F9 to open the Boot Menu.
- Select your hard disk from the menu using the down arrow, then press Enter. Restart your computer to check if the problem is resolved.
2. Disable Wake on LAN in BIOS
A hidden setting can cause this problem: if the main storage device is disabled in BIOS/UEFI, the system defaults to network booting. Enabling the boot device lets your computer recognize and prioritize it, allowing it to boot directly from the drive instead of trying a network startup.
- Shut down your computer via Start Menu > Power Button > Shut down.
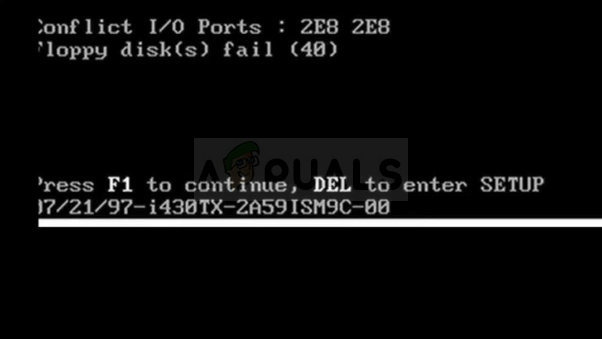
- Turn it back on and quickly press the BIOS key (F1, F2, Del, Esc, or F10) displayed on the boot screen to enter the BIOS setup.
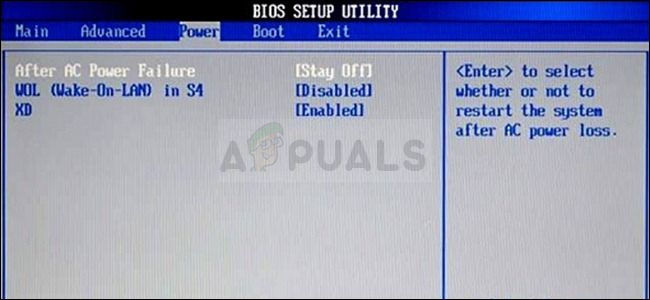
- Locate the Wake on LAN option, usually under Power options, in the BIOS settings and set it to Disabled.
- Navigate to the Exit section and choose Exit Saving Changes. Check if the error still appears after the boot process.
3. Update BIOS
Updating your BIOS to the latest version can fix boot issues like “Start PXE over IPv4” by ensuring compatibility with your hardware and fixing known bugs. An updated BIOS can improve how the system detects storage devices, preventing it from defaulting to network boot.
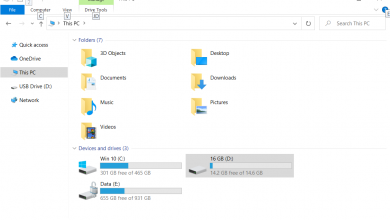
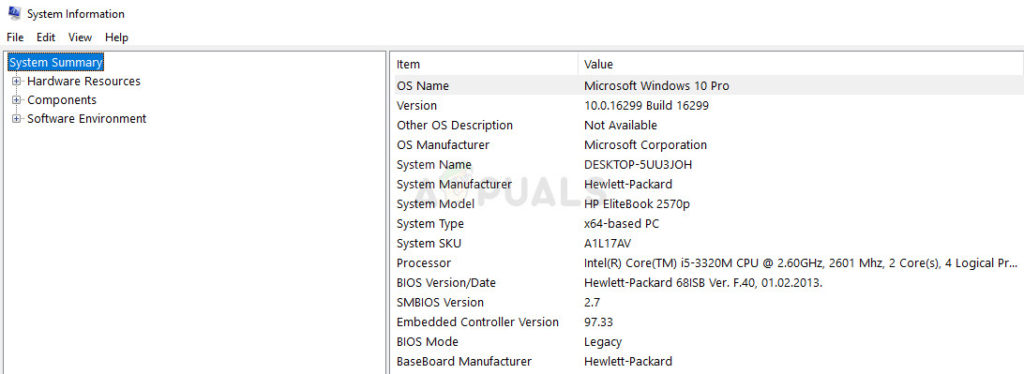
- Open the Start menu, type “msinfo”, and find the BIOS version under your processor model.
- Check if your computer is pre-built or custom-assembled to ensure compatibility with the BIOS update.
- Prepare for the update: fully charge your laptop or use a UPS for your desktop to avoid power loss during the process.
- Follow the specific BIOS update instructions for your manufacturer: Lenovo, Gateway, HP, Dell, MSI.