How to Fix iTunes Error 0xE800000A
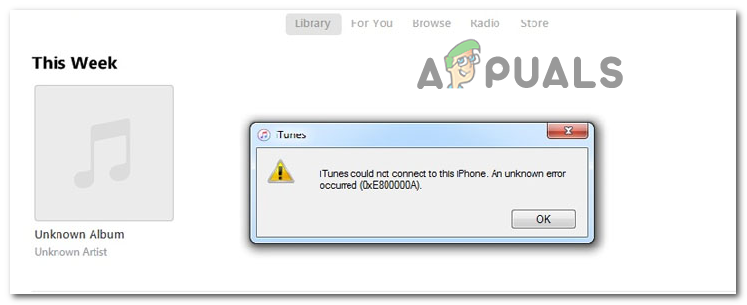
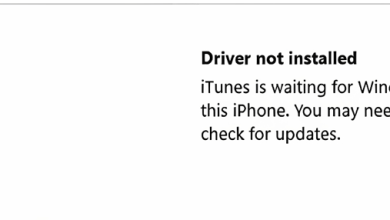
Some Windows users are reporting that iTunes is suddenly no longer able to recognize their iPad or iPhone device and shows Unknown error 0xE800000A whenever they attempt to sync the content. This problem is only reported to occur on Windows.
One of the most popular reasons why Windows users are seeing this error is because they are either using an outdated iTunes version or their iTunes version will not update itself automatically because the Windows version is outdated. In this case, you need to start by updating Windows to the latest build available and then update iTunes using the built-in auto-update function.
However, the 0xE800000A error can also be caused by some type of corruption rooted in the iTunes folder. In this case, you will need to reinstall the application completely and clear out any temporary data that might still cause this behavior on a new iTunes installation.
In case you encounter this error on Windows 7, this problem can appear due to a couple of files located in the Lockdown folder of iTunes. If this scenario is applicable, you can navigate to this location manually and remove the two files to restore the syncing ability of your iTunes installation.
But under some circumstances, this problem might also be facilitated by a connectivity issue. A bad cable or a broken USB controller are also potential culprits. To make sure that’s not the case, replace the cable you’re currently using to connect your iOS device and reinstall the USB controller.
Updating Windows to the latest build
As it turns out, one reason that might contribute to the apparition of this issue is an outdated Windows version that is preventing the iTunes app from auto-updating itself.
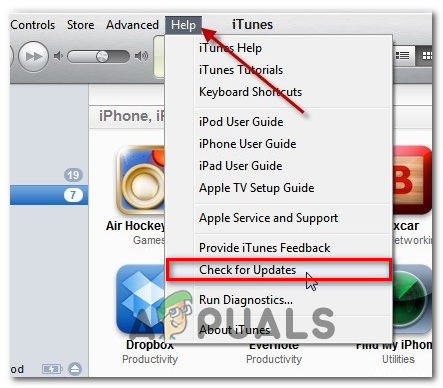
And while you’re at it, it’s worth a shot to try and force iTunes to update itself. To do this, go to Help and click on Check for Updates. If a new version is available, the updating process will end up overriding some potentially corrupted files that might be causing the 0xE800000A.
Keep in mind that on Windows (just like on macOS), the iTunes app will also check on your OS build. If your Windows build is outdated, the application will not update itself and refuse to work in order to prevent security vulnerabilities.
If this scenario is applicable and you’re not using the latest build available, follow the instructions below to install every pending update and bring your Windows version to the latest:
- Open up a Run dialog box by pressing Windows key + R. Next, type “ms-settings:windowsupdate” and hit enter to open up the Windows Update screen.
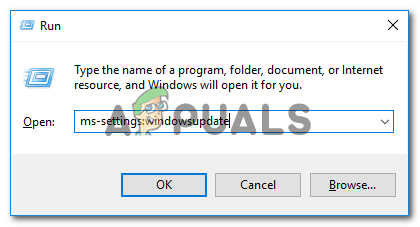
Opening the Windows Update screen: Note: In case you’re not having this issue on Windows 10, use the ‘wuapp’ command instead.
- Once you’re inside the Windows Update screen, click on Check for Updates, then click the Download button in whichever order until you install every pending update.
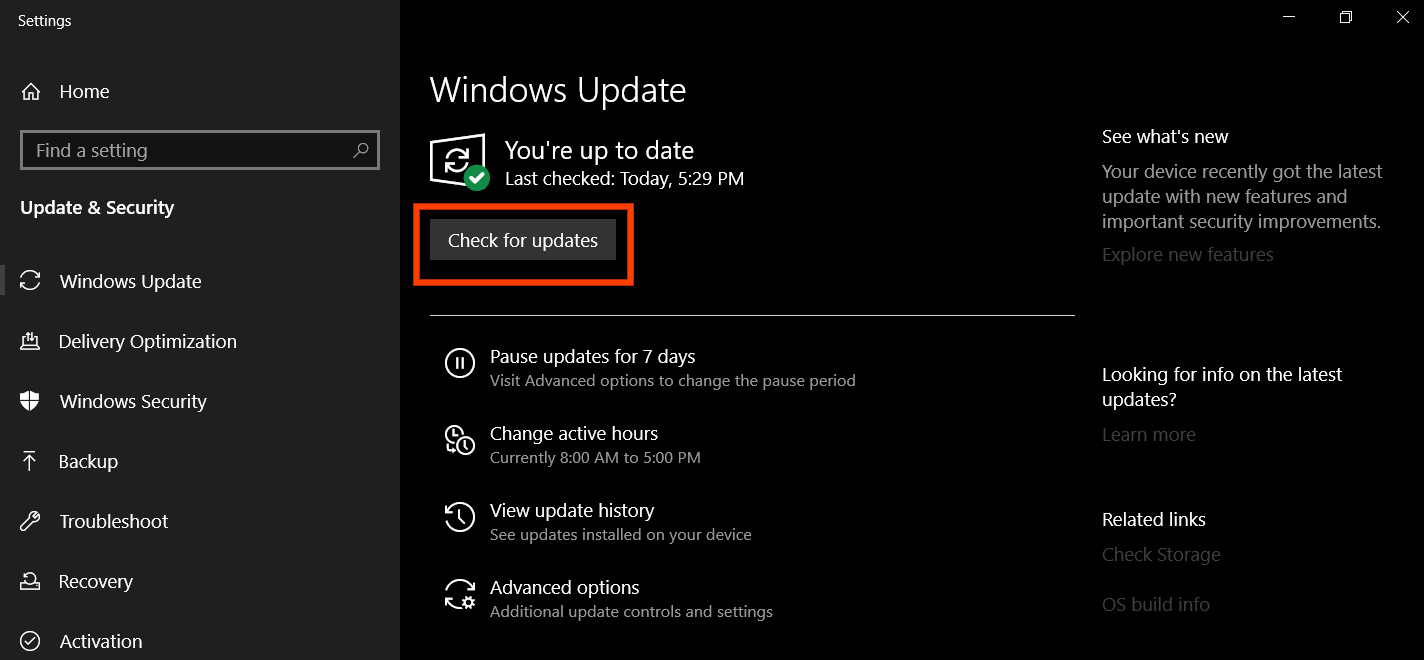
Check For Updates on Windows 10 Note: There is no need to prioritize between updates since the ultimate goal is to install them all (aside from Optional Updates). If you have a big number of pending updates that are waiting to be installed, your OS will eventually ask you to restart (before every update is installed). If this happens, do the reboot as instructed, but make sure to return to the same update screen and complete the installation of the remaining updates.
- Once every Windows Update is installed, open iTunes again, ensure that it’s running on the latest version also and connect your iOs device to see if the problem has been fixed.
In case you still end up seeing the 0xE800000A error when you connect your iPad or iPhone device, move down to the next potential fix.
Reinstalling iTunes
As it turns out, this particular issue can very well be caused by some type of corruption originating from the iTunes folder. In order to fix it, you should be able to fix the issue by reinstalling the iTunes app completely along with any support applications that Apple installs automatically.
In most documented instances, this problem seems to occur after Windows Defender or a different 3rd party tool ends up quarantining some items belonging to iTunes or the Bonjour program. But as some affected users have confirmed, you should be able to fix this issue by reinstalling iTunes along with any associated sub-components and then redownloading & installing the latest version.
However, keep in mind that the steps of doing so will be different depending on the version of iTunes that you’re using. In case you have the desktop version, you will need to do the uninstallation from the Classic Control Panel interface and if you have the UWP (Universal Windows Platform), the version you’ll need to do it from the Settings app.
Important: This operation will not affect your iTunes media library.
But regardless of your particular scenarios, we’ve covered both approaches so you know exactly what you have to do. Feel free to follow whichever guide is applicable to your iTunes version.
Reinstalling the UWP version of iTunes
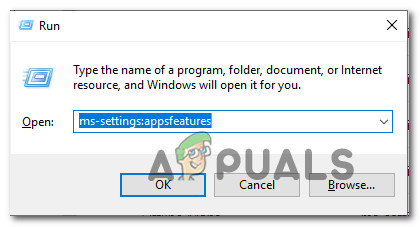
- Press Windows key + R to open up a Run dialog box. Next, type ”ms-settings:appsfeatures” and press Enter to open up the Apps & Features tab of the Settings app.
Accessing the Apps & Features Menu - From the Apps & Features menu, use the search function to search for ‘iTunes’. Next, click on iTunes from the list of results and click on Advanced Options from the newly appeared context menu.
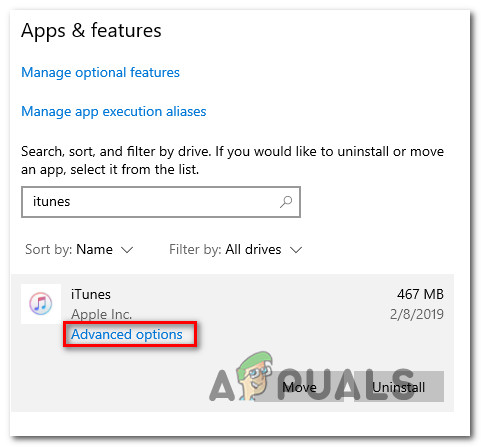
Accessing the Advanced Options menu of iTunes - Once you’re inside the next menu, go to the Reset tab and click on the Reset button to initiate the reinstallation procedure. When asked to confirm, do so, and wait for the procedure to complete.
- As soon as the operation is complete, open iTunes and follow the on-screen instructions to update the UWP app to the latest version.
- Retry to connect your iOS device and see if you still end up seeing the 0xE800000A error.
Reinstalling the Desktop version of iTunes
- Open up a dialog box by pressing Windows key + R. At the next screen, type ‘appwiz.cpl’ inside the text box and press Enter to open up a Programs and Features menu.

Type appwiz.cpl and Press Enter to Open Installed Programs List - Once you’re inside the Programs and Features screen, scroll down through the list of applications, then right-click on the iTunes app and click on Uninstall from the newly appeared context menu.
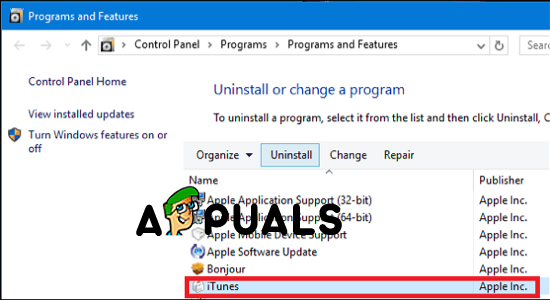
Uninstalling iTunes - Keep in mind that uninstalling the main iTunes application is not enough – You will also need to uninstall the reset of Apple’s supporting software. You can ensure that you uninstall every relevant item by clicking on Publisher and then uninstalling everything signed by Apple Inc.
- After you manage to uninstall everything that’s Apple-related, restart your computer and wait for the next startup to complete.
- Once the next startup procedure is complete, access this link (here), scroll down to the Looking for other versions section, and click on Windows to download the latest desktop version of iTunes.

Downloading the desktop version of iTunes - After the download is complete, open the installation executable and follow the on-screen instructions to install the latest version of iTunes on your computer.
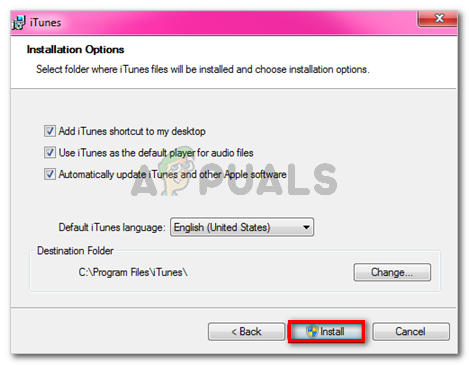
Installing iTunes on your computer - When you’re prompted by the User Account Control window, click Yes to allow the installer to install iTunes with admin access.
- After the installation is complete, restart your computer once again and repeat the action that was previously causing the 0xE800000A error once the next startup is complete.
Deleting Apple Lockdown files (Windows 7)
As it turns out, the 0xE800000A error can also be rooted inside in a couple of files that can be found in the Lockdown folder (program data\apple\lockdown). As some affected users have reported, this particular issue can be fixed by navigating to that location manually and deleting every file present in the Lockdown folder.
After you do this, you should be able to reconnect your iPhone or iPad device without encountering the same error code.
Here’s a short guide that will guide you through the process of uninstalling the problematic files:
- Ensure that iTunes is completely close and none of its background processes are running in the background.
- Open File Explorer and navigate to the following location:
X:\ProgramData\Apple\Lockdown
Note 1: Keep in mind that X is simply a placeholder. Replace it with the letter corresponding to your OS drive. You can either navigate to that location manually or you can paste it directly into the navigation bar and pressing Enter.
Note 2: The ProgramData folder is hidden by default, so if you can’t see it, access the View tab, and ensure that the box associated with Hidden Items is enabled.
View Hidden Items option is checked - Once you manage to land in the correct location, press Ctrl + A to select everything inside, then press Ctrl + D to delete every file present in the lockdown folder.
- After you manage to delete the contents of the Lockdown folder, reboot your machine and see if the 0xE800000A error is fixed.
In case this method didn’t allow you to fix the issue, move down to the next potential fix below.
Using a Different USB Cable
If you didn’t try this until you, do some investigations to ensure you’re not actually dealing with a faulty micro-USB cable. You might be dealing with a corroded or non-congruent cable that might end up causing various inconsistency issues including the 0xE800000A error.
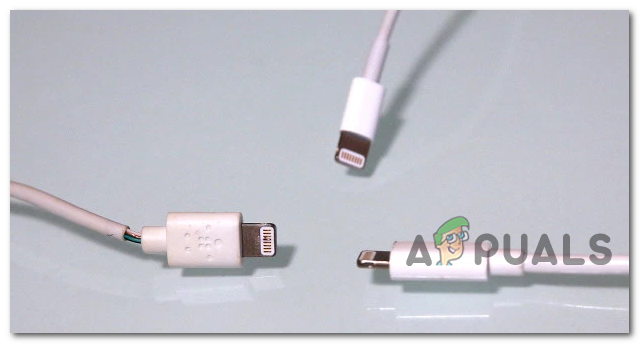
If you suspect you might be dealing with a faulty cable, replace it and see if you are still encountering the same error message.
In case the same problem is still occurring, it’s likely that the problem lies with the USB controller – in this case, move down to the final fix below.
Reinstalling every USB controller
If none of the potential fixes above have allowed you to fix the 0xE800000A error, you might be dealing with a USB port issue that’s preventing the connection to be established between your iOS device and your PC.
To verify this theory, try connecting your iOS device to a different port and see if you’re still seeing the same error. If possible go for a USB 3.0 port.

However, it’s also possible that the problem occurs due to a software glitch having to do with the Universal Serial Bus (USB) controller. In this case, you will need to uninstall it in order to get the issue fixed.
To do this, follow the instructions below:
- Open up a Run dialog by pressing Windows key + R. Next, type ‘devmgmt.msc’ inside the text box and press Enter to open up Device Manager.
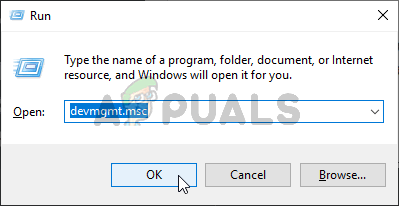
Running the Device Manager - Once you’re inside Device Manager, scroll down through the list of installed devices and expand the drop-down menu associated with Universal Serial Bus controller. Next, go ahead and right-click every Host controller and click Uninstall until every entry is uninstalled.
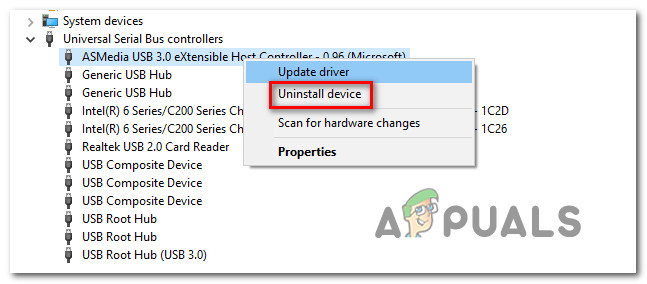
Uninstalling every available host controller - After you manage to do this, reboot your machine and wait for the next startup to complete.
Note: During the next startup, your OS will detect that the USB controller is missing and automatically install the required drivers once again. - Launch iTunes and see if the problem is now resolved.


This is very nicely written. What if I have installed (as per Microsoft Tech Support has told me), the latest version of iTunes that my motherboard can handle? (Old computer? Yes!) Is this a possible reason why the current version of iTunes would not properly download? I am just trying to upload a huge number of songs to my iPhone 11 on ios13.7. It only uploaded 1/4 of them randomly chosen and I dont know why. Have been at this since January 2020. Terribly frustrated. Does iTunes HAVE to be the current version to avoid the error message?