How to Fix Hulu Error 301
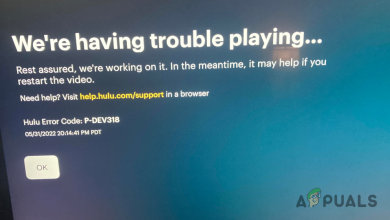
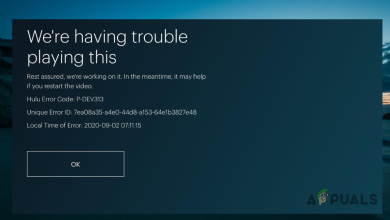
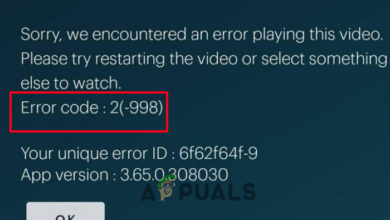
Hulu is a paid American based video on demand subscription service. People pay to activate their account which can later be used on almost any device to watch their favorite TV shows and Movies. However, quite recently, a lot of reports have been coming in where users are unable to watch any Video and the “Error Code 301” shows up when trying to stream the video.

What Causes the “Hulu Error 301”?
After receiving numerous reports from multiple users, we decided to investigate the issue and looked into the reasons due to which it is triggered. Some of the most common reasons due to which the error was being caused are listed below.
- Cache/Cookies: Cache is stored by applications to decrease loading times and provide a better experience. Cookies are stored by websites for the same purpose. However, sometimes, cookies and cache might be corrupted due to which this error is triggered.
- Slow Internet Connection: In some cases, the connection to the internet was too slow due to which it timed out and the error was displayed. Hulu requires at least a 4 Mbps connection for the Hulu streaming service and at least an 8 Mbps connection for the Hulu Live TV service.
- DNS Issue: It is possible that the DNS settings for your connection haven’t been configured properly due to which this error is triggered. In most cases, the Network adapter configures the DNS settings automatically by detecting the best possible configurations. However, if the adapter is unable to determine the best settings they have to be entered manually and if they aren’t, connection to certain sites is prohibited.
- An abundance of Devices: In some cases, if a lot of devices are connected to Hulu simultaneously it can cause issues with the service. It can raise some security violations as sharing of account is prohibited and it can lead the service to think that you are distributing the service to other people.
- Date & Time: If the Date and Time settings for your device aren’t configured properly it can also cause issues with the streaming service and prevent you from connecting or using the service.
Now that you have a basic understanding of the nature of the problem, we will move on towards the solutions. Make sure to implement these in the specific order in which they are provided.
Solution 1: Power Cycling Devices
The most basic step towards troubleshooting a failing device is completely power cycling it to make sure that certain cache is cleared and that it launches properly. Therefore, in this step, we will be completely reinitializing the Devices involved in the process by completely power cycling them. For that:
- Turn off the device that you are using to connect to the service completely.
Note: it can be a PC, TV, PS, Xbox, etc. - Unplug the power from the socket.

Unplugging from the socket - Press and hold the device’s power button for 30 seconds.
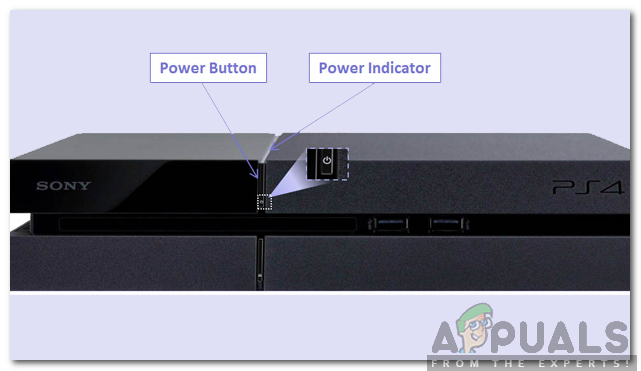
Power button allocation for PS4 - This discharges all the leftover electric current and reinitializes the device completely.
- Plug the power back in and turn on the device.

Plugging the power back in - Repeat this process for your Internet Router.
- Check to see if the issue persists.
Solution 2: Clearing Cache
This step is only viable for users streaming on a PC or a MAC. In this step, we will be clearing the browser’s cookies/cache because if corrupted, they can often interfere with certain elements of the browser and prevent certain features from working properly. This method varies depending on the browser.
For Google Chrome:
- Open Chrome and launch a new tab.
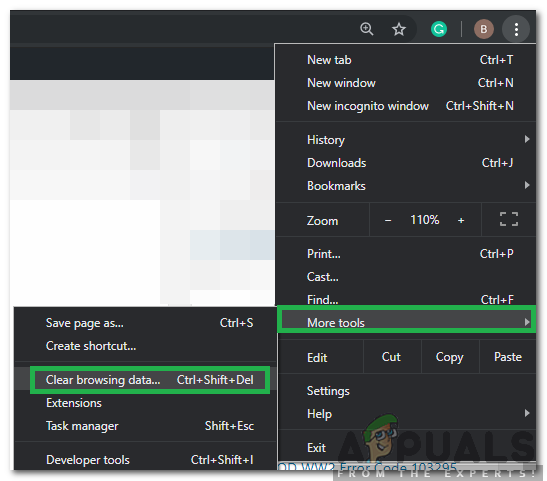
- Click on the three dots in the top right corner of the screen.

Clicking on the three dots in the top right corner - Hover the pointer on “More Tools” and select “Clear Browsing Data” from the list.
Hovering the pointer on more tools and selecting “Clear Browsing Data” - Click on the “Time Range” dropdown and select “All Time” from the list.

Selecting “All Time” as the time range - Check the first four options and select “Clear Data”.
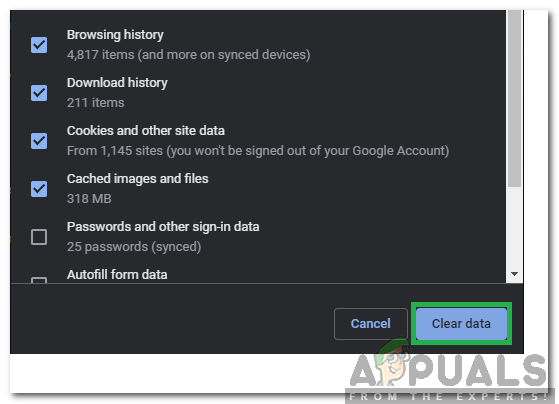
Clicking on “Clear Data” - This will clear all the cookies and cache for your Chrome Browser.
- Check to see if the issue persists.
For FireFox:
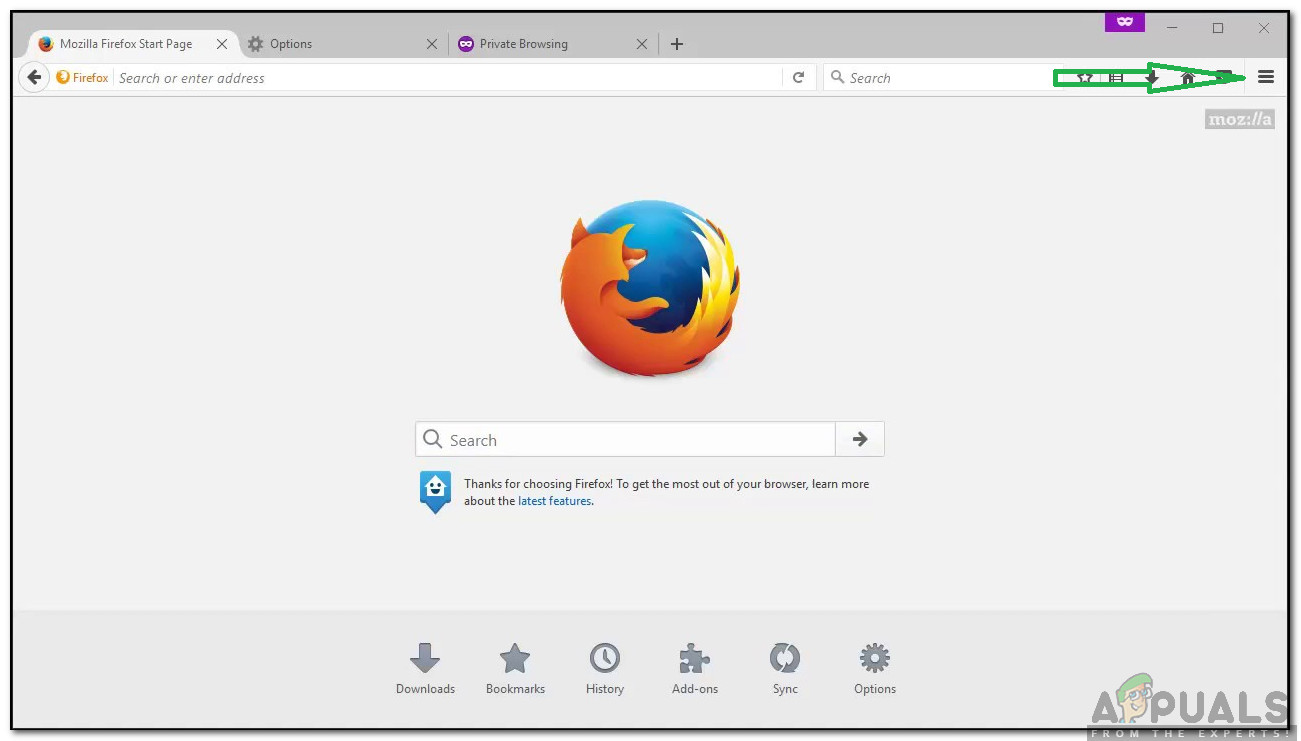
- Open Firefox and create a new tab.
- Click on the “Three Vertical lines” in the top right corner.
Clicking on the vertical lines - Click on the “Privacy and Security” tab.
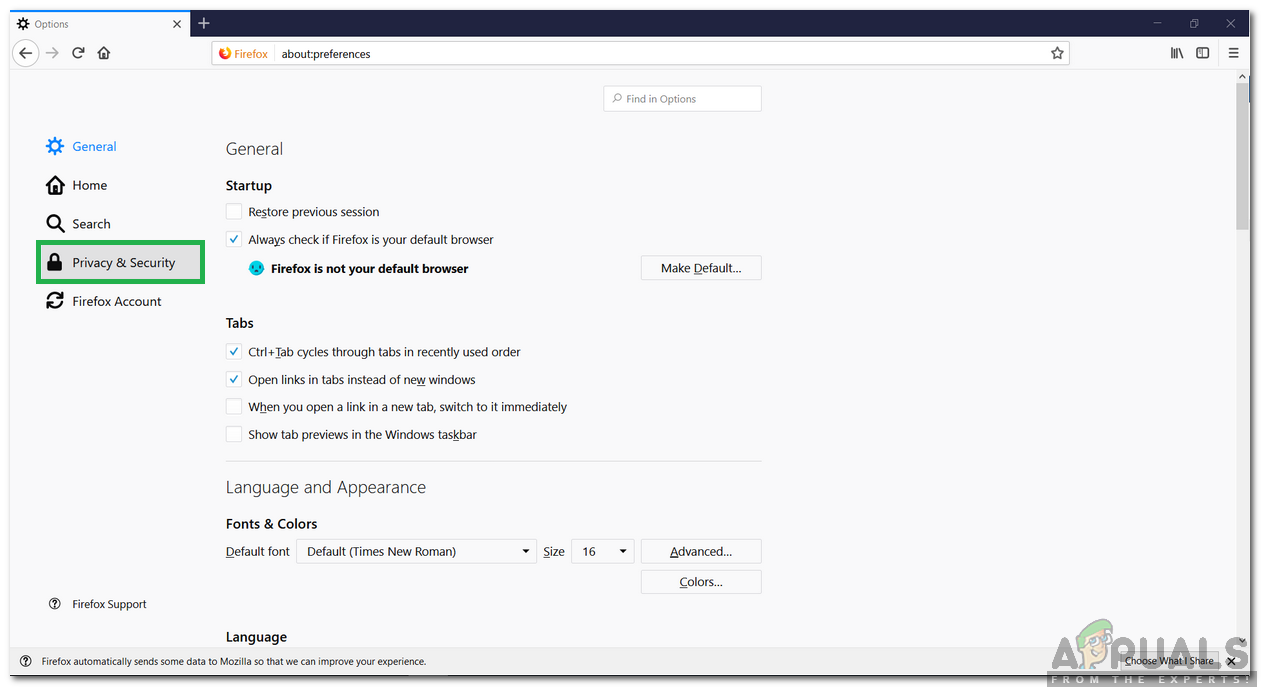
Clicking on the “Privacy and Security” tab - Under the “Cookies and Site Data” click on the “Clear Data” option.
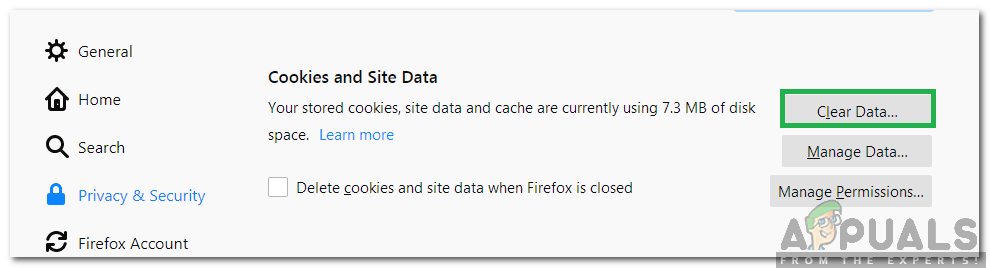
Clicking on the “Clear Data” option - Check both the options and click on the “Clear” Button.
- Check to see if the issue persists.
For Microsoft Edge:
- Launch Microsoft Edge and open a new tab.
- Click on the “Three Dots” in the top right corner.

Clicking on the three dots in the top right corner - Click on the “History” option and select the “Clear History” button.

Clicking on the “History” option - Check the first four options and click on the “Clear” button.
- Check to see if the issue persists.
Solution 3: Changing DNS Settings
In this step, we will be reconfiguring some of the DNS settings to make sure that they are entered correctly. The method varies for each device but we have listed the step for some of the most popular devices.
For PC:
- Press “Windows” + “R” keys simultaneously and type in “ncpa.cpl“.
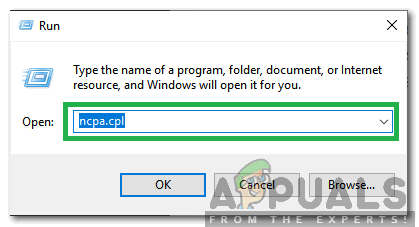
Typing in “ncpa.cpl” and pressing “Enter” - Right-click on your connection and select “Properties“.
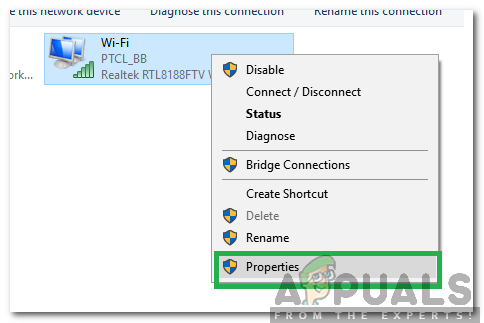
Right-clicking on the connection and selecting “Properties” - Double click on the “Internet Protocol Version 4 (TCP/IPV4)” option.

Double-clicking on the “IPv4” option - Check the “Use the Following DNS Server Addresses” option.
- Write in “8.8.8.8” for the “Preferred DNS Server” and “8.8.4.4” for the “Alternate DNS Server“.
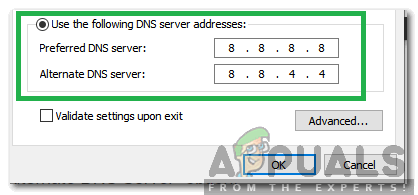
Typing in the correct DNS server addresses manually. - Click on “OK” to save your settings and check to see if the issue persists.
For PlayStation:
- Navigate to the “Settings” menu on your console and select “Network“.
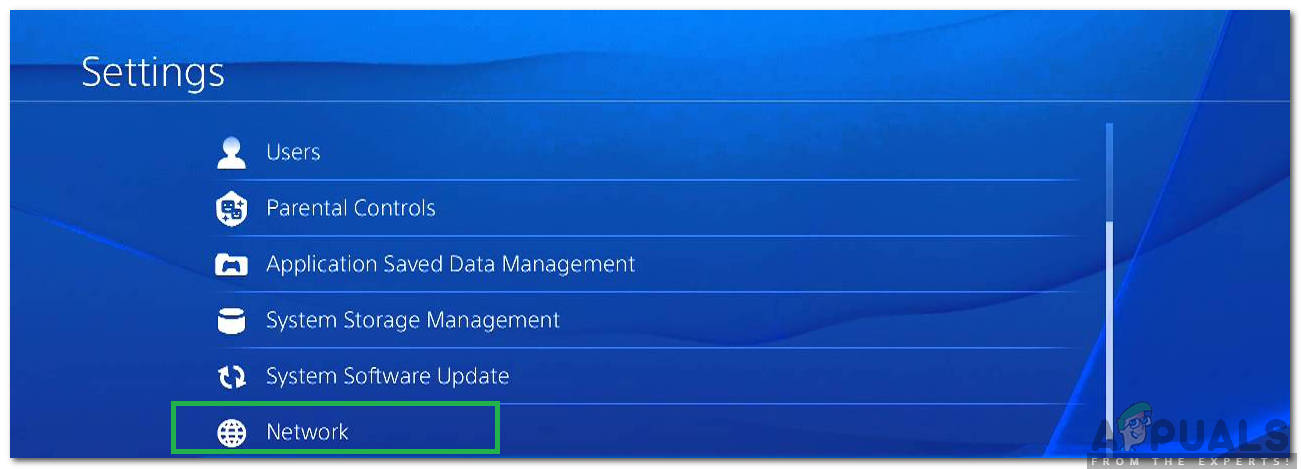
Selecting “Network” - Click on the “Setup Internet Connection” option.
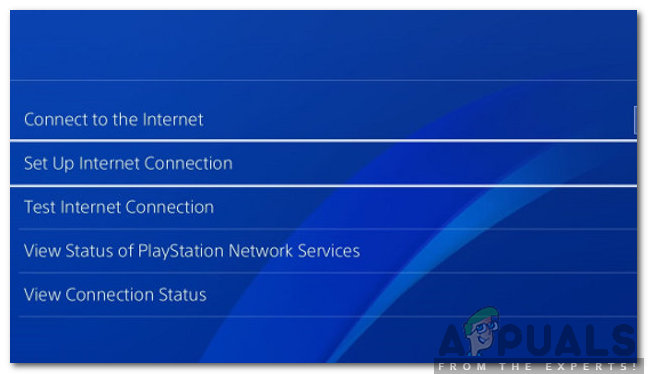
Selecting “Setup Internet Connection” - Click on the “Wifi” or the “LAN” option depending upon your connection type.
- Click on the “Custom” option for the setup.
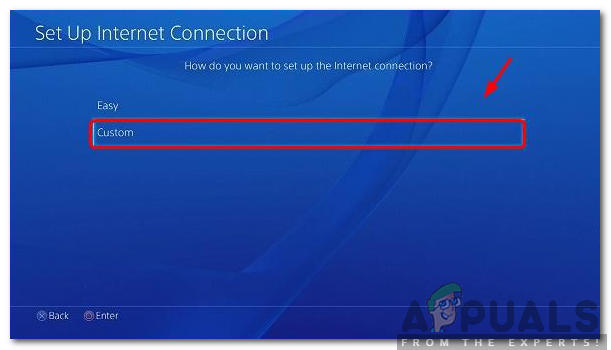
Selecting Custom connection type - Choose automatic for “IP Address” and “DHCP” settings if you have no preference.
- Click on the “Manual” option for “DNS Settings”.
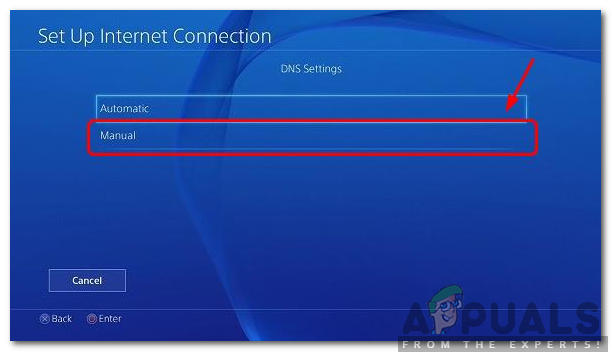
Selecting Manual DNS Settings - Click on the “Primary DNS” and enter “8.8.8.8“.
- Click on the “Secondary DNS” and enter “8.8.4.4“.
For Xbox:
- Press the “Xbox” button on your controller and scroll to the side to the “Settings Gear” icon.
- Scroll down and select “Settings“.
- Scroll down and select “Network“.
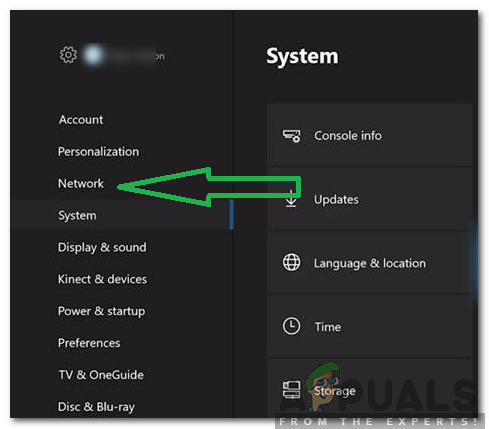
Selecting the Network option - Navigate to the right pane and select “Network Settings“.
- Scroll down and click on “Advanced Settings“.
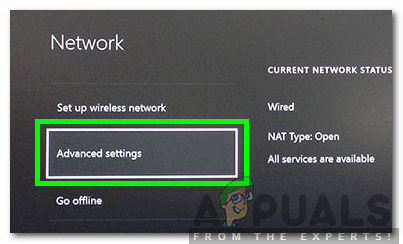
Selecting advanced settings for network - Scroll down again and click on “DNS Settings“.
- Select “Manual” by scrolling down.
- Enter “8.8.8.8” as the primary Address and “8.8.4.4” as the secondary address.
- Press “Enter” and your DNS address will be changed.
- Check to see if the issue persists.
Solution 4: Disconnecting Other Devices
If a lot of devices are connected to the same account the streaming service might be suspicious that you are distributing their services due to which it might be blocked for your account. Therefore, it is recommended to disconnect all other devices from the account and make sure that no one else is using your account and then try to connect again.
Solution 5: Reconfiguring Date and Time Settings
It is important to check that your Date and Time settings are configured properly. Many issues can arise if the service detects that the Date and Time settings aren’t configured properly for your device. It can vary for the device that you are using but is pretty simple to configure for the device.
Solution 6: Reinstalling the Hulu App
If the connection is still not being established properly then as a last resort you can try to reinstall the application on your device and then check to see if the issue persists. Make sure to contact the customer support if the issue still persists after reinstalling the application because it is most likely on their end after trying all the troubleshooting processes.