How to fix Error 0xc000000d “Your PC needs to be repaired”?
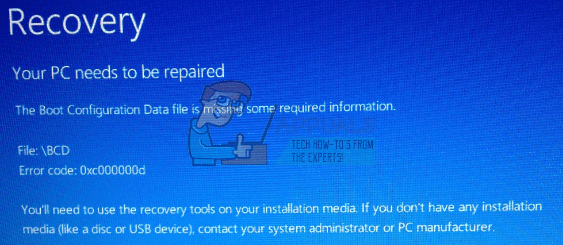
Error 0xc000000d is a Windows Store that appears when your PC’s boot configuration is messed up and the system cannot boot to Windows. A Blue screen is displayed, showing the error number “0xc000000d” with one of the following messages
Your PC/Device needs to be repaired
The Boot Configuration Data file is missing some required information
Method 1: Recovery Disc
If you are on a PC and has already created a recovery disc before now, this is the time to use. Even with the error, your keyboard, CD and USB drives will still be working. Insert the recovery CD or USB into the drive and hit ctrl+alt+delete to reboot the computer. As it is starting up, hit f12 to boot from CD or USB as the case maybe. Select to perform Windows repair. The computer should boot just fine after the repair without the 0xc000000d error.
See here for a complete guide on how to run Windows recovery.
Method 2: Recovery on Microsoft Surface Device
If you encounter this error on your Microsoft Surface Device, then the procedure for creating and running your Windows recovery will be slightly different from the procedure described above for your computer.
Retrieve your BitLocker Recovery Key
The first thing you should do when you encounter this error on your Surface is to locate where you stored your BitLocker Recovery as your Surface tablet is most likely encrypted with BitLocker. The BitLocker must have been stored online or in a USB. If your account is joined to a domain, go ahead and ask the administrator for help in receiving it.
If you don’t have the recovery key handy, follow the steps outlined in Microsoft BitLocker Recovery FAQ page to see if it helps.
Without the recovery key, there is just no way to get into the system to do any recovery. You should go straight to Method 3 if you do not have the BitLocker Recovery.
Creating a Recovery Drive
As the Surface is running Windows 10, you can create a recovery drive from another Windows 10 computer. Simply plug in a USB flash drive into the computer, follow the Create Recovery Drive wizard to create Windows 10 recovery drive. Search Create a Recovery Drive from Start menu to locate the tool you need.
Change Surface Firmware to allow boot from USB drive
The next step is to set the Surface to boot from USB drive by following the steps outlined below.
Press and hold the power button down, long enough to make sure it’s powered off.
Press and hold the Volume-Up button, and then press and release the Power button.
Hold the Volume-Up button until the Surface UEFI menu comes up.
For Surface Pro 3 and Surface 3, select Configure Alternative System Boot Order, and select USB > SSD.
Disable the Secure Boot Control. Exit
Boot from USB
Restart Surface while pressing and holding the Volume-Down button, and release when the Surface logo disappears.
Go to Troubleshoot > Advanced options > Command Prompt.
Run the following command lines in order:
bootrec /fixmbr
bootrec /fixboot
bootrec /scanos
bootrec /rebuildbcd
Exit Command Prompt window, restart the Surface.
Your surface should be working just fine afterwards.
Method 3: Windows Reset and Refresh
If all the methods fail, or unfortunately, you can’t find your key, and no other administrator on the device can find a backup copy either, you’ll need to restore the PC to factory default settings. Only choose this option as a last resort because it will delete your personal data from the PC. While it helps protect your data against unauthorized access, it also prevents you from ever accessing your data again.
Depending on your Windows configuration, you might be able to restore your PC to its factory default settings directly from the Windows recovery screen.
If you see a link at the bottom of the recovery screen
Tap or click the Learn more about resetting your PC to factory defaults link, and then follow the instructions.
In some Windows configurations, you might need to start the recovery process using a button instead.
If you see buttons at the bottom of the recovery screen
Tap or click the Learn more about resetting your PC button, and then follow the instructions.
In other Windows configurations, you might have the option of skipping over certain drives without unlocking them.
If you see an option to skip a drive
Tap or click the Skip this drive link at the bottom of the BitLocker Drive Encryption screen to continue without unlocking the current drive.
If you skip all of the BitLocker-encrypted drives, you’ll see a list of advanced repair and startup options to choose from. Tap or click Repair and Restore, tap or click Other repair options, and then tap or click Factory Reset and follow the instructions.
at “bootrec /fixboot” system says access denied. ??solutions