Fix: BitLocker Recovery Key not Found
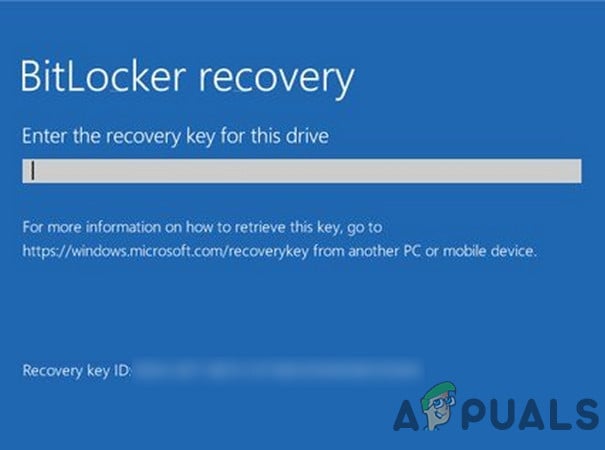
The computer starts in BitLocker recovery mode, so you can’t get into Windows without a recovery key. This usually happens after restarting, changing BIOS settings, or updating the system. It means Windows no longer trusts the encryption key and needs the 48-digit BitLocker recovery key to unlock the drive.
The main reason for this is a change in Secure Boot or TPM settings, often caused by resetting BIOS, updating firmware, or changing hardware. Other reasons can include changes to the hard drive setup, problems during Windows updates, or automatic encryption settings from the manufacturer or your organization.
Before attempting the following solutions to bypass BitLocker, disconnect your system from the Internet to ensure the problem isn’t related to ransomware. Also, make sure your Microsoft account in the system settings is verified (ensure there is no “Verify Your Identity” warning). It’s also a good idea to see if the BitLocker Repair Tool helps resolve the issue. Lastly, if you can, use the Control Panelin Safe Mode to disable BitLocker.
1. Unplug the Power Cable or Remove the Laptop Battery
BitLocker problems can sometimes be triggered by unwanted or unexpected changes in your system’s hardware. Disconnecting the power source allows the motherboard components to fully discharge, which can resolve temporary issues.
- Shut down your system completely. If necessary, perform a force shutdown by holding down the power button.
- Unplug the power cable from the outlet. If you’re using a laptop, remove the battery.

Remove the Laptop Battery - Wait at least 5 minutes, then reconnect the power cable or battery.
- Turn your system on and see if the BitLocker issue is resolved. If it is, disable BitLocker through the Control Panel and decrypt the affected drive.
2. Use the Command Prompt
If you can successfully log into Windows, and if only one drive is affected, you may be able to retrieve the BitLocker recovery key using Command Prompt.
- Press the Windows key and type Command Prompt in the search bar. Right-click it and choose Run as Administrator.
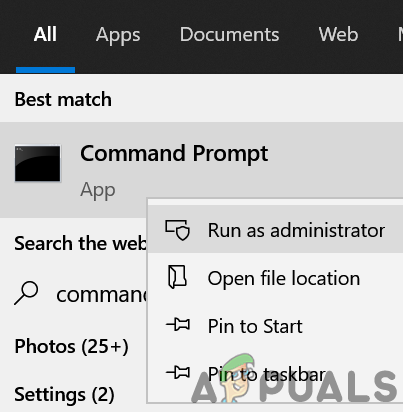
Open Command Prompt as Administrator - Type and run the following command:
manage-bde -protectors X: -get
Replace X with the drive letter of the problematic drive.
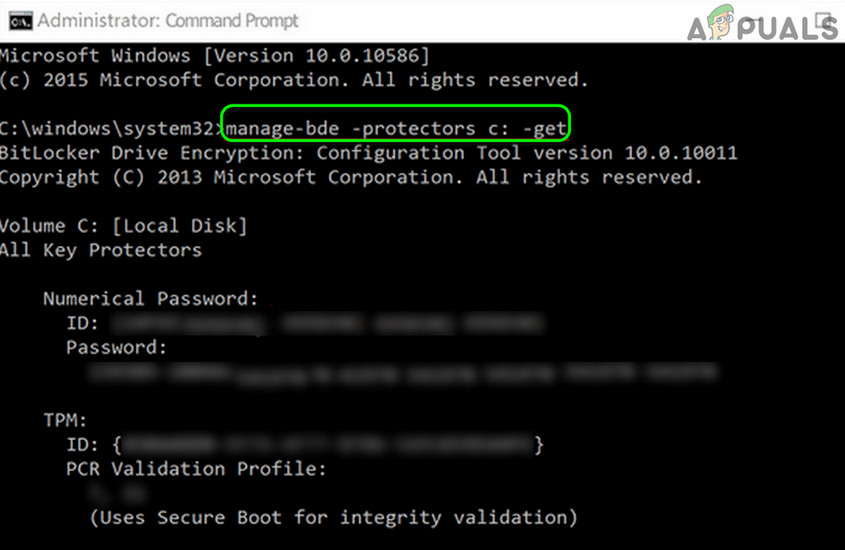
Recover the BitLocker Key Through the Command Prompt - In the output, look for the Recovery ID and Recovery Key.
- Try using that key to unlock or remove BitLocker encryption.
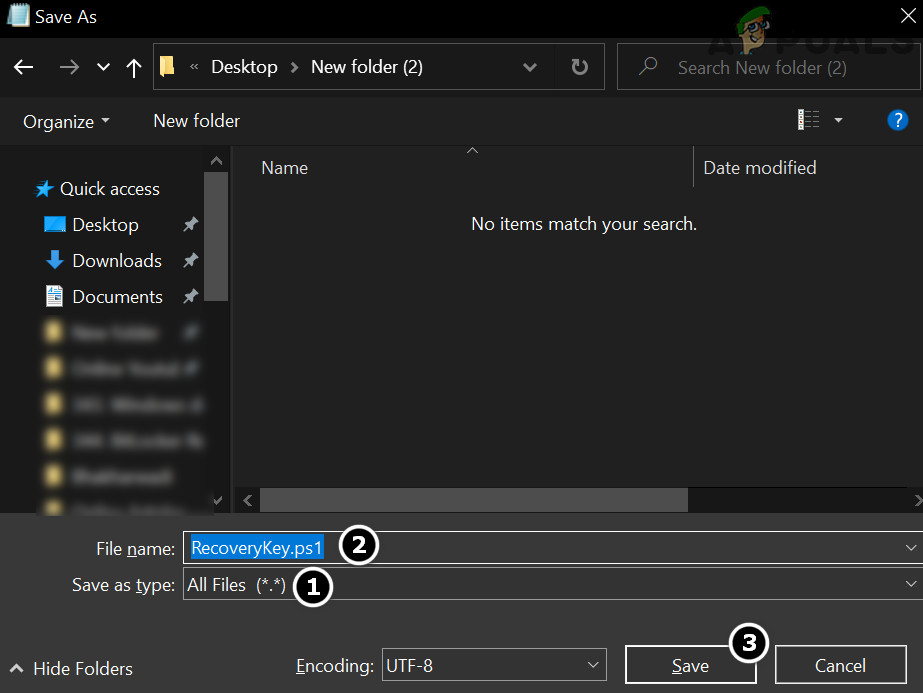
- If you don’t find the recovery key this way, open Notepad and paste the following code into it:
$BitlockerVolumers = Get-BitLockerVolume $BitlockerVolumers | ForEach-Object {$MountPoint = $_.MountPoint $RecoveryKey = [string]($_.KeyProtector).RecoveryPassword if ($RecoveryKey.Length -gt 5) { Write-Output ("The drive $MountPoint has a BitLocker recovery key $RecoveryKey.") } } - Save the file by selecting All Files from the “Save as type” dropdown, and give it a name ending with .ps1 (for example: RecoveryKey.ps1).
Save the Batch File with PS1 Extension - Right-click the Windows Start button and select Windows PowerShell (Admin).

Open Windows PowerShell Admin - Navigate to where you saved the file using the cd command, then run the script (for example:
.\RecoveryKey.ps1). - If the recovery key appears, try using it to unlock your drive.
3. Check Online Backup Locations for the BitLocker Key
If you can’t find your BitLocker recovery key on your local device, USB drives, or paper printouts, you can try recovering it from online backups. Remember to check all personal, work, or school Microsoft accounts previously used on your system, as the key might be stored there.
3.1. Check OneDrive
- Open your web browser and visit this link (sign in with your Microsoft account if prompted).
- If you find a matching BitLocker recovery key, use it to unlock your drive. If not, try signing in with any other Microsoft accounts you’ve used on this system.
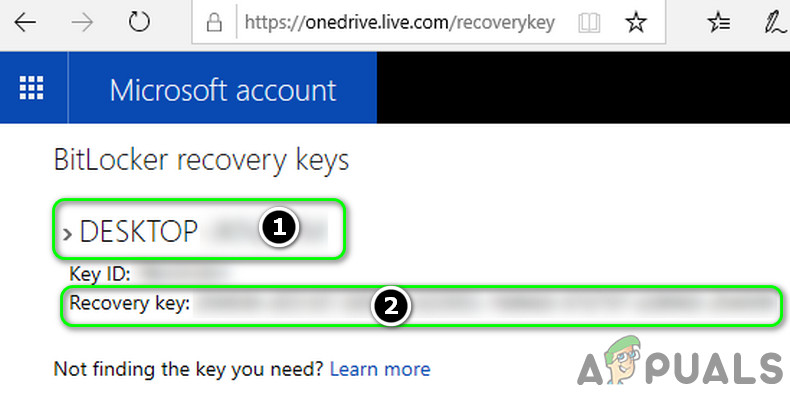
Find the BitLocker Recovery Key in the OneDrive
3.2. Check Your Microsoft Account Page
- Go to your Microsoft account page in a web browser.
- Click on the Devices tab (usually the third option on the left). See if your affected device is listed.
- If your device appears, click View BitLocker key and see if the displayed key helps you regain access.
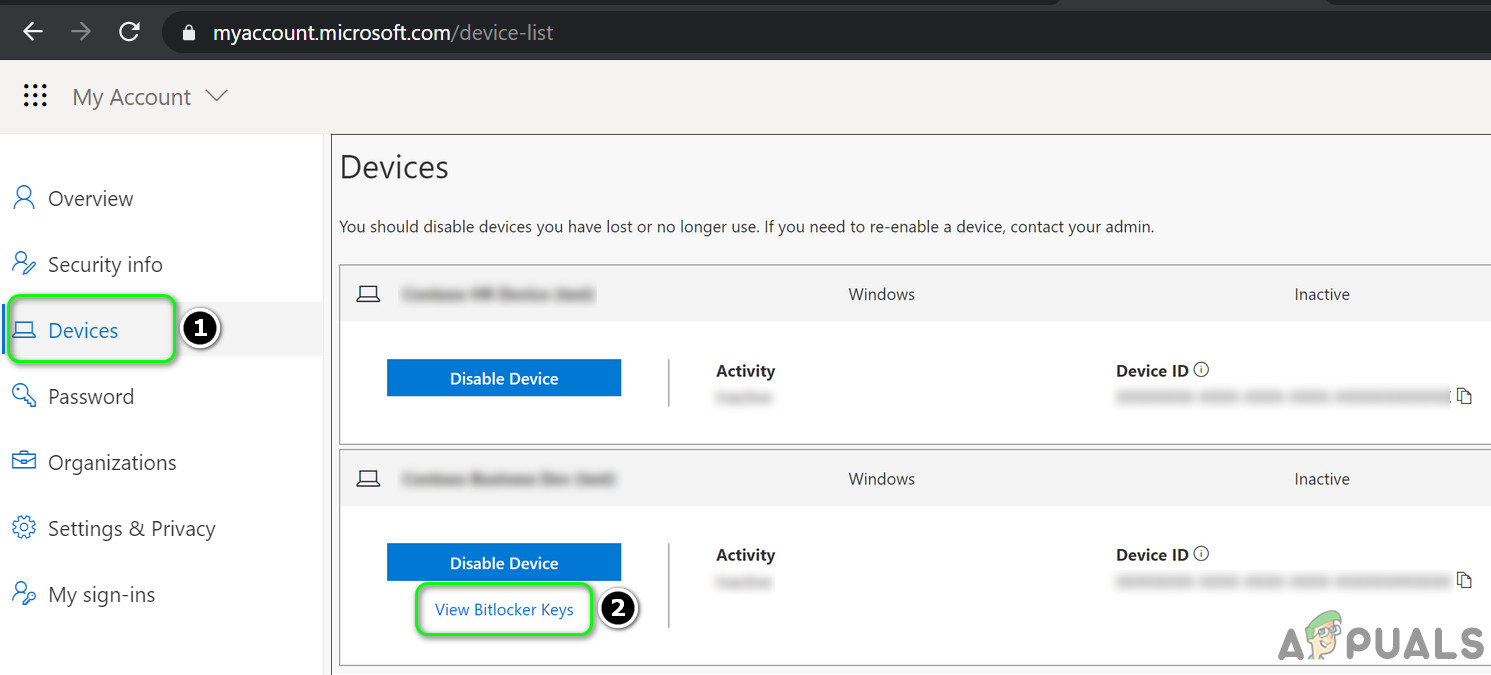
View BitLocker Keys in the My Account Page - If you don’t see the key there, try this alternate link.
- Make sure you’ve selected the correct device, then use the key if it becomes available.
3.3. Check Office 365 or Azure Active Directory
- If you or your organization uses Office 365 or Azure Active Directory, visit the admin portal here in your browser.
- From the left menu, click Azure Active Directory, and then select it again from the submenu.
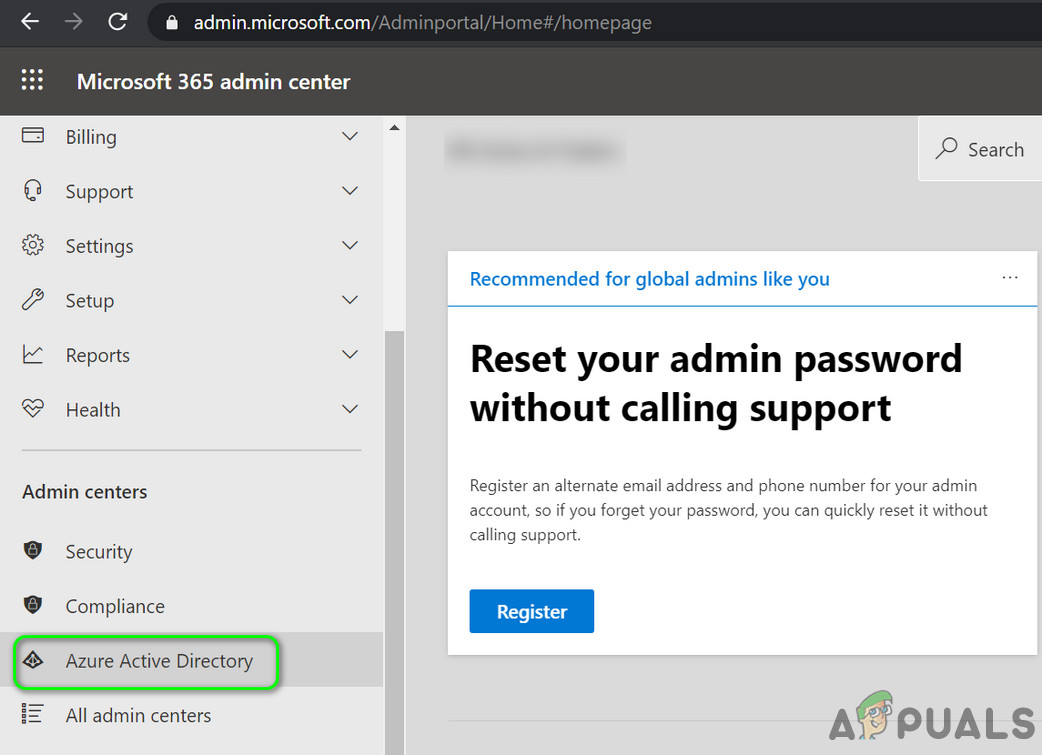
Open Azure Active Directory Admin Center - Go to Devices > All Devices (or use the BitLocker keys tab if available), then find your device.
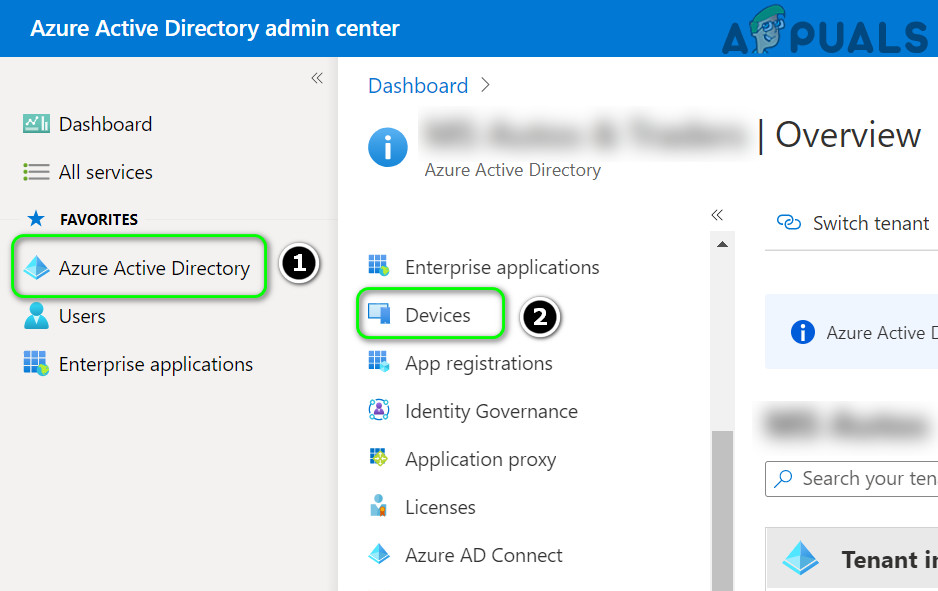
Open Devices in Azure Active Directory Admin Center - Copy the BitLocker recovery key by clicking the copy icon, and try using this key to resolve your issue.
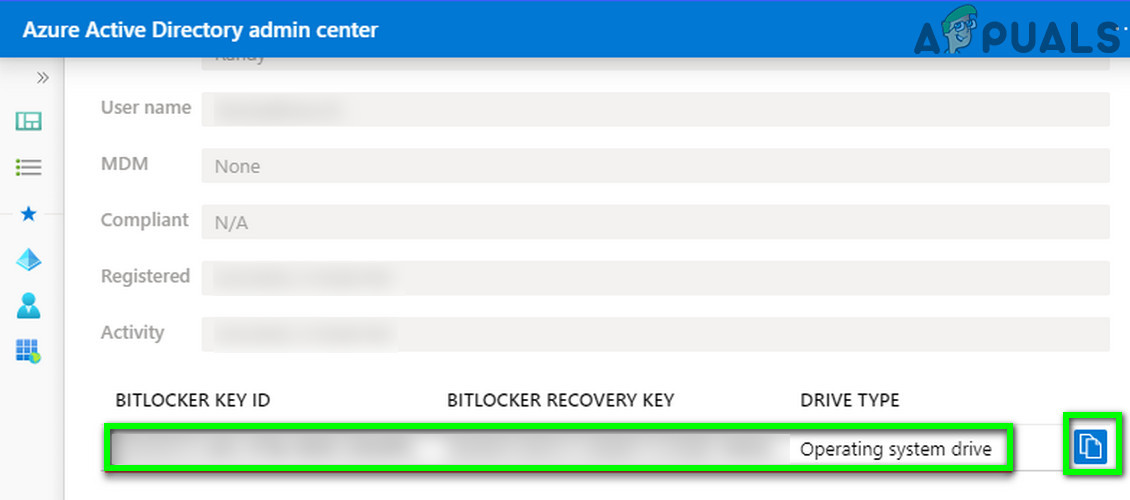
Copy the BitLocker Key from the Azure Active Directory Admin Center
If your organization restricts access to these keys, you may need to contact your IT or network administrator. If your computer is part of a business or school domain, the recovery key may be saved on a local server managed by your tech support team.
4. Adjust the BIOS Settings
BitLocker can be sensitive to changes in BIOS settings. For example, enabling/disabling the TPM (Trusted Platform Module), Secure Boot, or changing the boot order can cause BitLocker to ask for the recovery key. The following steps might help resolve the issue. Please note these may look a bit different on various computer models.
4.1. Enable or Disable TPM (Trusted Platform Module)
- In your system’s BIOS, open the Security tab, then find and select TPM Security.
- Enable (check) the TPM Security option, then apply the changes.
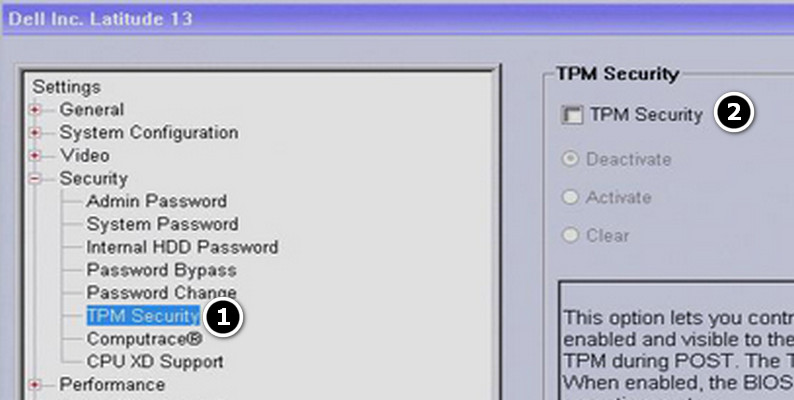
Enable TPM Security in the BIOS - Restart your computer and see if the BitLocker issue is fixed.
If TPM was already enabled, try disabling it and check if that fixes the issue.
4.2. Enable or Disable Secure Boot
- Enter your PC’s BIOS and go to the System Configuration or similar tab.
- Try enabling Secure Boot (or disabling it, if already enabled), then see if this solves the issue.
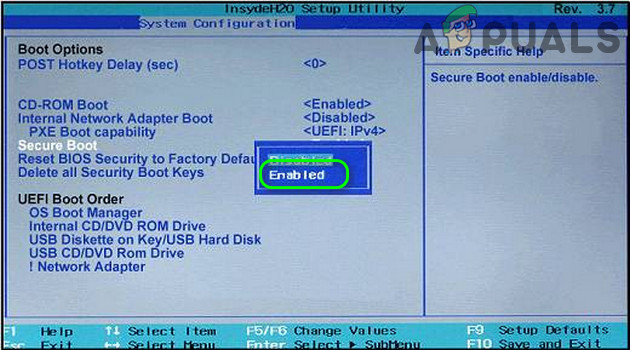
Enable the Secure Boot in BIOS
4.3. Enable Platform Trust Technology (PTT)
- Go to the Configuration tab in BIOS and look for Platform Trust Technology. Enable it.
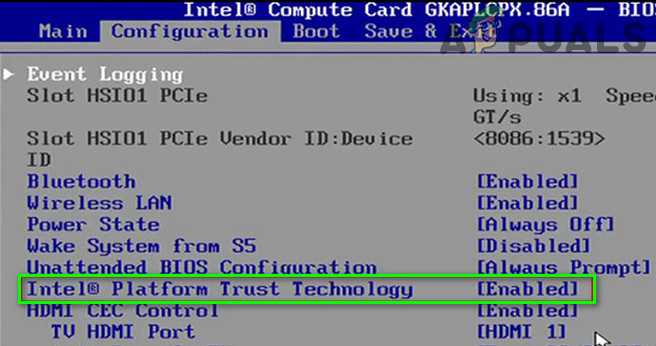
Enable Platform Trust Technology - Apply these changes and check if the issue is resolved.
4.4. Update or Roll Back Your BIOS Version
- If you recently updated your BIOS, try rolling back to the previous version to see if it resolves the problem. If it does, be sure to disable BitLocker before updating your BIOS again in the future.
- If rolling back doesn’t work, update your BIOS to the latest version according to your PC manufacturer’s instructions. You might need to remove the affected drive or use a USB stick to run the BIOS update. Here are guides for some common brands:
4.5. Edit the Boot Sequence
- In BIOS, expand the General section and select Boot Sequence.
- Uncheck any boot options you do not use, such as Windows Boot Manager or any other UEFI/device that are unnecessary. Keep only the drive with Windows installed selected.
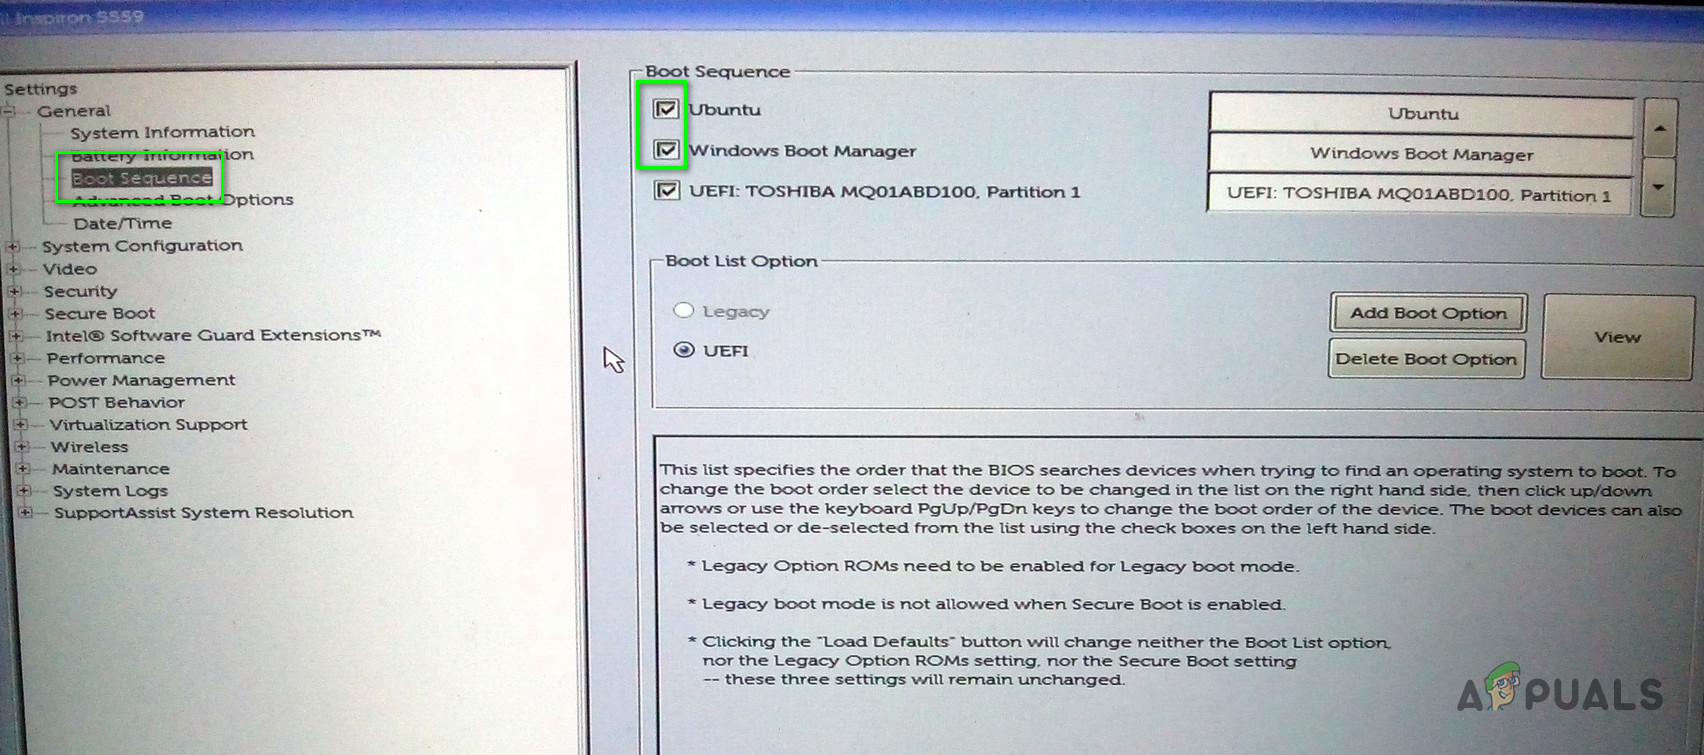
Uncheck Irrelevant UEFI Boot Options in BIOS - Apply these changes and check if the issue is fixed.
4.6. Change the Boot Mode
- Go to the BIOS Boot tab and set Boot Mode to UEFI.
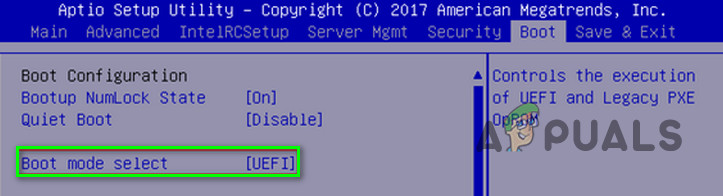
Set the Boot Mode to UEFI - If the problem persists, enable TPM/PTT and Secure Boot as discussed above, and ensure the Legacy Boot option is unchecked.
4.7. Reset BIOS to Default/Failsafe Settings
- In BIOS, open the Secure Boot section and select Expert Key Management.
- Click Restore Settings and choose Factory Settings.
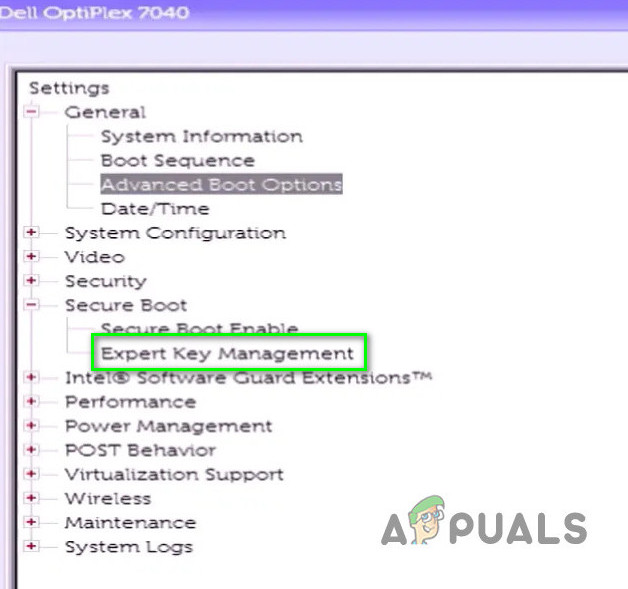
Navigate to Expert Key Management Tab in BIOS - Confirm your choice and exit BIOS.
- See if BitLocker issues are resolved on startup.
- If not, return to BIOS, and in the General tab, click Restore Settings > Custom User Setting, then click OK.
- If that doesn’t work, repeat, but select Factory Settings this time.
- If needed, try BIOS Defaults as the last step. Save and exit, then see if the BitLocker problem is gone.
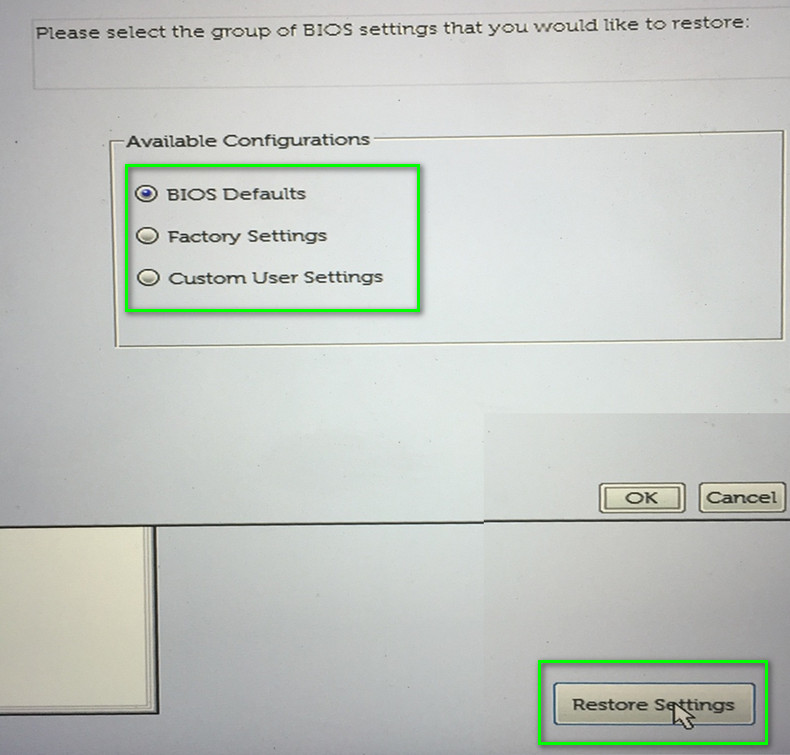
Reset the BIOS to Different Settings
If you’ve tried all the above and still can’t recover your data or access your system, you may need to contact a professional data recovery service. As a last resort, you can reformat the drive or system, but this could result in data loss, so only proceed if you have exhausted all other options or can afford to lose your data.


Would these options work with Windows 10? My laptops motherboard was replaced and the option to disable bitlocker wasn’t possible. Now I have bitlocker ID but cannot find out the key from Microsoft accounts page. What do I do?