Beginner’s Guide: Create a Simple Discord Bot using Node.js
Discord is a free all-in-one text and voice chat platform mainly built for gamers. It is secure, free and works on both smartphones and desktop computers. It is much more efficient in terms of data usage and quality. Discord is more than a messaging application. There are discord servers which work like a community group. You can create your channel within those groups to chat. In addition to this, there are voice channels where you can talk to people normally or listen to music.
What is a Discord Bot?
A discord bot is an automated program that runs on discord. It gives you more functionality. It can be a chatbot, music bot, moderation bot. Its functionality depends on what you want to do with it and how good you program it.
How to make a simple discord bot?
- First, we need to download the required tools to make a bot. Download Node.js, which is a platform built on javascript runtime for making network applications. It requires coding, so you need a text editor as well such as notepad ++.
Node.js JavaScript Runtime - Now you have to create an “application” on discord. Since you are already logged in head over to the application section by clicking on the following link
Discord Developers Application
Click on New Application and give your bot a name.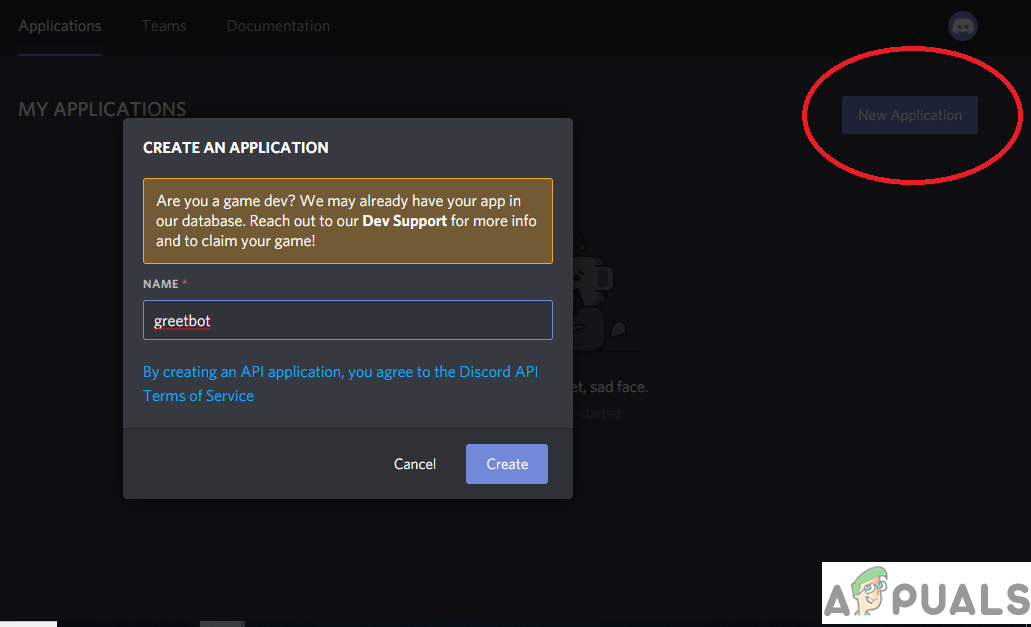
Naming your bot. - From the left side, access the Bot tab and click on Add Bot. Once you do, it should show your bot, which you named in Step 2.
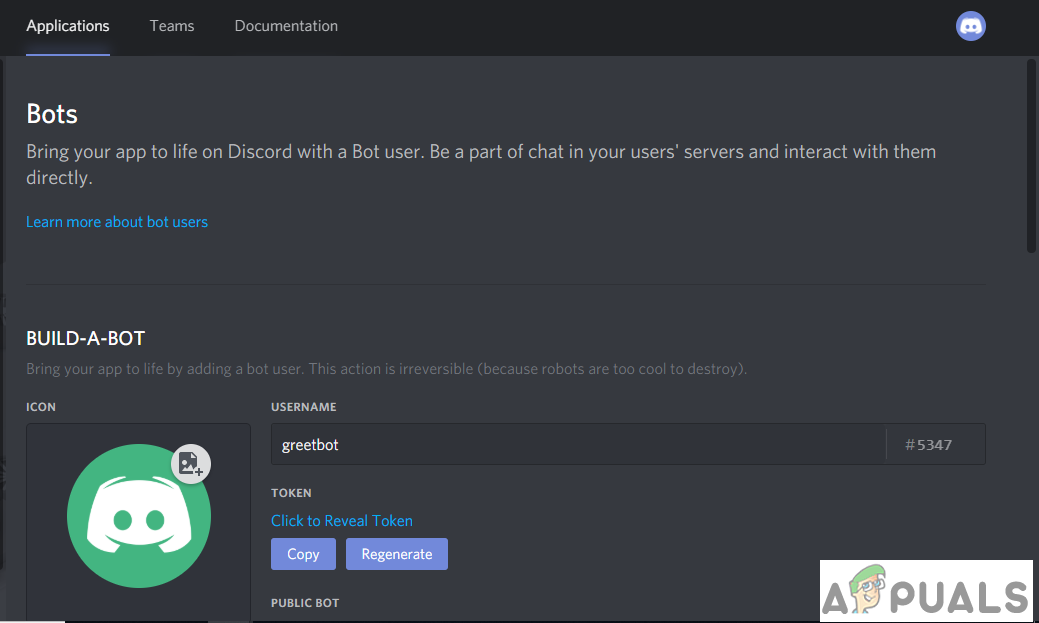
Click on add bot and it will show your newly created bot. - To code for your bot, you will require an Authorization token which you can access from the bot section under the name of your bot by clicking on Reveal Token. Anyone with the token can write code for your bot so you mustn’t share it with anyone. You can generate a new token if you feel that it has been compromised.

Click to Reveal your authorization token. - Now go to General Information. Here you will see your Client ID which is hidden by default. Click to reveal your client ID. Copy and replace it with CLIENTID in the link below. This will become your redirect link
https://discord.com/oauth2/authorize?&client_id=CLIENTID&scope=bot&permissions=8
Your final link should look like this with the zeros replaced by your ClientID
https://discord.com/oauth2/authorize?&client_id=000000000000000000&scope=bot&permissions=8
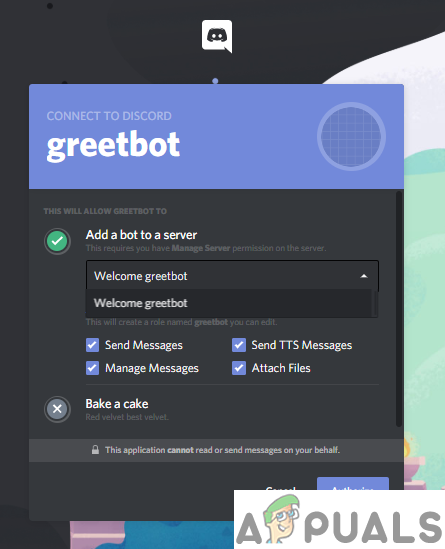
- Now go to OAuth2 tab, and add this link under the Redirect links. It will appear in the OAuth2 URL Generator, select the link from there.
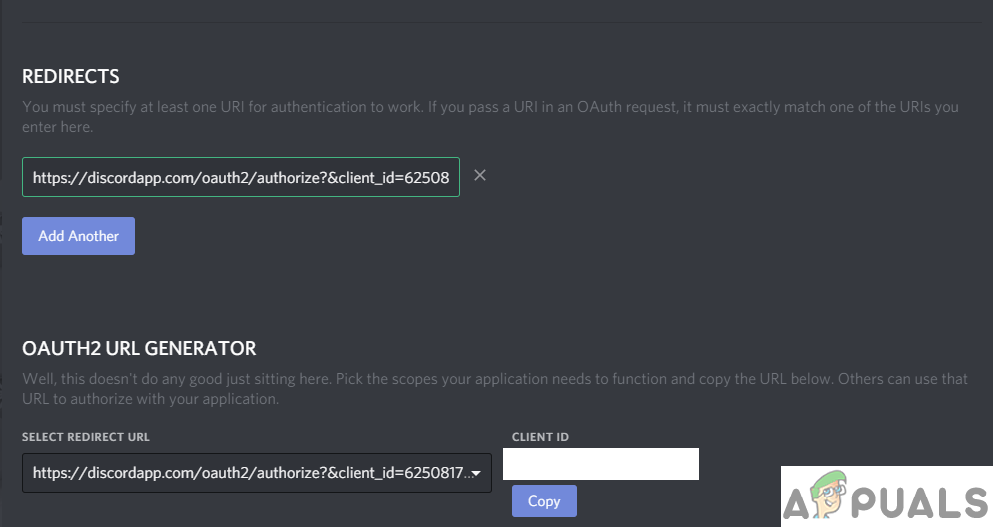 Below that, you will see two panels with a different list of options. From the Scopes panel, select Bot. From the panel below, you can give your bot numerous permissions.
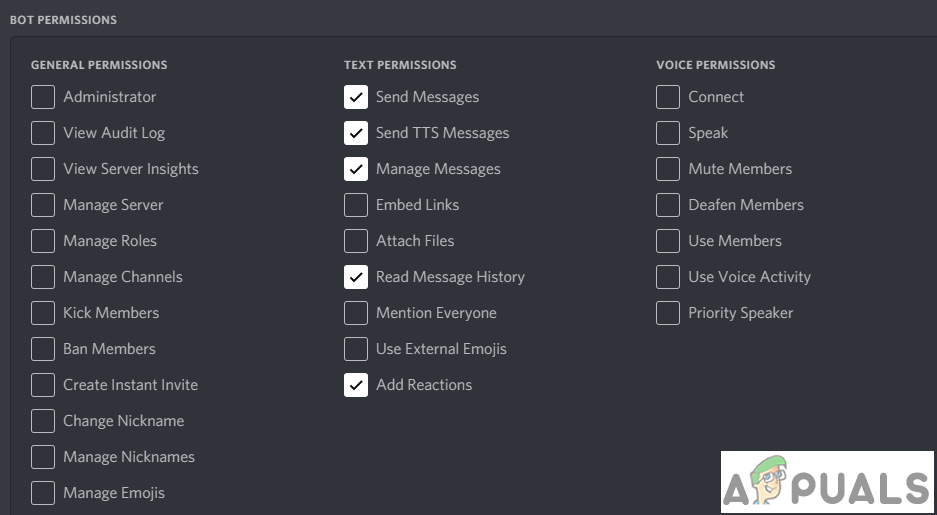
From permissions, you can give your bot numerous permissions. After you give your bot permissions, you can try to access your redirect link, which will lead you to a new page with lists of servers to which you want to send your bot.
Now we will start writing the code for our Bot.
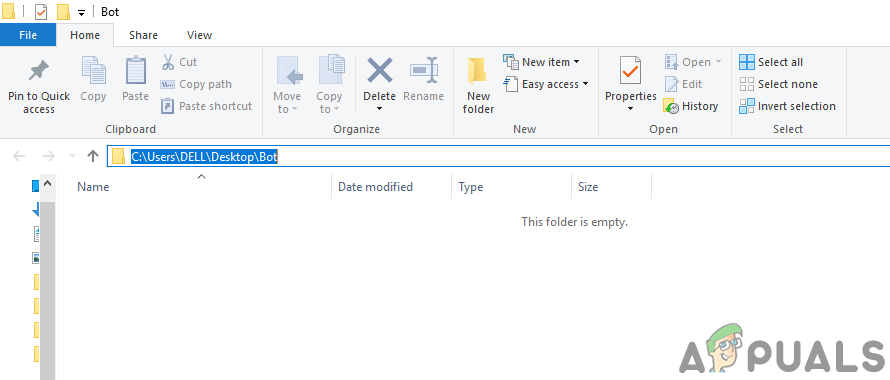
- Start with creating a folder for all the files related to your discord bot. Keep it in an easy to access location. We need to create three files namely package.json, auth.json, bot.js.
Your bot folder - Open notepad++ and type the following code.
{
 "name": "greetbot",
 "version": "1.0.0",
 "description": "My first discord bot",
 "main": "bot.js",
 "author": "YOUR-NAME",
 "dependencies": {}
}
Replace name with the name of your bot, and create a description that will easily tell you the purpose of your bot and lastly your name in the author. Save this code as package.json in your discord bot folder.
3. After saving your package.json, open a new notepad++ script, and type the following code
{
"token": "Your Authorization Token"
}
Insert your bot’s authorization token which you obtained earlier. Make sure that you paste that token within the quotation marks and save this in the same folder with the name auth.json. Make sure to save these files as .json or else they will not work.
4. Now we will type the code for your bot. Open another script of notepad++. This step requires a bit of knowledge of JavaScript programming to make full use of your bot, but even if you are very new to coding and just want to make a simple bot, copy and paste the following code and save the file as bot.js. This code is written in a way, that when a user types “!Hello” or “!hello”, the bot will reply with Welcome to the Server.
var Discord = require('discord.io');
var logger = require('winston');
var auth = require('./auth.json');
// Configure logger settings
logger.remove(logger.transports.Console);
logger.add(logger.transports.Console, {
    colorize: true
});
logger.level = 'debug';
// Initialize Discord Bot
var bot = new Discord.Client({
   token: auth.token,
   autorun: true
});
bot.on('ready', function (evt) {
    logger.info('Connected');
    logger.info('Logged in as: ');
    logger.info(bot.username + ' - (' + bot.id + ')');
});
bot.on('message', function (user, userID, channelID, message, evt) {
    // Our bot needs to know if it will execute a command
    // It will listen for messages that will start with `!`
    if (message.substring(0, 1) == '!') {
        var args = message.substring(1).split(' ');
        var cmd = args[0];

        args = args.splice(1);
        switch(cmd) {
            // !hello or !Hello
            case 'Hello':
			case 'hello':
                bot.sendMessage({
                    to: channelID,
                    message: 'Welcome to the Server'
                });
            break;
            // Just add any case commands if you want to..
         }
     }
});
5. Our code requires some of the node.js libraries to function. Open your command prompt and navigate to your discord bot folder and run the following commands.
npm install discord.io winston –save
npm install https://github.com/woor/discord.io/tarball/gateway_v6
6. Now it is time to test your bot. Open the command prompt and again navigate to the discord bot folder. Type the following command
node <your bot name>.js

In this case it will be

node bot.js
7. Your bot will now be running. You can add your bot to any of your servers, by accessing your redirect link when your bot is up and running
Note: In case you face error running the node bot.js command. You can try downgrading your Winston package. You can do so by following steps.
1. Edit your package.json and change the version of Winston to 2.4.4
2. Next, open the command prompt and navigate to your bot folder. Type the following command
npm install -save Winston