How to Create and Setup Your Own Discord Server?
When you’re looking for new friends or a place to play games with your buddies, Discord is the best place. You can create a Discord server where you can sit with your friends in voice channels, play games, or talk with other people in the text channels. You can also create a public server that other people can join to make new friends.
In this article, we will discuss how to make a private and community server.
A private server is one where you can only invite your friends, whereas a public server is one that anyone can join.
Creating a Server on Discord Client/Android
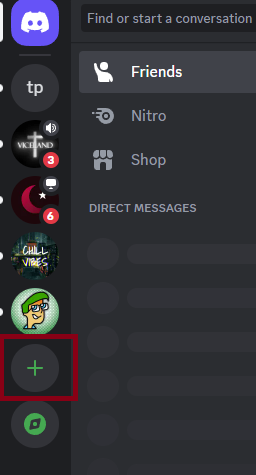
- Open Discord and tap on the + (plus) icon located in the left section of the screen.
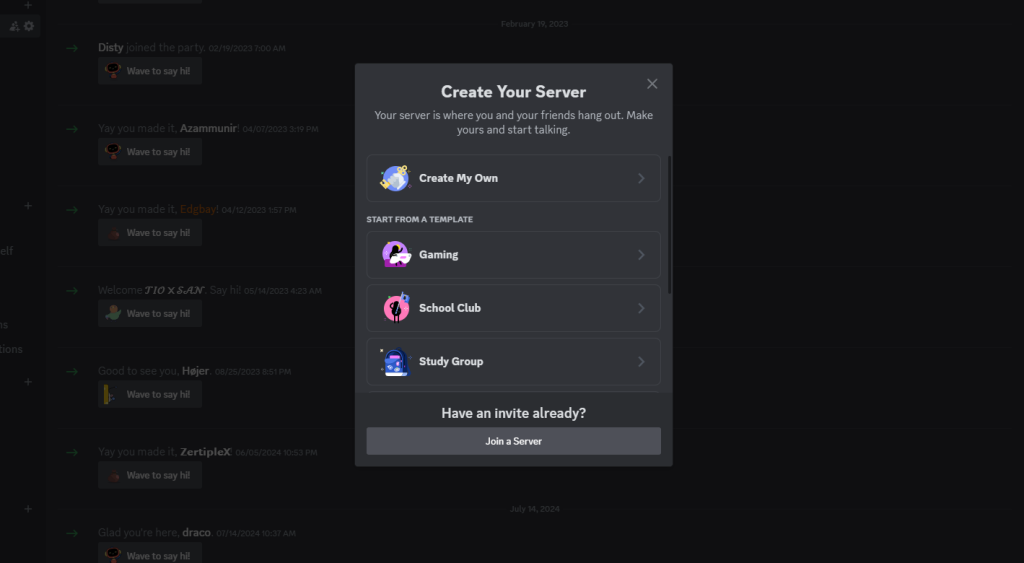
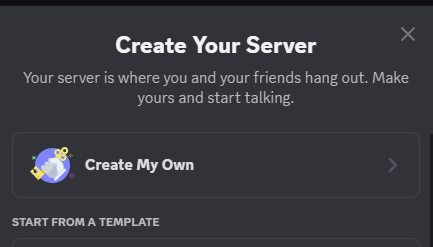
- On the next screen, click on Create My Own.
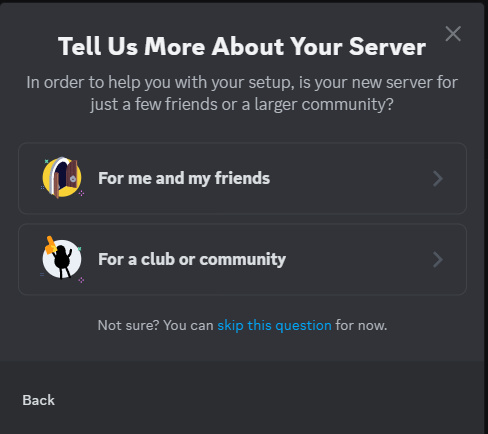
- Select one of the templates from the list: “For me and my friends” or “For a club or community.” You can skip this by clicking on “skip this question.”
- Change the server name and icon with your desired name and icon. You can click on the Upload icon to change the icon. Once you’re done, click on Create.

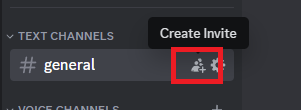
- Once the server is created, you can invite your friends quickly by clicking on the Create Instant Invite icon.
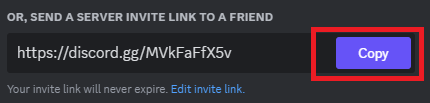
- Click on Copy to copy the link. The default link will expire after 24 hours.
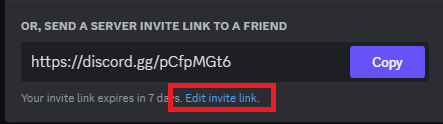
- You can also change the link to never expire by clicking on “Edit invite link.”
- Then, set the Expire After to “Never” and click on “Generate a new link.”
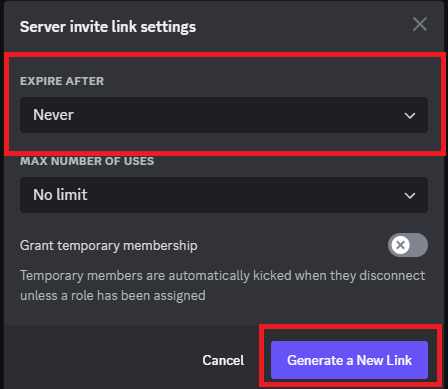
- Once done, click on Copy to copy the permanent link.

How to Configure Your Discord Server
Discord offers a wide range of server customization options, as a Discord server owner, you can play around with server settings or make one of your buddies a server administrator to change the settings for you.
Server administrators have all the permissions of the owner, except for deleting the server. If you want to have a private server just to play games with your friends, chat, and use voice channels occasionally, you don’t need to change any settings. However, if your aim is to make a public server, you need to configure things properly before inviting people.
Creating Text, Voice Channels, and Categories
If you’re planning on creating a community server, you need to split your server into multiple voice and text channels. Try to make them clear and organized so it won’t be confusing for new members who join the server.
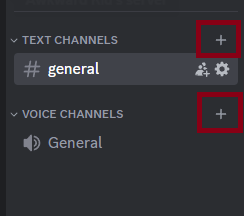
- You can easily create new text or voice channels by clicking on the + (plus) icon associated with each type.
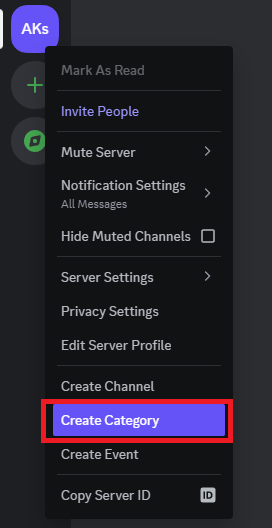
 You can also create new categories to separate different channels for different purposes.
 - By right-clicking on the server icon, you will be given a list of options. Select “Create Category.”
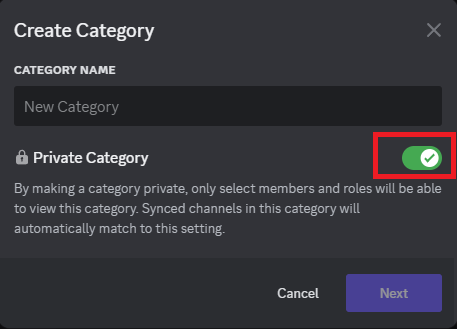
- Enter the Category Name in the given field and click on Create Category.

- You can also choose to keep this category private by turning on the “Private Category” button > click on Next and selecting the members or roles you want to show this category to.
Setting Up Roles
If your community gets big enough, you might want to grant certain members different roles so that they can keep an eye on the chat when you’re not there. Depending on the type of elevated access, the people you trust will be able to kick and ban regular members from your server. As a rule of thumb, grant elevated access to your real friends and avoid letting an outsider into your leadership team.
Note: Giving away administrator permissions will allow users to manage all the roles, which might be harmful to your server.
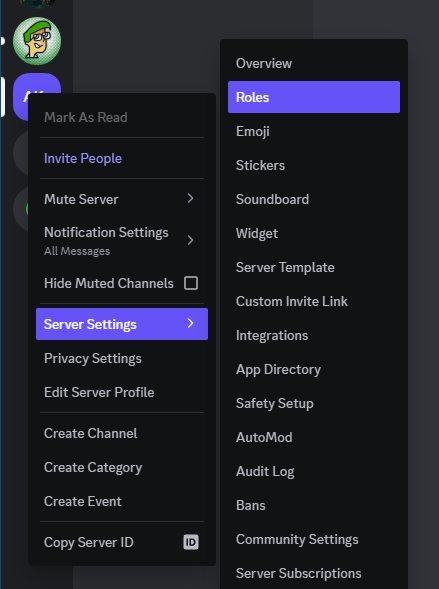
- You can access the administrative settings of your server by right-clicking on your server and clicking on Server Settings > Roles.
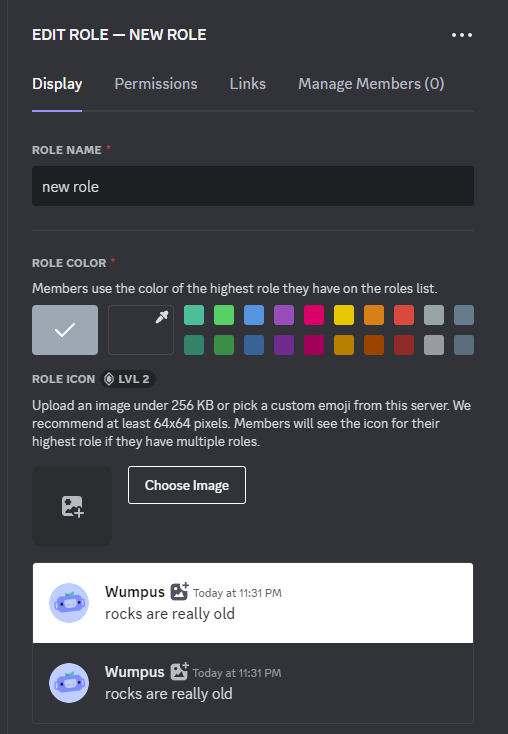
- Click on Create Role.
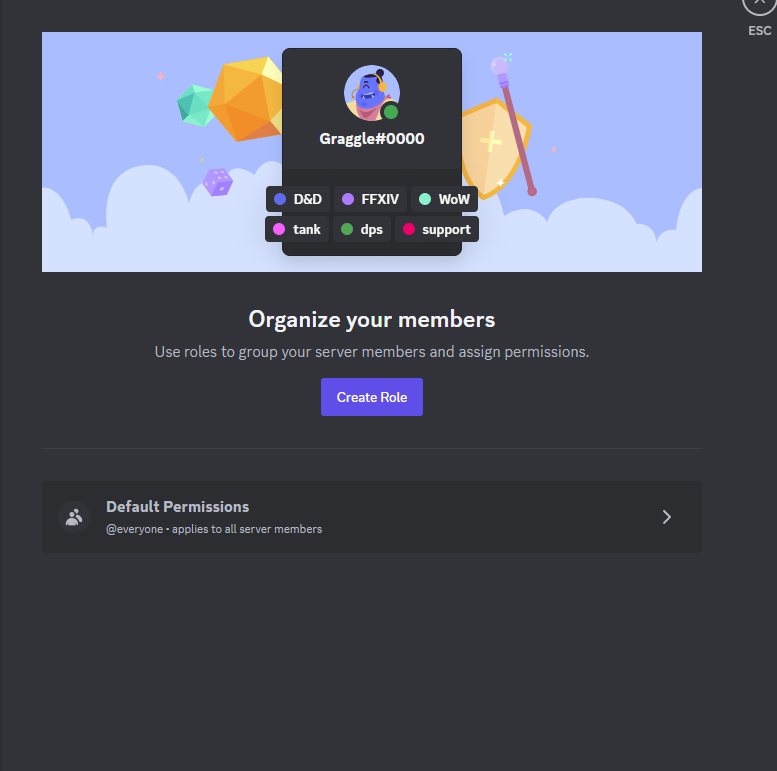
- On this screen, you can create roles based on your needs, give them custom colors, and select the appropriate permissions for each role.
Setting up Community
If you want to enable more features in your server, you can enable the community. It is a feature in Discord that allows you to overview Server Insights, set up a Welcome Screen, and customize Onboarding. Additionally, you can create Forums, Stages, and Announcement channels.
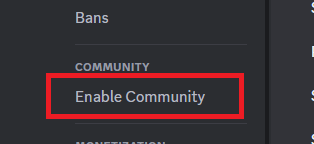
- Enable Community by going to Server Settings and clicking on Enable Community under the Community section.
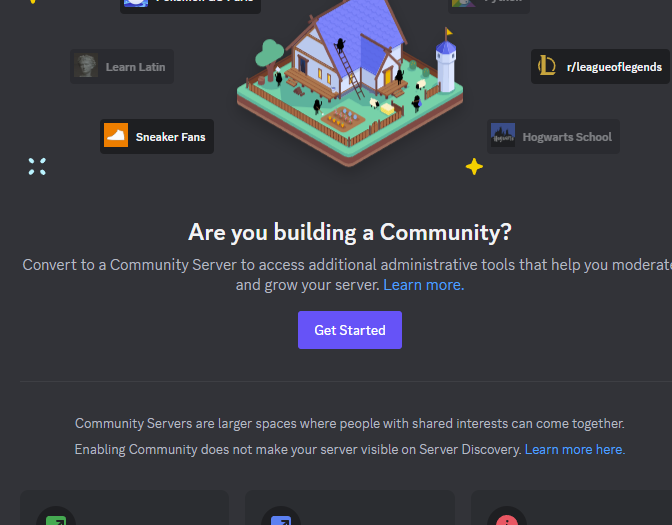
- On this page, click on Get Started and follow the on-screen steps.
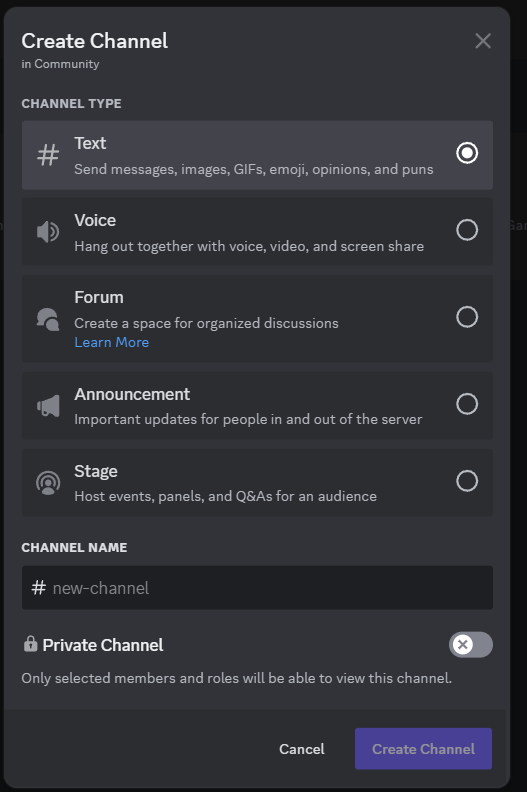
Creating Forums, Stages, and Announcement Channels
Once you’ve enabled the community, you can access features like Forums, Stages, and Announcement channels. These are designed especially for different purposes:
- Stages are a kind of Voice channel, but in a Stage, only a specific person or a group of people are allowed to talk, and others are there to listen to them.
- Announcement channels are the same as text channels but with permissions limited to specific persons. Others can follow the channel so they can get the same message in their server where they have set up the announcement channel to send alerts.
- Forums are designed to make posts where people can discuss a specific topic in the post they’ve created.
To create any of these, simply click on the + (plus) icon beside any category and select any of the options.
Note: You will get the option to make these channels after enabling the community.
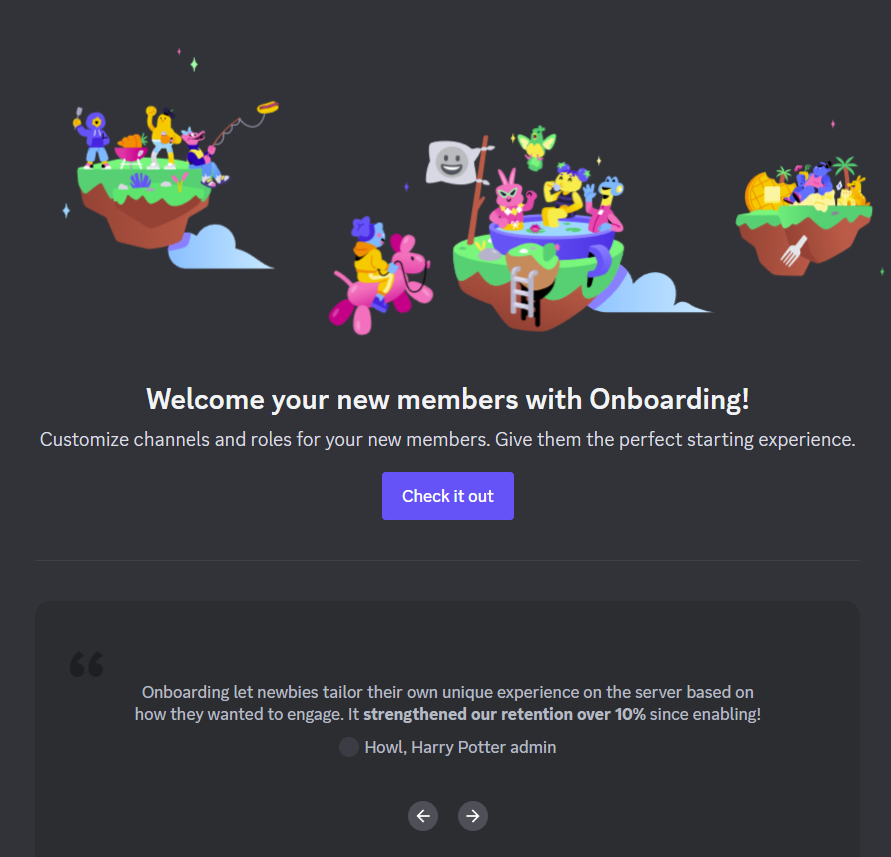
What is Onboarding?
Onboarding is a customized welcoming experience for new members of the server, stopping them from getting overwhelmed by navigating to different channels, getting self-roles, or muting the channels they don’t want to visit.
Onboarding allows users to select custom roles of their choice and channels they want to visit. It helps understand the interests of the users by asking different questions during the onboarding process that they have to answer before joining the server.
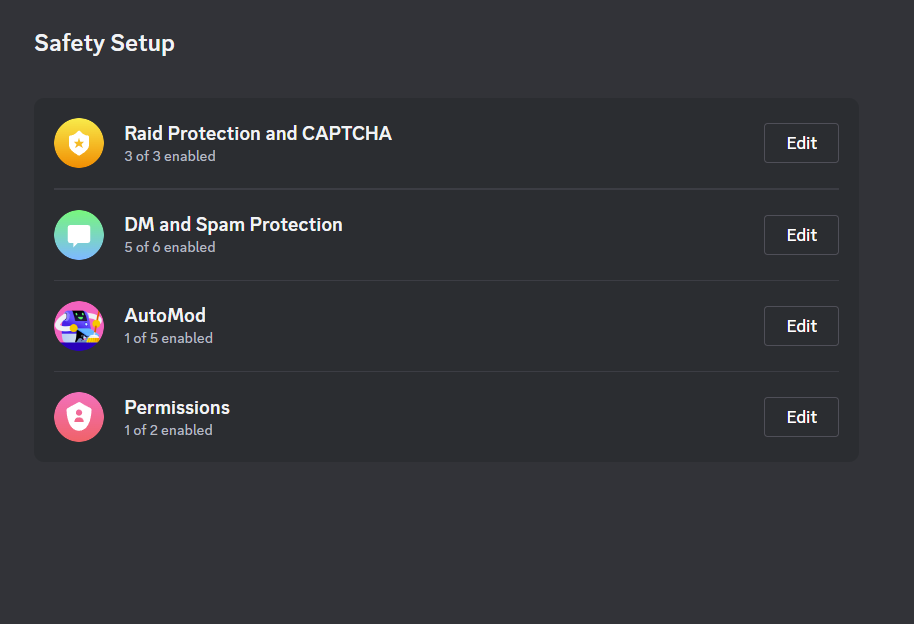
Onboarding also allows you to set maximized security for your server, which will help you protect it from spammers.
- Raid Protection and CAPTCHA: This will ask suspicious users for CAPTCHA verification to avoid spam members.
- DM and Spam Protection: Avoid suspicious users from sending direct messages to server members.
- AutoMod: Allows you to set different moderation rules to prevent members from spamming or sending invite links in the server chat.
- Permissions: Set 2FA for moderator actions, which will only allow members with 2FA enabled to use moderation commands, i.e., kick or ban.
- Default Channels: You can set default channels that will be visible to all the members. Members can add more channels to their list using customization questions.
- Customization Questions: Set different questions that will give users roles and grant access to specific channels.
- Server Guide: You can set a server guide and display the rules and server information.
How to Set Up Onboarding
- Go to Server Settings.
- Click on Onboarding under Community.
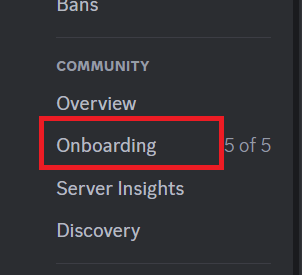
- On this page, click on Check it out.
- Under Safety Setup, click on Edit in each category and set things according to your requirements.
- Click on Next.

- On the next screen, set Default Channels by clicking on each channel.
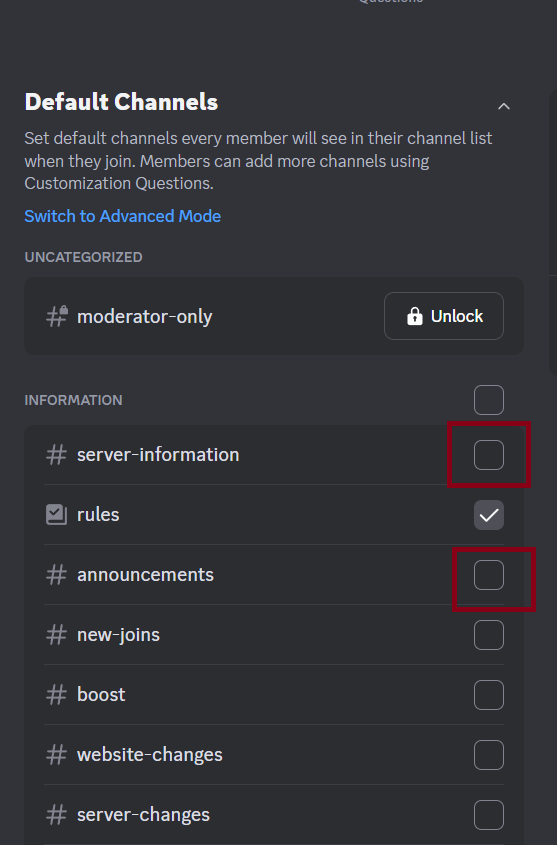
- Click on Next.
- In Questions, there are two types of questions: Pre-join Questions and Post-join Questions.
Pre-join Questions: These questions are asked before users join the server and are mainly used to assign channels and roles.
Post-join Questions: Members will be asked these questions after joining the server on the Channels & Roles page. - Click on Add a Question and fill in all the fields.
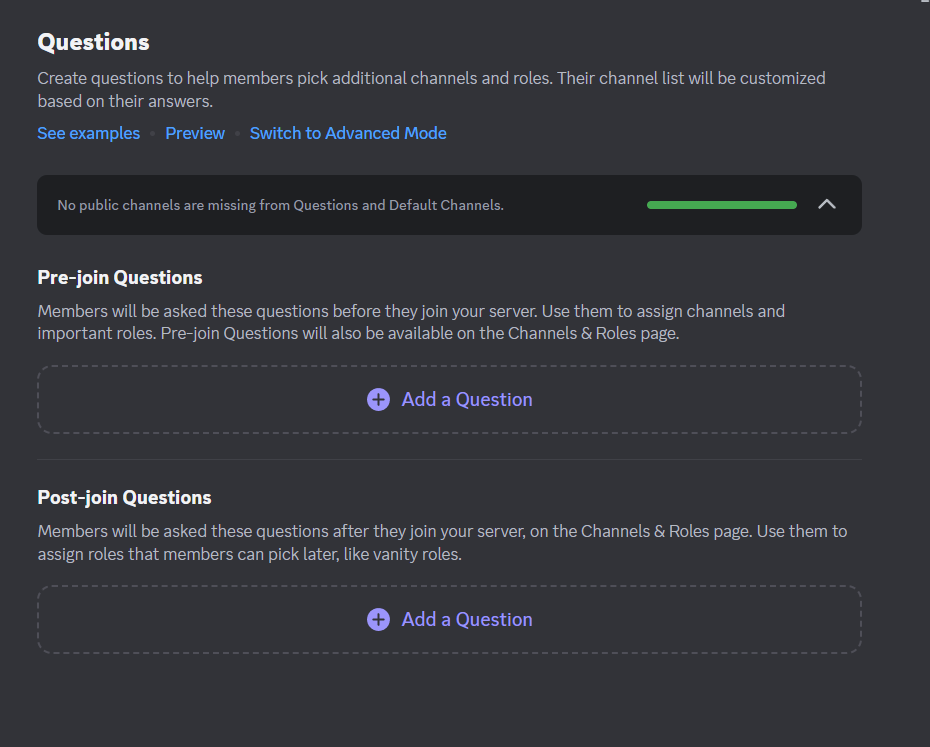
- Once you’ve added all the questions, click on Next.
- On the Welcome Sign page, click on Set Up Welcome Sign.
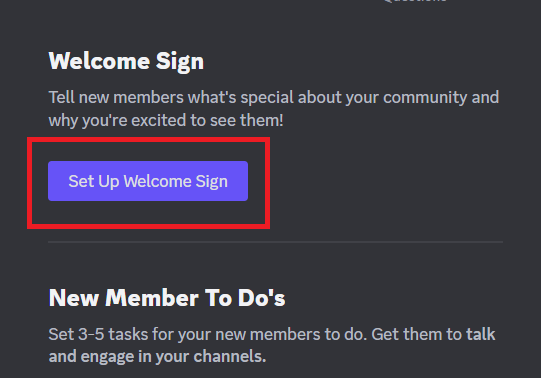
- Fill in all the fields.
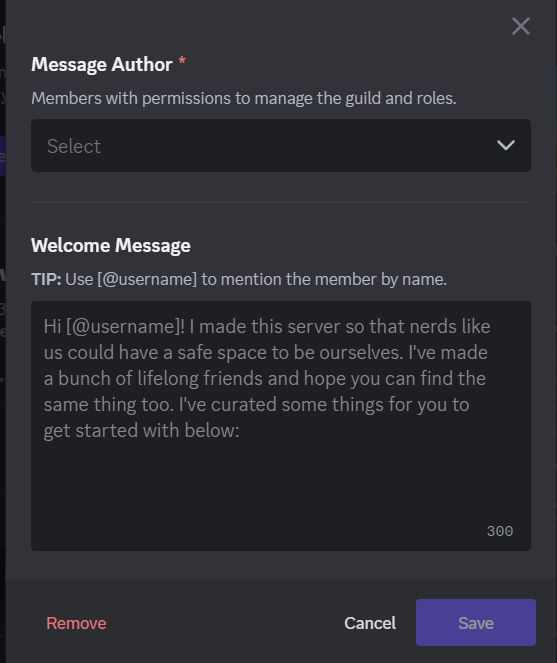
- Once done, click on Enable Onboarding and you’re good to go.

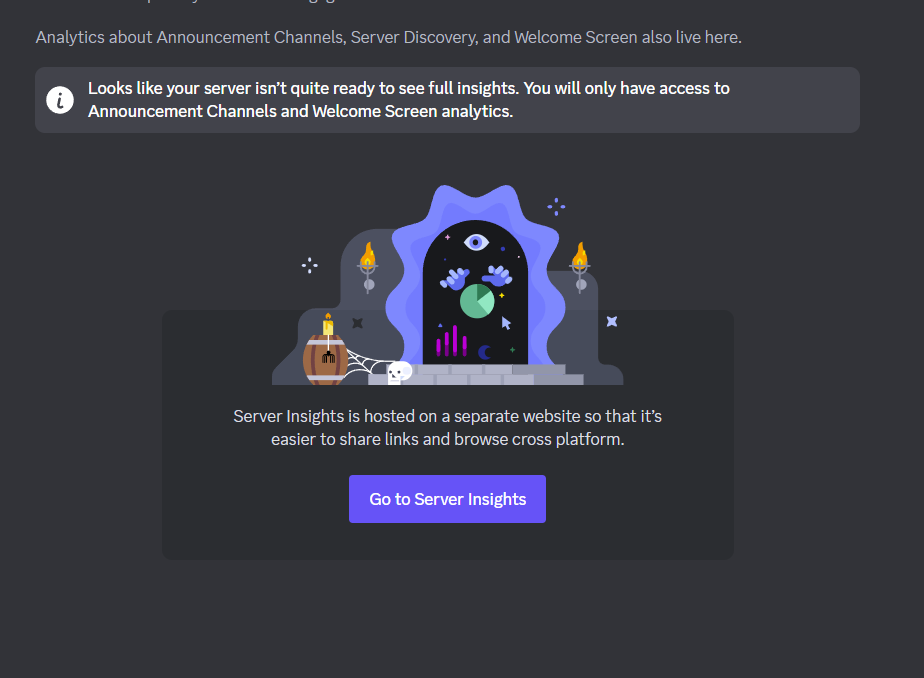
Server Insights
Server Insights are used to monitor the server’s performance. Server insights allow you to keep an eye on many factors, including growth and activation, engagement, audience, announcement channels, and the welcome screen.
- Go to Server Settings > Server Insights.

- Click on Get Insights.
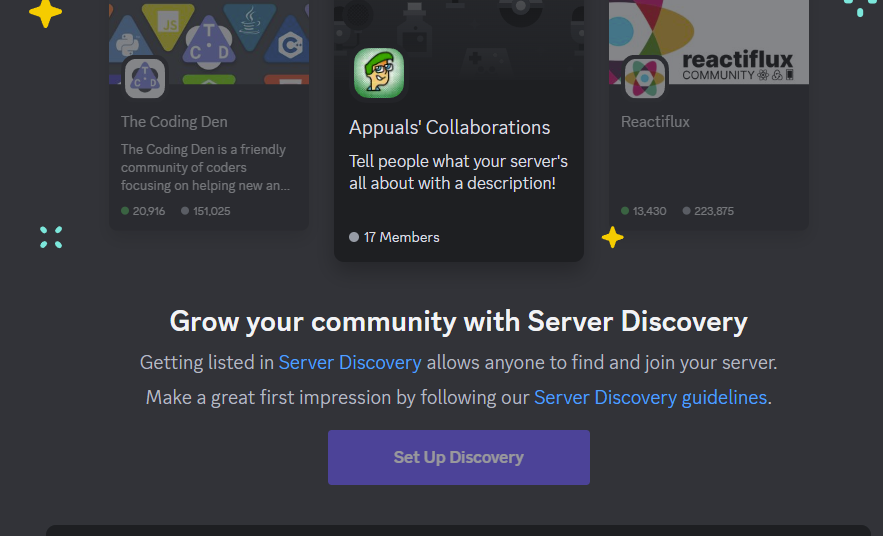
Discovery
Discovery will allow you to get your server listed in Discord’s Server Discovery. With Server Discovery, people will find and join your server. To enable Server Discovery, you need to have the following things in your server:
These requirements are implemented by Discord.
- Safe Environment: Follow Discord’s community guidelines.
- More Than 1,000 Members: The server must have 1,000 members to be eligible for Discovery.
- Server Too Young: Your server needs to be at least 8 weeks old.
- Waiting on Server Activity Metrics: Must have 200 members and an active chat.
- No Bad Words: Your server name, description, and channel names must be clean without any profanity.
- Enable 2FA requirement for moderators.
Once you’ve met all these requirements, go to Server Settings > Discovery.
Click on Set Up Discovery.
What’s your personal experience with Discord? Did you already create a Discord server? Let us know in the comment section below. Also, join our Discord server for instant technical help.