How to Clean Install Windows 10
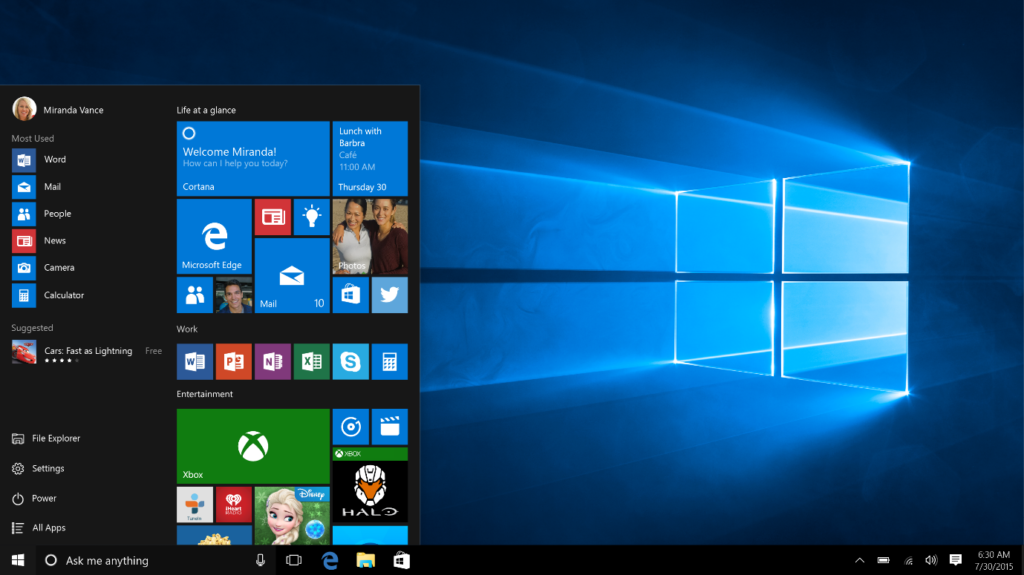
Windows 10 is the best combination of Windows 8 and Windows 7. The latest operating system, dubbed the ‘last’ version of Windows, is designed to make software use as easy on a traditional laptop as it is on a tablet.
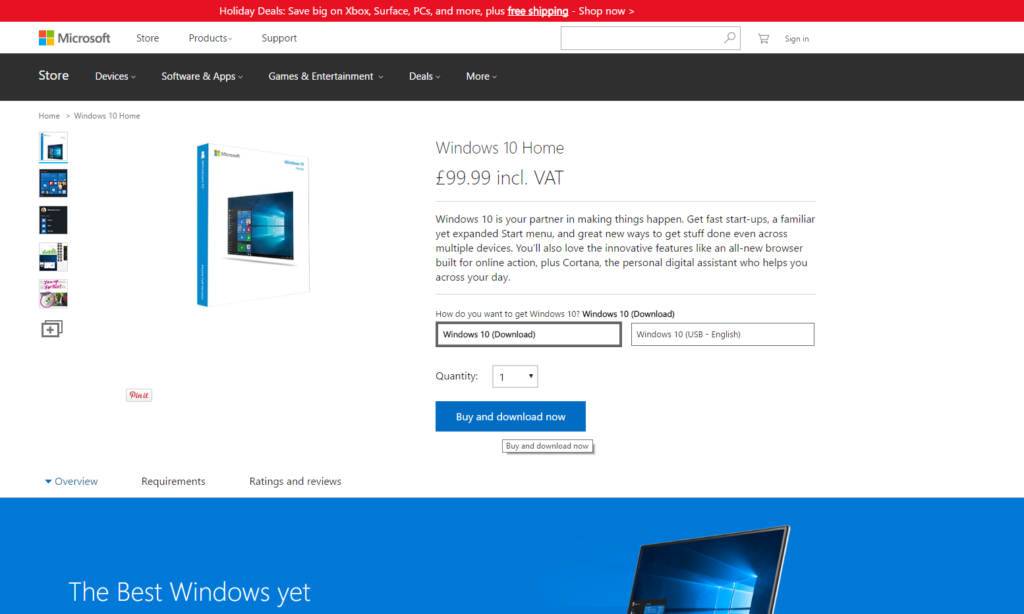
If you are yet to upgrade from Windows 8.1, you’ve unfortunately missed out on the free upgrade, which ended in July 2016. Now, you can upgrade to Windows 10 by purchasing a new computer with the operating system pre-loaded, or purchasing Windows 10 Home which costs £99.99 in the UK and $119.99 in the United States.

There are two ways to install Windows 10 onto your machine. The most popular and common method is by using the Windows Update system, which is typically straightforward and more accessible for the average user. Alternatively, you can download Windows 10 as an ISO file; this file functions like an application, providing instructions on how to proceed with the installation.
When you perform this OS update, you also have the option of performing a clean install, whereby all your settings are refreshed and all your files removed, giving you essentially a factory-fresh device. You can also choose to keep some settings and all of your files.
Download Windows 10
Head over to the Microsoft Store (www.microsoftstore.com) and take a look at all the Windows 10 options that are available. Choose the option that best suits you – the Home edition is best for the average user – and choose the ‘Buy and Download Now’ option. Follow the on-screen instructions and you will be asked what kind of install you would like to perform.

Basic Windows 10 Requirements
Before installing Windows 10, you will need to ensure that your PC has the specs to handle it. Windows is not incredibly demanding, meaning most modern PCs will be able to install the operating system.
Here are the specifications outlined by Microsoft:
- 1GB RAM for 32-bit Windows 10.
- 2GB RAM for 64-bit Windows 10.
- 1 GHz processor or quicker.
- Up to 20GB of available hard drive space.
- A screen resolution of 800 x 600 or higher.
- A DirectX 9 graphics processor complete with WDDM driver.
- Internet access – Ethernet or Wi-Fi.
- A Microsoft account.
Follow the on-screen instructions and your PC will turn off and on again multiple times. Ensure that your machine is plugged into a power source and is not disrupted during the update process.
Installing Via USB or DVD
If you have downloaded the Windows 10 .ISO file, but intend to install the software on another computer, you will be able to do so through a USB or DVD. You can purchase a USB pre-loaded with Windows 10 direct from Microsoft, but you can also make your own.
To begin, ensure you have a USB flash drive with a minimum of 4GB free space. Also, it’s advisable to clear all existing data from the drive – reformat it entirely and back up any files potentially stored on it.
If you’re using a DVD to install an operating system, ensure the computer has an optical drive. You will also need a Windows 10 .ISO file and the product key provided upon purchase, either online or in a retail store.
Creating Bootable Drives

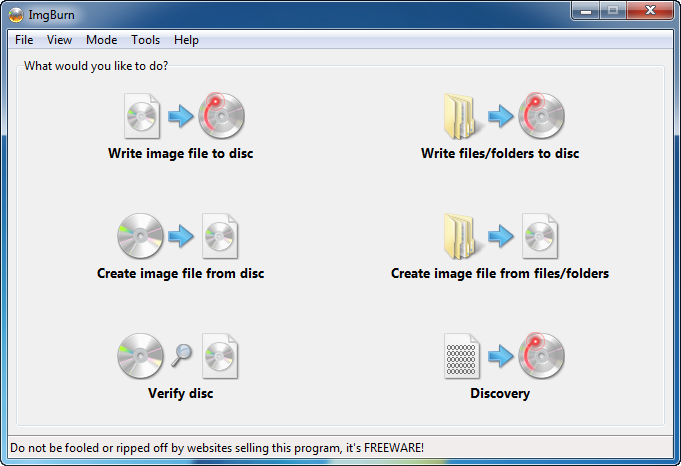
Once you have everything ready, you’ll need to use a piece of software that burns .ISO files to a disk. Popular software for this task includes ImgBurn for USB drives, and Rufus for DVDs. However, there are plenty of alternatives out there.
Insert your USB drive into your computer and load up your software. Follow the on-screen instructions to create a bootable disk, select the drive that you’re using, and select the .ISO file you have already downloaded. The process will then begin and it should take no longer than 10 or 15 minutes.
If you are using ImgBurn to create a bootable DVD, begin by loading up the software and inserting your disc. Next, choose the ‘write image file to disc’ option. Now, select your DVD drive as the destination from the drop-down menu. Finally, in the ‘source’ field, ensure that you have chosen the ISO file.
Installing from Your Drive
Now it comes to installing from your drive. Plug in your USB drive or insert your DVD, and turn off your computer. Now, turn your PC back on and as soon as the manufacturer’s logo appears on the screen, you will need to tap and hold either the F2 or F12 button to open up the boot menu in BIOS. Here you will be able to tell your PC where to boot from. Choose your USB or DVD bootable drive.

The Windows 10 installer will then appear, allowing you to install a fresh Windows operating system.