How to Change View in Outlook to Compact, Single or Preview?
Outlook has three preset views for the Inbox folder: Compact, Single, and Preview. Each of them offers a different layout and organizes your emails in a unique manner. The default view in Outlook is Compact, which users can easily change to Single or Preview.

Moreover, there are also options to customize the selected view. You can add or remove columns, group items, sort emails in ascending or descending order, change the formatting of columns, and more.
Besides, you can create a new custom view as well. Currently, Outlook has seven types of views or layouts from which you can choose. I’ll start with a brief overview of the three preset views and then move on to the changing process. Afterward, we’ll see how to customize, create, or delete a view in Outlook.
Present Views in Outlook.
After installing Outlook, there are three main views you can apply to your inbox. By default, Compact will be set as the primary view, but you can always change it. The following is a short introduction to the three views.
1. Compact View (Default).
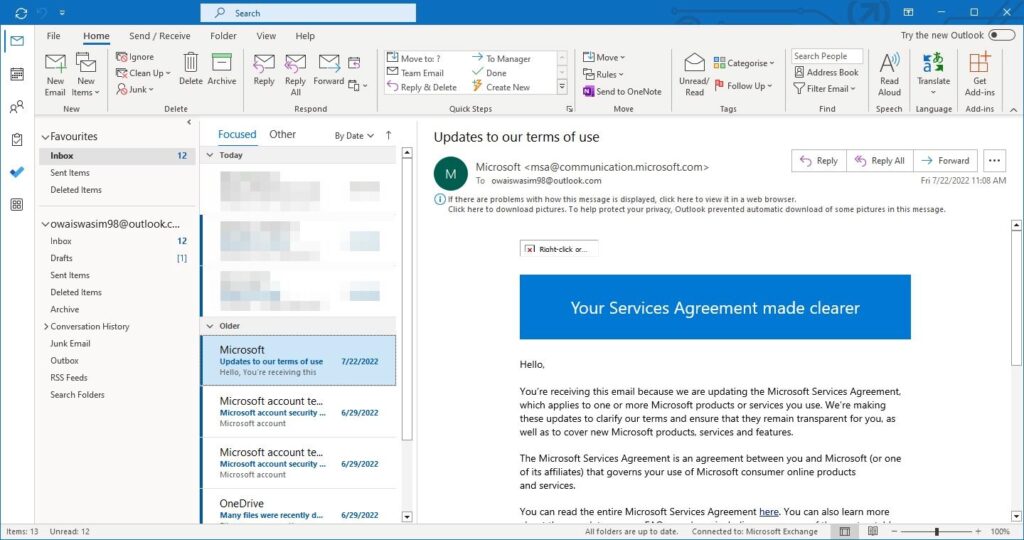
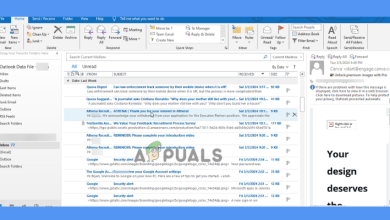
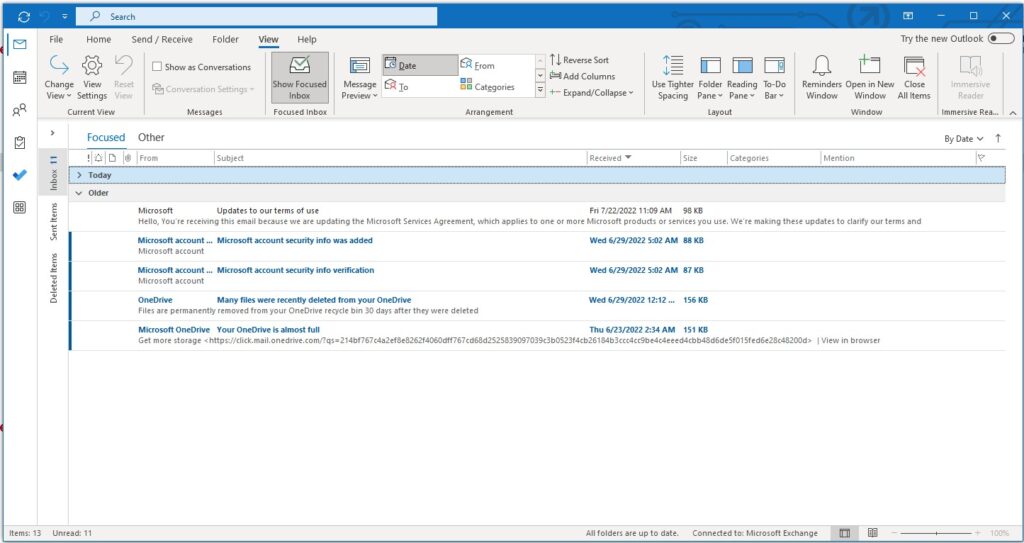
The Compact layout displays the list of emails along with the reading pane. In this layout, each email displays four items: the sender’s name, subject line, a brief preview text of the email, and the received date.
2. Single View.
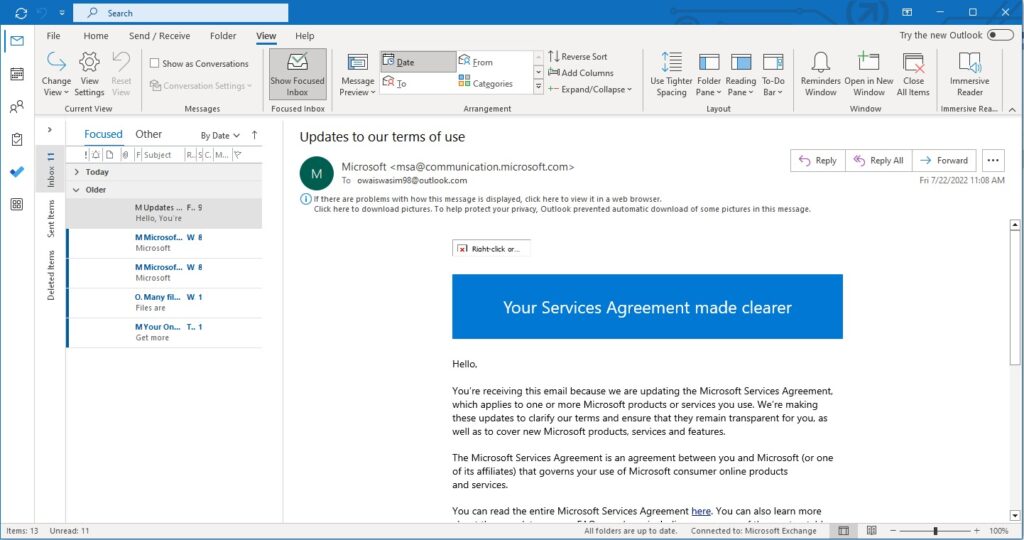
The single layout displays even more information than the compact view. In this layout, the email is divided into two columns. The first one displays the sender’s name, subject, attachments (if any), received date, size, and more. Similarly, the second column allows you to read a preview of the message. There is also a reading pane on the right.
3. Preview the view.
The Preview view is the same as the Single; however, it shows the information and preview in wider columns and has no reading pane. The Single and Preview layouts work well if you have a wider screen.
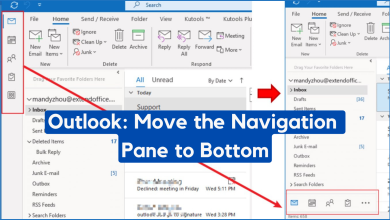
How to change the view in Outlook.
Changing the view in Outlook is really simple and only requires three simple steps. When you are changing the layout, Compact will be selected. So, make sure to select either the Preview or single layout to notice the change.
Here’s how to do that:
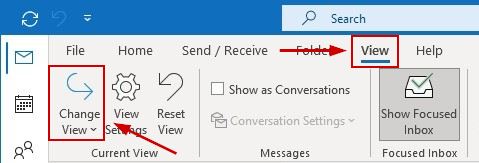
- Select the View tab from the top menu bar.
- Click on Change View located at the start of the subsequent menu bar.
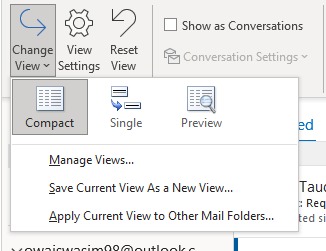
- Now click on the view that you want to set.
Once done, you will have a new-looking inbox. To shift back to the Compact view, follow the same steps as above.
How to Customize a View in Outlook.
Outlook allows you to customize certain aspects of a view. Therefore, if you do not like the default layout, there are options to make adjustments according to your preferences.
Here’s how to access the customization settings:
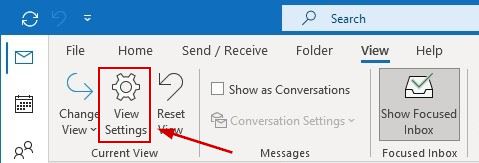
- Go to the View tab > View Settings.
- From the Advanced View Settings, choose any of the available customization options.
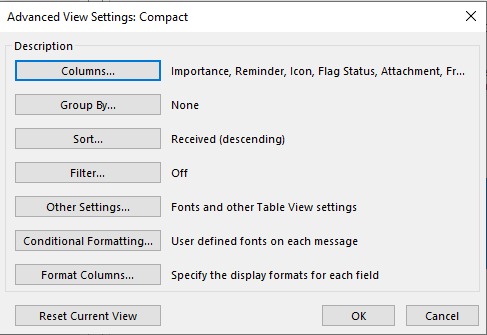
- Adjust them to your liking and save the settings.
These are all the customization options in Outlook:
- Columns: Users can add or remove columns, as well as rearrange them.
- Group By: Users can group the items in any field in either an ascending or descending sequence.
- Sort: Users can group items in any field in either an ascending or descending sequence.
- Filter: This allows you to filter the items in order to find the specific emails you are searching for.
- Other Settings: Users can change the font and its size for both columns and rows. In addition, they can select the grid line style, preview the font, choose the location of the reading pane, and access some more options.
- Conditional Formatting: This feature enables you to filter emails more effectively. For instance, if a user wants to view only expired or overdue emails, conditional formatting will display just those. Additionally, it can allow you to see all the emails from a specific sender.
- Format Columns: Users can modify the columns by changing their colors, fonts, widths, or alignments.
How to Create a New View in Outlook.
Apart from changing and customizing the preset views in Outlook, there is also an option to create your own view from scratch. Outlook offers seven view layouts from which to choose.
But before looking at them, here is how to create a new view.
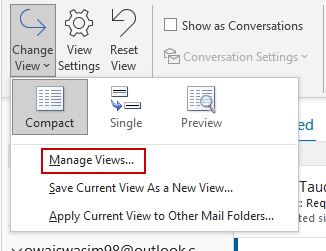
- Navigate to View > Change View.
- Click on Manage Views.
- Click New on the following screen.
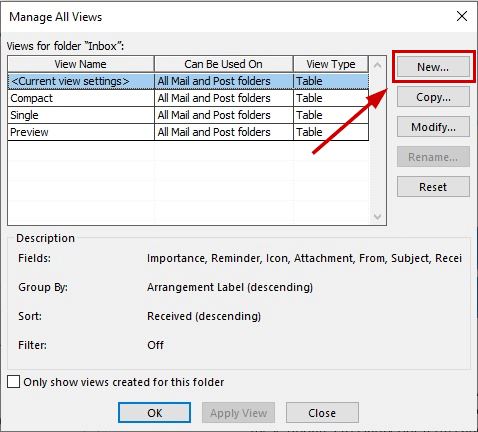
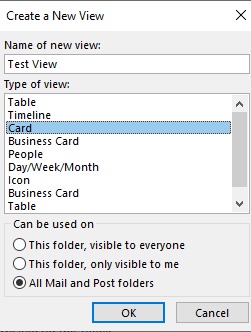
- Insert the name, choose the type of view that you want, and select where the view can be used.
- Click OK.
- Next, modify your view in the Advanced View Settings screen and click OK.

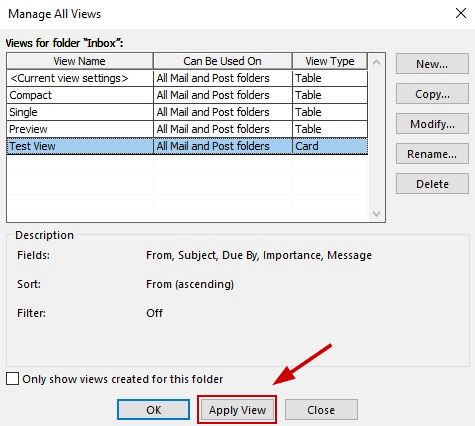
- Finally, click on Apply View to use the new layout instantly.
Here’s a brief run-through of the types of layouts you can select in Outlook for your new view:
- Table: This displays the emails in rows and columns. All the preset views follow this layout.
- Timeline: It displays the items that were sent or received over a specific period of time. It is helpful to organize emails about a specific project in one place.
- Card: This view displays some details of your items along with their subjects.
- Business Card: This displays more information than the Card view. You can see the name, photo, email, and other details of your contacts.
- People: This is similar to the Card and Business views, but it shows fewer details. Here, you will only see the names and photos of your contacts.
- Day/Week/Month: This format is primarily utilized in calendar folders to exhibit the items within your calendar in a grid style. In this view, you can effortlessly observe the forthcoming events.
- Icon: This view simply displays the items along with their icons and subjects.
How to Delete a Custom View in Outlook.
If you want to delete the custom view that you have made, please follow the steps below.
- Go to the View tab and navigate to Change View > Manage Views.
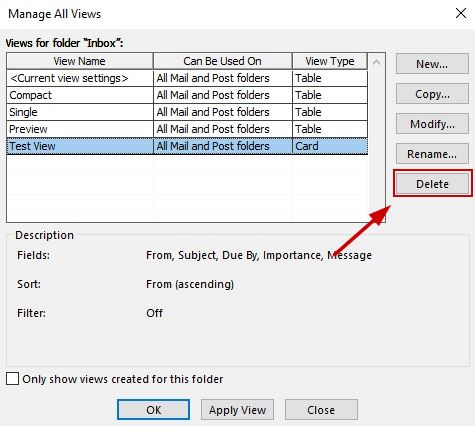
- In the Manage All Views dialog box, select the view that you want to remove.
- Click on Delete and confirm your choice again.
- Click OK.
- Now select the view that you want to use and click Apply View.