How to Set Shortcut to Change Keyboard Layout / Language in Windows?
Sometimes users will be using multiple languages in their writing on Windows 10. The text can be totally in a different language or just some special characters from other languages. This is why users need to use different keyboard layouts to use those characters for their text. Now we all know that Windows provides multiple keyboard layouts for users to add. However, changing them without any shortcuts will be time-consuming and pretty annoying. There are some default shortcut keys that users can use and some can set their own shortcut keys for each keyboard layout differently.
In this article, we have included the method for showing the default shortcuts for switching between keyboard layouts. Also, a method through which users can set custom hotkeys for each keyboard layout. In addition to that, we have included a method through which users can add and remove a keyboard layout on their Windows 10.
Default Shortcuts for Changing Keyboard Layout
Windows already have default shortcuts for most of the options. Changing the keyboard layout from one language to another can be done easily by pressing a few shortcut keys. You must add a keyboard layout before changing from one to another. The below shortcuts only work if there is more than one keyboard layout on your system.
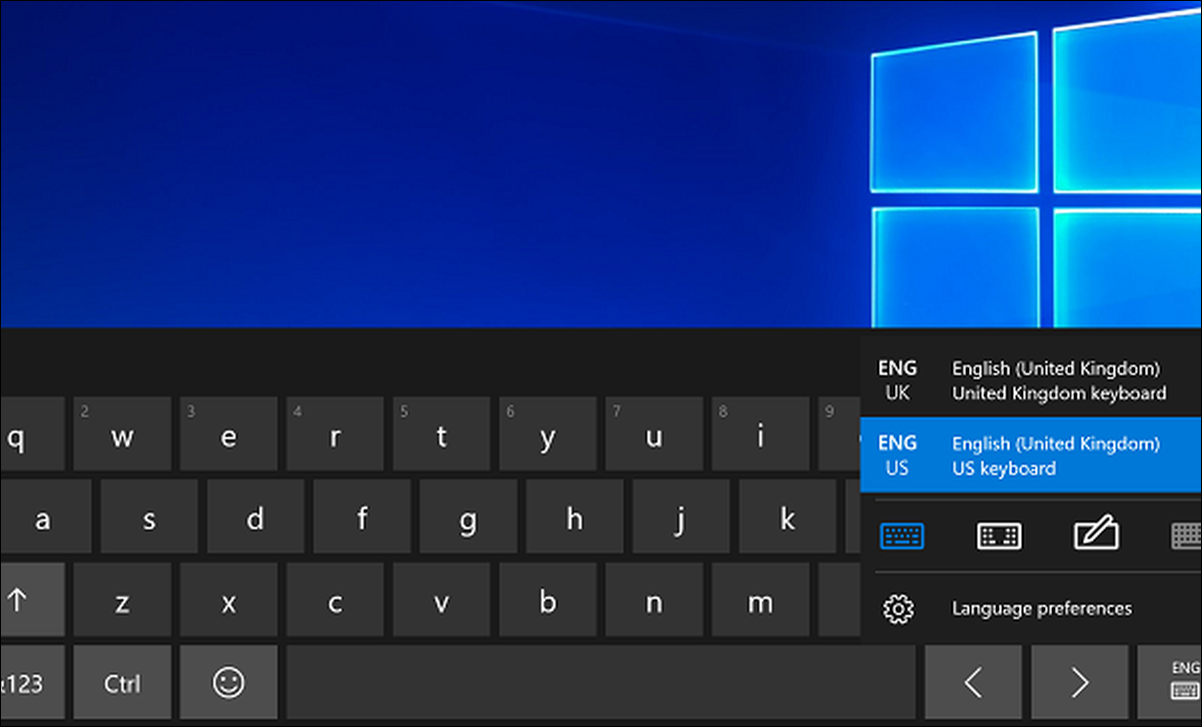
- Click on the keyboard layout in the notification area of the taskbar and select the layout you want.
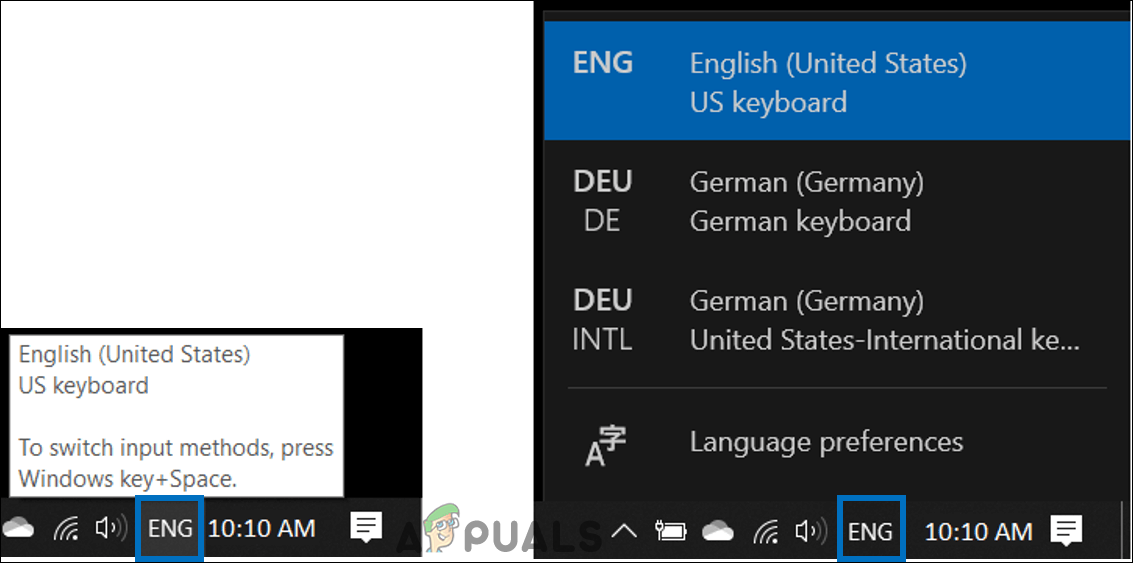
Changing keyboard layouts through taskbar - Press the LeftAlt+Shift keys to change the keyboard layout from one to another.
Note: You can also try using the Win+Space keys to change the keyboard layout.
Setting Up Shortcuts for Keyboard Layout
Users can set up shortcuts for each keyboard layout on their system. If a user is using multiple keyboard layouts for different languages, then the user can set a specific shortcut for each one of them. This setting was easily accessible through the control panel before, but now it can be found in the newer Windows Settings. Users can also change the default switching shortcut for keyboard layouts. Follow the below steps to change the hotkeys for keyboard layouts:
- Hold the Windows key and press I to open Windows Settings. Now head over to the Devices setting.
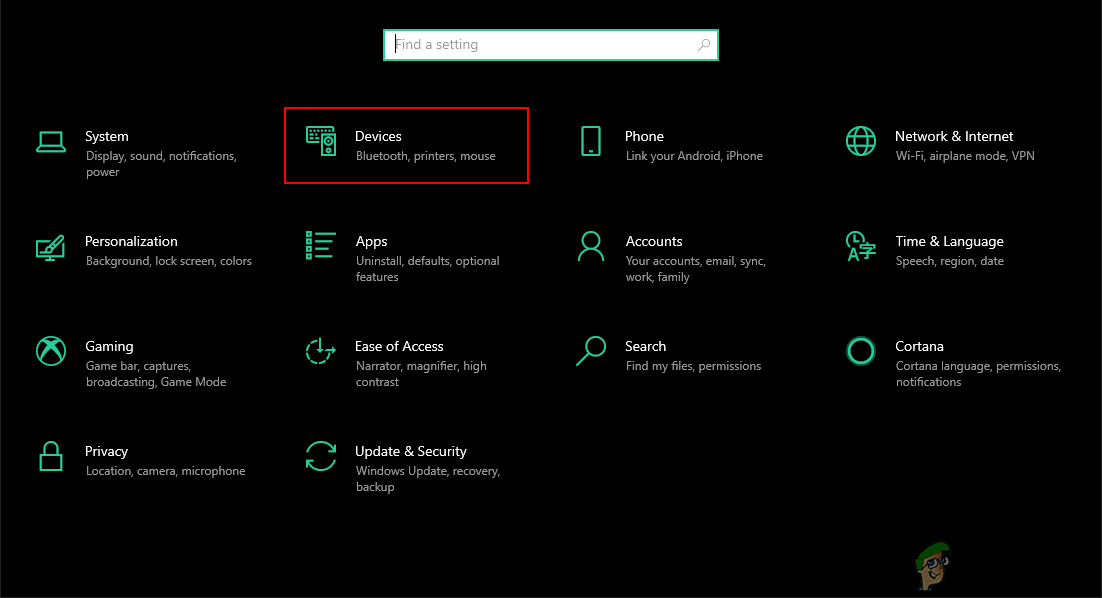
Opening Devices setting in the Windows Settings - On the left pane of devices, click on the Typing option. Now scroll down and click on the Advanced Keyboard Settings option.
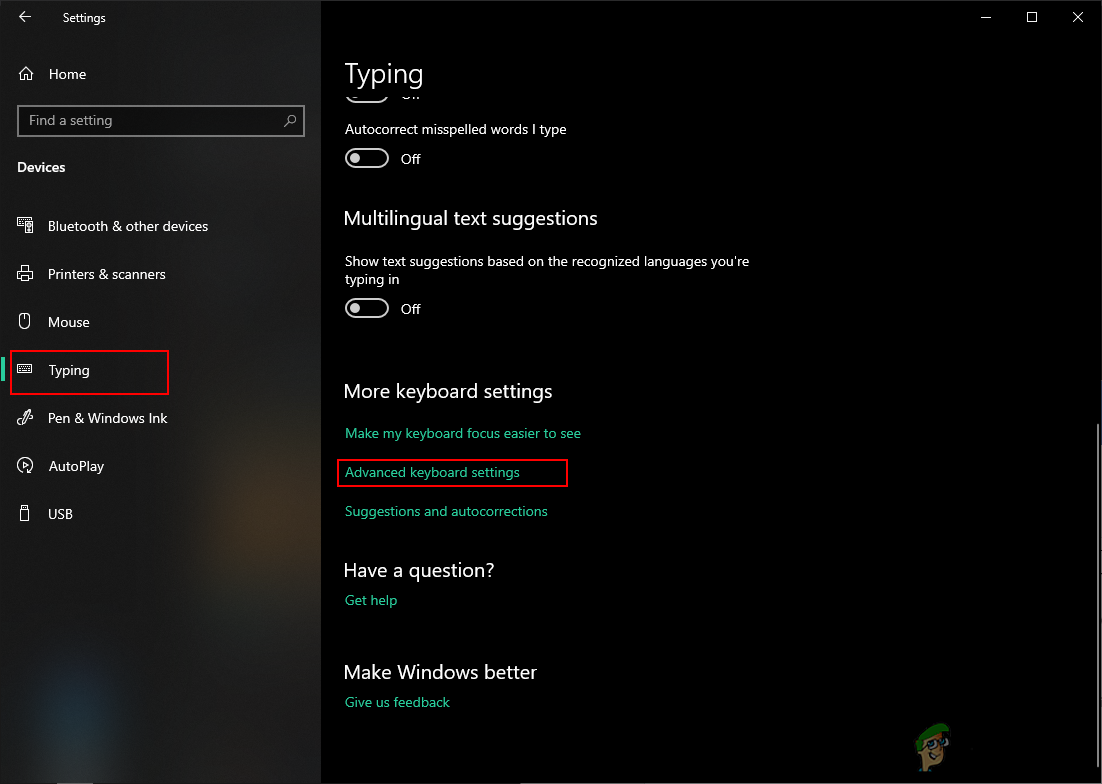
Opening Advanced Keyboard Settings - In advanced keyboard settings, click on the Input language hotkeys link.
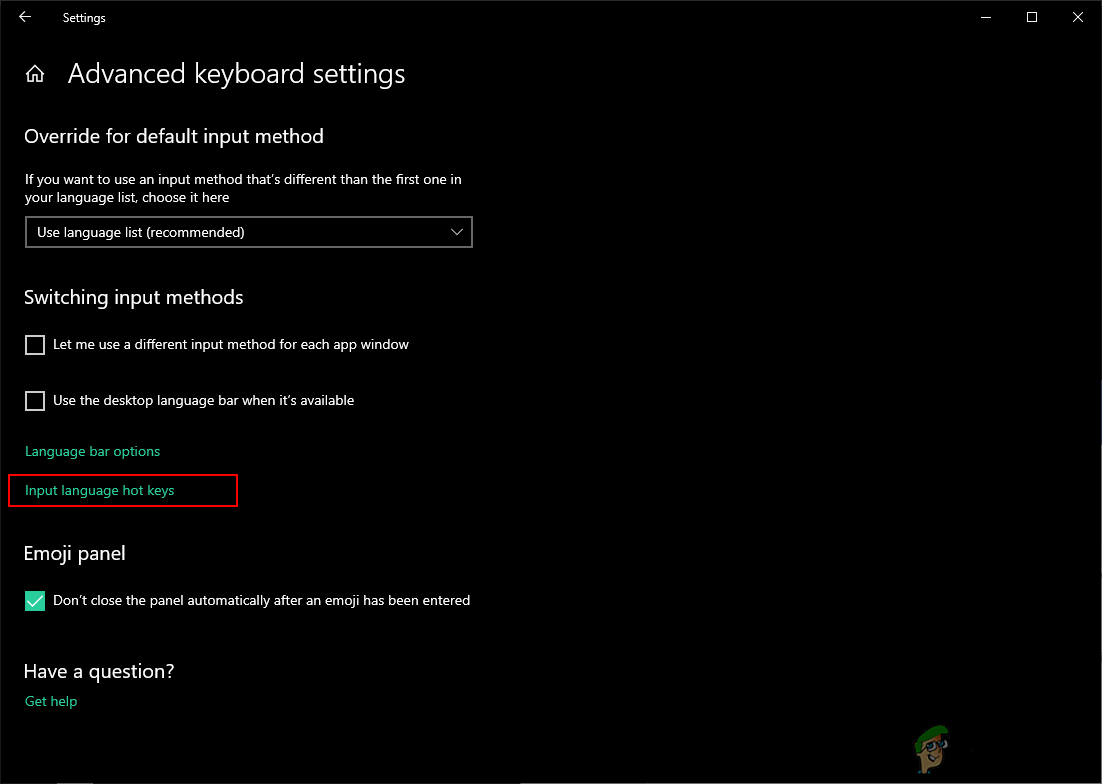
Clicking on input language hotkeys - Here you can set shortcut keys for any of the languages that you want. Select the language and click on the Change Key Sequence button.
Note: You can also change the default shortcut for “Between input languages“.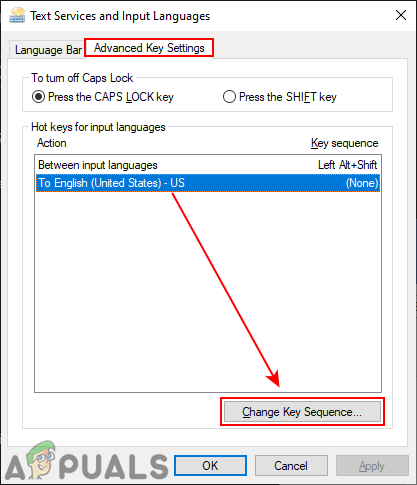
Selecting a specific keyboard layout to add a shortcut for it - Tick on the Enable Key Sequence and choose the shortcut keys below. Then press the Ok button for both opened windows to apply the changes.
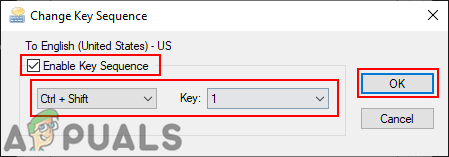
Setting a new shortcut key
Additional: How to Add/Remove Keyboard Layout
The default shortcuts and the keyboard layout icon in the taskbar will only work if a user has more than one keyboard layout on their system. By default, the Windows will only have one English keyboard layout preinstalled. However, you can install different keyboard layouts for different languages. This can also be done through the Windows Settings. You can add and remove keyboard layouts by following the below steps:
- Press the Window + I key to open the Windows Settings. Now go to the Time & Language setting.

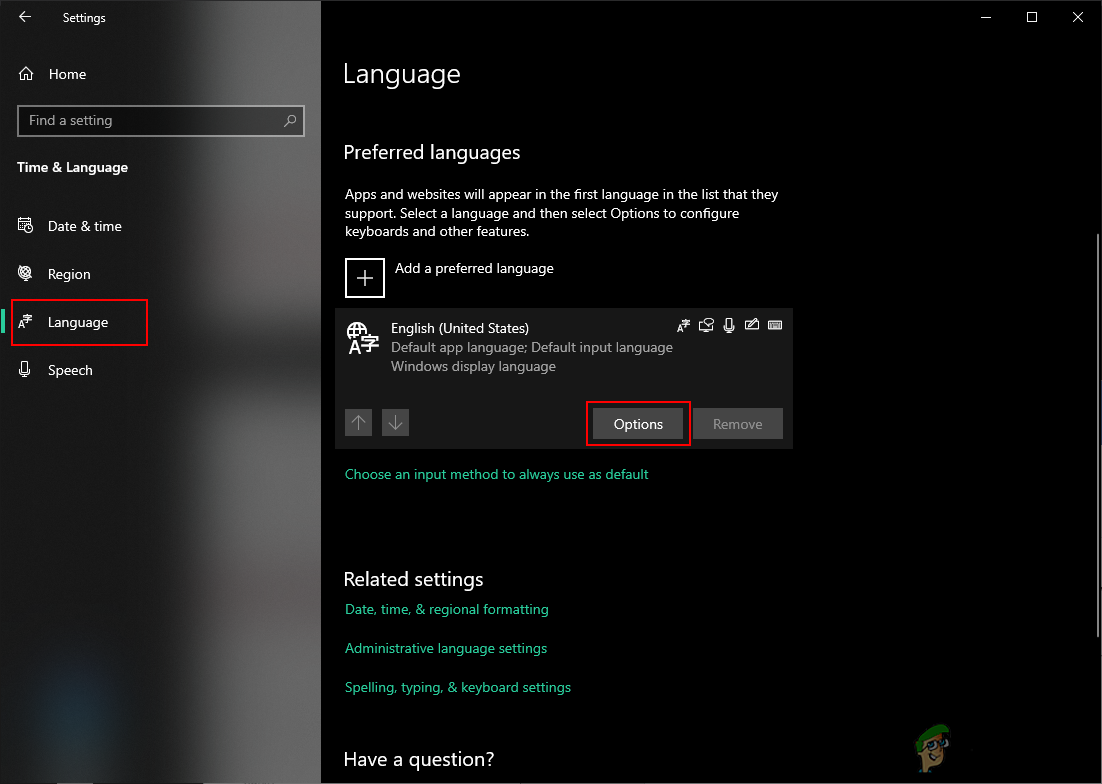
Opening Time & Language settings - Click on the Language on the left pane of the window. Click on your default language under preferred languages. Now click on the Options button.
Opening options of the default language - Next is to click on the Add a keyboard button and select the language that you want to add for your keyboard.
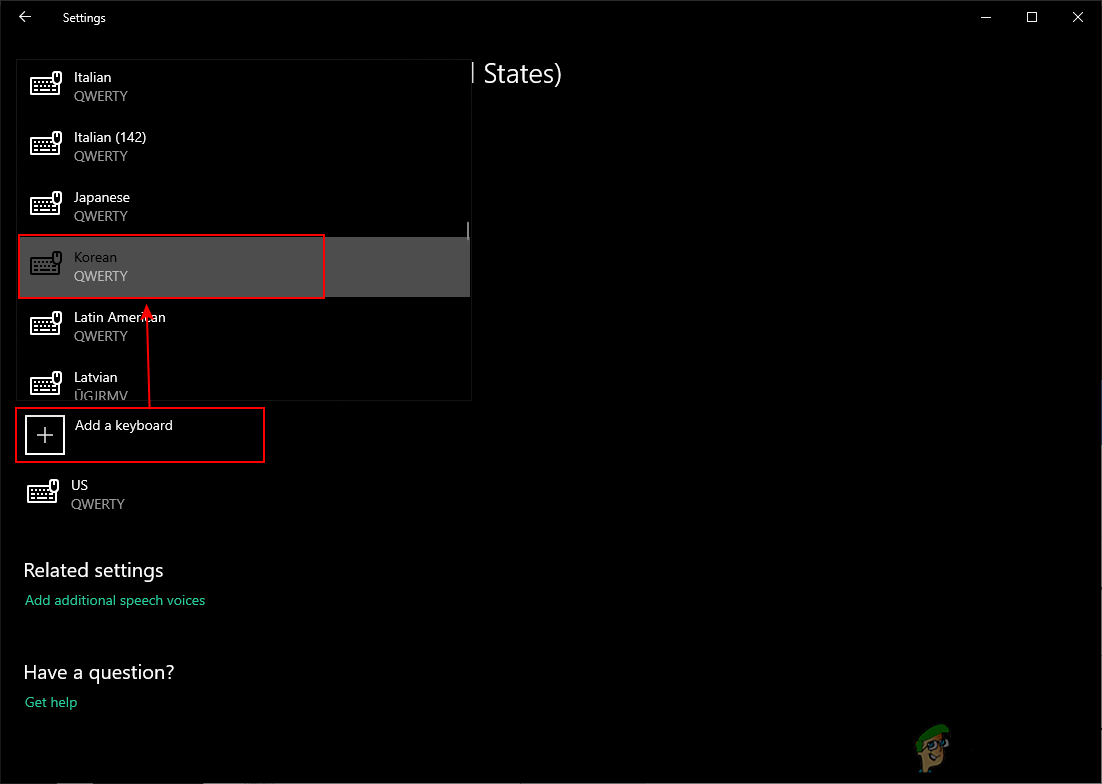
Adding a new keyboard - Once you are done, a new keyboard layout will be added to your keyboard layouts.
- To delete the keyboard layout, go to the same Add a keyboard window. Select the keyboard and click on the Remove button.
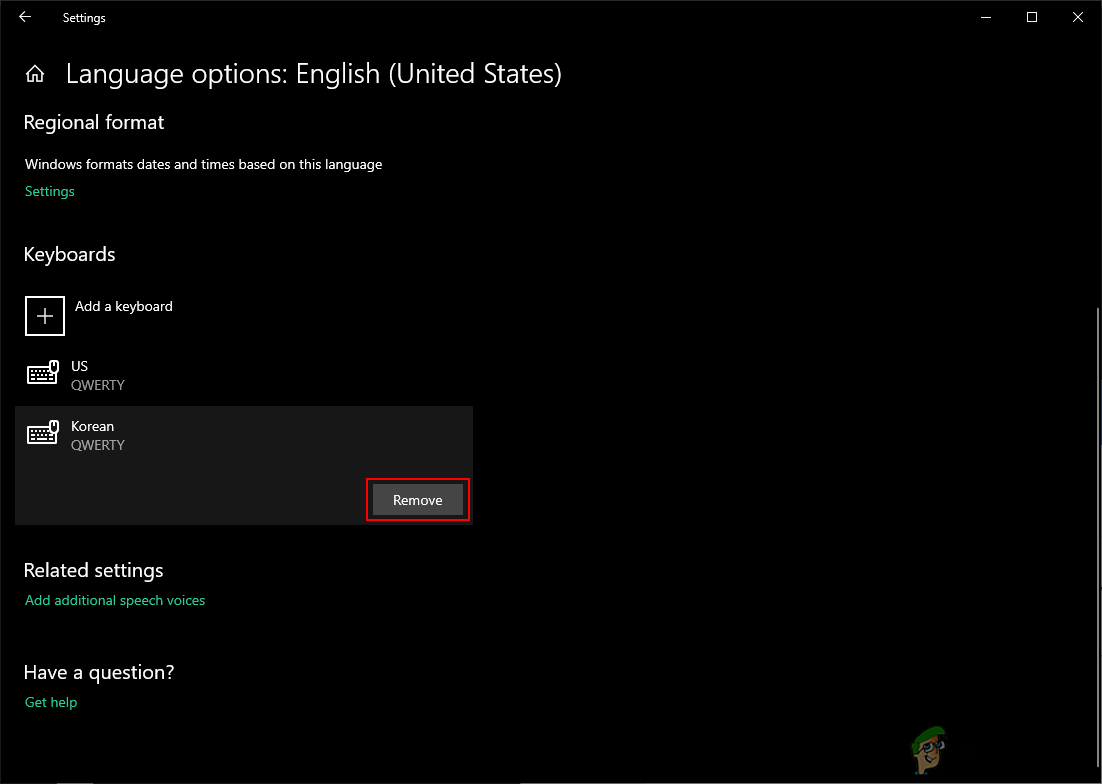
Removing a keyboard


