How to Hide Specific Drives in File Explorer on Windows 10?
The Windows operating system provides a feature through which users can hide files and folders on their system. Hiding a large sum of files will take much time and it is still a common process that every user knows about. If the user wants to hide a large number of files on a drive, then it’s better to completely hide the whole drive. Most of the users are unaware of hidden drives on the system, they will try to check hidden files and folders but not drives. In this article, we will show all the possible methods through which you can hide the drives in your File Explorer.
Hiding Specific Drives in My Computer
There are several reasons that a user will want to hide a drive from other users. It can be due to personal data or part of parental controls. Most users are unaware of access drives other than double-click on the icon in the File Explorer. There are several methods through which you can hide specific drives on your system. This will not restrict the access of the drives, but only hide the icon from the file explorer. Users can still access the hidden drives by using any other possible method for accessing drives.
Method 1: Hiding Drives through the Disk Management
Disk Management is a Windows utility through which you can view and manage disk drives. It is used to set up new drives and extend or shrink the existing drives. It also provides options for changing drive letters. By removing the drive letter, you can hide the drive from File Explorer. However, the drive can still be accessed through other methods. You can also use the mount point option and making the folder a hidden item.
- Press the Windows + R keys together to open a Run dialog. Then type “diskmgmt.msc” in it and press the Enter key to open the Disk Management.
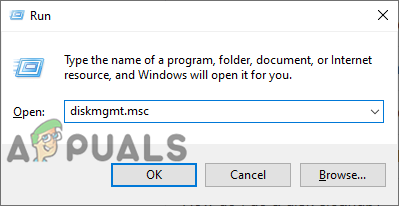
Opening disk management - Now right-click on the drive that you want to hide in file explorer and choose the “Change Drive Letter and Paths” option.
- Click on the Remove button to delete the drive letter.

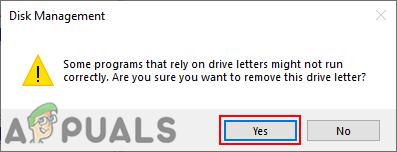
Removing letter for a drive - For confirmation, click on the Yes button. This will remove the letter from the drive and it’ll not show in File Explorer anymore.
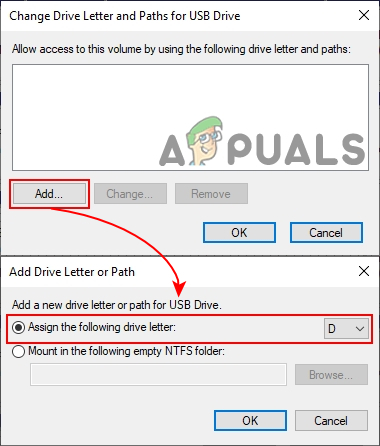
Confirming the operation - To Unhide the drive, go to the Change Drive Letter and Paths option again. Click on the Add button, select the drive for it and click the Ok button. This will bring back the drive to your File Explorer.
Unhiding drive
Method 2: Hiding Drives through the Local Group Policy Editor
The Local Group Policy is a Windows feature that allows users to manage and configure the Windows operating system. This tool can be useful for both home users and network administrators. There are many settings in the Group Policy Editor that aren’t possible with Control Panel and Settings app.
If you are using the Windows Home Edition, then skip this method because the Local Group Policy Editor isn’t available in the Windows Home Editions.
Note: The Local Group Policy Editor setting will have limited options for drives to hide. Users cannot manually add the drive letter in this method to hide it.
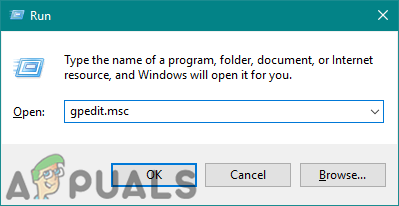
- Press the Windows + R keys on your keyboard to open the Run dialog. Now type “gpedit.msc” and press the Enter key, it will open the Local Group Policy Editor. If User Account Control prompt appears, click on the Yes button.
Opening Local Group Policy Editor - In the User category of the Group Policy Editor, navigate to the following setting:
User Configuration\Administrative Templates\Windows Components\File Explorer\

Opening the setting - Double-click on the setting named “Hide these specified drives in My Computer” and it will open in another window. Now change the toggle option from the Not Configured to Enabled. Click on the drop-down menu and choose one of the listed options to hide the drives.
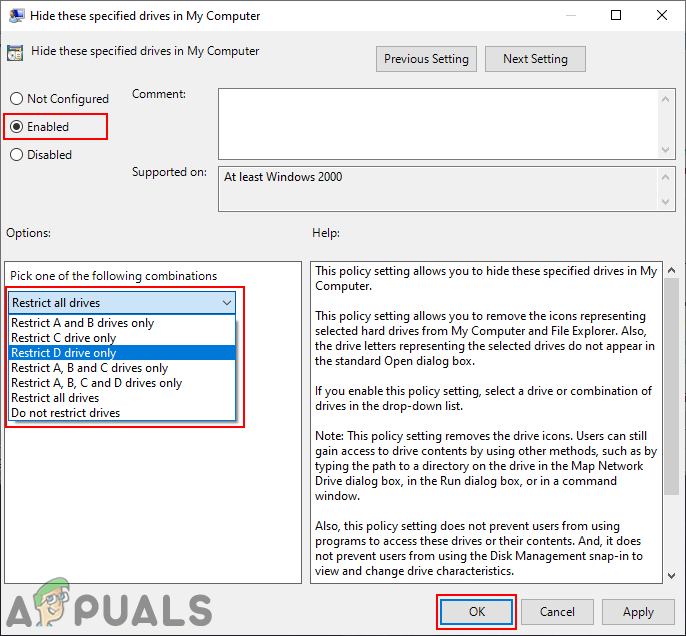
Enabling the settings - Click the Apply/Ok button to save the changes in your Group Policy Editor. Now the selected drives will be hidden from the My Computer (File Explorer).
- To Unhide the drives back again, simply change the toggle option in step 3 back to the Not Configured or Disabled option.
Method 3: Hiding Drives through the Registry Editor
The Windows Registry is a hierarchical database in the Windows operating system that stores low-level settings. Unlike the Group Policy Editor, the Registry Editor will not have all settings available by default. The users are required to create the missing key/value manually by themselves. It is always recommended to create a backup of the registry before making any changes because a wrong change can cause issues for the operating system.
Note: You can add the value in both the Current User (HKEY_CURRENT_USER) or All Users (HKEY_LOCAL_MACHINE). The path will be the same, but the hive will be different.
- Hold the Windows key and press R on your keyboard to open a Run dialog. In the Run box, type “regedit” and press the Enter key, it will open the Registry Editor. The UAC (User Account Control) prompt will appear, then choose the Yes option for it.
Opening the Registry Editor - In the User hive of the Registry Editor, navigate to the following key:
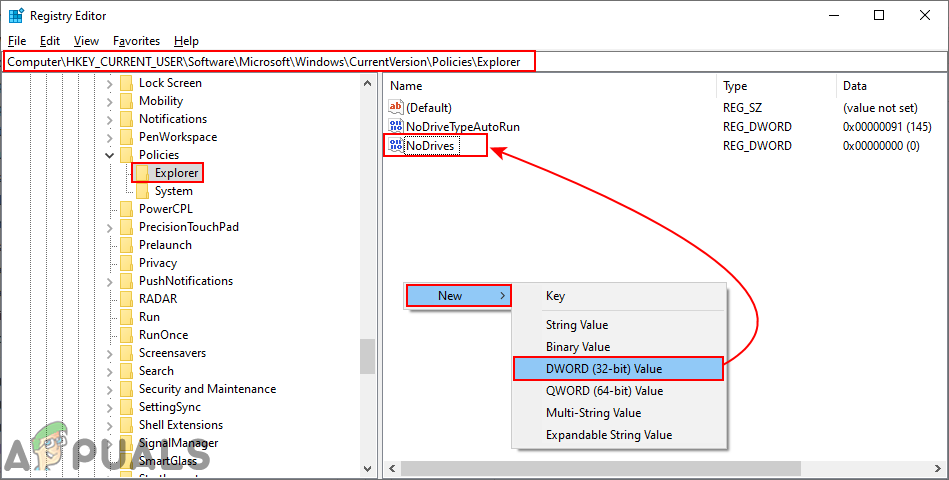
HKEY_CURRENT_USER\Software\Microsoft\Windows\CurrentVersion\Policies\Explorer
- In the Explorer key, right-click and choose New > DWORD (32-bit) Value option. Name the value as NoDrives and press the Enter key.
Creating a new value - Double-click on the NoDrives value, change the Value Data, and Base of the value to Decimal.
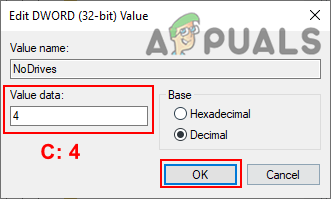
Hiding C drive Note: In the screenshot, we are hiding the C drive.
- For the value data, you can use these decimal numbers as reference to hide specific drives: A: 1, B: 2, C: 4, D: 8, E: 16, F: 32, G: 64, H: 128, I: 256, J: 512, K: 1024, L: 2048, M: 4096, N: 8192, O: 16384, P: 32768, Q: 65536, R: 131072, S: 262144, T: 524288, U: 1048576, V: 2097152, W: 4194304, X: 8388608, Y: 16777216, Z: 33554432, ALL: 67108863.
- To add multiple drives in this value, you can get a sum of the values. Hiding the drive D and F will have a decimal value of 40.
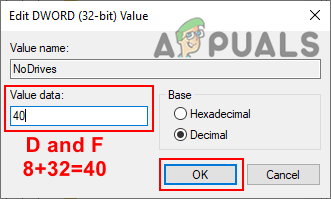
Hiding D and F drives - Once all the configurations are made in the Registry Editor, make sure to restart the computer to see the changes in your system.
- To Unhide the drives back, simply put the value data 0 or delete the value from the Registry Editor.
Method 4: Hiding Drives through the Command Prompt
The command prompt is the default command-line interpreter for the Windows operating system. It can be used to perform advanced administrative functions in the system. This method is similar to the disk management method and it also removes the drive letter. This method will require a few of the commands from the user to hide the drive from the file explorer.
- Search for CMD in the Windows search feature, right-click on it and choose Run as administrator. Click on the Yes button for UAC (User Account Control) prompt.
Running Command Prompt as an Admin - Type the command “diskpart” in CMD and press the Enter key.
- Now to list all volumes, type “list volume” and press the Enter key.
- Select the volume by typing “select volume 6” in CMD. The volume number will be different for you depending on which drive you are hiding.

Select volume in Diskpart - Now type the command “remove” and press Enter to remove the letter from the drive.
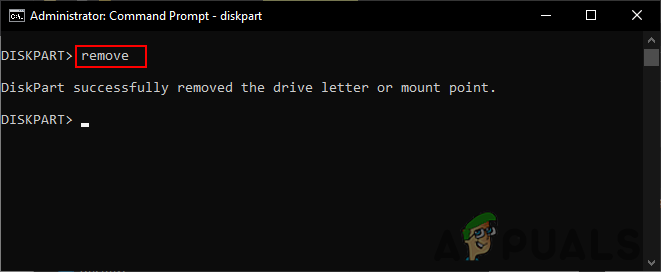
Removing letter from drive - If you want to Unhide the drive, simply type the command “assign” after step 4 and it will bring back the drive.
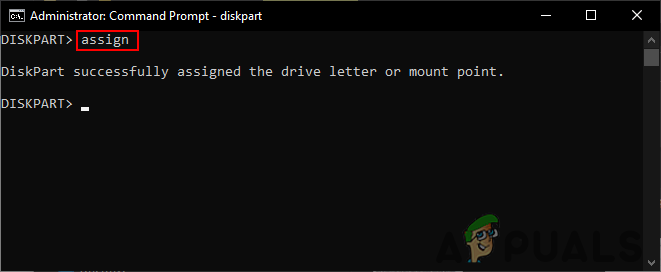
Assigning a letter to a drive
Method 5: Hiding Drives through the EaseUS Partition Master
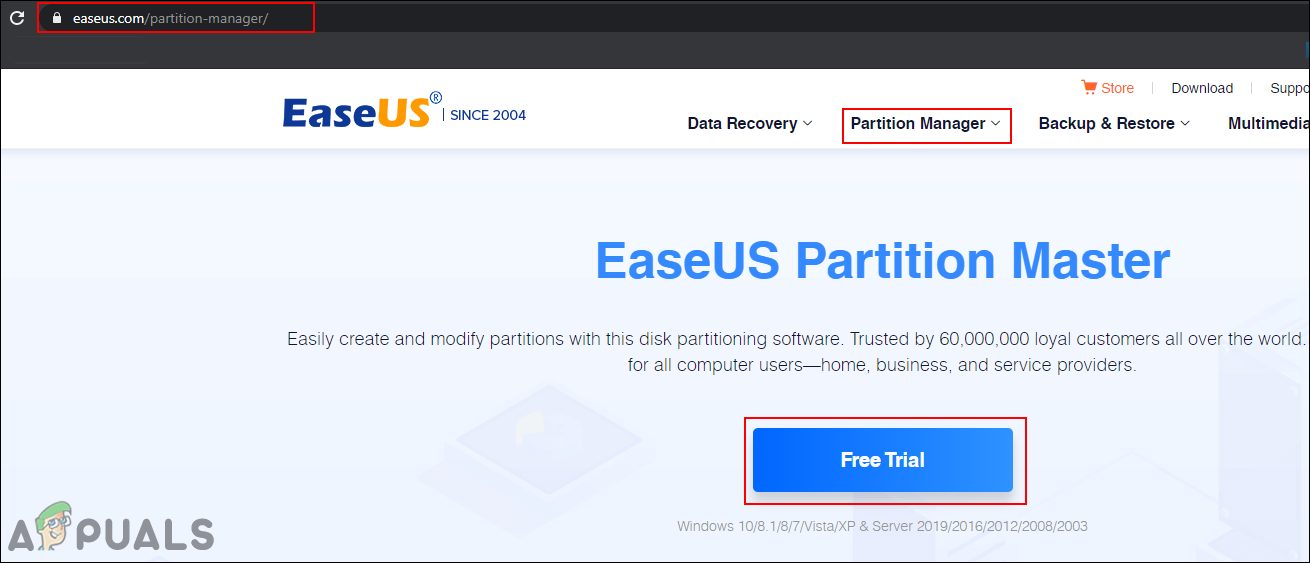
Partition Manager is used by an administrator to create, delete, or resize partitions on your system. There are many third-party partition managers available on the internet. Every partition manager will have different features and reliability. In this method, we will be using the EaseUS Partition Master to demonstrate, but you can download any one of the partition managers you prefer.
- Open your browser and go to the EaseUS Partition Master page to download it. Install it on your system by following the provided instructions.
Downloading EaseUS Partition Master - Now open the EaseUS Partition Master, right-click on the drive that you want to hide, and choose the Hide option in the context menu. Click the Ok button in the confirmation dialog.
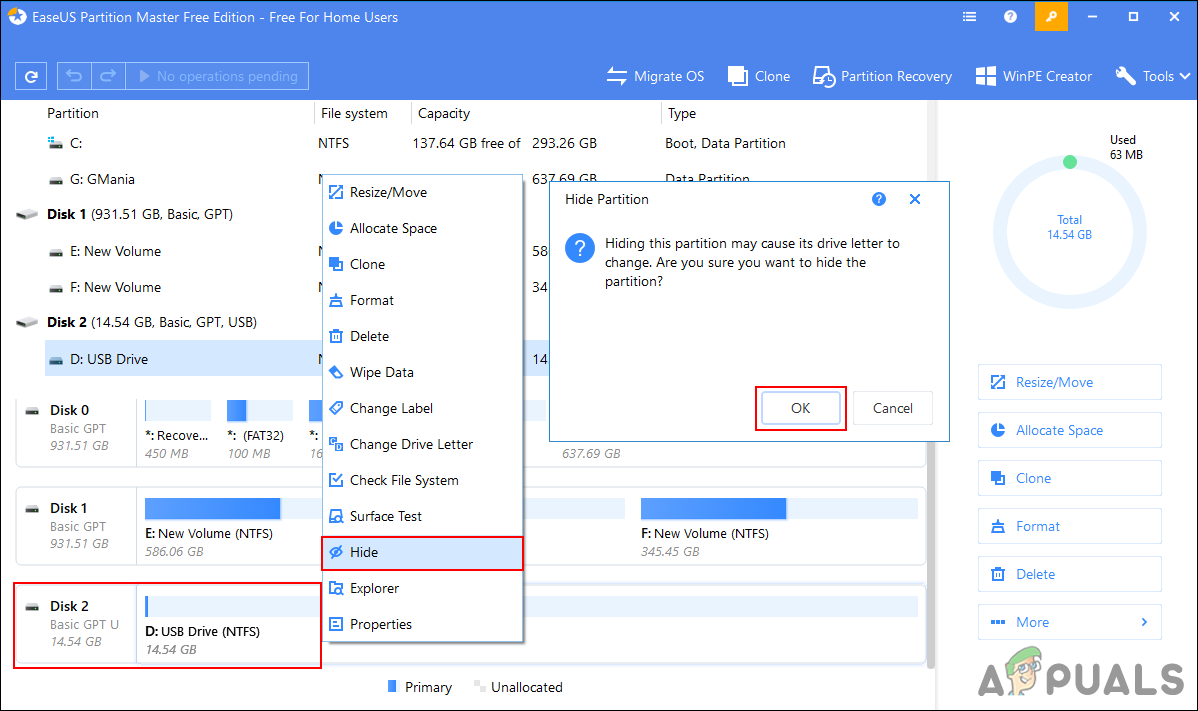
Hiding drives through the EaseUS Partition Master - Click on the Execute Operation button and then click on the Apply button to start the pending operation. Once the progress is completed the Drive letter will be removed and it will be hidden in the File Explorer.
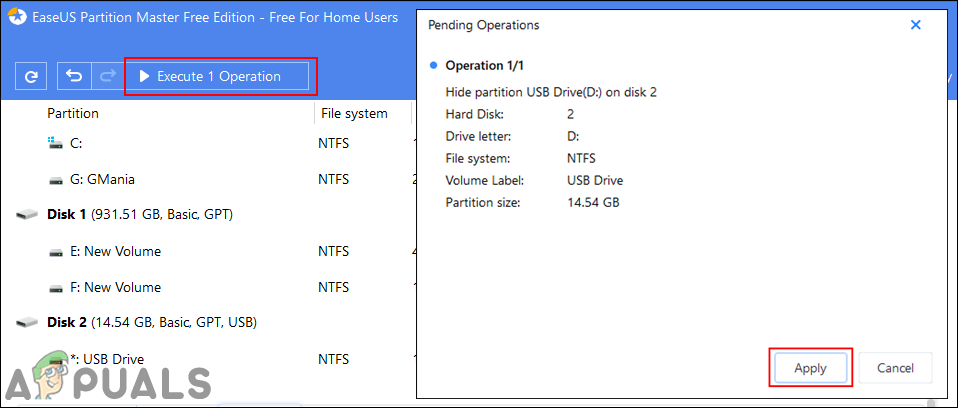
Executing the operating of hiding a drive - To Unhide it, simply right-click on the Drive in the EaseUS Partition Master and choose the Unhide option. Then again follow the confirmation and execute steps to bring back the drive to your File Explorer with a Drive letter.
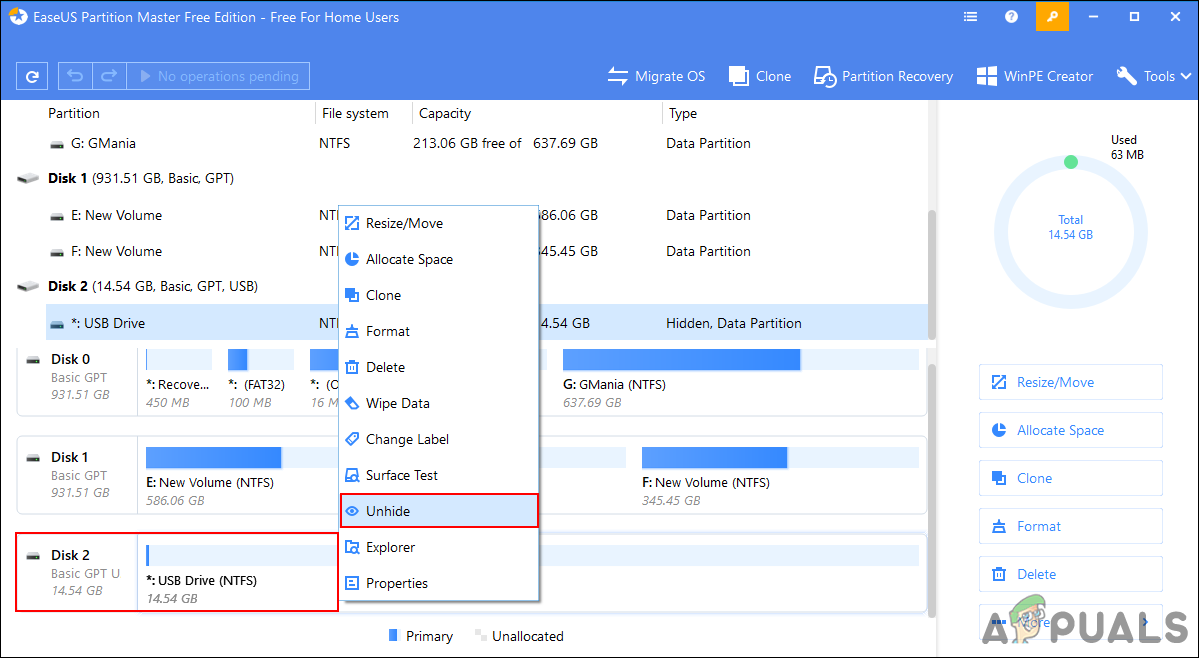
Unhiding the drive through the EaseUS Partition Master