Fix Google Chrome Update Error (Error Code – 7 : 0x80040801)
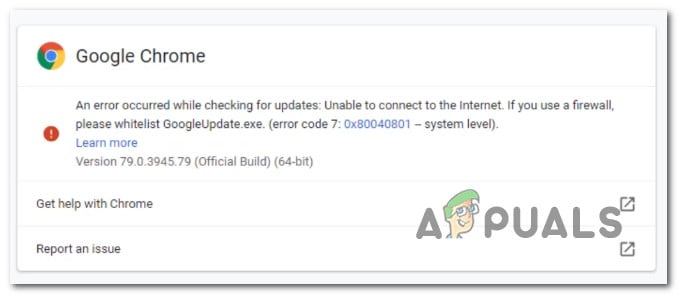
Some Windows users are reporting that they always end up seeing the 0x80040801 error when attempting to update their Google Chrome version to the latest one available. This issue is mostly reported to occur on Windows 10.
After investigating this particular issue thoroughly, it turns out that there are several different underlying causes that might be responsible for causing this problem:
- The Google Update Service is Disabled – As it turns out, you can expect to see this error code due to the fact that the main service responsible for updating Google apps is disabled by a system optimizing tool. In this case, you should be able to fix the problem by force starting the Google Update Service from the Services screen.
- Google Update service is blocked by Firewall – According to some affected users, you can also expect to see this error occurring due to the fact that an overprotective firewall is blocking the connection between the local executable (googleupdate.exe) and the server that is supposed to facilitate the download of the latest version. In this case, you should be able to resolve the issue by whitelisting the Google Update service from your Firewall settings.
- Corrupted Google Chrome installation – File corruption can also be responsible for this particular update error code. Some affected users have managed to fix the issue by installing the current Google Chrome version and clearing the profile cache before installing the latest version from the official page.
Now that you are aware of every potential cause that might be responsible for this issue, here’s a list of methods that other affected users have successfully used to get to the bottom of this issue:
1. Force start the Google Update Service
Before you try any of the other fixes below, the first thing you should do is ensure that the main service responsible for updating your Google Chrome browser (Google Update Service – update) is enabled and permitted to be called into action when needed.
If you’re using some kind of app that promises to optimize your system’s performance, chances are it does so by forcibly disabling services that it deems as unnecessary – This might be the cause triggering the 0x80040801 error code.
If you suspect that a system-optimizing tool has essentially disabled your browser’s ability to auto-update itself, follow the instructions below to force start the Google Update Service via the Services screen and configure it to remain enabled with the Status type set to Automatic:
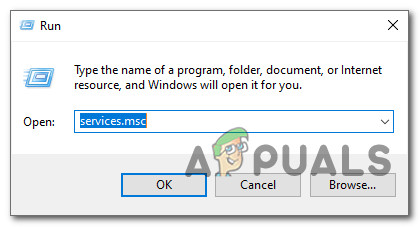
- Press Windows key + R to open up a Run dialog box. Next, type ‘services.msc’ inside the text box and press Enter to open up the Services screen.
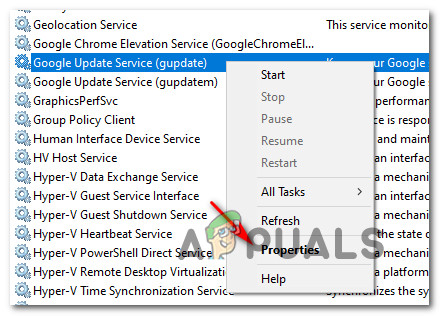
Opening the Services screen - Once you’re inside the Services screen, move over to the right-hand side menu and scroll down through the list of services until you locate Google Update Services (gupdae).
- After you locate the correct service, right-click on it and choose Properties from the context menu that just appeared.
Opening the Google Update service - Once you’re inside the Properties screen of the Google Update Service, go to the General tab, set the Startup type to Automatic (Delayed Start) and click on Start to force start the service before clicking on Apply to Save the changes.
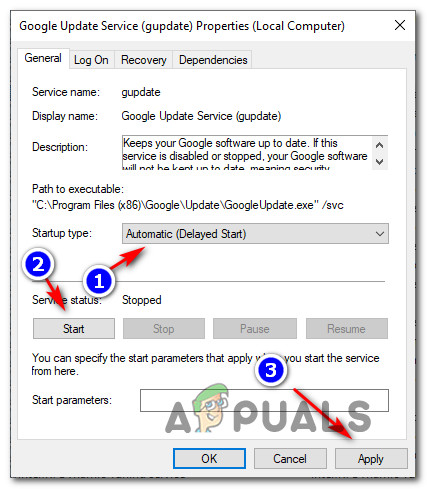
Saving the changes - Once you’ve taken care of the Google Update Service (gupdate), repeat step 3 and step 4 with the Google Update Service (gupdatem) too.
- After both services are configured to run whenever they’re called into action by Chrome and other Google apps, reboot your computer.
- Once the next startup is complete, open Google Chrome once again and see if the problem is now fixed.
If the same kind of issue is still occurring, move down to the next potential fix below.
2. Whitelisting Google Update Service from your Firewall settings
If the fix above didn’t work in your case as you’ve ensured that the updating service is permitted to run, the next thing you should do is to make sure that your currently active firewall is not currently preventing it from facilitating the updating process.
There are several overprotective 3rd party firewall suites that are known to cause this behavior, but it’s also possible to see the Windows Update component blocking the googleupdade.exe which will cause the 0x80040801 too.
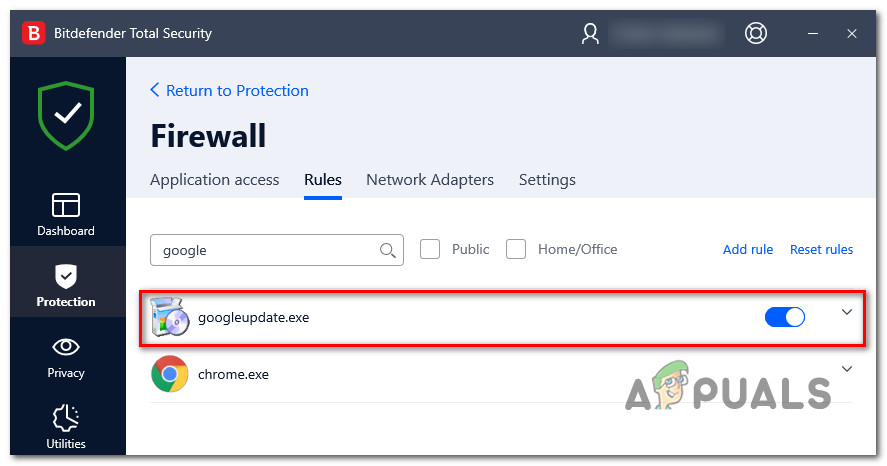
If you’re using a third-party suite, you should search online for specific steps on whitelisting an executable. Depending on the security suite you’re using, the instructions will be way different. – Typically, you will be able to establish a whitelisting rule by accessing the Advanced Firewall menu.
On the other hand, if you’re using Windows Firewall, follow the instructions below:
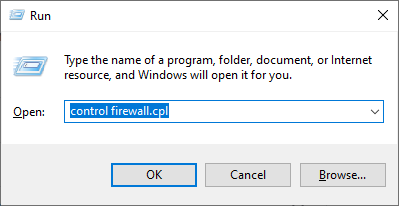
- Start by press Windows key + R to open up a Run dialog box. Next, type ‘control firewall.cpl’ inside the text box and press Enter to open up the classic interface of the Windows Firewall.
Opening the Windows Firewall - Once you’re inside the Windows Firewall menu, use the menu on the left to click on Allow and app or feature through Windows Defender Firewall.

Allowing an app through the firewall - Next, from the Allowed Apps menu, click on the Change settings button, then click on Yes at the User Account Control prompt to grant admin access.
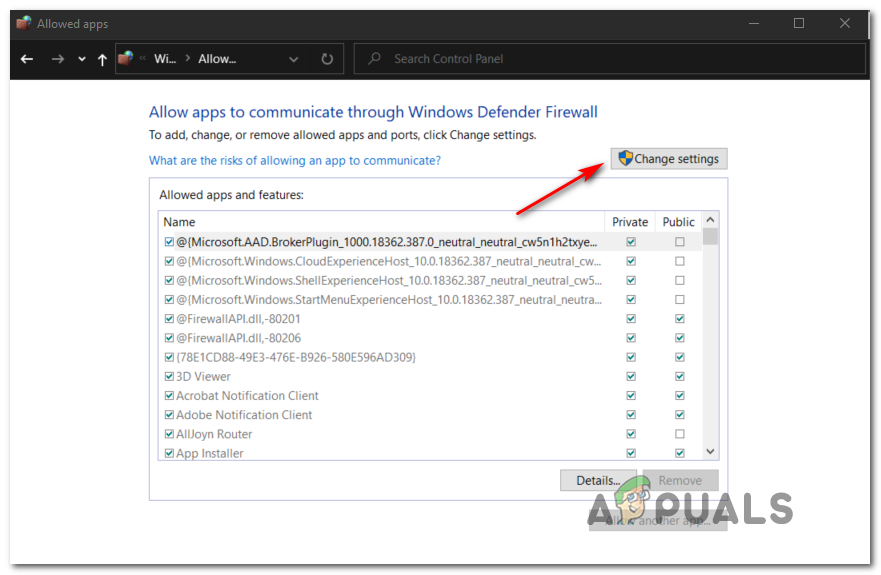
Changing the Settings - Once you have admin access, scroll down through the list of items and identify googleupdate.exe from the list of items. When you see it, check the associated boxes for both Private and Public before clicking Ok to save the changes.
- After googleupdate.exe has been successfully whitelisted, launch the application again, and see if the problem is now resolved.
In case you’re still encountering the 0x80040801 error when trying to download and install the latest version of Google Chrome, move down to the next potential fix below.
3. Reinstall the latest version of Google Chrome
If the two fixes above didn’t work for you and you can’t update from within the Google Chrome app, the only viable option at this point is to uninstall your current installation of Google Chrome before reinstalling the latest from the official Google Update page.
And while you’re uninstalling Google Chrome, you should also take the time to delete the associate cached folder to ensure that no corrupted data causing the 0x80040801 is carried over to the new installation.
Note: But don’t be alarmed, as deleting the local cache of your browser will not make you lose your user settings, bookmarks, or any other user data. All of your data is safely stored on your Google account, and you’ll get it back as soon as you log back in with your account.
Follow the guide down below to uninstall your current Google Chrome installation and install the latest version after clearing the Google Chrome cache:
- Start by making sure that Chrome is completely closed (including the tray bar agent).
- Press Windows key + R to open up a Run command. Then, type “appwiz.cpl” and press Enter to open up the Programs and Features window.
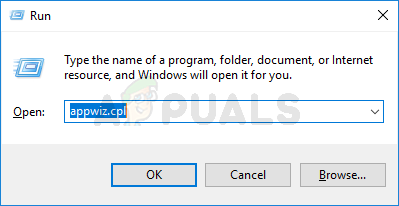
Opening the Programs and Features menu - Once you’re inside the Programs and Features menu, right-click on Chrome and click Uninstall. Then, follow the on-screen prompts to remove the browser from your system.
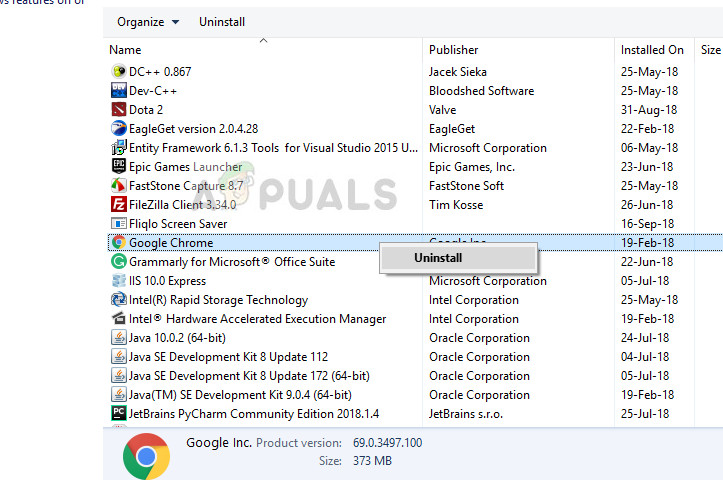
Uninstall Google Chrome - After Google Chrome has been uninstalled, reboot your computer and wait for it to boot back up.
- At the next startup, open another Run dialog by pressing Windows key + R. This time, type “%localappdata%” and press Enter to open Local folder associated with your active Microsoft account.
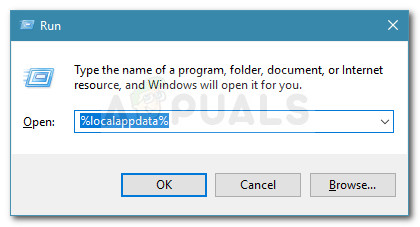
Opening the Loccalappdata menu - Next, open the Google folder, right-click on Chrome and Delete the entire directory along with all its children folders.
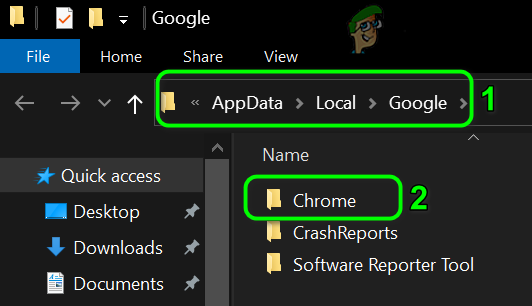
Deleting chrome - Once the local data cache folder of Chrome has been deleted, it’s time to reinstall Chrome. Do this by visiting the download page of Google Chrome and download the latest version available.

Downloading the latest version of Chrome - Open the executable that you’ve just downloaded and follow the on-screen prompts to complete the installation.
Installing the latest version of Google Chrome - Now that Google Chrome was reinstalled, you should no longer encounter the “Profile Error Occurred” error.