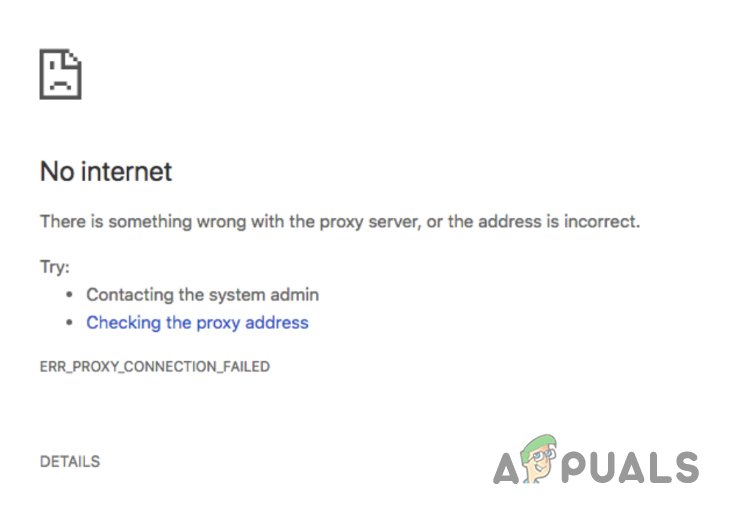
How to Fix ERR_PROXY_CONNECTION_FAILED Error in Browsers?
The ERR_PROXY_CONNECTION_FAILED error commonly occurs when your browser is unable to establish a connection through a proxy server you’ve configured or that has been configured by your network. This error is most often caused by incorrect proxy settings, which might include an incorrect address or port for the proxy server.
Other causes for this issue include network connectivity problems, a corrupted browser cache or cookies, or interference from firewall or security software. It’s crucial for users to ensure their internet connection is stable and that the proxy settings are correctly configured.
Users should also consider clearing their browser cache and cookies, disabling any interfering firewall or security software temporarily, and checking for any incorrect proxy settings as initial steps towards resolving this error.
In this guide, we will show you several methods you can use to resolve the ERR_PROXY_CONNECTION_FAILED error code with relative ease.
1. Disable Automatic Proxy Detection
The first thing you should do is disable the automatic detection of proxy settings in Windows. This prevents unintended changes to the proxy settings on your PC in case you have configured any.
- Open the Settings app by pressing the Win key + I.
- Navigate to the Network and Internet > Proxy menu.
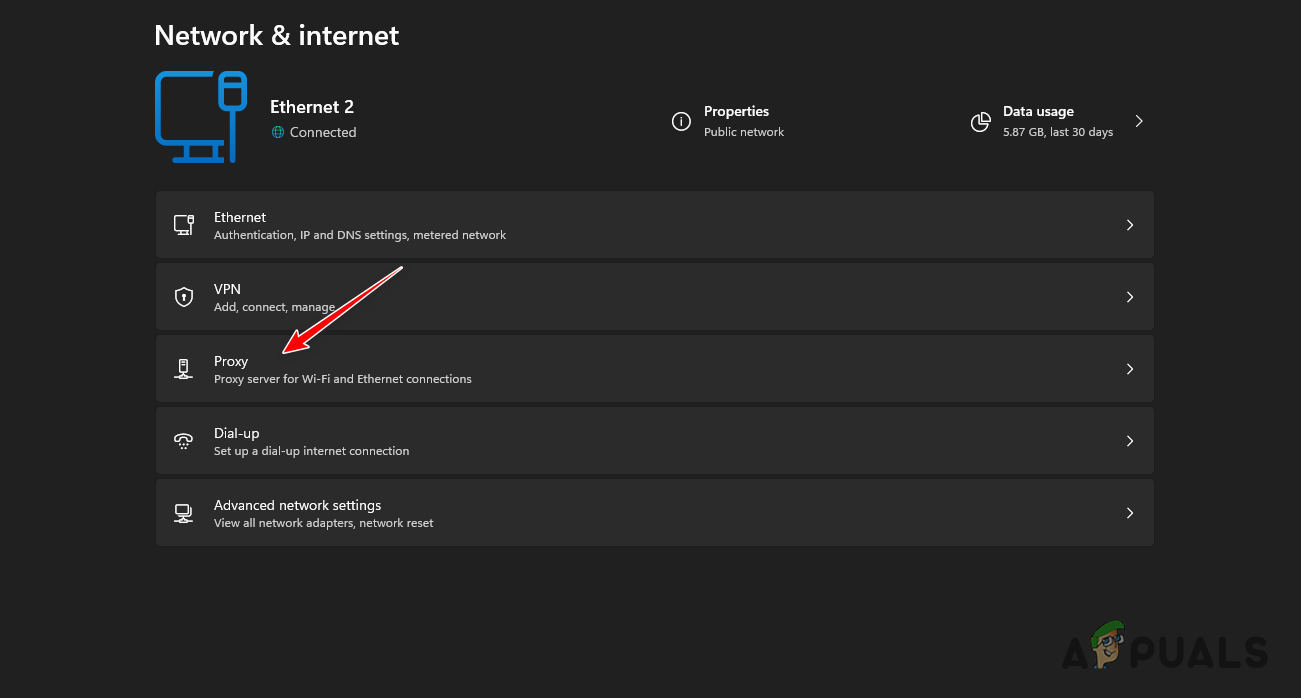
Navigating to Proxy Settings - Turn off the Automatically detect settings option using the toggle.
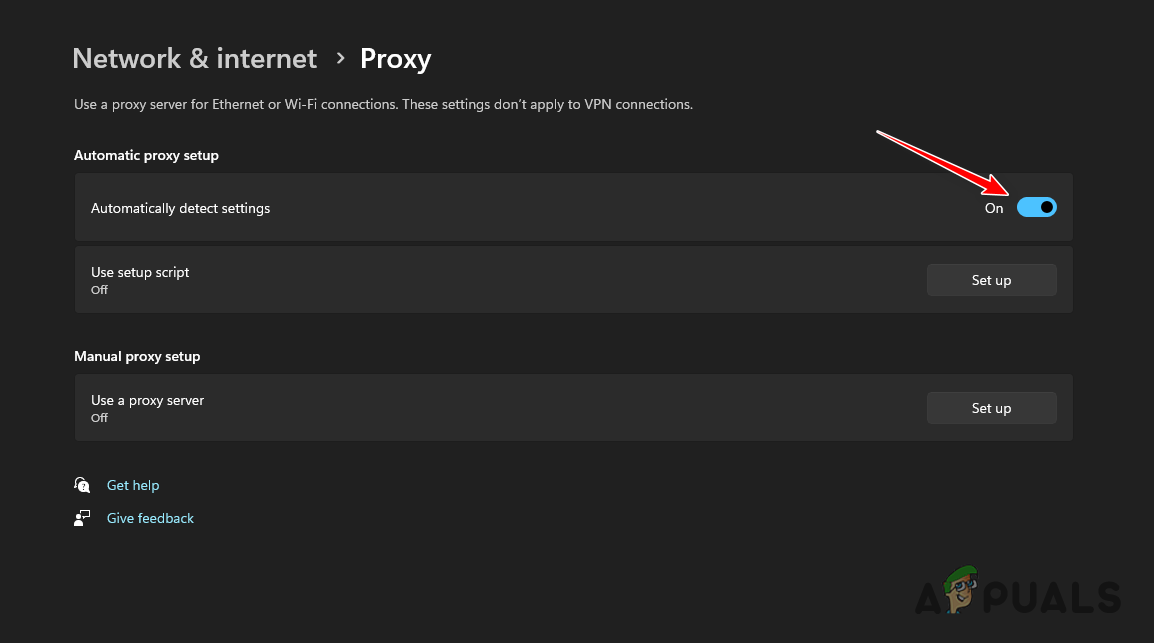
Disabling Automatic Proxy Detection - Check to see if this resolves the issue.
2. Reset DNS Cache
An inconsistency in the DNS cache can also cause your computer’s proxy server to stop working, usually when your PC can’t reach the proxy server because the DNS server is unable to resolve the request.
Resetting the DNS cache may help to isolate the issue.
- Open the Start Menu and search for Command Prompt. Click Run as administrator.
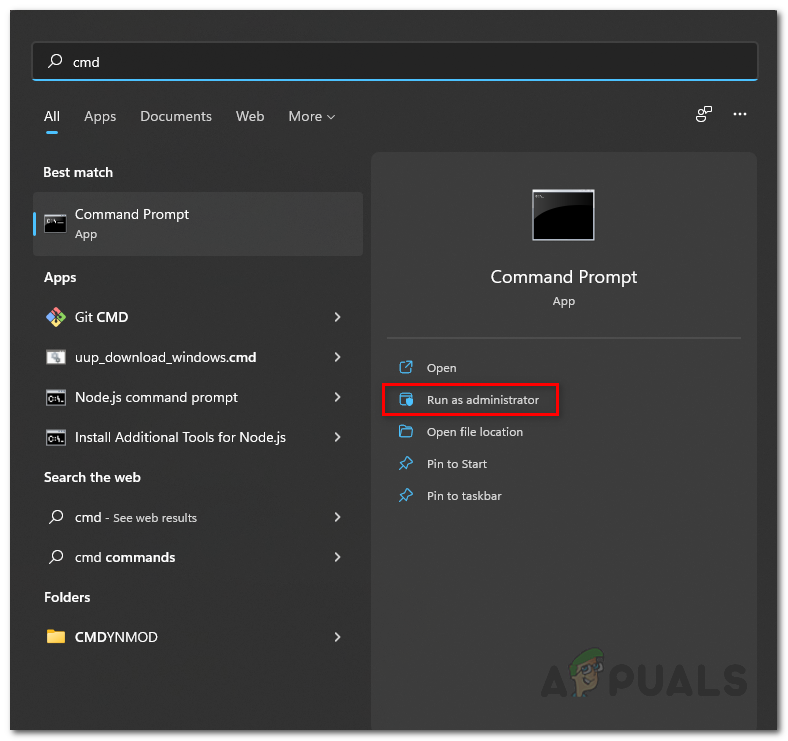
Opening Command Prompt as Admin - In the command prompt window, type ipconfig /flushdns and press Enter.
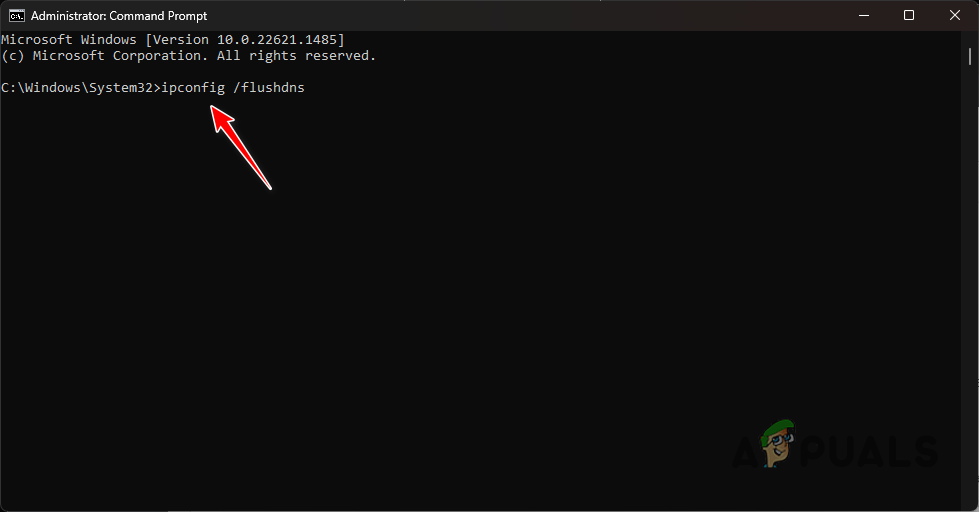
Flushing DNS Cache - Check to see if the error code persists.
3. Disable Third-Party Extensions
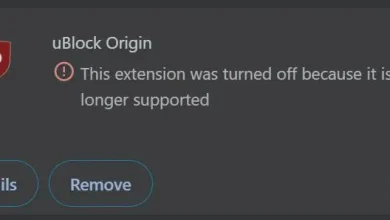
Third-party extensions added to your web browser can trigger the ERR_PROXY_CONNECTION_FAILED error code, especially when using a VPN-like extension.
These services change your browser’s proxy settings to enable their use. To solve this problem, try disabling the third-party extension.
You can verify if the problem persists without third-party extensions by opening an incognito or private window in your browser, as extensions are usually disabled in this mode. If the problem is resolved, find the problematic extension with these steps:
- Click the More menu in the top-right corner of your browser.
- Select Settings from the dropdown menu.
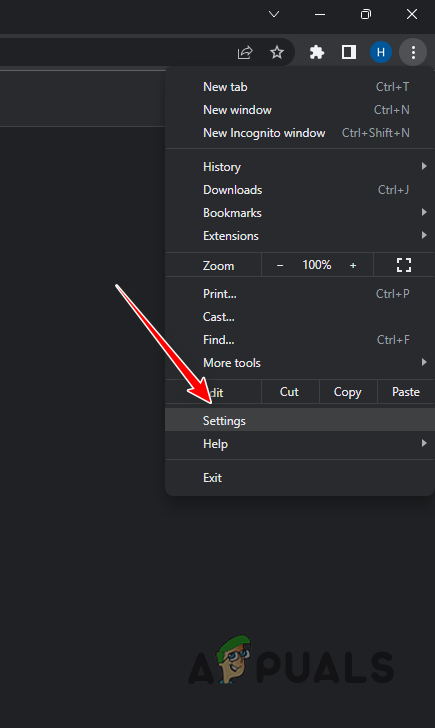
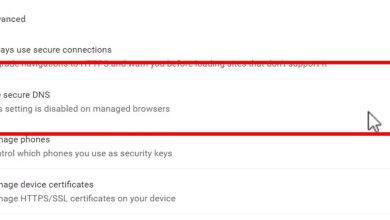
Opening Chrome Settings - Use the search bar to search for proxy.
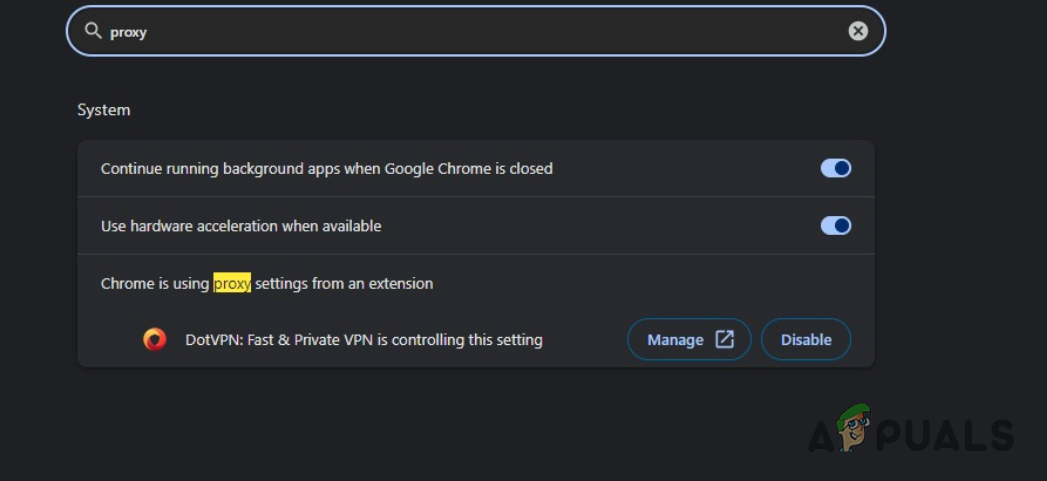
Searching for Proxy in Chrome - If an extension has modified the proxy settings, you’ll receive a message.
- Click Disable or remove the third-party extension by selecting Manage.
- Afterwards, confirm if the issue has been resolved.
4. Reset TCP/IP Stack
The Transmission Control Protocol (TCP) and Internet Protocol (IP) are essential for communicating with other devices on the internet. A damaged TCP/IP stack in Windows could lead to the ERR_PROXY_CONNECTION_FAILED error code.
Resetting the TCP/IP stack may correct this issue.
- Search for Command Prompt in the Start Menu.
- Select Run as administrator.
Opening Command Prompt as Admin - Type the following commands one at a time in the command prompt window:
netsh winsock reset netsh int tcp reset
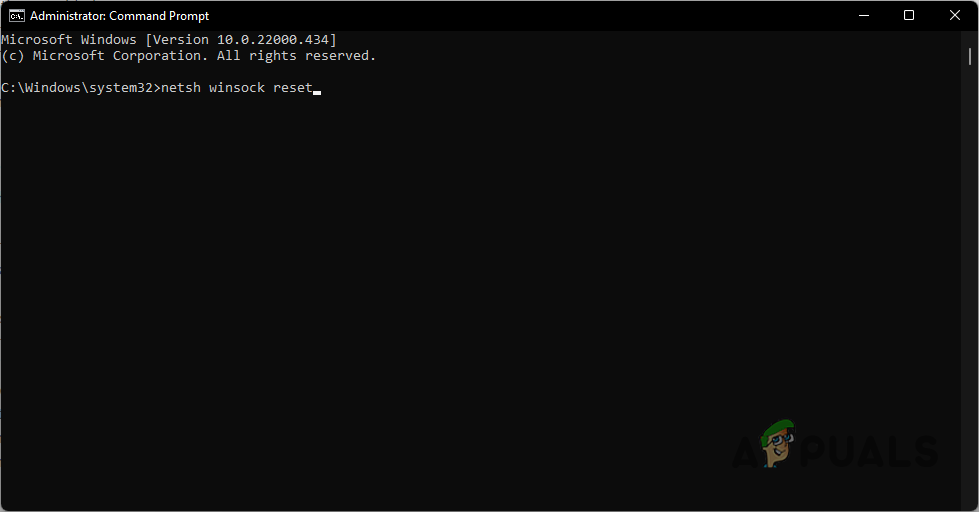
Resetting TCP/IP - Restart your computer thereafter.
- See if the error code persists.
5. Remove Proxy Settings
If you encounter the ERR_PROXY_CONNECTION_FAILED error without intentionally adding a proxy server to your PC, it’s possible that a third-party app has injected proxy settings. Alternatively, if the proxy server you use is experiencing an outage, removing the proxy settings may resolve the issue.
Below are two methods for removing a proxy server from your PC. Be aware that not all proxy settings may be reflected in the Settings app, requiring you to use the Windows Registry.
5.1. Using the Settings App
- Press the Windows key + I to open the Settings app.
- Go to Network and Internet > Proxy.
Navigating to Proxy Settings - Click Edit next to the Use setup script.
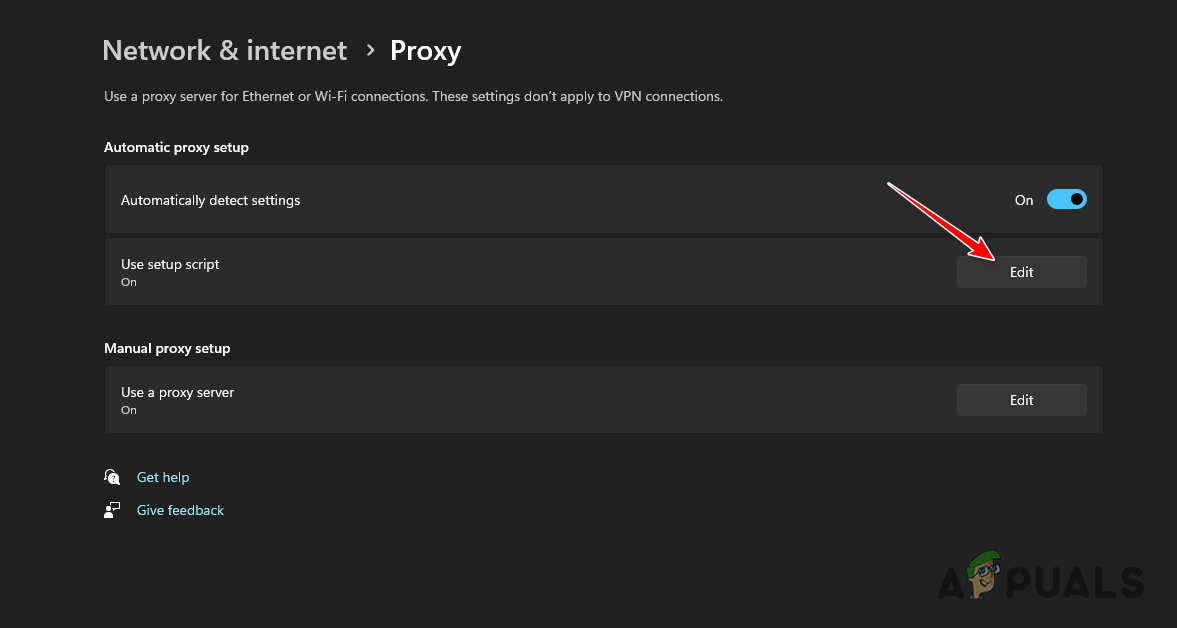
Editing Proxy Script Settings - Turn off the script using the toggle.
- Click Edit next to Use a proxy server.
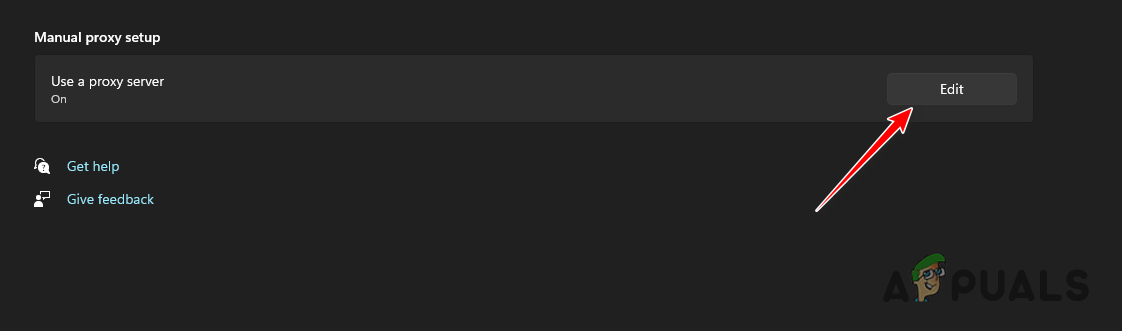
Editing Manual Proxy Settings - Toggle it off as well.
- If the Set up option is displayed instead, it indicates no proxy server has been configured via the Settings app.
5.2. Using the Windows Registry
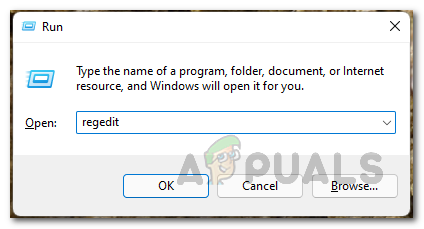
- Press Win key + R to open the Run box.
- Type regedit and press Enter to launch the Registry Editor.
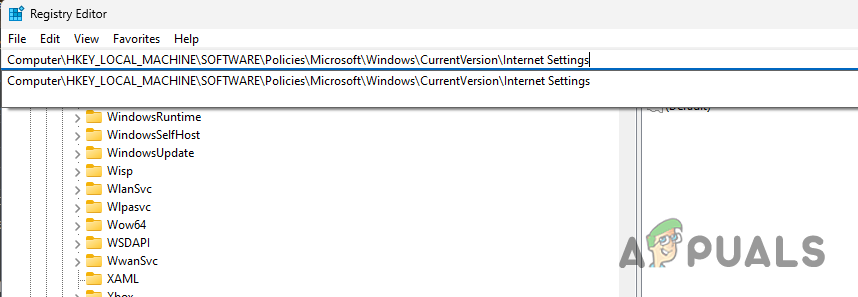
Opening Registry Editor - Navigate to the following path in the Registry:
HKEY_LOCAL_MACHINE\Software\Policies\Microsoft\Windows\CurrentVersion\Internet Settings
Navigating to Internet Settings Path - Double-click on the ProxySettingsPerUser key in the right pane. Change its value to 1.
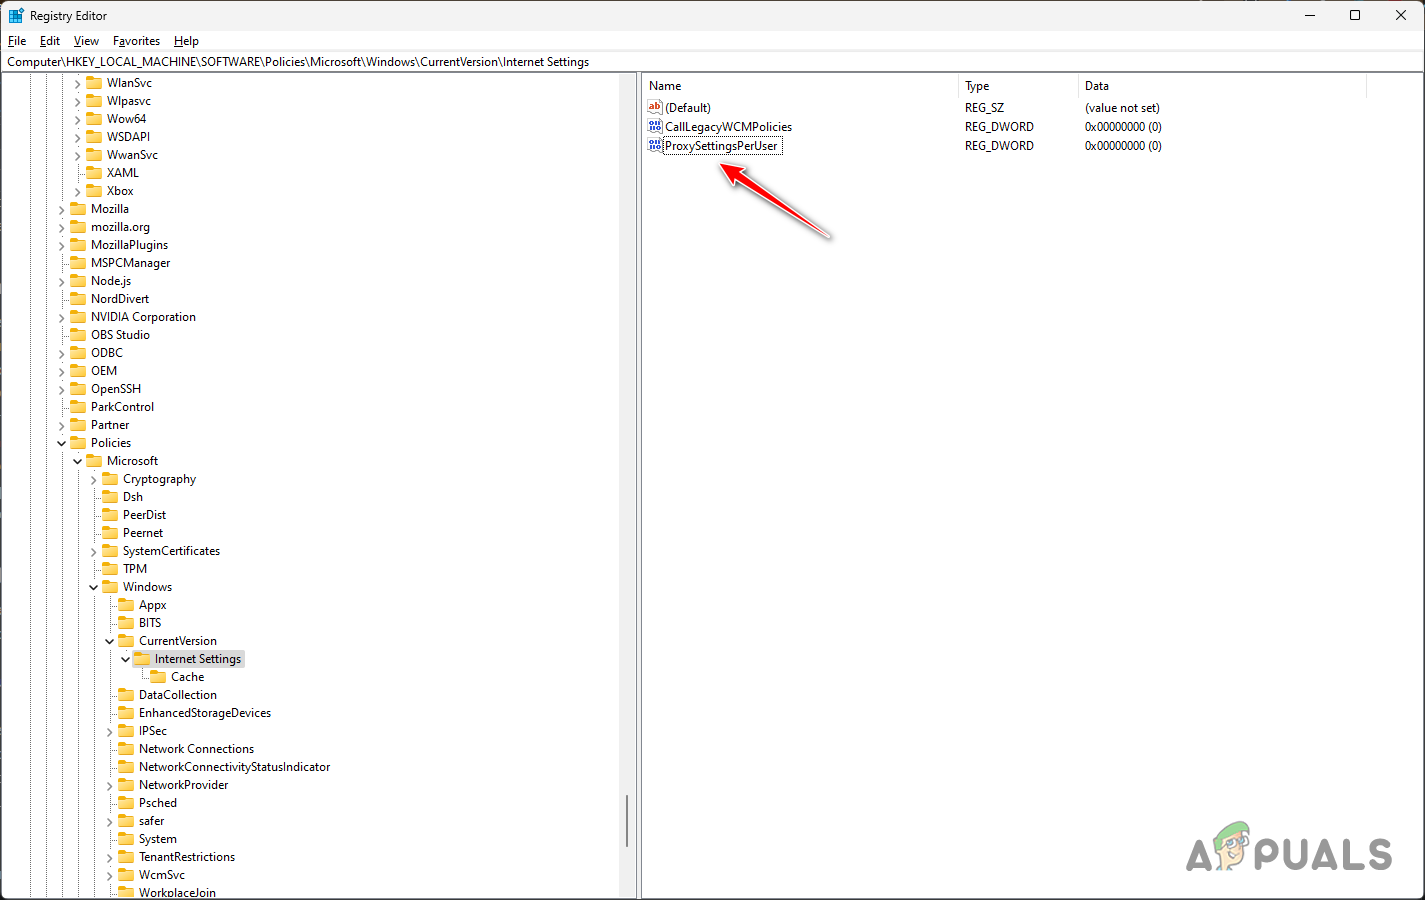
ProxySettingsPerUser Registry Key - If the key is not present, create a new DWORD (32-bit) Value named ProxySettingsPerUser, and set its value to 1.
6. Reset Browser Settings
If none of the above methods fix the error code, consider resetting your browser. At this point, a browser configuration inconsistency is likely causing the issue, and a reset should address this.
- Open the More menu in the top right corner and go to Settings.
Opening Chrome Settings - In the search bar, type Reset Settings.
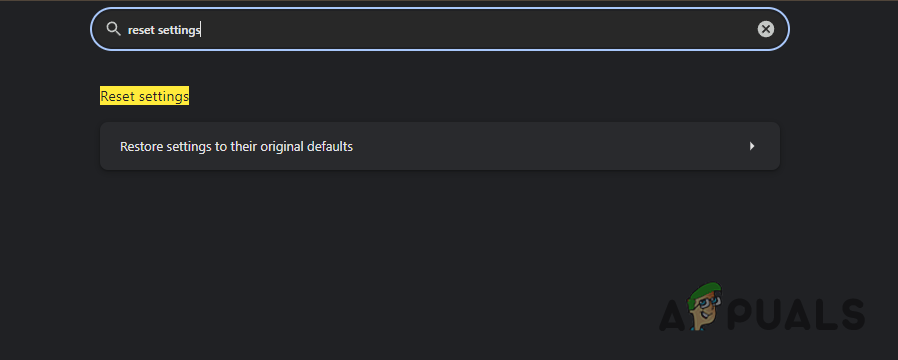
Resetting Chrome Settings - Click on the option that appears to reset your browser settings.
- After this, the problem should no longer occur.