How to Fix Error “GOLDFLAKE” in COD: MW2?
 Reviewed by Huzaifa Haroon
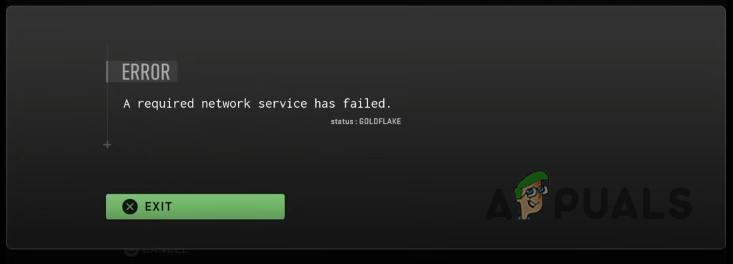
The “GOLDFLAKE” error is one of the most infamous errors in Modern Warfare II and Warzone 2.0. Accompanied by a message stating, “A required network service has failed,” this error prevents players from logging into the game.
This error has been reported across all platforms supported by the game and is often triggered by an update to the game or the device’s operating system. If you’re one of the players looking for a solution, look no further than this guide, which will outline all the causes and possible solutions for this issue.
Troubleshooting Prerequisites
- Check the status of MW2 servers, especially related to the platform in use (such as PlayStation).
- Fully close the game along with related processes and relaunch it.
- Perform a cold restart of the system/device and the router.
- Check if the location services on your device or system are enabled.
- Ensure that the energy-saving features on your device or system are disabled.
- If you were a subscriber to Xbox Live or Game Pass, check if your subscription has expired. If so, see if resubscribing to it clears the error.
1. Change the DNS Settings of the System
If the DNS settings of your system are not optimal for the game, this can break the game’s access to its server and thus cause the Goldflake error. To rectify this, change the DNS settings of the system.
To do so on Windows:
- Right-click on the network icon in the system tray and go to Network and Internet Settings > Advanced Network Settings > More Network Adapter Options.
- Right-click on the network adapter and go to Properties.
- Double-click on Internet Protocol Version 4 (TCP/IPv4) and select the radio button for Use the Following DNS Server Addresses.

Set the Windows System’s IPv4 DNS to Google DNS - Set the following values:
Preferred DNS Server: 8.8.8.8

Alternate DNS Server: 8.8.4.4
- Apply the changes and launch MW2. Check if the error is cleared.
2. Power Cycle Your Router
Once you’ve identified the problem as being on your side, power cycle your router and modem (if applicable). Power cycling involves rebooting your device. As the Goldflake error arises from a disruption in the game’s network services, restarting your router can often resolve the issue.
Power cycling your router resets the device, resolves any existing issues, and may typically assign your system a new IP address, effectively solving network problems (unless you have a static IP).
To power cycle your router, follow these steps:
- Unplug your router and modem from their power outlets.
- Wait at least 2 minutes.
- Reconnect the devices to the power outlets.
- Wait for the devices to restart.
Note: Don’t skip Step 2. Plugging the devices back in too quickly may cause additional network issues.
While waiting for your router to restart, it’s advisable to also restart your computer or console; this can help resolve the issue.
3. Change Launcher Settings (If Applicable)
If the error persists after rebooting your router and computer/console, consider adjusting settings in the Battle.net launcher. This solution is inapplicable if you downloaded the game via Steam, as these settings are exclusive to the Battle.net launcher.
After thorough testing, the COD Modern Warfare 2 community determined that enabling two particular settings can help prevent the Goldflake error.
- Use browser hardware acceleration.
- Allow multiple instances of Battle.net.
To enable these settings, follow the steps below:
Note: Close the game before following these steps. You can relaunch it after adjusting the settings.
- Open the Battle.net launcher.
- Click on the icon at the top-left and select Settings.
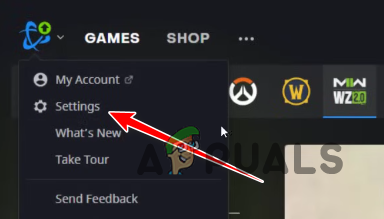
Opening Launcher Settings - In the App settings, scroll down to the bottom and enable both aforementioned settings.
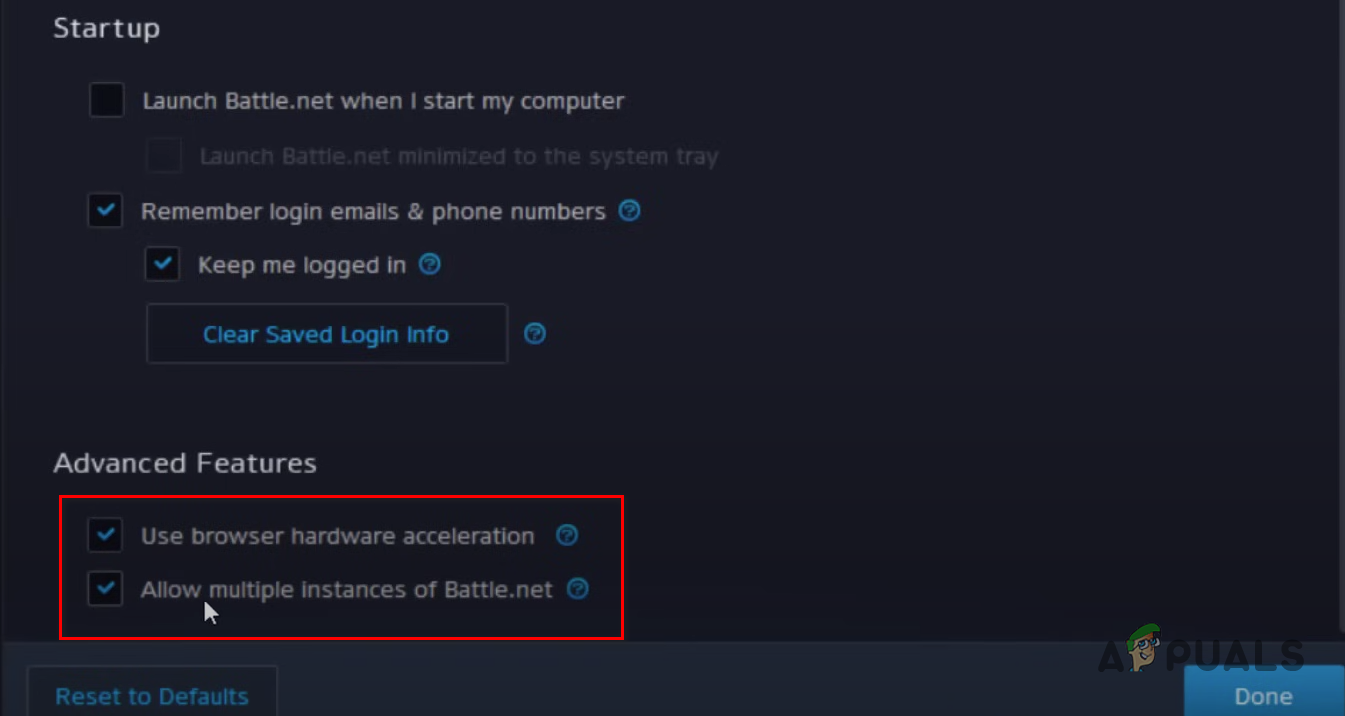
Changing Launcher Settings - Press the Done button.
- Restart the launcher.
After restarting the launcher, open the game to check if the error persists. If so, continue exploring further solutions listed below.
4. Repair Game Files
The error indicating a failed network service suggests that potentially corrupted or missing game files might be obstructing its proper function.
To fix this problem, validate and repair the game files using the in-built file-repair feature of Steam or the Battle.net launcher. Below are the steps to repair the game files for COD MW2 or Warzone 2.0.
Battle.net Launcher
- Open the Battle.net launcher and click on the COD MW2/Warzone 2.0 icon.
- Click on the gear icon next to the Play button (at the bottom-left).
- Click on Scan and Repair.
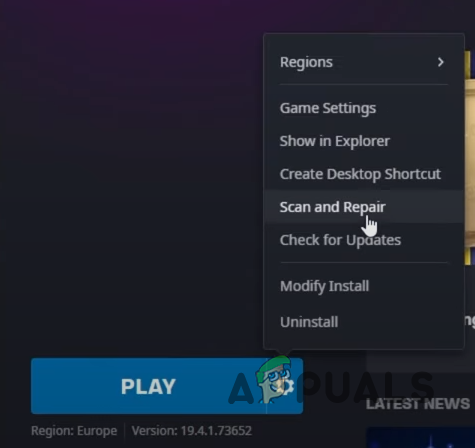
Repairing Game Files in Battle.net Launcher - Press the Begin Scan button.
Steam
- Open Steam and navigate to your Library.
- Right-click on COD MW2/Warzone 2.0 and select Properties.
- Navigate to the Local Files tab.
- Click on “Verify integrity of game files…”
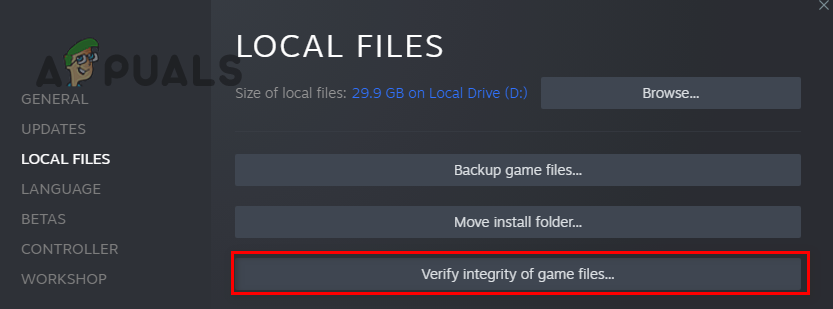
Repairing Game Files through Steam
The file scan and repair process will take several minutes. After completion, the launcher will indicate whether it detected any anomalies in the game files.
If the launcher successfully identifies and repairs missing or corrupt game files, the error is fixed. However, if it detects no corruption, continue to the next solution.
5. Disable Power Saving Settings (On Console)
Numerous player reports suggest that Power Saving settings on Xbox and PlayStation consoles are directly linked to this error.
When enabled, Power Saving settings may cause the console to enter lower power modes, disrupting the game’s online connection. Such disruption may lead to network issues and cessation of specific network services, thus causing the Goldflake error. Disabling power-saving options ensures the console remains active and connected, reducing the likelihood of connectivity issues and network errors.
To disable Power Saving settings on your console, follow these steps:
Xbox Series S/X
- Press the Xbox button on your controller.
- Scroll over to the Profile and System tab (far right).
- Select Settings.
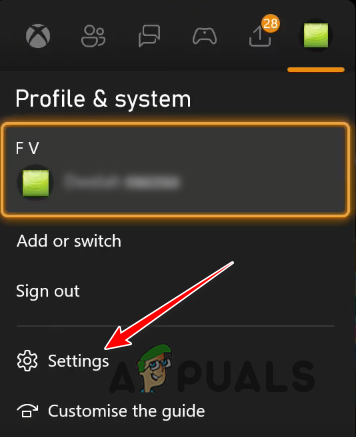
Opening Xbox Series S/X Settings - In the General tab, click on Power Options.
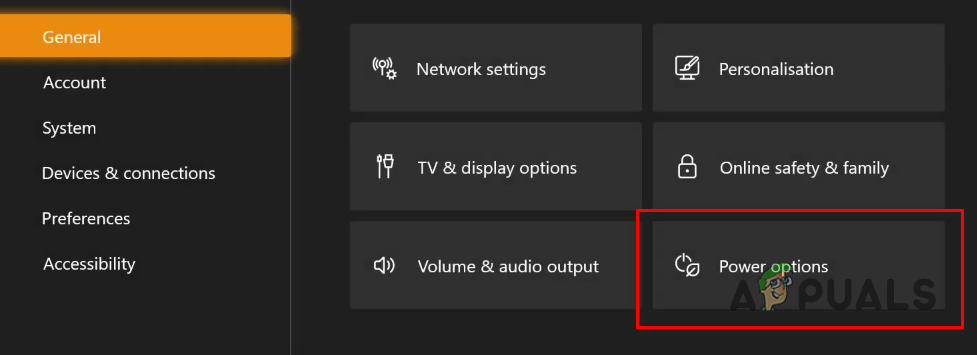
Opening Xbox Series S/X Power Options - Select the Sleep option.
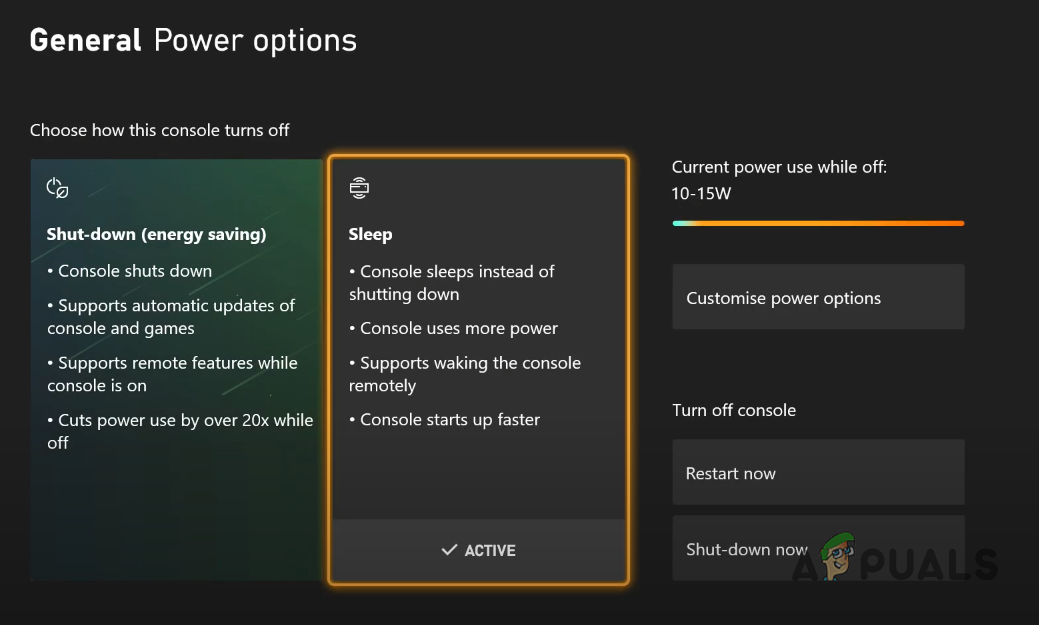
Disabling Energy Saving Mode on Xbox Series S/X - Restart your Xbox Series S/X.
Xbox One
- On your home screen, click the Settings icon.
- In the General tab, select “Sleep mode and startup.”

Opening Sleep Settings - Choose the Sleep Mode option.
- Select “Standby.”
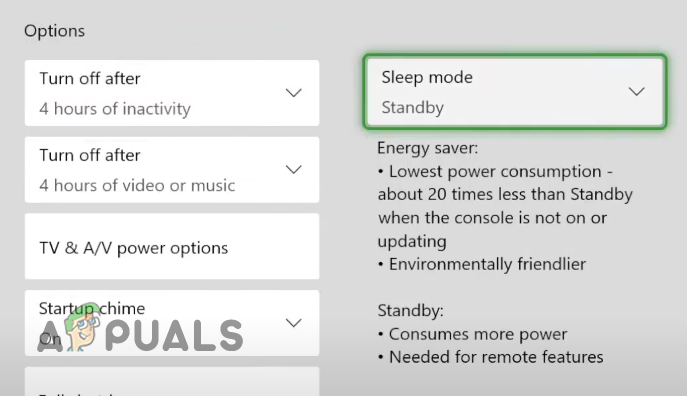
Disabling Power Saving Mode on Xbox One - Restart your Xbox One.
PS5
- Click the gear icon at the top-right of your home screen.
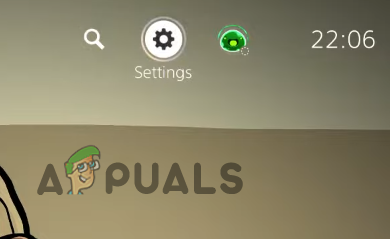
Opening Settings menu on PS5 - Navigate to System settings.
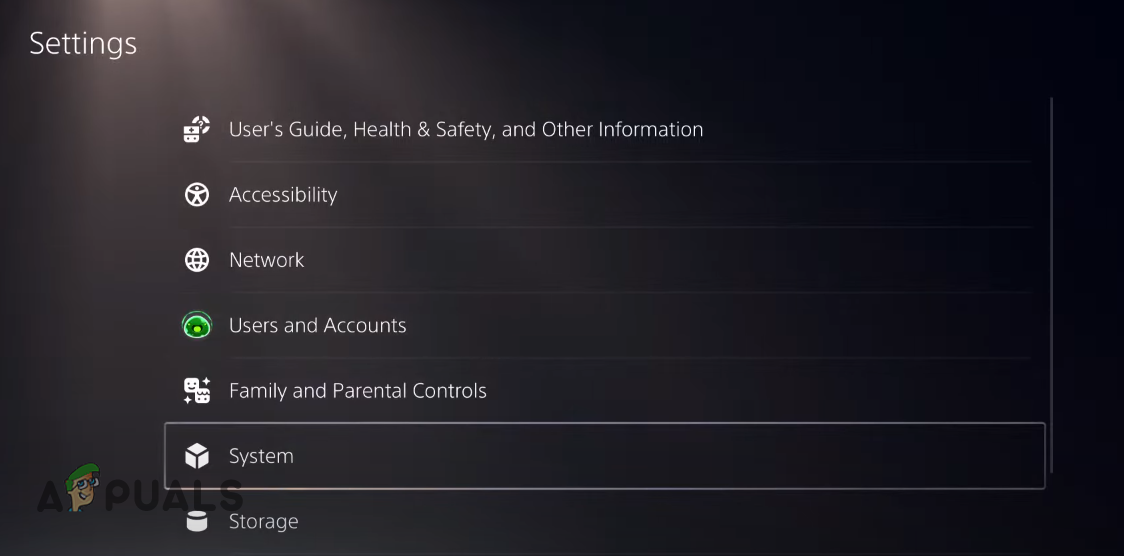
Opening System Settings - Scroll down to Power Saving.
- Click on “Set Time Until PS5 Enters Rest Mode.”

Opening Power Saving Settings on PS5 - Select “Don’t Put in Rest Mode” for “During Media Playback” and “While Playing Games.”
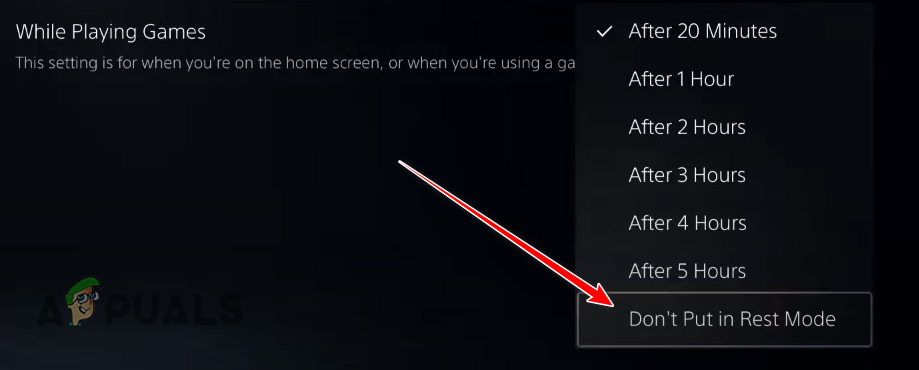
Disabling Power Saving Settings on PS5 - Restart your PS5.
PS4
- On your home screen, select the Settings icon.
- Scroll down to Power Saving Settings.
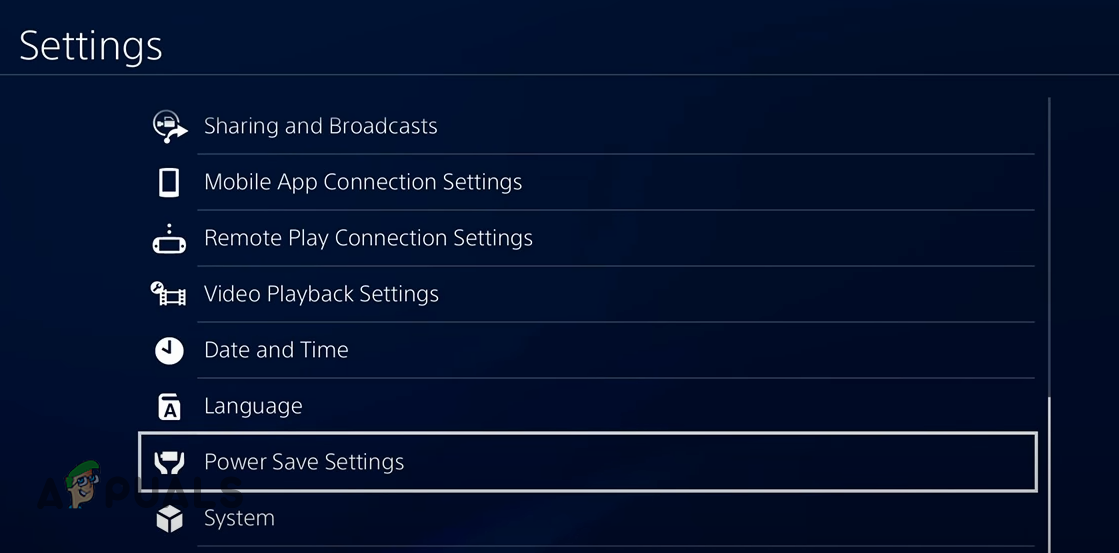
Opening Power Saving Settings on PS4 - Click on “Set Time Until PS4 Enters Rest Mode.”
- Select “Do Not Turn Off” for “Media Playback” and “General (Applications).”
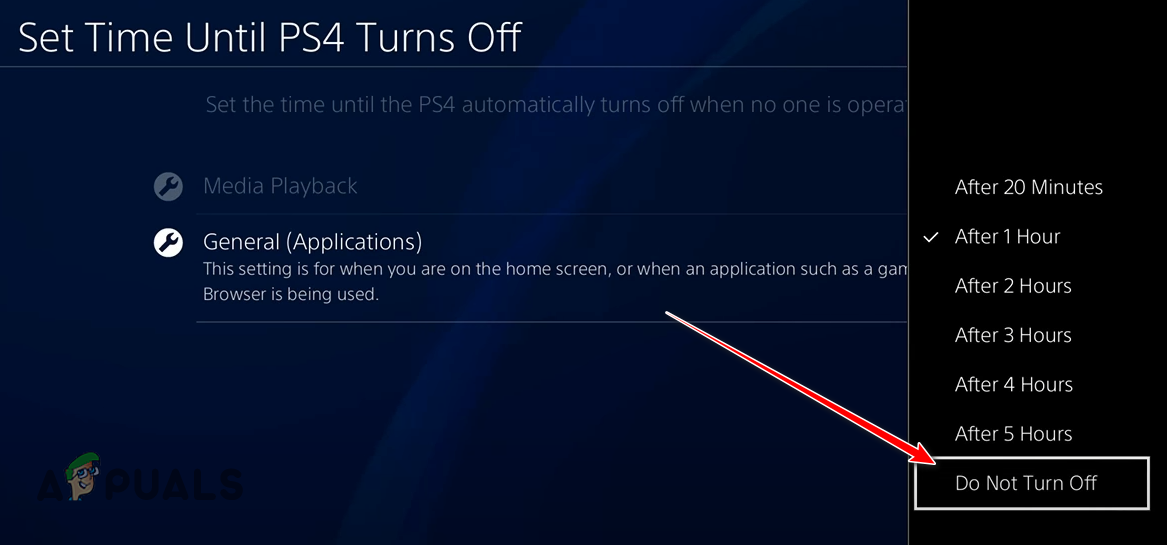
Disabling Power Saving Settings on PS4 - Restart your PS4.
6. Reinstall the Game
If you’ve attempted all the above solutions and the error persists, reinstall the game. This ensures any file corruption is addressed and all files are up-to-date.
For Xbox or PlayStation users, navigate to your Game Library, uninstall the game from the Installed Games section, and then reinstall it from your Games Collection.
To uninstall the game on your PC/laptop, follow the steps below:
- Press Windows Key + R simultaneously to open the Run dialog box.
- Type appwiz.cpl and press Enter.
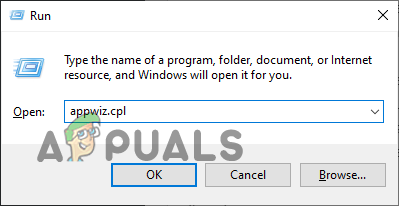
Opening Programs and Features Menu - Find MW2/Warzone 2.0 in the list of apps.
- Right-click on it and select Uninstall.
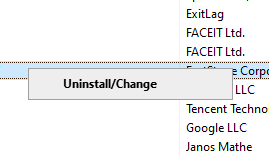
Uninstalling the game - Follow the on-screen instructions to uninstall the game.
Once the game is uninstalled from your system, reopen the Battle.net Launcher or Steam and reinstall the game from your Library.
Note: Ensure there are no power or network interruptions during the installation process, as this can lead to corruption of the game files.
Frequently Asked Questions - FAQs
You can fix the Goldflake error in Warzone 2 by restarting your router, disabling Power Saving settings on your console, and repairing the game files.
The Goldflake server issue occurs when one of the game’s required network services fails to function properly. This may happen when the game’s servers become overloaded due to a high number of players logging in simultaneously, but it can also happen due to an issue on the player’s end.
Reviewed by Huzaifa Haroon


