Fix: Freeview Play Not Working With VPN (4 Easy Fixes)
Is your FreeviewPlay Not Working with VPN? Don't Worry! This guide will help you resolve the issue
 Reviewed by Muhammad Zubyan
Freeview Play is supported in selected countries (such as the UK, Australia, etc.). If you move out of these countries, watching Freeview Play is only possible through a VPN. However, making it work with a VPN can be tricky at times.
At times, you may get stuck at the “need to accept the terms and conditions” screen on the Freeview Play when using the VPN. Sometimes, only a particular set of channels gets affected. The problem is not limited to a single VPN client.
How to Fix Freeview Play
Our first step will be attempting to make your VPN client function properly. If that doesn’t work, we’ll explore using a different VPN application. As a last resort, resetting your device will be necessary before moving on to other recommendations, such as setting up your own VPN.
1. Reconnect the VPN
You will not be able to use Freeview Play due to a tunneling malfunction in your VPN. To fix this, reconnect the VPN.
- Exit Freeview Play and launch your VPN app.
- Click on Disconnect and wait for a minute.
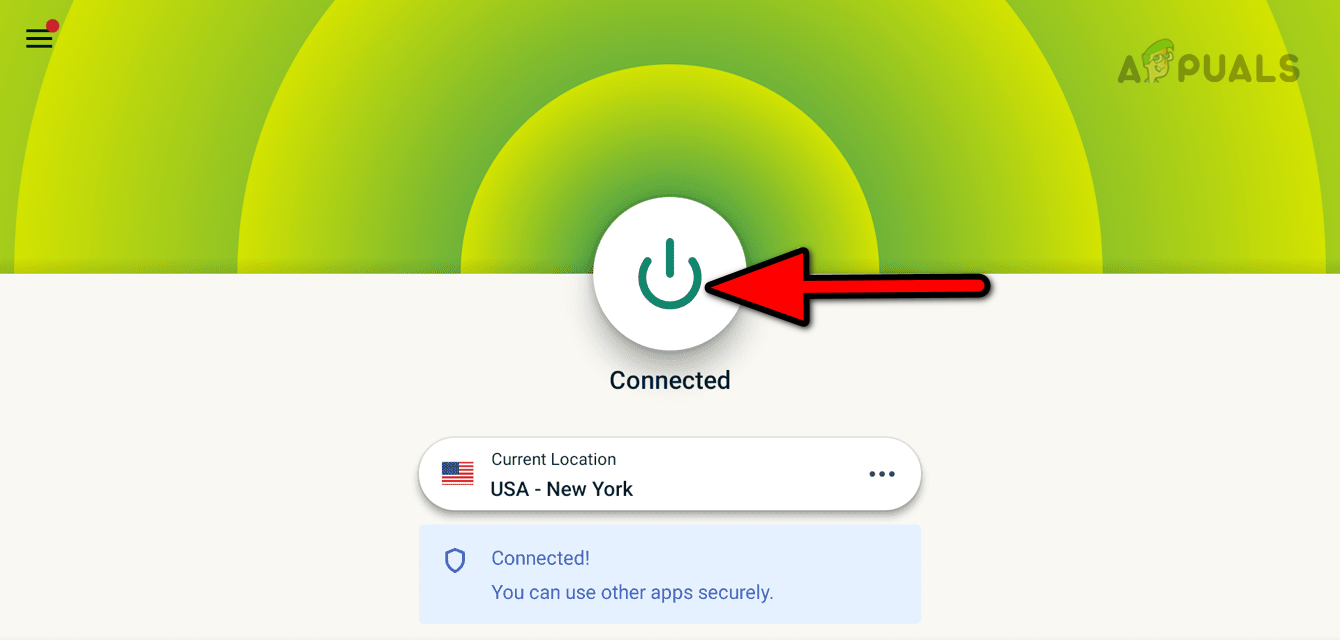
Disconnect VPN on the TV - Reconnect the VPN and launch Freeview Play. Check if the issue is resolved.
2. Connect the VPN to a Supported Location
Since Freeview Play only works in supported locations, if your VPN is connected to a different location, the app’s client requests will not be recognized by the servers. Here, connecting the VPN to a supported location will solve the problem.
- Exit Freeview Play, launch the VPN app, and click on Disconnect.
- Change the location to a supported location (such as Melbourne) and click on Connect.
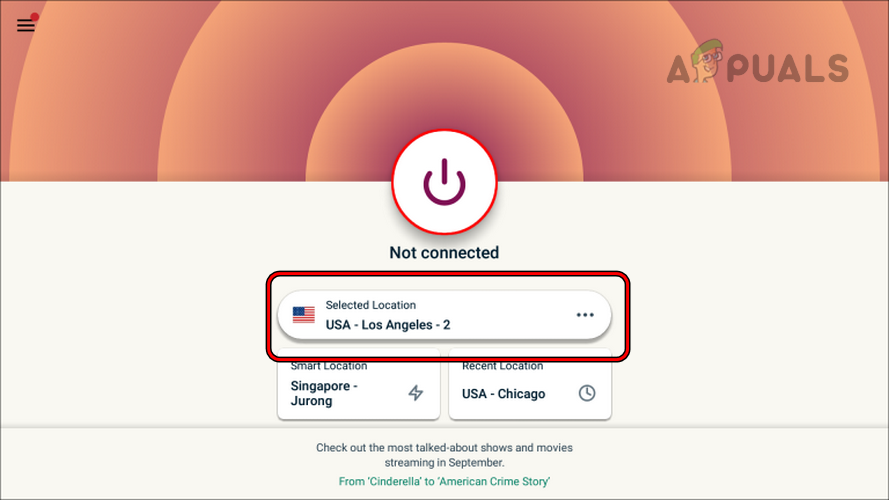
Change the VPN Location on a TV - Launch Freeview Play and see if it is working.
3. Restart the Device and Router
A malfunction in the communication modules of the device or router will not let the VPN app route the web traffic correctly. Due to this, Freeview Play will stop working as it will be in a non-supported country. To rectify this, restart the device and router.
- Power off the device and router.
- Unplug their power cables and wait for a minute.
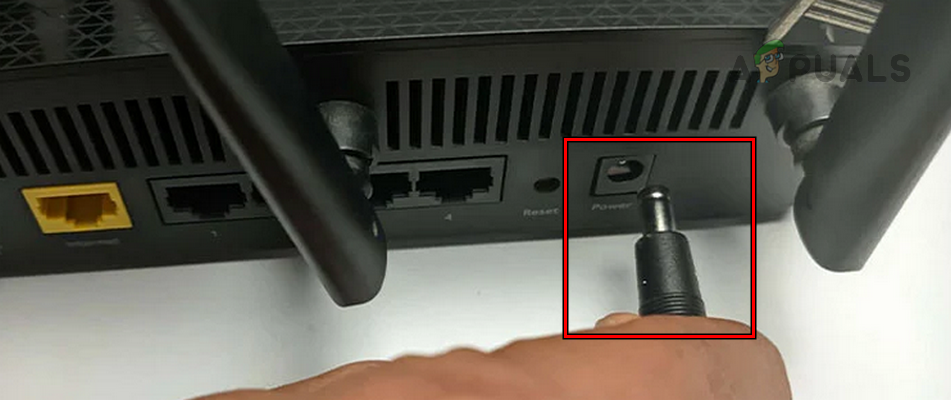
Unplug the Power Cable of the Router - Plug back the power cables and power on the router.
- Power on your device and launch the VPN app.
- Connect to a supported location (such as the UK) and open Freeview Play. Verify if it is working.
4. Disable IPv6 in the Device and Router Settings
If both your device and router are compatible with IPv6, the Freeview Play app will prioritize using this protocol to communicate with its servers. However, if the VPN app is unable to route the IPv6 traffic, the Freeview app will cease to function properly since it will appear as if it is in a non-supported country to the servers.
To overcome this scenario, disable IPv6 in the device and router settings.
On the Device
For an Android TV:
- Launch the Android TV Settings and go to Network > Network & Accessories > Advanced Settings.
- Select IPv6 and set it to off.
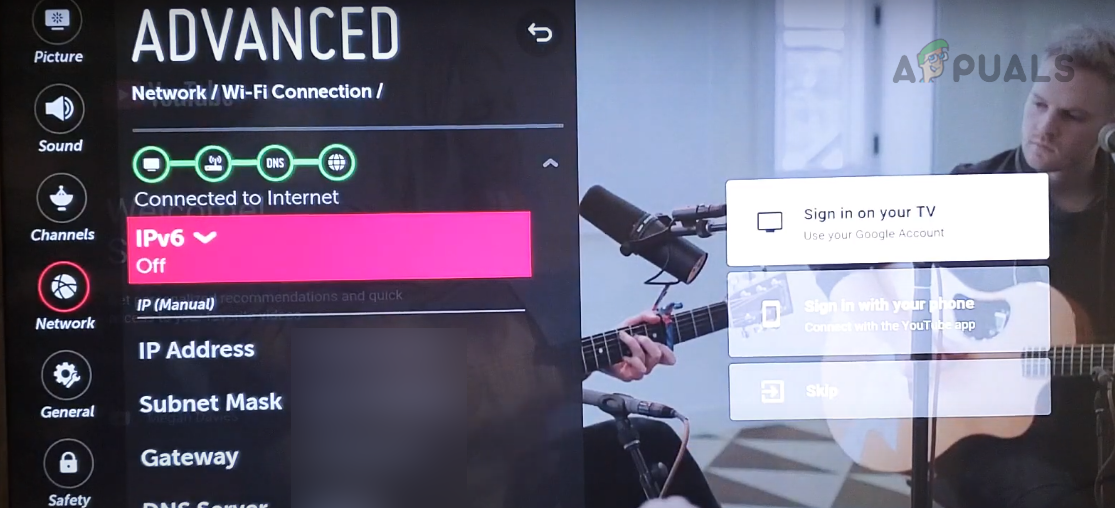
Disable IPv6 on an LG TV - Restart the TV and launch the VPN.
- Connect to a supported location and launch FreeView Play. Confirm if the issue is resolved.
On the Router
For a Huawei router:
- Log into the admin portal of your router through a web browser or app.
- Navigate to More Functions > Network Settings > IPv6.
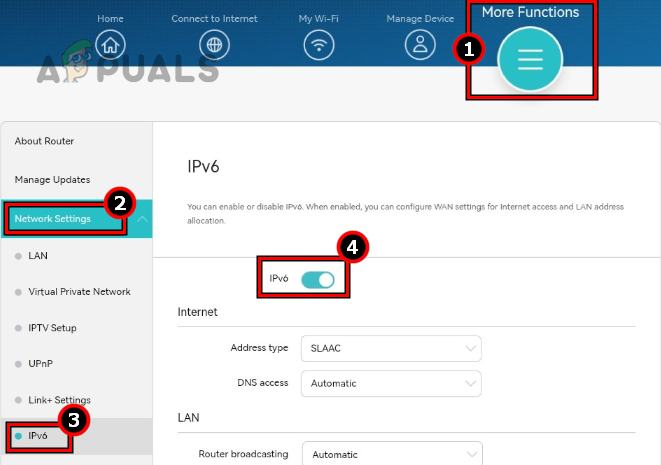
Disable IPv6 on the Router - Disable it and restart the router.
- Restart the device and launch the VPN.
- Connect to a supported location and open FreeView Play. See if it is operating correctly.
5. Try Another VPN
If your VPN client’s IP addresses have been flagged as a VPN by FreeView servers, you will be unable to access the necessary resources, resulting in the failure of FreeView Play. To remedy this, consider using a different VPN client.
With numerous options available, it is advisable to choose a VPN that provides a trial period. If FreeView Play functions correctly with the VPN, you can then purchase a subscription.
- Uninstall the current VPN client and restart the device.
- Install another client and launch it.
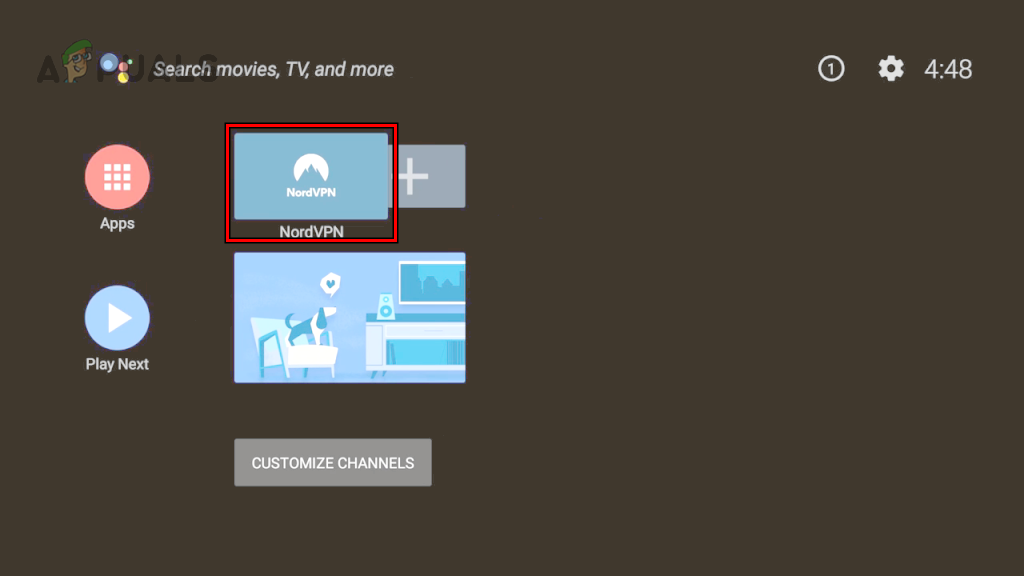
Install Another VPN Client on Your TV - Log in using your credentials and connect the client to a supported location.
- Launch the FreeView Play app and see if it is operating correctly.
6. Use SmartDNS
Like a VPN, a SmartDNS allows users to access content that is not available in your region. The feature uses special techniques to redirect traffic through the predefined region (where you are not present) and the website assumes you are accessing it through that region.
The main difference with VPN is that this service is more focused on unlocking restricted content whereas, VPN is generally more focused on online privacy and security. As VPNs are not working, using SmartDNS will get the job done.
To enable SmartDNS on the NordVPN app on an LG TV:
- Launch the NordVPN client and click on Disconnect.
- Launch a web browser and go to the Nord Account Dashboard.
- Navigate to Services > NordVPN.
- Locate the SmartDNS option and click on Enable.
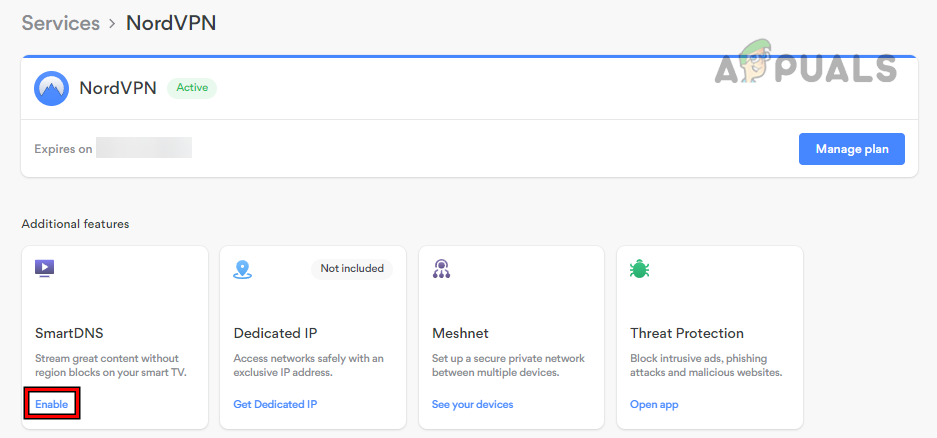
Enable SmartDNS on the NordVPN - Follow the prompts to activate the feature and wait till the feature activates (it may take around 10 minutes).
- Once activated, launch the LG TV Settings and go to Network Setup> Network Connection > Your Network > Other Network List > Expert > Your Network Connection.
- Set the DNS Mode to Manual and enter the following values:
103.86.99.103

103.86.99.103 (if asked for a second entry)
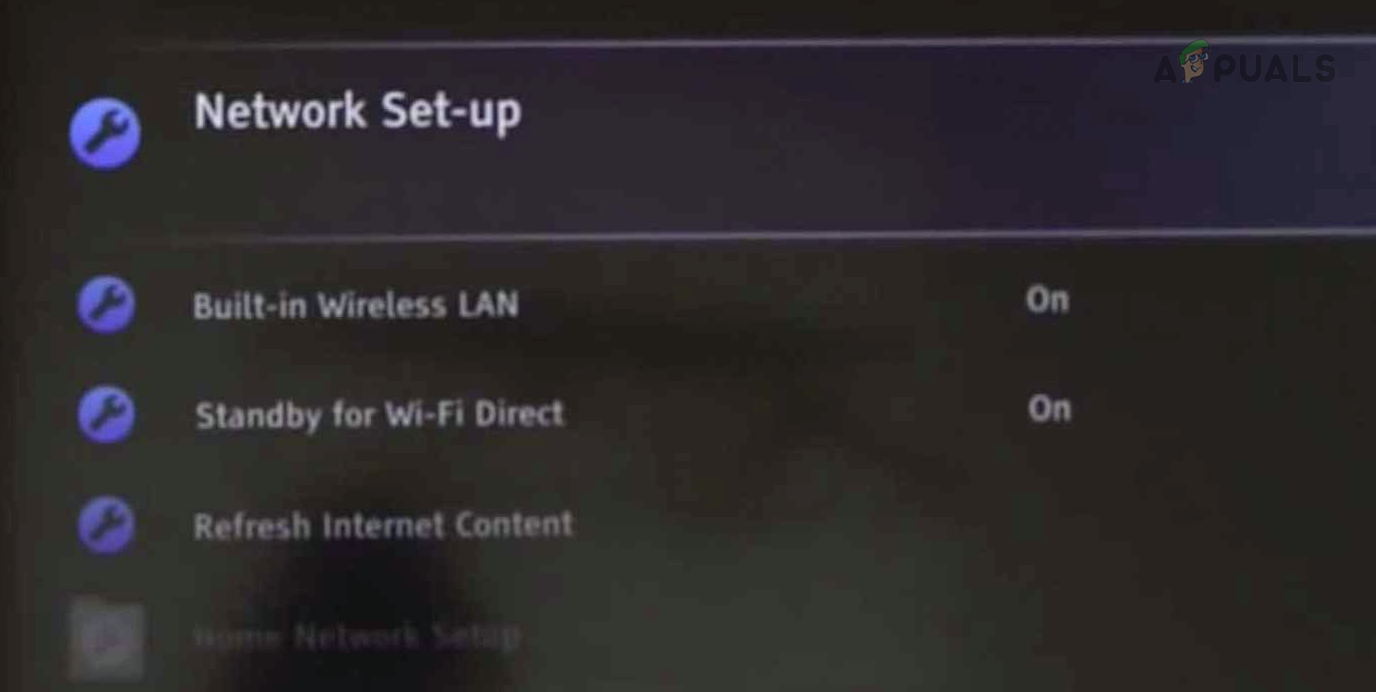
Open Network Set-up on the Sony TV - Save the changes and check if the FreeView Play is working correctly.
7. Enable VPN on the Router
If your VPN app is unable to change the location to a country supported by FreeView on your device, you can try enabling it on your router instead. The general instructions are provided below, but the specific steps will depend on your setup.
- Open the router’s admin portal in a web browser and go to Services > VPN.
- Enable OpenVPN and also enable its client.

Start VPN Client on the Router - Connect the VPN to a supported country and save the changes.
- Restart the device and launch the FreeView Play. Confirm if it is functioning correctly.
If your router does not have the VPN option, you may need to install a VPN client on the router, given that the router supports the installation.
8. Reset the Device to the Factory Defaults or Reinstall its OS
If the core components of your device’s OS have been damaged by an improperly applied OS update, certain features (including VPN communications) will stop working. In such a case, resetting the device to the factory defaults or reinstalling its OS will resolve the issue.
Before resetting or reinstalling, make sure to back up any essential info or data as it will be wiped from the device.
Reset the Device
To reset an Android Sony TV:
- Launch the Sony TV Settings and go to Device Preferences > Reset.
- Select Factory Data Reset and confirm to reset the TV.
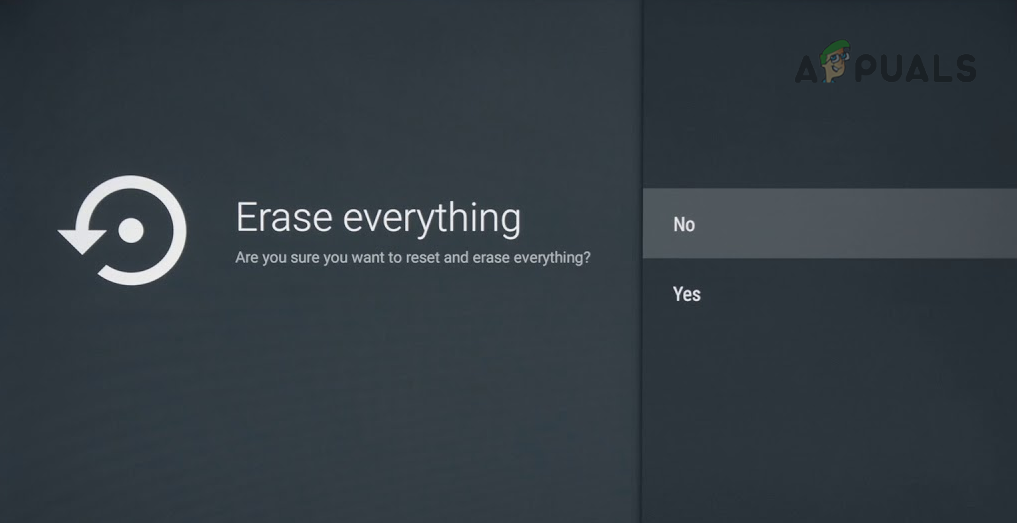
Reset the Sony TV to its Factory Settings - Once done, set it up and hopefully, that will clear the problem.
Reinstall the Device’s OS
To do so on a Philips TV:
- Launch the Philips TV Settings and go to All Settings > General Settings > Reinstall TV.
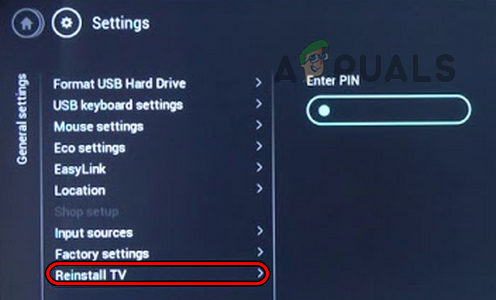
Reinstall TV on the Philips TV - Follow the prompts to complete the process and once done, hopefully, the FreeView Play issue would be resolved.
If the previous solution does not work, you could consider setting up your own VPN. This requires having the necessary location and equipment in a country where FreeView is supported, such as the UK. Alternatively, you could move your device to a supported country (if it is possible) and set it up there before bringing it back to your home country and using the VPN to access FreeView Play.
Another option is to sell your device in a non-supported country and purchase a new one in a supported country. Activate it there and then bring it back to your home country to use it. However, be cautious and avoid using unofficial apps that stream FreeView Play content. Instead, consider looking into Kodi repositories or other apps that are authorized by FreeView Play.
Reviewed by Muhammad Zubyan