11 Methods to Fix FPS Drops and Lag in Destiny 2: Lightfall
Ever since Destiny 2: Lightfall was released, many players have been complaining about lag and FPS drops in the game. This, of course, puts you at a disadvantage against your rivals, making you an easy target.

The FPS drops are usually due to incorrect game settings. First, you need to have a compatible PC that at least meets the minimum requirements to run the game. Secondly, the settings in the game need to be changed according to the instructions provided in this article.
In case changing the settings does not eliminate the lag and fluctuations, the problem may be with your device drivers. Therefore, simply updating the graphics drivers should resolve the issue.
Below, there will be a total of 11 methods through which you can fix the frame rates of Destiny 2: Lightfall. Go through them one by one and see which one works for you.
1. Change the game settings.
Before trying any other way, start by changing your in-game settings. Sometimes, the graphics and FPS rates are set very high, which your driver doesn’t support, and thus the game lags. So, you’ll find a list below of our recommended video settings. Make sure to adjust yours accordingly.
| Window Mode | Fullscreen |
| Resolution | 1920×1080 |
| Vsync | Off |
| Framerate Cap | Off |
| Field of View | According to personal preference |
| Anti-aliasing | SMAA or FXAA |
| Screen Space Ambient Occlusion | Off |
| Texture Anisotropy | 4x |
| Texture Quality | Medium or High |
| Shadow Quality | Low |
| Depth of Field | Low or Off |
| Environment Detail Distance | Medium |
| Character Detail Distance | Medium |
| Foliage Detail Distance | Low |
| Foliage Shadows Distance | Low |
| Light Shafts | Low |
| Motion Blur | Off |
| Wind Impulse | Off |
| Render Resolution | 100% |
| HDR | Off |
| Chromatic Aberration | Off |
| Film Grain | Off |
2. Update device drivers.
For high-graphics games, the graphics drivers need to be up-to-date as well. If you are using an old driver that does not support Destiny 2, we highly recommend changing it. However, if the driver can be updated, it is better to update it first and check if the frame rates become stable.
Here’s how to update your device drivers:
- Press ‘Win + R‘ to open the ‘Run’ dialog, then paste the following command to access the Device Manager: devmgmt.msc.
- Expand the Display Adapters option.
- Now right-click on your graphics driver and then click on Update driver.
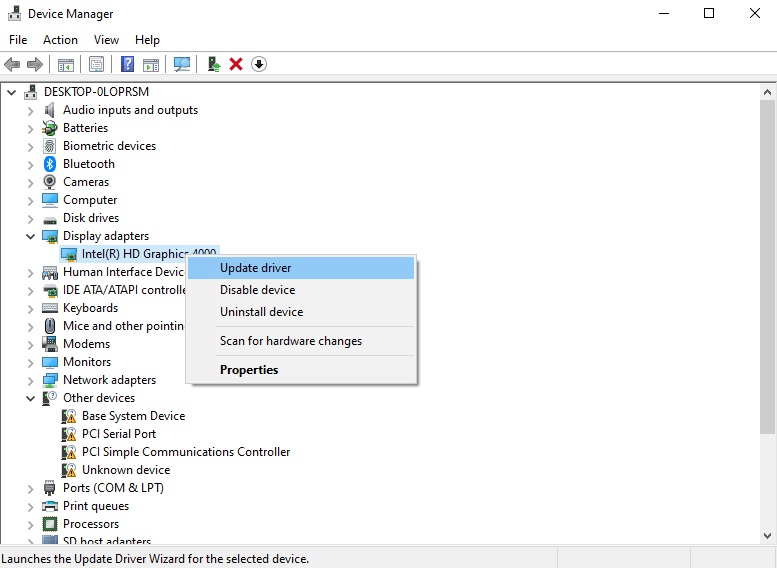
Update driver option in Device Manager
- In the next window, select Search automatically for updated driver software.
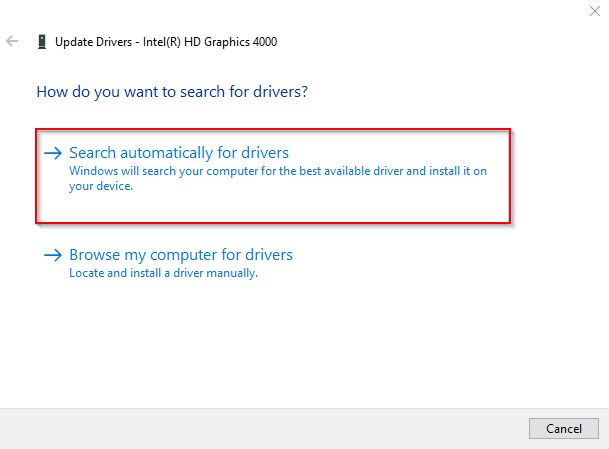
Search automatically for drivers option
- Wait for Windows to look for the driver software.
- Once found, follow the on-screen instructions to update the graphics card.
3. Clear the game cache.
The cache files of Destiny 2: Lightfall can sometimes become damaged, resulting in FPS drops and lag. To resolve this issue, you simply need to delete or clear the game’s cache.
Follow the steps below for the process:
- Open Run by pressing Win + R and paste: %appdata%.
- Click OK.
- Look for the Bungie folder.
- Enter it and delete the DestinyPC folder.
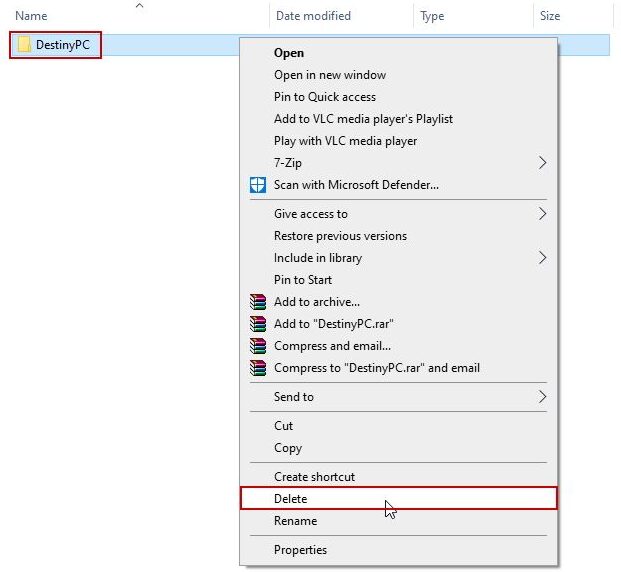
DestinyPC folder in Roaming > Bungie
- The game will automatically build new caches when you start it now.
4. Close background apps.
The reason for the ping spike in the game may be due to unnecessary applications running in the background. Some of these applications consume significant system resources, preventing the game from receiving the RAM it needs for stable operation.
So, it’s obvious that you should play Destiny 2 with no other processes running in the background. If they are running, follow the steps below to stop them.
- Open Task Manager with Ctrl + Shift + Esc.
- You’ll be at the processes tab by default.
- Stop every process that is running by right-clicking on it and then selecting End Task.
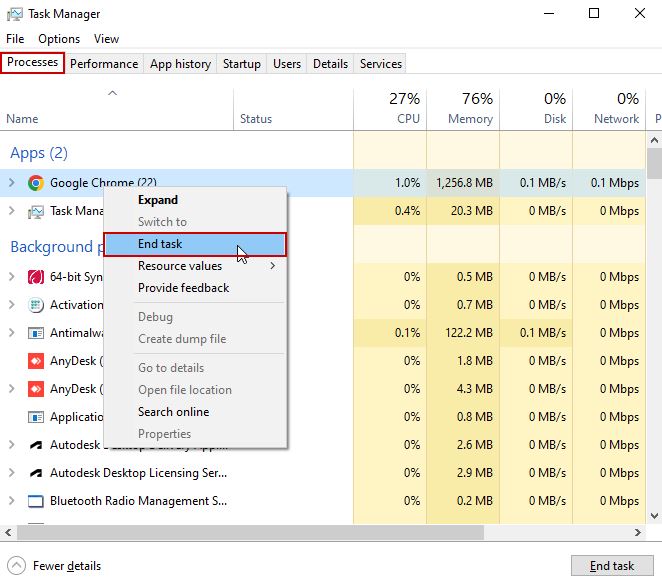
End tasks in Task Manager
- Launch and play Destiny 2 now.
5. Disable in-game overlays.
In-game overlays are undoubtedly important, particularly for messages, but they do consume some RAM as well. This can also be the reason for the lag in the game.
Mostly, you’ll be using Discord’s overlay, Steam’s overlay, or the Windows Game Bar. Turn off their overlay options by following these simple steps.
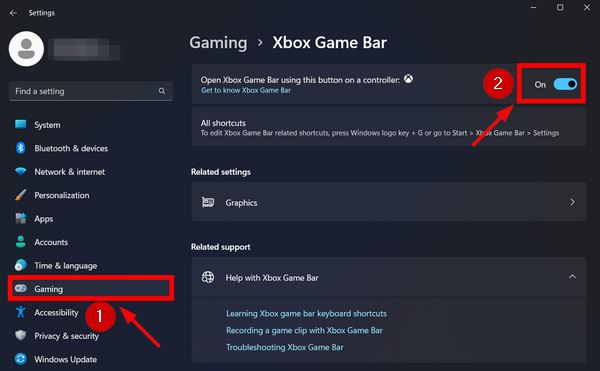
Windows Game Bar
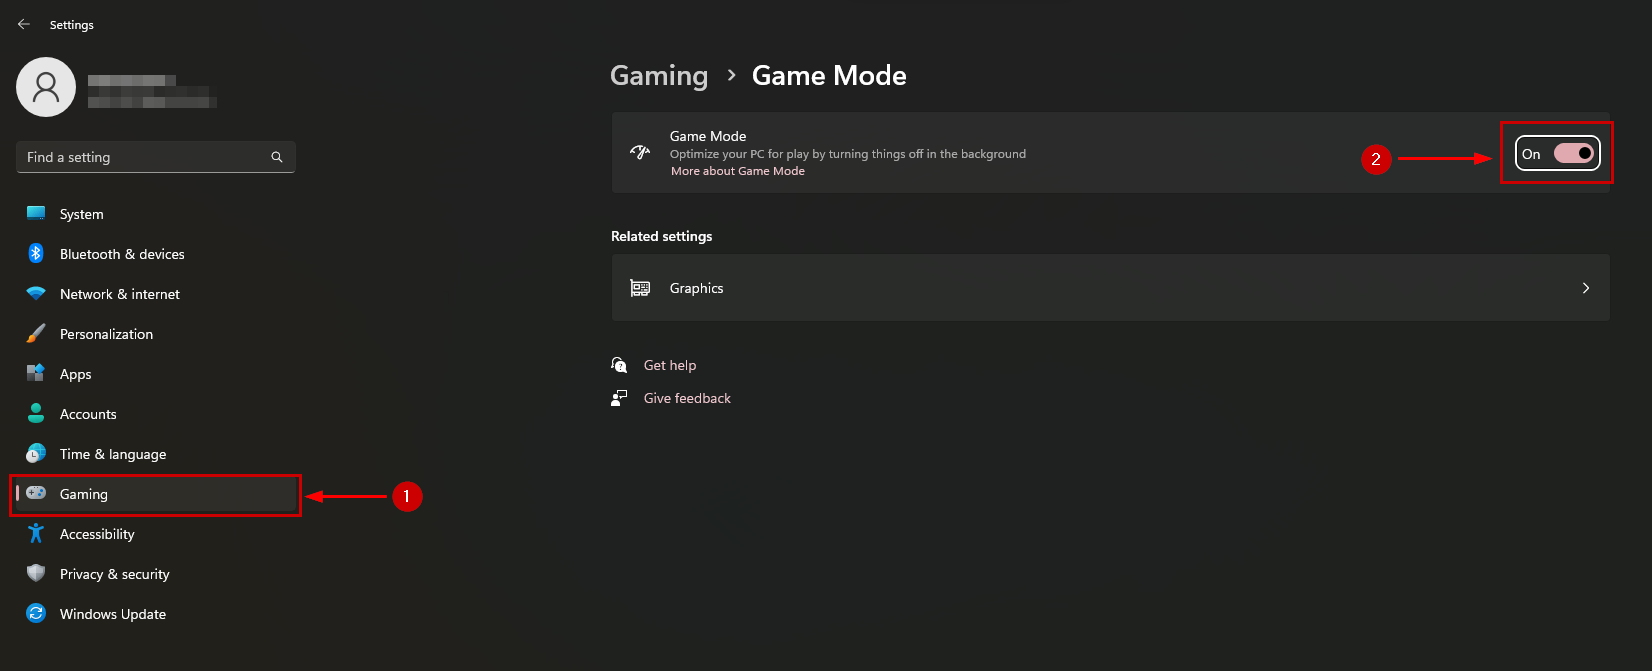
- Go to Settings > Gaming.
- Turn off the Xbox Game Bar option on the right side.
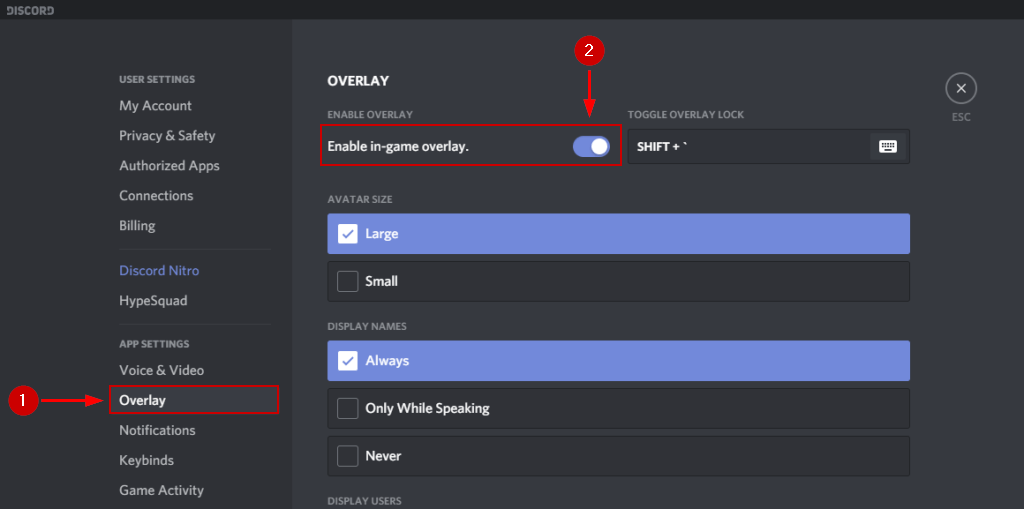
Discord
- Open Discord and click on the gear icon next to your username to go to Settings.
- Click on Overlay in the Settings section.
- Disable the Enable in-game overlay option.
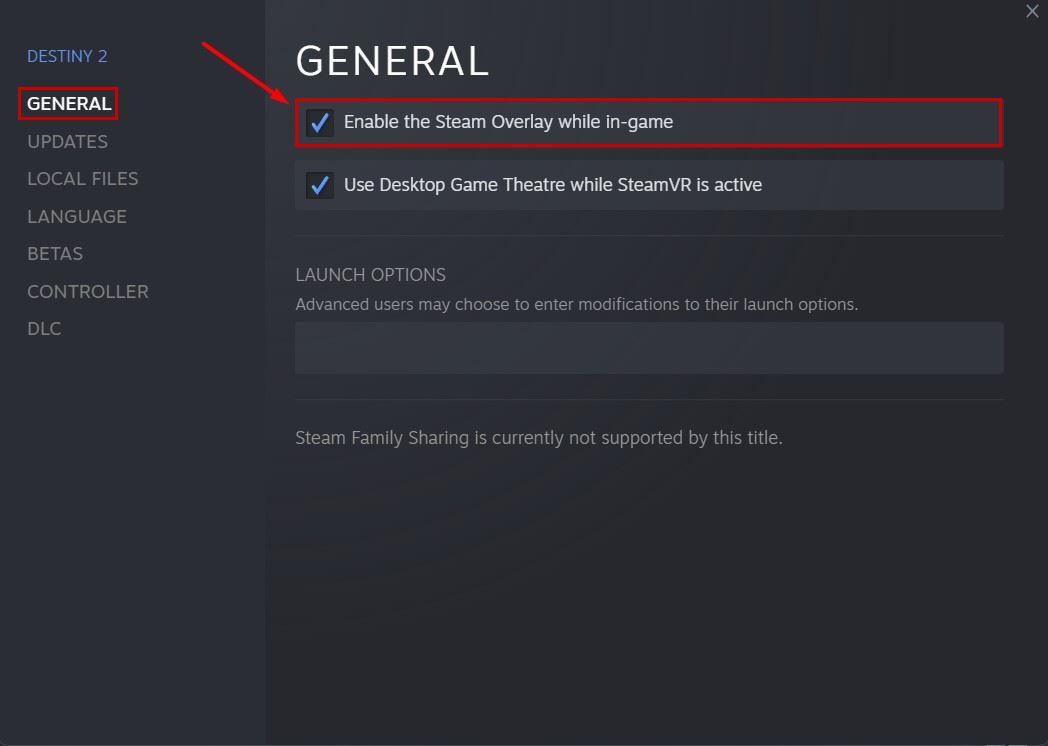
Steam
- Launch steam and head over to your Game Library.
- Select Properties after right-clicking on Destiny 2: Lightfall.
- Now in the General settings, untick the Enable the Steam Overlay while in-game option.
6. Verify the Integrity of Destiny 2: Lightfall’s Game Files.
The game files can either become corrupted or be removed by the anti-virus program after it mistakenly identifies them as viruses. This results in lagging and FPS fluctuations within the game. However, you can easily recover lost files through Steam. If you don’t know how to verify the integrity of game files, follow the procedure below.
- Go to your Game Library on Steam and right-click on Destiny 2: Lightfall.
- Click on Properties and go to the Local Files portion.
- Now select Verify Integrity of Game Files.
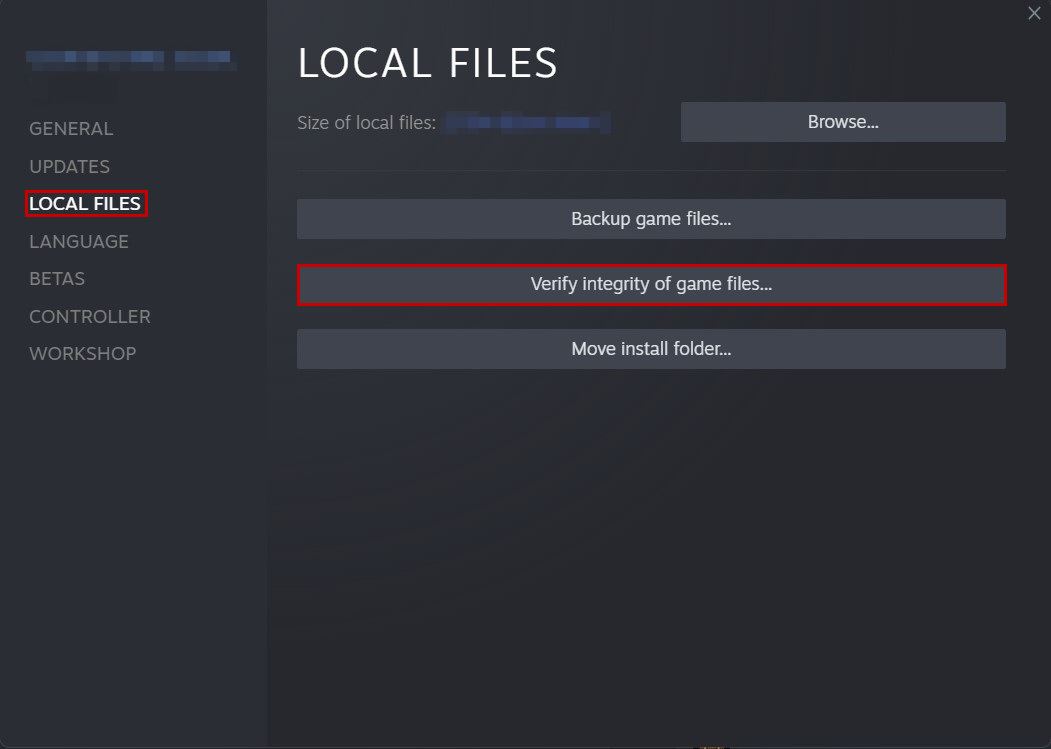
Verify the integrity of Destiny 2: Lightfall’s game files
- Wait for Steam to check the files, replace the defective ones, and install those that were removed by the antivirus.
- After the process is complete, close Steam and run the game again.
7. Enable Game Mode in Windows 11.
If you are a Windows 11 user, enabling Game Mode will boost the performance of your games. This is the reason why it should be enabled while playing Destiny 2 to avoid FPS drops.
It’s really straightforward to enable this option, and here’s how to do it.
- Type Game Mode in the search bar of Windows.
- Click on it and simply enable the option.
8. Select the High-Performance Power Option.
By default, Windows will be running in balanced mode. This means that the system’s hardware isn’t providing its best performance. Naturally, for high-intensity gaming, you need to have your system operating at its finest.
Luckily, the power option can be easily changed on Windows.
- Press Win + X and select Power Options.
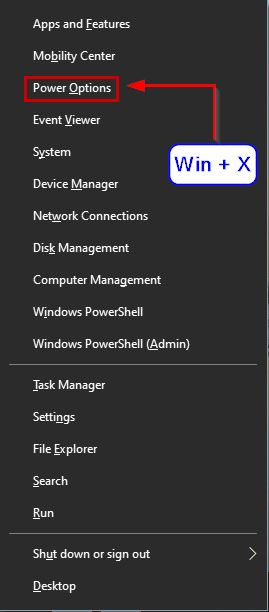
Windows Power Options
- Scroll down and click on Additional power settings under Related Settings.
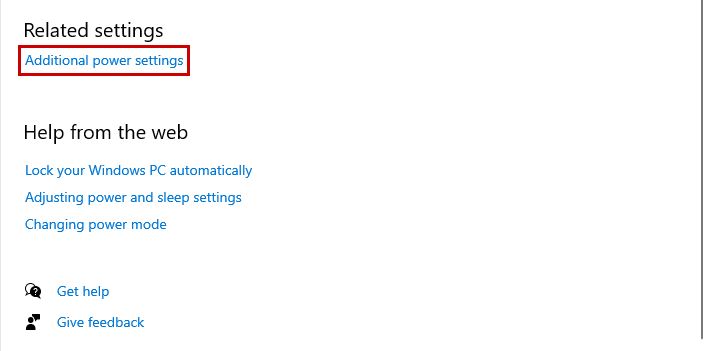
Additional power settings options
- Now click on Create a power plan.
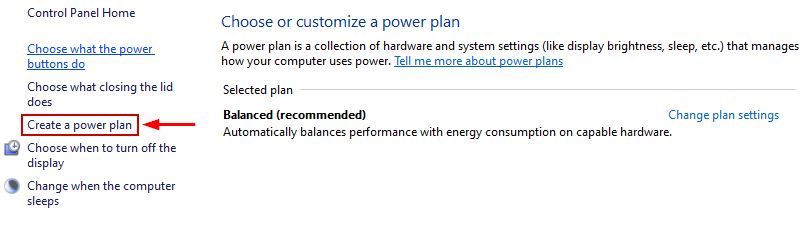
Create a power plan option
- Select High Performance and write the Plan name before clicking Next.
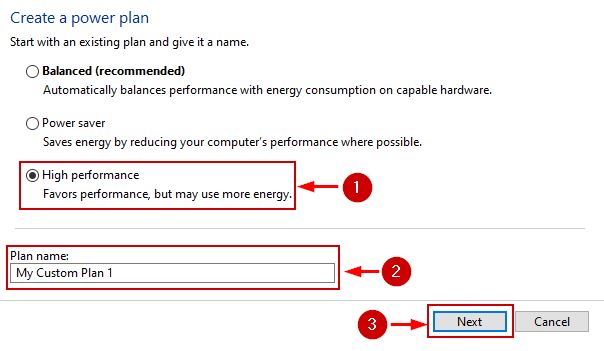
High performance power plan
- Click on Create on the next screen after selecting the desired settings.
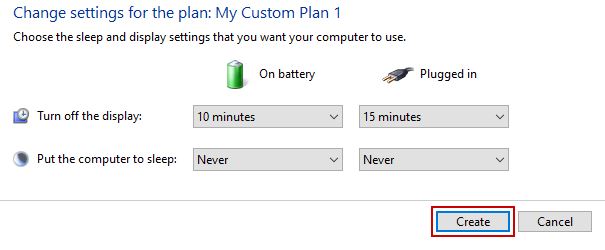
Edit power plan settings
- The plan will now be activated.
- Run the game and see if the FPS drops are gone or not.
9. Update Windows Performance Settings.
Another thing you should do after changing the power options is update the Windows performance settings. There are basically four options to choose from, and you need to select the one that says “Adjust for Best Performance.
- Go to the Control Panel and move to System and Security.
- Now select System and click on Advanced System Settings under Related Settings by scrolling down.
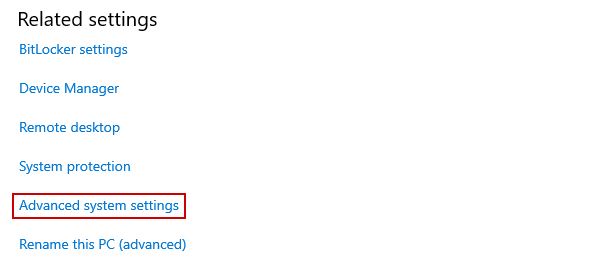
Advanced system settings option
- Click on Settings in the Performance section.
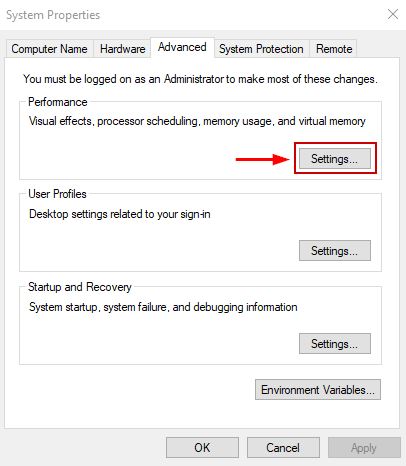
Windows Performance Settings
- Select Adjust for best performance under the Visual Effects tab.
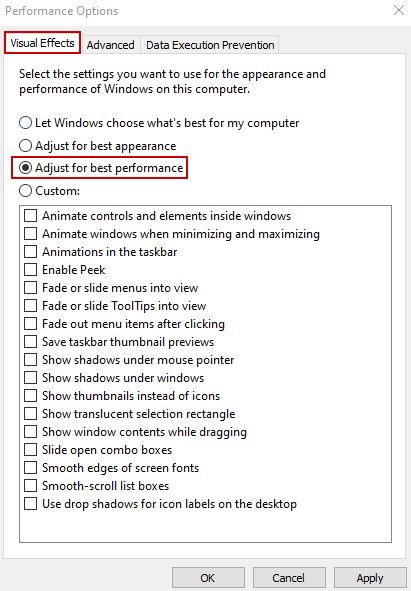
Select Adjust for best performance
- Click on Apply and OK.
10. Increase the priority of Destiny 2.
Increasing the priority of any game informs Windows that this application requires a boost. Doing so will prioritize Destiny 2: Lightfall over other applications, resolving FPS drops and instability issues.
- Launch Destiny 2: Lightfall.
- Now start Task Manager and click on its Details tab.
- Locate Destiny 2 and right-click on it.
- Hover over Set priority and select High from the subsequent menu.
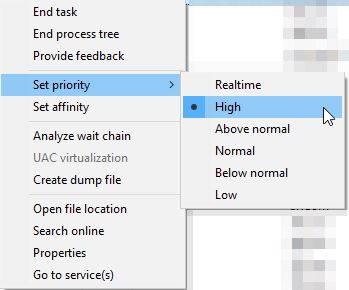
Set High Priority for Destiny 2: Lightfall
- Now, play the game and see whether it’s fluctuating.
11. Install the game on an SSD.
SSDs are much faster than HDDs. If your HDD is struggling to run the game, acquire an SSD and reinstall the game on it. If you can install the SSD yourself, that’s well and good; otherwise, have it done at a computer store. Afterward, install the game and select the location of your SSD for the Steam downloads.
The installation size of Destiny 2 is 102.60 GB on Steam, and the pre-load storage space requirement is 223.3 GB.


