Fix: YouTube Audio Desync Issue
YouTube is the go-to streaming website with millions of users. This giant has made its footprint in the streaming industry with support on various platforms. However, there is an issue on Windows that will slowly make the audio of your YouTube videos go out of sync. This YouTube audio desync will probably happen while watching a YouTube video. The size of the YouTube player won’t have any effect on the audio and it will only be fixed after a refresh of the page (in some cases it won’t). So, if you have this issue then you will have to refresh the YouTube page after every minute or so. As you can imagine, this can create a lot of problems and make YouTube almost unwatchable for any user.
What causes this Audio Desync on Youtube?
There are a few things that can cause this issue. These are as follows
- Audio driver issues: These are more likely to occur if the issue is in every browser. Audio drivers play a key role in running YouTube codec.
- Graphics driver issues: Without proper graphics drivers, the audio being played with either lag or lose the synchronization. Drivers get corrupt all the time (especially after a Windows update).
- Google Chrome issue (if the problem is only on Chrome)
- Google Chrome’s Hardware Acceleration option
- Cache and cookies
Since there are a lot of things that can cause this issue, there are quite a few solutions for this problem. Simply go through each of the methods listed below until your problem is solved.
Note:
You should try to watch YouTube in other browsers as well. This will help you narrow down the causes of this issue. If the problem is with all browsers then the most likely cause is your drivers since it’s affecting everything. On the other hand, if other browsers are fine then the problem might be with your specific browser.
Solution 1: Updating Drivers (If the issue is with all browsers)
Since driver issues can be the culprit behind this, updating your drivers should be the first thing on your troubleshooting list. Drivers are the main modules connecting your operating system with the system hardware. Drivers can either get corrupt or outdated. To fix both scenarios, you can update your drivers to the latest version available.
- Hold Windows key and press R, type devmgmt.msc in the dialogue box and press Enter.
- Expand Display adapters, Right click your graphics card and select Update driver.
- Select Search automatically for updated driver software and wait for the Windows to give you the current status of drivers.
If Windows find a new version of your graphics driver then you will see a “downloading driver” status on the window. On the other hand, if Windows can’t find the latest version of your graphics driver, you can do it manually by following the steps given below
- Go to your motherboard’s manufacturer website (if you have integrated graphics) or your graphics card’s manufacturer website (if you have an external graphics card) and download the latest driver for your device.
- Hold Windows key and press R, type devmgmt.msc in the dialogue box and press Enter.
- Expand Display adapters, Right click your graphics card and select Update driver.
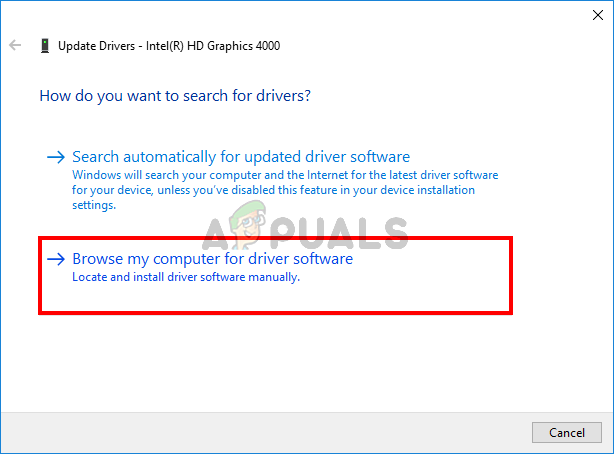
- Select Browse my computer for driver software
- Click Browse and navigate to the location where you downloaded the driver. Select it and open it
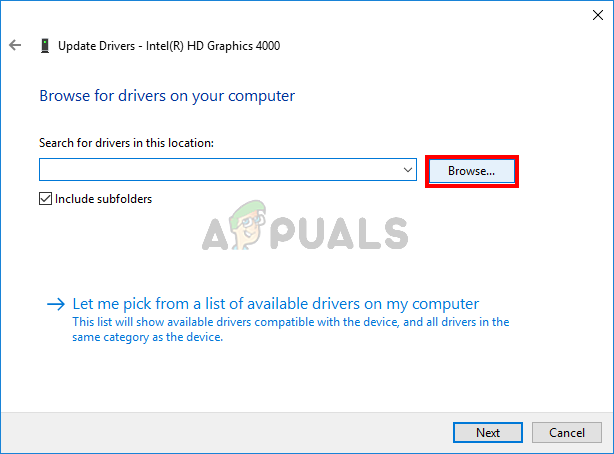
- Click Next and follow any additional on-screen instructions.
Once done, you should be good to go. The steps for updating your Audio drivers are the same except that you will have to select your audio drivers from the device manager (step 3). You can perform the steps given above to update your audio drivers. Once done, reboot and check if it resolves the issue.
Method 2: Disable Hardware Acceleration
If you are facing issues on Google Chrome then the issue might be because of their Hardware Acceleration setting. Hardware acceleration allows using hardware for software rendering purposes. This enables performance and reduces the load on the OS. This setting, if enabled, is known to cause issues like these. So, simply disabling the setting will help you get rid of this issue.
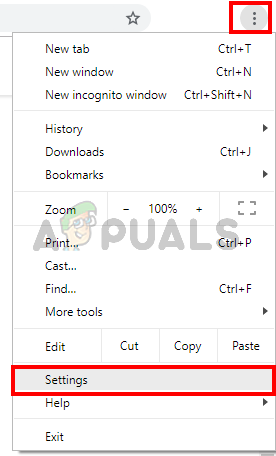
- Open Google Chrome and click the 3 dots from the top right corner. Select Settings from the drop-down menu.
2. Scroll down and select Advanced.
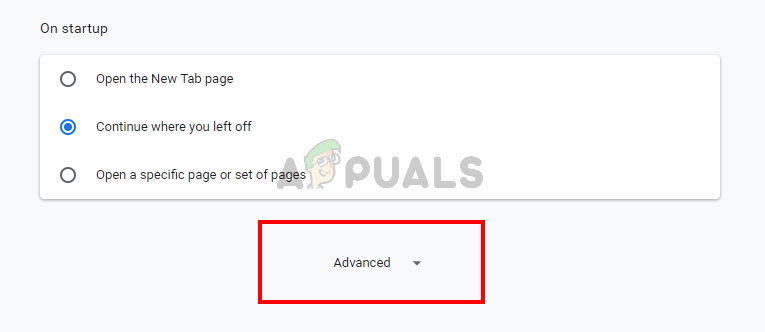
3. Scroll down even more and navigate to the section System. Toggle off the option that says Use hardware acceleration when available and click Relaunch button

Check if this rectifies the YouTube audio video sync issue for you.
Method 3: Clear Cache and Sign Out
Clearing the cache from Google Chrome and Signing out has worked for a lot of people. However, don’t just sign-out, there is a specific way of signing out and signing back in that resolves this issue. Follow the steps given below
- Before we sign-out of YouTube, we will first clear the cache for it. You can either clear your entire browser’s cache or you can try with only clearing cache for YouTube first.
- Now, sign out of your Google account. You can simply click your Google profile from the top right corner in Google Chrome and select Sign out
- Open a new tab and open YouTube. Click sign in and sign in with your Google account. Make sure you sign in through YouTube.
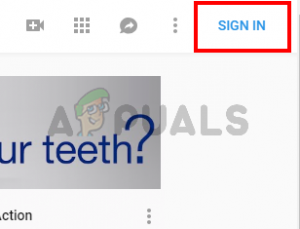
Signing in into YouTube - Close the tab that you used to sign in to YouTube and Open a new tab. Open YouTube again and Sign in to your Google account by clicking on the sign in from the top right corner
Check if the issue is resolved.
Method 4: Disable Optimized background video playback flag
Disabling the Optimized background video playback flag has helped resolve the issue for a lot of users as well. Keep in mind that this solution is for Google Chrome users. Follow the steps given below
- Open Google Chrome
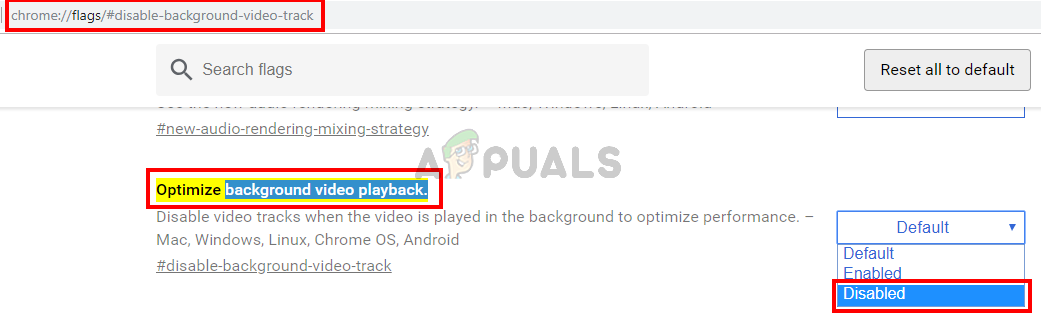
- Type chrome://flags/#disable-background-video-track in the address bar and press Enter
- Select Disable from the drop-down menu of Optimized background video playback
That’s it. Restart the browser and the problem should be solved.
Solution 5: Reinstalling Browser
If the issue is with just one browser and YouTube is working fine on other browsers, then reinstalling the browser might work for you. You should uninstall the browser, reboot, and reinstall the browser from scratch. This should solve the issue for you.
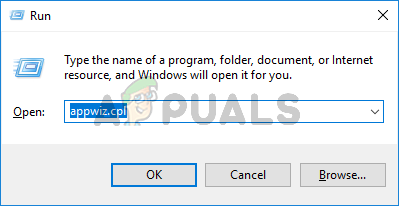
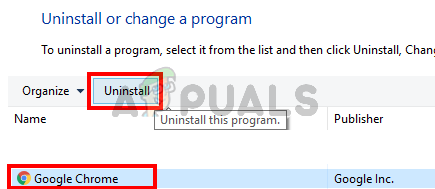
- Hold Windows key and press R, type appwiz.cpl and press Enter
- Locate your browser from the installed programs list and click Uninstall. Follow any additional on-screen instructions
- Once done, restart your system. Now download a fresh installer copy of the browser and install it.
Check if the issue persists once the browser is installed.


hey,about “Method 3: Clear Cache and Sign Out”: some time ago i stumbled over a pretty neat way to empty the cache of a specific site only. happy to share! (works for chrome only)1.) open the site where you wanna empty the cache, f.i. youtube.com
2.) press CTRL + I or right click anywhere on the site > inspect
3.) now, right click on the reload button. you’ll see 3 options: normal reload, hard reload, empty cache and hard reload. normal reload is well, the normal reload. hard reload *ignores* the cache and reloads the page; “empty cache and hard reload” empties the cache, then reloads. i’d recommend #2, if that won’t do, #3.br,
stephanie