Fix: The hosted network couldn’t be started
Some users who upgraded from to previous versions of Windows to Windows 10 are having issues in setting up the WiFi hotspot. After setting up the network via command prompt as described in the hosted network issues article, the following errors are thrown:
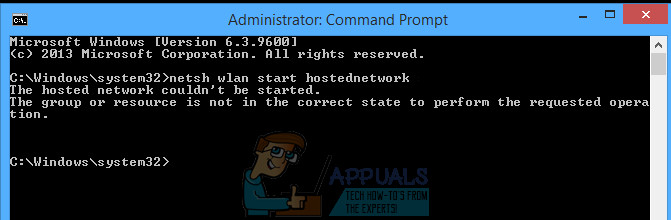
The hosted network couldn’t be started.
The group or resource is not in the correct state to perform the requested operation.
This error suggests Microsoft Hosted Network Virtual Adapter isn’t enabled, but it’s actually missing from windows device manager. This issue is widely caused by a faulty or incompatible WiFi driver.
To fix this issue, you have to roll back your WiFi card driver to a previous version, or install the latest version from the vendor, or change a specific WiFi setting.
Method 1: Rolling a driver back to its previous version
- Press Windows + X and select Device Manager. You can alternatively, press CTRL + R to open the command prompt, type “devmgmt.msc” and click OK. If you’re prompted for admin privileges for this action, grant it.

- Expand the Network adapters category and then double-click on the WiFi adapter.

- Select the Driver tab and then click Roll Back Driver. Go through the wizard to complete the roll back.

- Reboot and try to set up the hotspot again.
Method 2: Updating WiFi Drivers
If your Roll Back Driver was greyed out, it obviously means you can’t roll back your driver. This method shows you how to get the actual drivers from the vendor, and not Microsoft.
- Press Windows + X and select Device Manager. You can alternatively, press CTRL + R to open the command prompt, type “devmgmt.msc” and click OK. If you’re prompted for admin privileges for this action, grant it.

- Expand the Network adapters category and then take note of the name of the wireless card.

- Make a Google search of the name of the WiFi card + Driver and use the provided link to access the driver from the vendor. E.g If it’s an Intel device, type “Intel wifi driver”. Visit the website and then download the drivers from here. Alternatively, you can visit your laptop vendor’s support website and search for the wireless driver from there.
- Install the wireless driver on your PC and then make a reboot. Once the PC is back, try to create your hotspot again or verify if Microsoft Hosted Network Virtual Adapter is back in Device Manager.
Method 3: Changing Wi-Fi Card Settings
- Press Windows + X and select Device Manager. You can alternatively, press CTRL + R to open the command prompt, type “devmgmt.msc” and click OK. If you’re prompted for admin privileges for this action, grant it.

- Expand the Network adapters category and then double-click on the WiFi adapter.

- In the Properties windows, click on Advanced.

- Inside the Property list, select HT mode and then set the Value to Enabled.

- Click the OK button and then check the hosted working mode by entering the command netsh wlan show drivers in the command prompt. If the hostednetwork supported = “yes”, then your problem is fixed.
λ netsh wlan show drivers
…
Hosted network supported : Yes
…
λ netsh wlan start hostednetwork
The hosted network couldn’t be started.
The group or resource is not in the correct state to perform the requested operation.