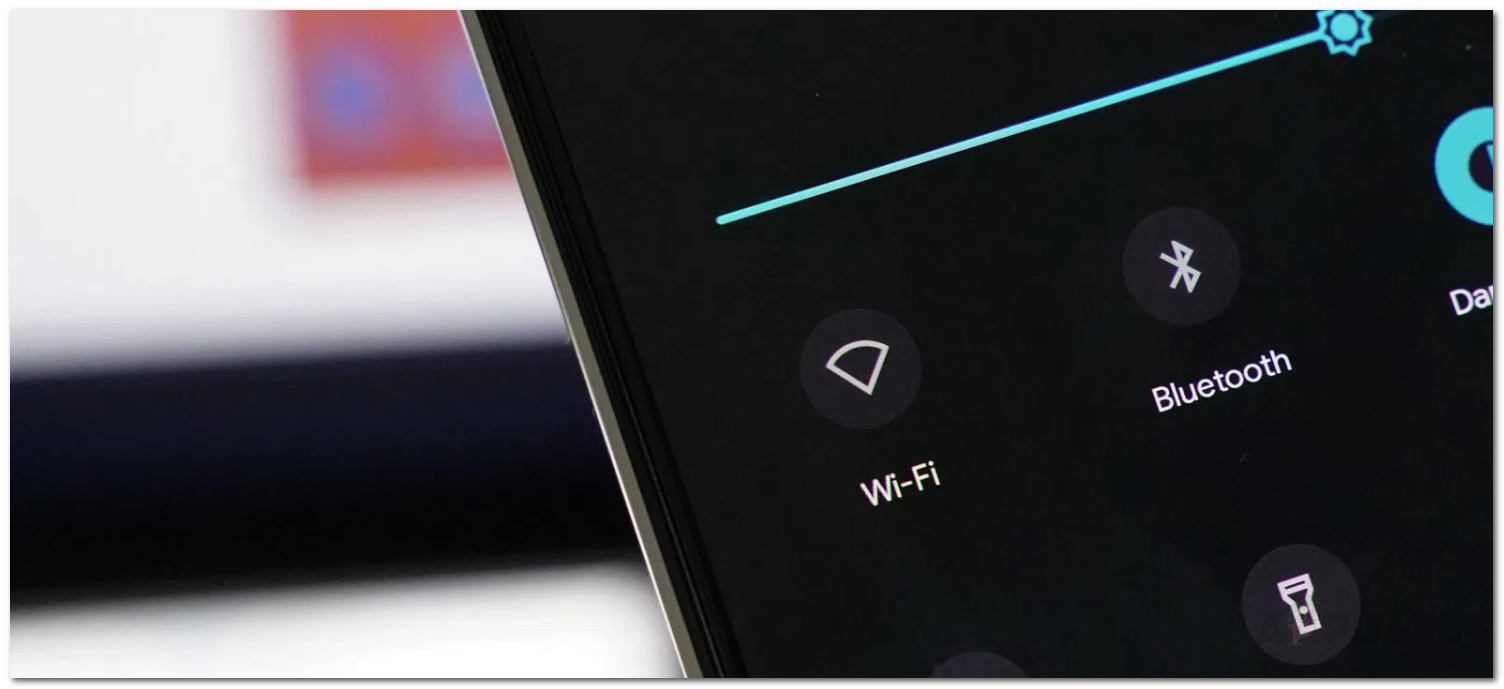
How to Fix Mobile Hotspot Not working in Windows 11?
Microsoft Windows 10 has a feature called Mobile Hotspot that makes it very easy to set up a network over the Wi-Fi connection of your laptop, allowing up to eight devices access to the internet. In addition, it is simple to use and works with both Wi-Fi and ethernet connections, but recently users have been experiencing problems using it on their Windows 11 devices.
The issue typically arises due to outdated network adapter drivers, Bluetooth, overly-protective security programs, and Airplane mode. Regardless of the cause, the following troubleshooting tips should help you resolve mobile hotspot issues on Windows 11, so let’s get started.
Run the Network Adapter Troubleshooter
Start by checking whether the Windows installation is capable of automatically fixing the problem before moving on to more sophisticated repair strategies. Several other users who faced the same issue have reported that the problem was solved completely after using the Network Adapter Troubleshooter utility and applying the recommended fix.
Upon detecting a common scenario, this utility checks every relevant network component for inconsistencies and applies several repair methods automatically.
Follow the steps below if you haven’t run the Network Adapter troubleshooter yet:
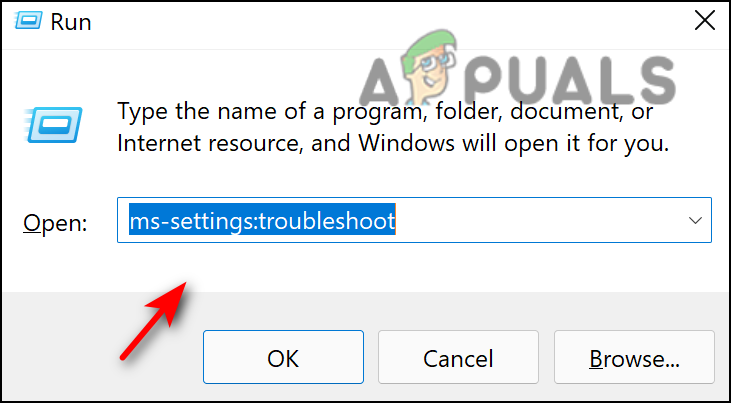
- Open up a Run dialog box by pressing Windows + R keys together.
- Next, type ‘ms-settings:troubleshoot’ inside the text field of the dialog box and press Enter to open up the Troubleshooting tab in Windows Settings.
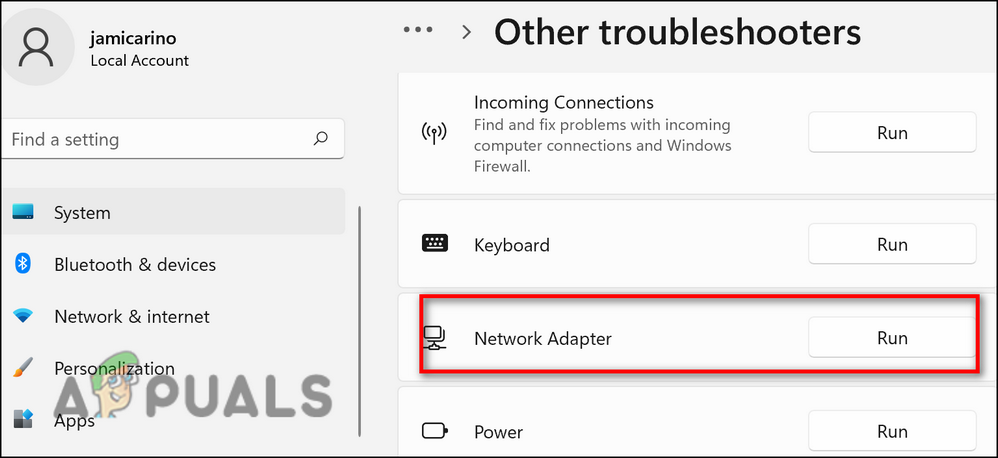
Type ms-settings-troubleshoot - Click on Additional troubleshooters.
- Then, select Network Adapter and click on Run.
Network adapter run the troubleshoot - Now, select the network adapter whose performance is unsatisfactory from the list presented to you, then click Next.
- Wait for the scan to finish. You should expect to lose internet connection temporarily during this process as the utility tests different repair strategies that might work.
- If a viable solution is identified, click on Apply this fix and wait until the troubleshooter is able to resolve the problem.
- Upon completion of the operation, restart your computer and check if the mobile hotspot issue has been resolved.
Modify Adapter Settings
It might also be your adapter settings that are preventing you from connecting the hotspot. If this scenario is applicable, you can fix the issue by modifying the adapter settings by following the steps mentioned below:
- Press Windows + I keys simultaneously on your keyboard to launch Windows Settings.
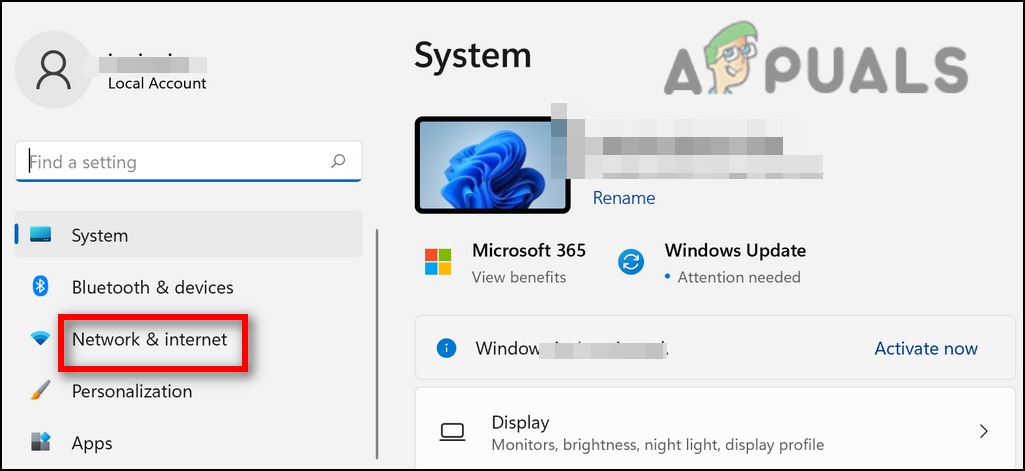
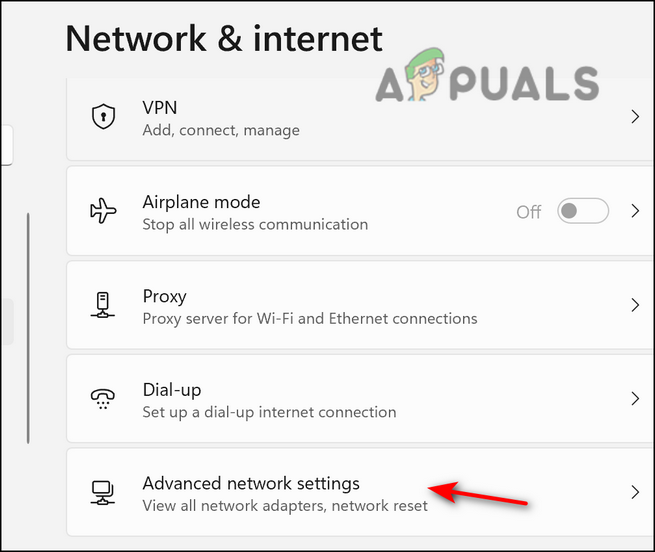
- Inside the Settings window, click on Network & internet from the left panel.
Check work network errors - Select Advanced network settings on the right side of the window.
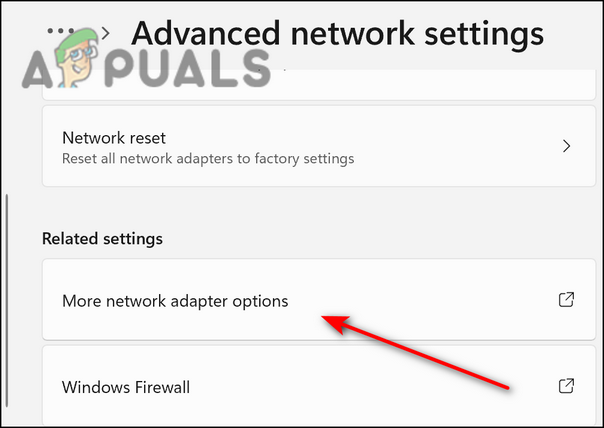
Access advanced network settings - Then, click on More network adaptor options to launch the classic Network Connections.
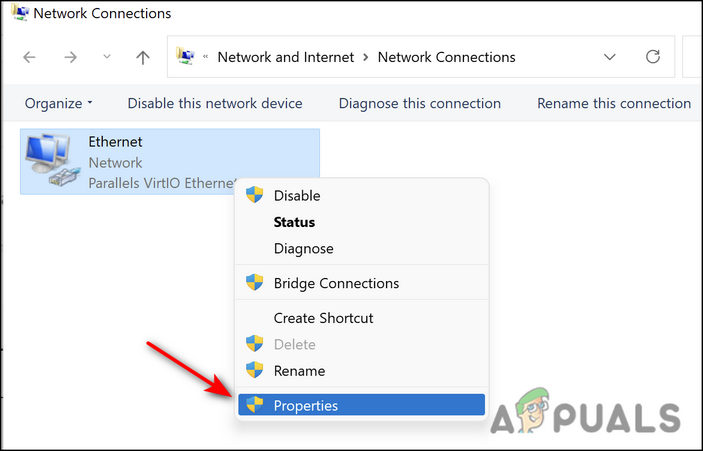
Choose the more adapter options - Right-click on your Wifi adaptor from the list of options available and click on Properties from the context menu.
Ethernet properties - Head over to Sharing and checkmark the option associated with ‘Allow other network users to connect through this computer’s Internet connection’.
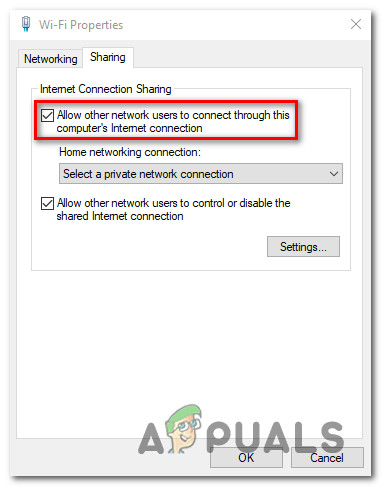
Allowing other network users to connect through this computer’s Internet Connection - Save the settings and check if this fixed the hotspot issue.
Modify Windows Registry
Windows Registry is an administrative-level utility that stores low-level information about Windows programs and processes. There are times when a certain value or key within the Registry Editor is developed to prevent you from performing certain operations, causing issues like the one at hand.
The solution to this is simple, as all that you need to do is delete or modify the Registry to fix the issue. We will do exactly the same in this method but before you proceed with the steps mentioned below, we recommend you create a Registry backup, just in case.
Once you do that, here is what to do next:
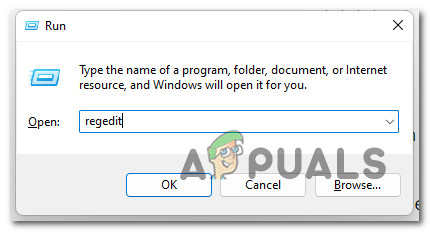
- Press Windows + R keys simultaneously to open a Run dialog box.
- In the text field of the dialog box, type regedit and hit Enter.
Open up the Registry Editor - Once you are inside the Registry Editor, navigate to the location mentioned below.
HKEY_LOCAL_MACHINE\SYSTEM\CurrentControlSet\Services\WlanSvc\Parameters\HostedNetworkSettings\
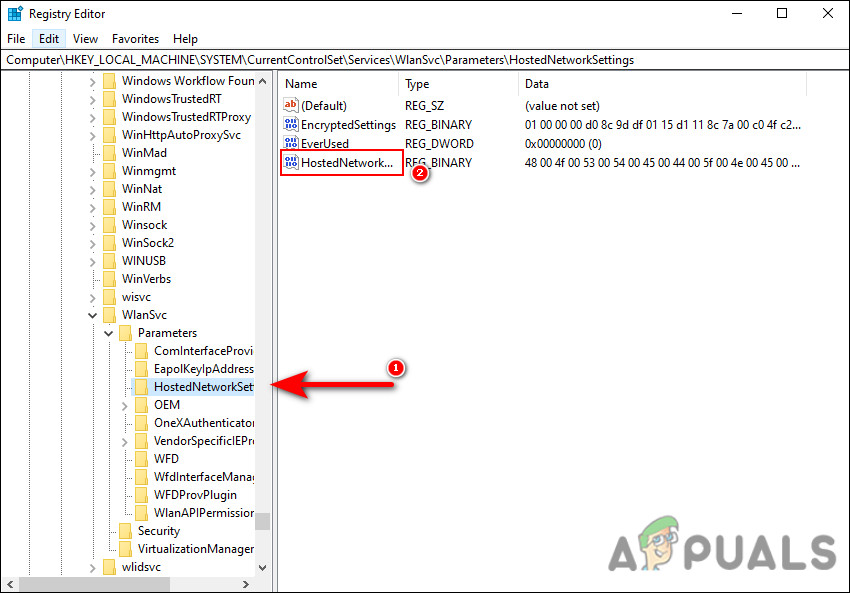
- Now right-click on HostedNetworkSettings REG_BINARY in the right pane and select Delete.
Update Your WiFi Driver
You are also likely to face the hotspot issue if your WiFi driver is not functioning properly. This typically happens when the driver is outdated or faulty. Fortunately, this issue is easy to resolve, as all that you need to do is update the driver.
Here is how you can do that:
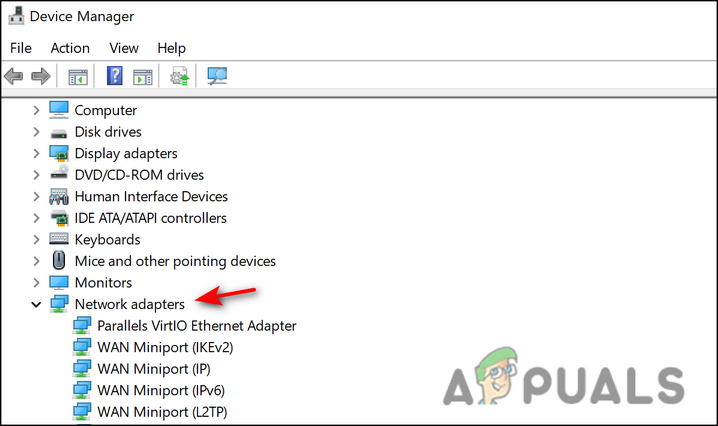
- Type Device Manager in the search area of the taskbar and click Open.
- Inside the Device Manager window, expand Network adapters.
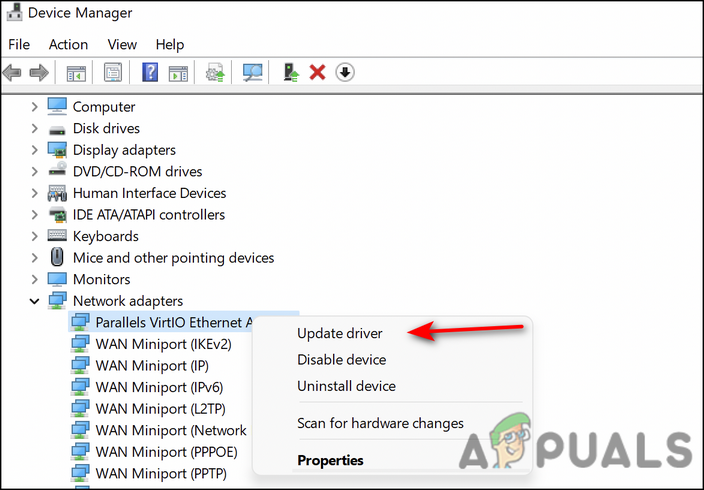
Network adapters-device manager - Right-click on your WiFi driver and select Update Driver.
Update the driver - Click Search automatically for drivers in the next window.
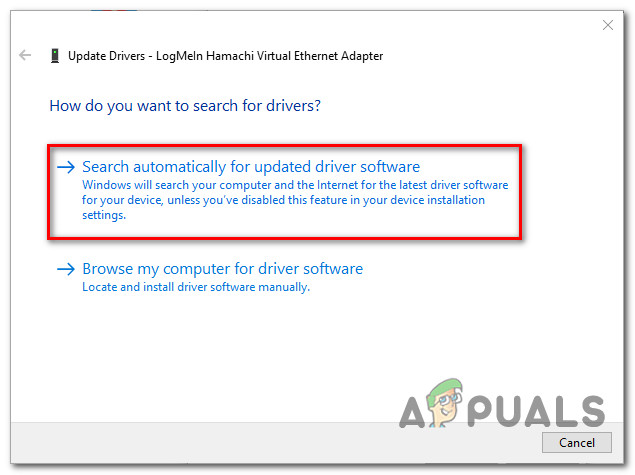
Searching for a new driver version automatically - If the utility identifies an updated driver, install it and check if the hotspot issue is resolved.
Reset the Network adapter
Alternatively, you can uninstall the current network adapter via Device Manager to force your Windows 10 installation to re-detect the adapter and hopefully install the replacement driver.
The fix has been confirmed to work for many Windows 11 users who had previously been unable to establish a hotspot. Following these instructions, you can reinstall the network adapter and fix the error:
- Open up a Run dialog box by pressing Windows key + R keys together.
- Inside the text field of the dialog box, type ‘devmgmt.msc’ and press Enter to launch Device Manager.
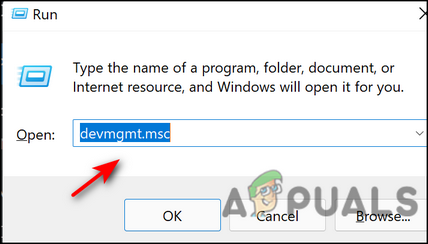
Run devmgmt msc 11 - In Device Manager, expand the Network adapters drop-down menu, then right-click on the entry associated with your main network adapter.
- Click Uninstall device from the context menu.
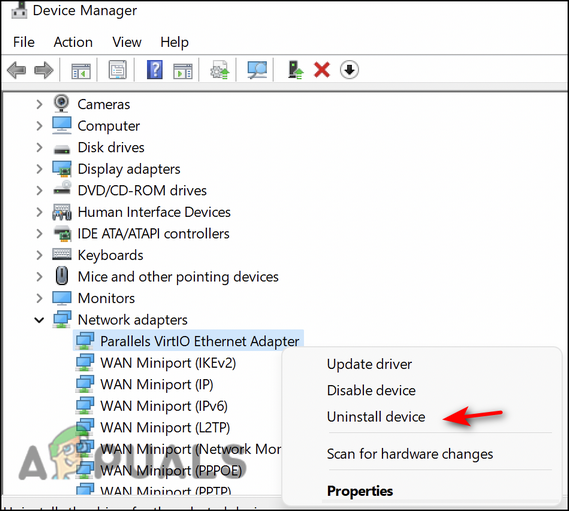
Click uninstall - After uninstalling the device, exit Device Manager and restart your computer so Windows 10 can detect the missing network driver and hopefully install an updated one.
- When the next startup is complete, create another hotspot to see if you still experience the same problem.


