Fix: ssh_exchange_identification: read: connection reset by peer
Fortunately, the ssh_exchange_identification: read: Connection reset by peer error is quite rare, but you might run into it if you’re trying to ssh into any type of Unix server. It doesn’t matter if you’re using Windows with cygwin to access Ubuntu or macOS with the terminal to ssh into Arch, Fedora or CentOS. Since ssh is universal across Unix and Linux, this error can come up any time that the remote server resets the connection without your permission.
Method 1: Check the hosts.deny File
If you have administrative privileges on the server and a way to access it, then by far the easiest way to solve this issue is to head over to a prompt logged directly into the server’s computer and have a look at the hosts.deny file.
Type![]() on the server to see if your machine is listed as being banned for whatever reason.
on the server to see if your machine is listed as being banned for whatever reason.

If it is, then this is generally a mistake and you can safely remove it then reconnect via ssh on the other machine. Otherwise, check to make sure that there aren’t any weird wildcards that would forbade your machine from connected. A fresh file with nothing but the default text that was added by the server’s distribution wouldn’t be the culprit, however, in most cases.

Try ![]() if you’d like to manually add your remote login to ensure that it could connect. Keep in mind that this is rarely necessary, but if you do add them you’ll need to follow the informational text that the distribution provided. You’d add, for instance, a line at the bottom that reads like ALL: appuals.com to permit everyone on appuals.com to connect to the server. Make sure that you type your host correctly if you do this, then push Ctrl+O to save the file and Ctrl+X to exit.
if you’d like to manually add your remote login to ensure that it could connect. Keep in mind that this is rarely necessary, but if you do add them you’ll need to follow the informational text that the distribution provided. You’d add, for instance, a line at the bottom that reads like ALL: appuals.com to permit everyone on appuals.com to connect to the server. Make sure that you type your host correctly if you do this, then push Ctrl+O to save the file and Ctrl+X to exit.
You should be able to ssh into the server at this point.
Method 2: Changing ssh Configuration Options
If you can’t get to the remote server or the previous method didn’t fix the option, then clear out your old ssh configuration files and see if that does the trick after an update. Assuming it doesn’t, then add the -v option to ssh and attempt to connect again. Should you still get an error message, try adding -c aes256-ctr to your ssh command and see if that does the trick. This should shorten the cipher list and allow you to connect to the server you were attempting to ssh into since this shortens the packet size in turn.
Some users have noted that this is especially useful when troubleshooting some types of Cisco-branded equipment because some pieces of server hardware expect smaller packet sizes by default. SImply add -c aes256-ctr to your usual ssh command and you should be able to get in.
Method 3: Overriding Accidental IP Bans
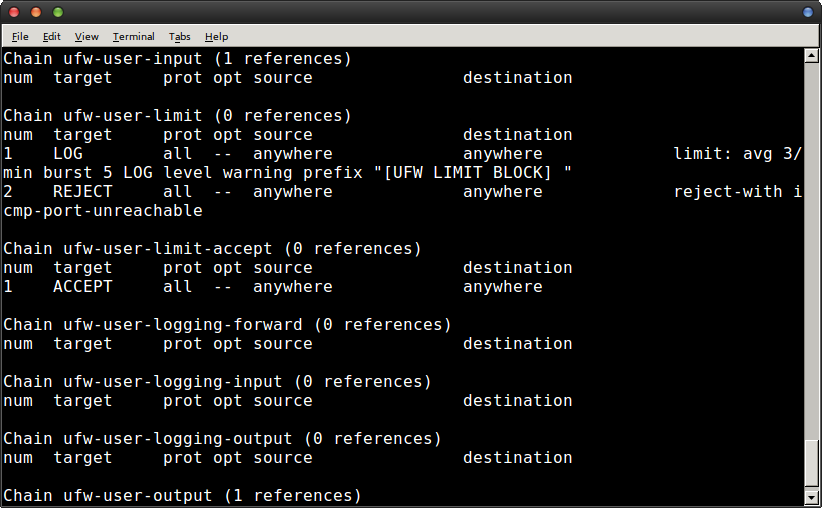
If you’ve tried to log in a few times before and got denied, then your own server might have mistook you for a bad IP address. This generally happens if ytou keep retrying the connection while troubleshooting, which is a rational response but it could look like an attack to the fail2ban subroutine. To make sure this isn’t the case, run sudo iptables -L –line-number from the remote connect and look for your IP address. You’ll probably find that there’s any number of unrelated connections you can ignore.

Once you’ve found the problem, run iptables -D followed by the offending chain and chain number to prevent you from being banned by your own software again. You shouldn’t have any further problems as a result. However, if you do,
you can edit the following file.![]()
Load it up in your favorite text editor, more than likely nano or vi, as root. You’ll probably want to run something like ![]() and then look for a line that reads ignoreip. Add your IP address to this line in order to permanently block fail2ban from adding your IP address to any block lists.
and then look for a line that reads ignoreip. Add your IP address to this line in order to permanently block fail2ban from adding your IP address to any block lists.
Different Linux distributions do things a little differently, but these changes should take effect instantly in a majority of cases.


