How to Fix ‘Failed to Connect to lvmetad’ Error on Ubuntu?
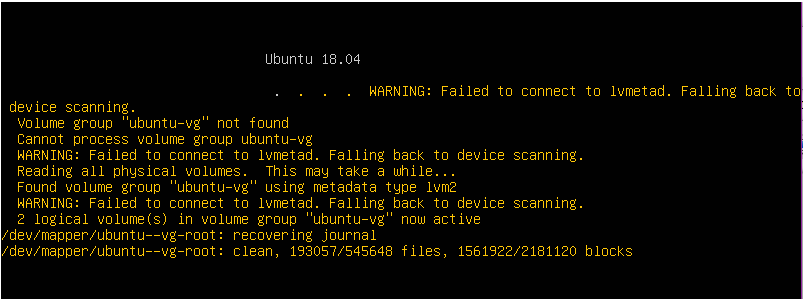
Ubuntu is a free and open-source Linux based operating system used mostly for cloud computing with OpenStack support. Updates are released every 6 months that come with extended features and performance enhancements. However, quite recently, a lot of reports have been coming in where users are unable to boot into the operating system and the “Failed to Connect to lvmetad, Falling back to Device Scanning” message is observed.
What Causes the “Failed to Connect to Lvmetad” Error on Ubuntu?
After receiving numerous reports from multiple users, we decided to investigate the issue and devised a set of solutions to rectify it completely. Also, we looked into the reasons due to which this error is triggered and listed them as follows.
- Nvidia Drivers: For some users, it was seen that the Nvidia drivers were causing the issue with the operating system. Sometimes, the drivers can malfunction and interfere with important system features which can result in triggering this error.
- Corrupt/Broken Kernel: In some cases, it was seen that updating kernel to the latest version wasn’t processed properly and it might have gotten broken/corrupted in the process due to which the error might be triggered.
Now that you have a basic understanding of the nature of the problem, we will move on towards the solutions. Make sure to implement these in the specific order in which they are presented to avoid conflict.
Solution 1: Purging Nvidia Drivers
If the Nvidia drivers are interfering with certain system functions, the error might be triggered. Therefore, in this step, we will be completely uninstalling the Nvidia Drivers from our computer using the purge command. For that:
- If the computer doesn’t boot up follow the second solution before trying the steps below,
- Press “Ctrl” + “Alt” + “T” keys to bring up the terminal.
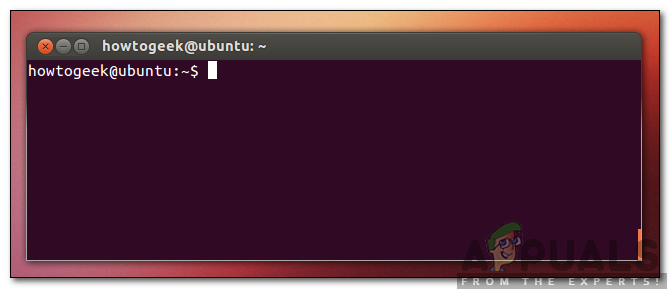
Opening Terminal - Type in the following command and press “Enter“.
sudo apt-get remove --purge '^nvidia-.*'
- This will delete all Nvidia related packages, however, a command needs to be executed for Ubuntu to work.
- Type in the following command and press “Enter“.
sudo apt-get install ubuntu-desktop
- Check to see if the issue persists.
Solution 2: Booting into an Older Kernel
If the new kernel hasn’t been processed properly it can cause issues during the bootup. Therefore, in this step, we will be booting into an older kernel. For that:
- During the bootup press the Esc, F9 or the F3 key to boot into the BIOS.
- Select the “Advanced Options for Ubuntu” to boot into the Ubuntu options screen.
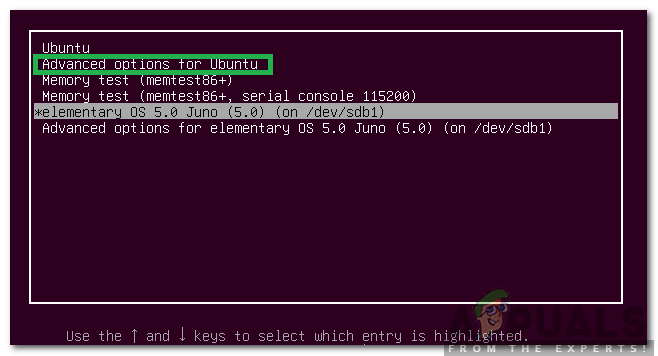
Selecting Advanced Options for Ubuntu - Navigate with the arrow keys and select an older version of the kernel.
- Press “Enter” to select the kernel.
- Reboot the computer and try to boot into the older kernel
- Check to see if the issue persists.
Solution 3: Processing New Kernel
The issue is mostly seen if the newer kernel hasn’t been processed properly. Therefore, in this step, we will be properly processing the newer kernel. Make sure that you have already tried the first solution listed in this article and installed the proper Nvidia drivers before trying this solution.
- Boot into the older kernel before trying this using the second solution.
- Press the “Ctrl” + “ALT” + “F3” keys simultaneously to boot into the virtual terminal.
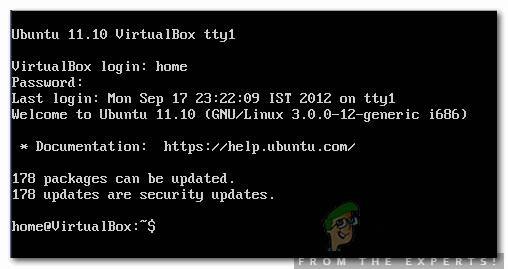
Opening Virtual Box - Type in the following command and press “Enter” to update everything.
sudo apt-get update && sudo apt-get upgrade -y
- Type in the following command and press “Enter” to remove the older kernels.
sudo apt-get autoremove
- Type in the following command and press “Enter” to reinstall the current kernel
sudo apt-get install --reinstall linux-image-4.13.0-32-generic
Note: Replace the numbers in this command with the version of the kernel you want to install. The version could be found by executing the following command.
uname -r
- Reboot and check to see if the issue persists.


Thanks. Useful looking advice, unfortunately nothing worked for me. I think I will reinstall from scratch.