Fix: iTunes Error 0xE800002D
iTunes could not connect to this iPhone. An unknown error occured (0xE800002D)
A lot of Apple users have reported receiving the 0xE800002D error when they try to sync their iOS devices with iTunes. This particular error code is an indicator that the software component was unable to make a connection between your Apple device and the software that supports it. Most affected users report that the error is encountered as soon as they plug their devices into the computer and iTunes opens up.
The issue is not specific to a certain Windows version, but it’s most often reported on Windows 10 and Windows Vista.

What is causing the iTunes Error 0xE800002D?
We investigated the issue by looking at various user reports. Based on what we gathered and the repair strategies used by affected uses, we created a list of potential culprits that are known to create the Itunes Error 0xE800002D:
- iTunes version is outdated – Most of the time, the issue is encountered due to an outdated iTunes version. The iTunes updater has a long history of breaking and thinking it’s up to date. This can create incompatibility issues with newer iPhone, iPad, and iPod models.
- Itunes updater has became glitched – There is a well-known problem with the Windows version of iTunes where the updating component becomes glitched and no longer recognizes that a new version is available. In this case, the solution is to reinstall all iTunes components.
- The machine is running Windows Vista or below – Keep in mind that on Windows, the iTunes updater will not update the software to the latest version unless you have Windows 7 or later. In this case, the issue can be resolved by installing a newer Windows version.
If you’re currently dealing with the same issue, this article will provide you with some troubleshooting steps. Below you have a collection of methods that other users in a similar situation such as yourself have used to get the issue resolved.
For the best results, follow the fixes in the order that they are presented and keep at it until you discover a method that is effective for your particular scenario.
Method 1: Update iTunes to Latest version
Since the vast majority of 0xE800002D errors occur due to an outdated iTunes version, let’s start by making sure that you’re using the latest version.
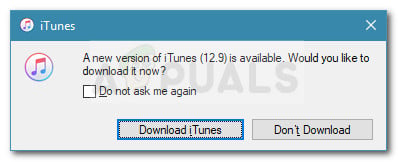
Normally, the iTunes updater should prompt you that a new version is available as soon as you open up the software. If you do get the prompt, click on Download iTunes, then follow the on-screen prompts to complete the installation of the latest version of iTunes.
Note: There’s also the possibility that your iTunes updater has glitched and no longer fetches the newer version, but we’ll deal with that in the next method.
In the event that you don’t get the prompt to update to a newer iTunes version, follow the steps below according to your operating system to update the software to the latest version:
For Windows users:
- Open iTunes and go to Help > Check for updates using the ribbon at the top.
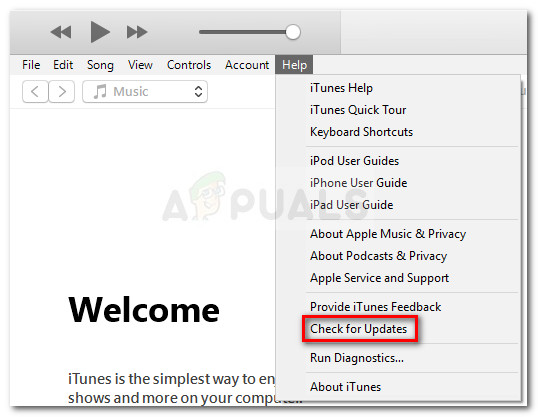
Windows PC – Updating Windows to a newer version - Wait until the scan is complete, then click on the Download iTunes button if a newer version is identified.
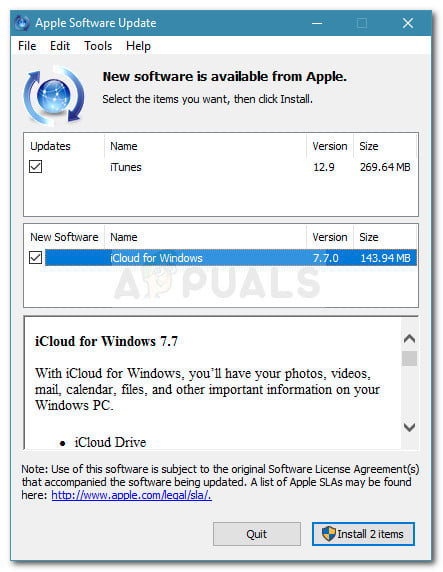
Download newer version of iTunes - Wait until the newer iTunes version is downloaded. After a while, you should see a new Apple Software Update window popping up. From that new window, make sure that every available update is checked, then press the Install x items button.
Install new iTunes version via the Apple Software Update - Accept the License agreement to start the update.
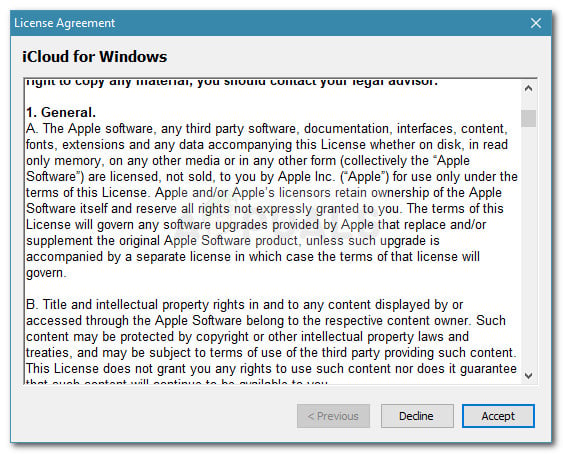
Accept the Licence Agreement - Wait until the process is complete.
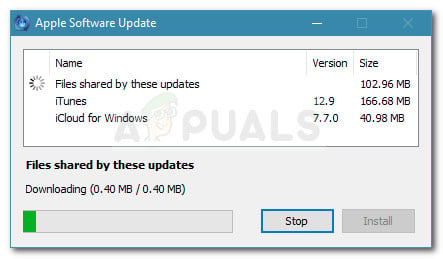
Waiting for the iTunes update to complete - Once the iTunes update procedure is finished, restart your machine and see if the issue has been resolved at the next startup.
For Mac Users:
- Click the Apple icon in the top-left corner and choose App Store/
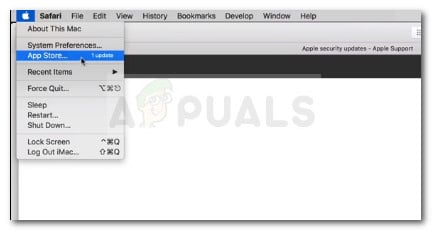
Click on the App store - Next, click on the More button associated with Software Update and click the Update button next to iTunes.
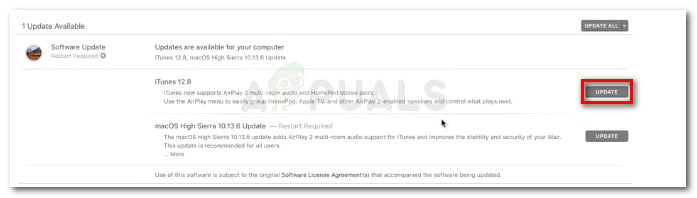
Updating iTunes on Mac - Once the download is complete, you will be prompted to do a soft restart. At the next startup see if the error has been resolved.
If you’re still seeing the 0xE800002D error when you try to connect an Apple device, move down to the next method below.f
Method 2: Reinstall all Apple related software (if applicable)
On Windows, there is a weird bug that appears to resurface with every iTunes version that makes the software trick itself that it’s using the latest version available. Several users encountering a similar problem have reported that they finally managed to eliminate the 0xE800002D error after reinstalling every apple component present on their system.
Note: Keep in mind that this method assumes that you already went through Method 1 trying to update to the latest version without success.
Follow the steps below to see if your iTunes version is suffering from the same glitch and take the appropriate steps to resolve it:
- Open iTunes and go to the ribbon at the top and select Help > About iTunes. Now, look at the first line that comes up and note down your current iTunes version
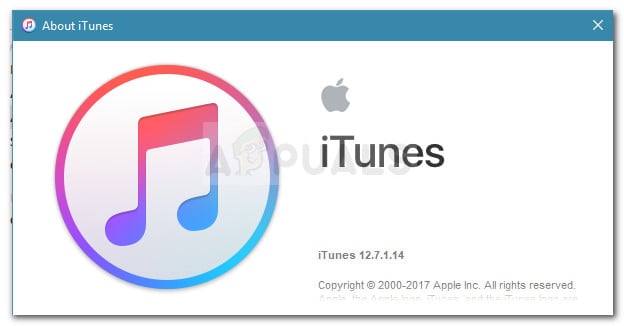
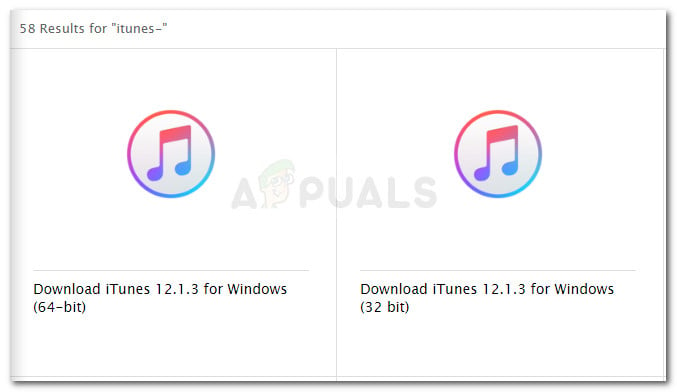
iTunes current version - Next, visit Apple’s download page (here) and see whether the latest version of iTunes that is available for download is newer than the one you currently have. If the latest available method is newer, download the installer and keep it somewhere accessible.
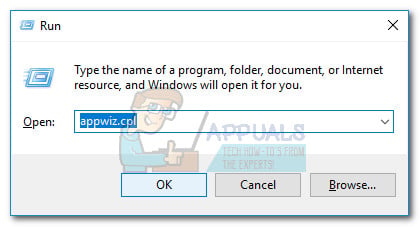
Latest available iTunes version - Next, let’s remove every Apple associated software component. To do this, press Windows key + R to open up a Run dialog box. Then, type “appwiz.cpl” and press Enter to open the Programs and Features window.
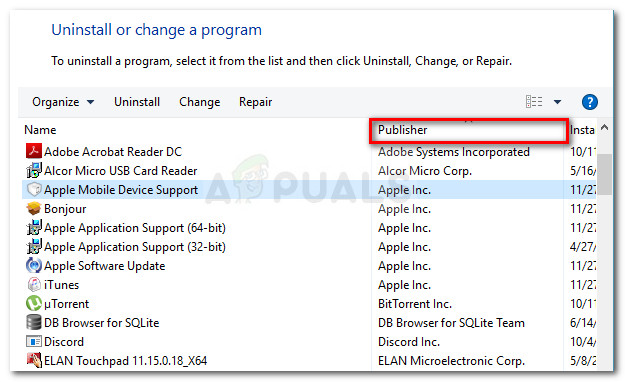
Run dialog: appwiz.cpl - In the Programs and Features window, click the Publisher button at the top of the column to order the application results via Publisher. This will make it easier for us to target every software piece belonging to Apple.
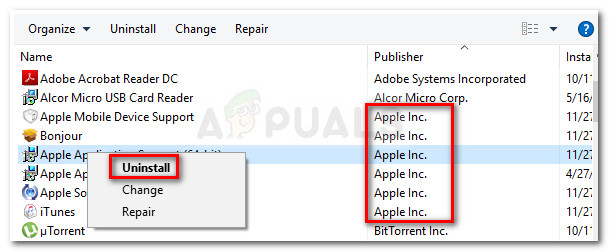
Click the Publisher column to order the app results - Next, proceed to uninstall every software component that is signed by Apple. You can do this easily by right-clicking on each entry that has Apple Inc. listed as the Publisher and click on Uninstall. Then, follow the on-screen prompts to uninstall every Apple software component until you see none left.
- Once every software component belonging to Apple has been uninstalled, reboot your computer.
- At the next startup, open the iTunes installation executable that you downloaded at step 2 and follow the on-screen prompts to install it on your system.
- Once the software is installed, reboot your system again and see if the issue has been resolved at the next startup.
If this method didn’t resolve the issue, move down to the next method below.
Method 3: Install a newer Windows version (if applicable)
If you’re still using Windows Vista or Windows XP, that’s the reason why you’re seeing the 0xE800002D error when trying to connect your Apple device. This happens because Apple has recently decided to cut support for older Windows versions. As of now, you need Windows 7 or later in order to be able to install the latest versions of iTunes.
If this scenario applies to you, you have little choice but to go for an upgrade and install a newer Windows version. Keep in mind that Windows 10 is not as resource demanding as you might think. If you decide to give it a try, you can follow our step-by-step article on installing Windows 10.

Hi,
Thank you very much for explain.Question: Do you know iTunes Update affect my order of the Playlist music or loss of songs?I like to keep my original Playlist clean, and I bought a new iPod Touch 7 for record.
However, the new iPot does not connect to iTunes on Windows 8.1.
My music are downloaded from my CDs, and I don’t have TV records or any other movies.When I backed up through Wifi with my old iPod, I lost many musics and I had to download CDs again.
It was so much frustration.
The error message was OxE800002D, but I am afraid of Update the iTunes before transfer the Playlist on to my new iPod.Thank you very much.