Fix: HDMI not Showing up in Playback Devices
Connecting HDMI is a great way to stream your computer’s screen onto a different screen such as a projector or a TV. It’s a great way to watch movies or to play video games. However, many users struggle with this problem as they are unable to connect to HDMI properly.
The biggest problem comes from the fact that HDMI is not even available under Playback Devices in Windows 10 sound settings in Control Panel. This can occur due to a wide variety of problems and we will present the best methods which can be used to resolve the problem.
What Causes the HDMI not Showing up in Playback Devices Error on Windows 10?
There are several major causes for this problem and they can be resolved through analysis of its major cause. Below you can find the full list:
- Your drivers may be outdated and in need of updating. This doesn’t just concern your audio card driver but also the graphics card driver, as well as some hidden drivers are some rare cases.
- Hyper-V may be enabled on your computer and it’s known to create such error messages.
- You are unable to see your HDMI Devices under Playback devices because the device is disabled.
- VLC Media Player might be installed on your computer which is yet another known cause of the problem
Solution 1: Reinstall Your Graphics and Audio Card Drivers
Even though the problem is sometimes related to audio and sometimes to video issues, HDMI needs both the audio and video channel to work properly and folks were thrilled to see that simply updating your graphics card driver managed to resolve the problem for them!
- Click the Start menu at the lower left part of the screen, type in “Device Manager” afterward, and select it from the list of available results by simply clicking the first one.
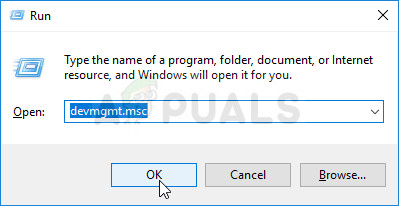
- You can also press the Windows Key + R key combination in order to bring up the Run dialog box. Type in “devmgmt.msc” in the dialog box and click OK in order to run it.
- Since it’s the graphics card driver you want to update on your computer, click the arrow next to the Display adapters section, right click on your video card and choose the Uninstall Device
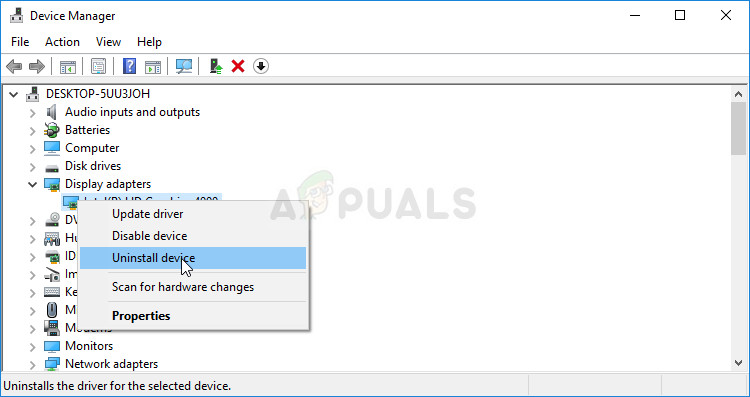
- Confirm any dialogues or prompts which may ask you to confirm the uninstallation of the current graphics device driver and wait for the process to complete.
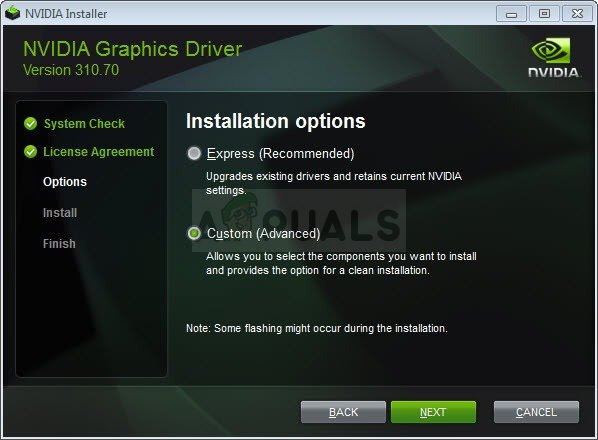
- Look for your graphics card driver on the card’s manufacturer’s website and follow their instructions which should be available on the site. After performing a search for your card, OS, and CPU architecture, you should try various different drivers, starting from the newest
- Save the installation file on your computer and run the executable from there. Your computer may restart several times during the installation.
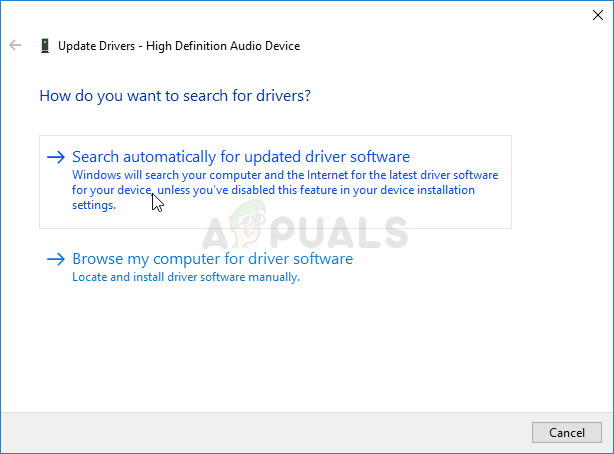
- Go back to the Device Manager window and expand the Sound, video and game controllers Right-click on each entry in the list and choose Update driver from the context menu.
- Choose the Search automatically for updated driver software option from the new window and wait to see if the utility is able to find newer drivers.
- Check to see if the HDMI appears under Playback devices in sound settings!
Note: If updating these drivers doesn’t work, click on View from the top menu and check the box next to Show hidden devices. Look for any HDMI or Audio devices under System Devices and try updating them as well!
Solution 2: Disable Hyper-V
The Hyper-V feature is available of Professional and Enterprise versions of Windows 10 and the feature is used to create and run virtual machines on Windows 10. This is an optional feature for Windows 10 users and people have reported that simply disabling it was enough to stop the problems occurring with HDMI sound.
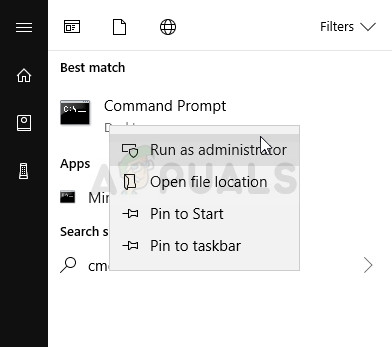
- Search for “Command Prompt” by typing it either right in the Start menu or by pressing the search button right next to it. Right-click the first entry which will pop up as a search result and select the “Run as administrator” context menu entry.
- Additionally, you can also use the Windows Logo Key + R key combination in order to bring up the Run dialog box. Type in “cmd” in the dialog box which appears and use the Ctrl + Shift + Enter key combination in order to run Command Prompt using administrator privileges.
- Type in the following command in the window and make sure you press Enter after typing it.
dism.exe /Online /Disable-Feature:Microsoft-Hyper-V-All
- Wait for the dialog asking you to confirm this process and press the Y key on your keyboard before pressing the Enter key in order to do so.
- Check to see if you still struggle with problems regarding HDMI now showing up in Playback devices.
Solution 3: Enable the View of Disabled Devices
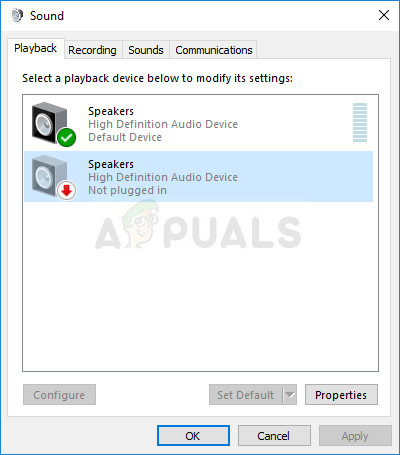
It’s quite possible that Windows 10 has somehow automatically disabled the HDMI sound output as it often considers it unnecessary and it’s never set as default. This is quite a big mistake by Microsoft as hiding the device under Playback devices was definitely unnecessary. Make sure you check whether this is the cause of your problem!
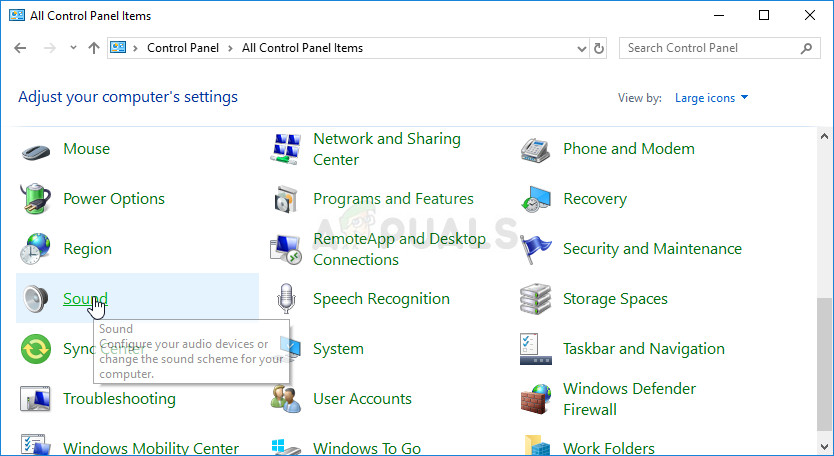
- Right-click on the Volume icon located at the bottom right part of your screen and choose the Playback devices An alternative way would be to open Control Panel on your PC and set the View by option to Large icons. After that, locate and click on the Sounds option in order to open the same window.
- Stay in the Playback tab of the Sound window which just opened up.
- Right-click anywhere in the middle of the window and check the boxes next to the Show Disabled Devices and Show Disconnected Devices Your HDMI device should now appear.
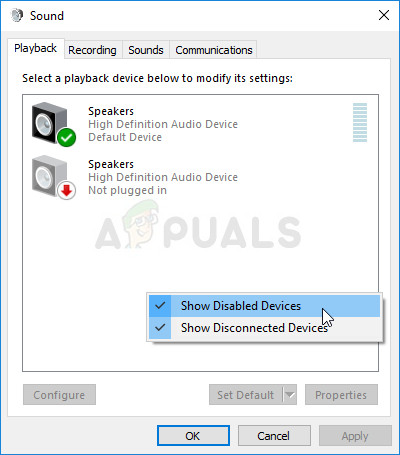
Disabled devices in Sound settings - Left-click on the newly appeared device and click the Set Default button below which should switch the sound to HDMI as soon as it’s connected.
Solution 4: Uninstall or Reinstall VLC Media Player
This software is definitely recommended as one of the best free choices available for users who want to watch videos of all formats on their computer. It’s simple to use and it has plenty of useful features but people have reported that the problem stopped appearing after they have uninstalled it.
Try deleting it and check to see if the error is gone. If it disappears, you can try your luck by reinstalling it using the latest version available online!
- First of all, make sure you have logged in with an admin account as you won’t be able to uninstall programs using any other account privileges.
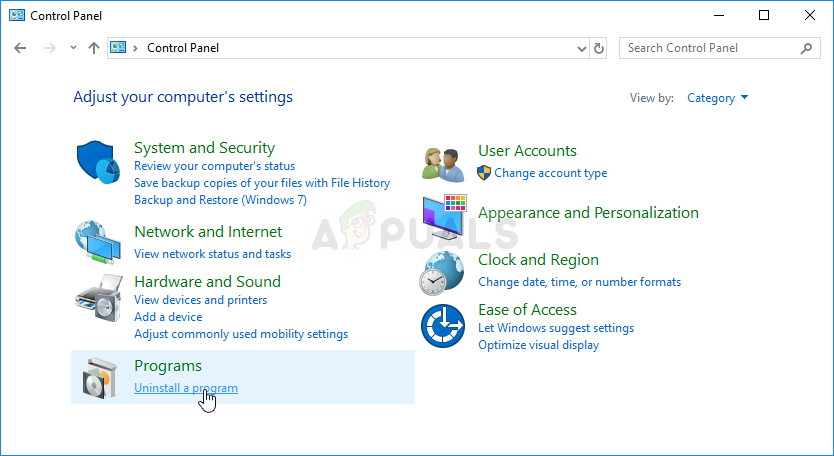
- Click on the Start menu and open Control Panel by searching for it. Alternatively, you can click on the gear icon in order to open settings if you are using Windows 10.
- In Control Panel, select to View by: Category at the top right corner and click on Uninstall a Program under the Programs section.
- If you are using the Settings app, clicking on Apps should immediately open a list of all installed programs on your PC.
- Locate the VLC entry on the list and click on it once. Click on the Uninstall button above the list and confirm any dialog boxes which may appear. Follow the instructions on-screen in order to uninstall VLC and restart your computer afterwards.
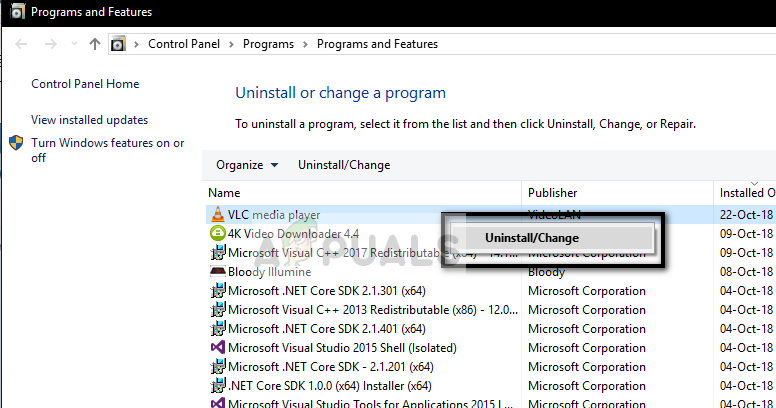
Uninstalling VLC Media Player


none of these helped me, sorry