Fix: Explorer.exe Error System Call Failed
Explorer.exe is probably one of the most important processes to casual Windows users and this process represents the main part of your user interface such as files and folders, start menu, system tray, etc. Without explorer, you are pretty much limited to opening programs using Command Prompt or Task Manager which isn’t so user friendly.
That is why it’s important to treat errors concerning Explorer.exe issues immediately. One of such issues is the “Error: System Call Failed” problem which strikes users from various versions of the Windows operating system. There are quite a few methods to get rid of this problem so make sure you follow the rest of the article in order to do so.
Solution 1: Restart the Process
Restarting the process can do wonders and solve the problem immediately if the original problem was caused by a small bug which can usually appear if your computer has been running for a long time now. The easiest way to do so is by using Task Manager. Note that all of the icons from your desktop along with the taskbar are going to disappear.
- Use the Ctrl + Shift + Esc key combination in order to bring up the Task Manager. Alternatively, you can use the Ctrl + Alt + Del key combination and select Task Manager from the menu. You can also search for it in the Start menu.
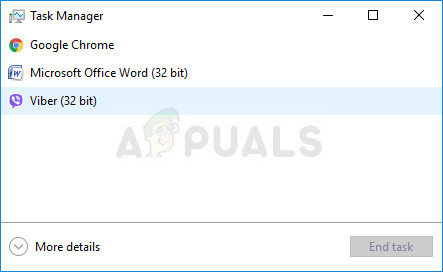
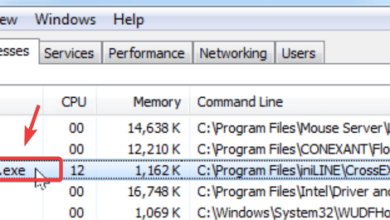
- Click on More details in order to expand the task manager and search for the explorer.exe entry displayed on the list in the Processes tab of Task Manager, right-click on it, and choose the End task option from the context menu which appears.
- Click Yes to the message which is going to be displayed: “WARNING: Terminating a process can cause undesired results including loss of data and system instability….”
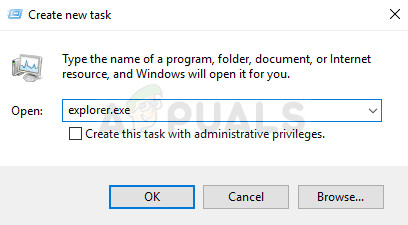
- After that, click on File>> Run new task and type in “explorer.exe” in the New Task windows which pops up.
- Now you are ready to restart your computer and check to see if the same problem occurs with Explorer.exe.
Solution 2: Internet Explorer Bugs
It appears that Internet Explorer can also cause these types of problems, especially if you are running an older version of both Windows and Internet Explorer. Older versions of the browser were always notorious for its many issues and limited functionality. Make sure you get rid of any open instances of Internet Explorer before checking if the problem is solved:
- Navigate to any open instances and windows of Internet Explorer you have open and click the X button at the top right part of the page in order to close them.

- Some windows may become blurry and the words “Not Responding” may appear in the brackets next to the browser tab.
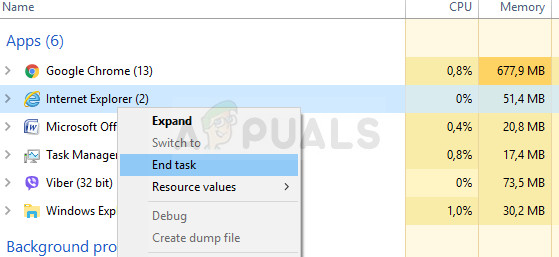
- If that is the case, use the Ctrl + Shift + Esc key combination in order to bring up the Task Manager, click on More details, and locate all entries of the Internet Explorer processes (iexplorer.exe on older versions of Windows), right-click on them and choose the End Task option.
- Check to see if the problem is solved after exiting Internet Explorer.
Solution 3: Uninstalled Suspicious Third-Party Apps
There are some apps which will simply bother your computer in any way possible until you uninstalled them completely. There are some users who claim that simply uninstalling them got rid of this awful problem. One of these apps is definitely BitDefender which was named by some users as the cause for the problem.
- First of all, make sure you are logged in with an administrator account as you won’t be able to delete programs using any other account.
- Backup the data you want to save because uninstalling the app will get rid of it.
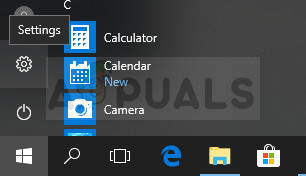
- Click on the Start menu and open Control Panel by searching for it. Alternatively, you can click on the gear icon in order to open settings if you are using Windows 10.
- In Control Panel, select to View as: Category at the top right corner and click on Uninstall a Program under the Programs section. If you are using the Settings app, clicking on Apps should immediately open a list of all installed programs on your PC.
- Locate the program you want to uninstall in Control Panel or Settings and click on Uninstall.
- An uninstall wizard should open with two options: Repair and Remove. Select Remove and click Next in order to uninstall the program completely. Follow the instructions on screen and click finish when the uninstalled completes the process and restart your computer to see whether errors will still appear.
Solution 4: Disable Some Startup Items
There are certain processes and services which appear as soon as you turn Windows on and these processes may be causing these problems. A highly successful method of finding out which component is causing these problems is the one displayed below which will show you which program is causing the error.
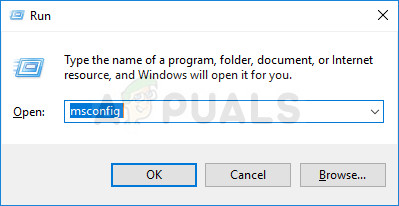
- Press the ‘Windows + R’ key on the keyboard. In the ‘Run’ windows type ’MSCONFIG’ and click ‘Ok’.
- Click the ‘Boot’ tab and uncheck ‘Safe Boot’ option (if checked).
- Under the General tab, click to select the option Selective startup, and then click to clear the option Load startup items check box.
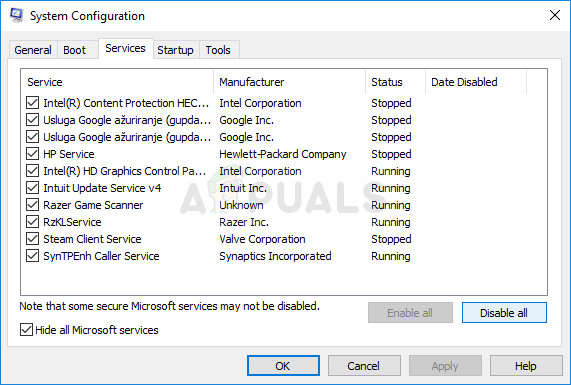
- Under the Services tab, click to select the Hide all Microsoft services check box, and then click ‘Disable all’.
- On the Startup tab, click ‘Open Task Manager’. In the Task Manager window under the Startup tab, right click on each startup item which are enabled and select ‘Disable’.
- Click OK, and then click Restart.
- First of all, check to see if the problem still appears. If it does, this method wasn’t successful and you should move on to other ones. However, if the problem appears gone, try enabling startup items one by one and following through the procedure. The startup item which triggers the error after a restart is the one causing the problem.
Solution 5: Possible Infection
There are several users who claim they got infected and the problem started to occur to them. They ran several scans before settling down for a single one which actually located the virus and got rid of it. It’s important that you use a couple of scanners as no antivirus tool is powerful enough to recognize and get rid of all viruses. We recommend you try Malwarebytes free trial as it’s able to detect most viruses.
- You can download download Malwarebytes from this link. When Malwarebytes has finished downloading, double-click on the “mb3-setup-consumer” file to install Malwarebytes on your computer.

- You may be presented with an User Account Control pop-up asking if you want to allow Malwarebytes to make changes to your device. If this happens, you should click “Yes” to continue with the installation.
- When the Malwarebytes installation begins, you will see the Malwarebytes Setup Wizard which will guide you through the installation process. To install Malwarebytes on your machine, keep following the prompts by clicking the “Next” button.
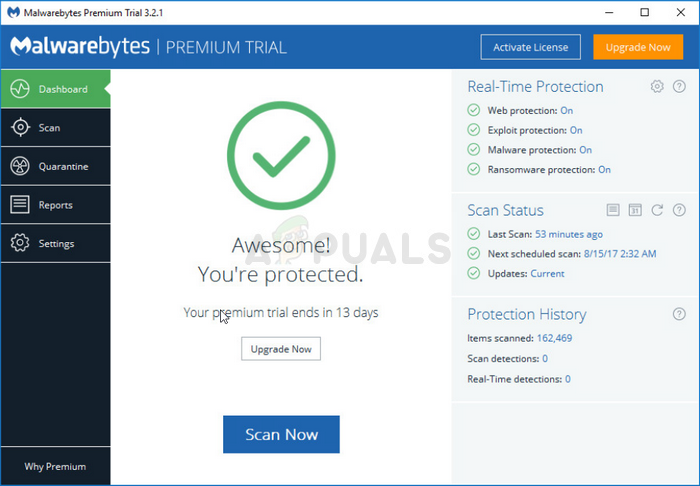
- Once installed, Malwarebytes will automatically start and update the antivirus database. To start a system scan you can click on the “Scan Now” button.
- Malwarebytes will now start scanning your computer for malicious programs. This process can take a few minutes, so we suggest you do something else and periodically check on the status of the scan to see when it is finished.
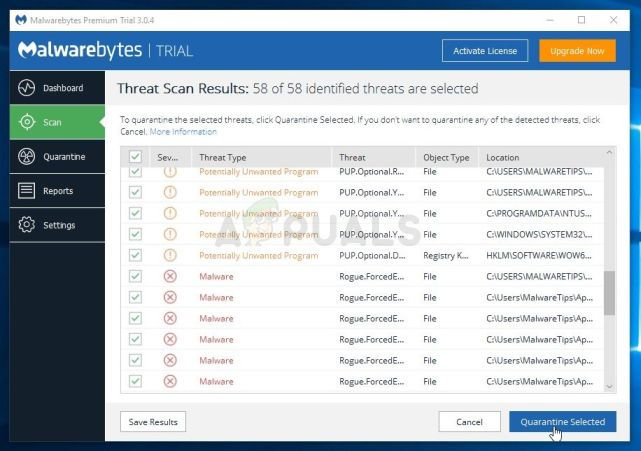
- When the scan has completed, you will be presented with a screen showing the malware infections that Malwarebytes has detected.
- To remove the malicious programs that Malwarebytes has found, click on the “Quarantine Selected” button.
- Malwarebytes will now quarantine all the malicious files and registry keys that it has found.
- To complete the malware removal process, Malwarebytes may ask you to restart your computer.
Solution 6: Update Your Graphics Card Driver
The usual cause for this problem are malfunctioning graphics card drivers and it’s not a rare occurrence that the problem is actually caused by an old driver who is so outdated that its only purpose is to bring your system down. Updating your drivers is a must even if your PC is running smoothly as old drivers tend to have much more issues and bugs.
- Select the Start button, type Device Manager, and select it from the list of results.
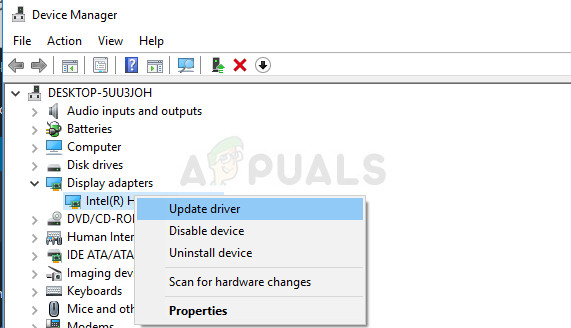
- Expand one of the categories to find the name of your device, then right-click (or tap and hold) it, and select Update Driver. For graphics cards, expand the Display adapters category, right click your graphics card and select Update Driver.
- Select Search automatically for updated driver software.
- If Windows doesn’t find a new driver, you can try looking for one on the device manufacturer’s website and follow their instructions.
Note: If you are using Windows 10, latest drivers are often installed alongside other Windows updates so make sure you keep your computer up to date. Windows Update is run automatically on Windows 10 but you can check by following the instructions below for a new update.
- Use the Windows Key + I key combination in order to open Settings on your Windows PC. Alternatively, you can search for “Settings” by using the search bar located at the taskbar.
- Locate and open the “Update & security” section in the Settings app.
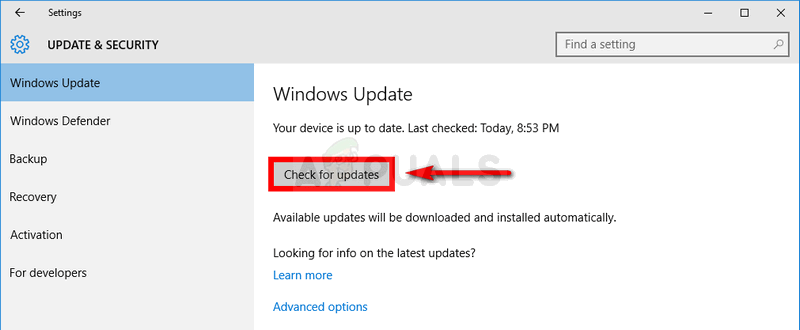
- Stay in the Windows Update tab and click on the Check for updates button under the Update status in order to check whether there is a new version of Windows available.
- If there is one, Windows should proceed with the download process automatically.